⚡ The Future of No-Code & Low-Code Customization is Here
Configuring and customizing Houzi has never been easier. By using an AI coding assistant powered by our Houzi AI Agent Skill, you don’t need to manually do the configurations.
Simply tell your AI assistant (like Antigravity, Cursor, Claude Code, or GitHub Copilot) what you want to do in plain English. It’s like having a senior Houzi engineer pair-programming with you 24/7.
Here are some real-world prompts you can give your AI agent right now to perform common setup tasks and complex architectural customizations.
The skill is stored in the project at:
[project-root]/.agents/skills/houzi/
While the examples below demonstrate how to use Antigravity to execute customizations step-by-step, the Houzi Skill system is fully universal and works out-of-the-box with any modern AI coding assistant (like Cursor, Claude Code, or GitHub Copilot).
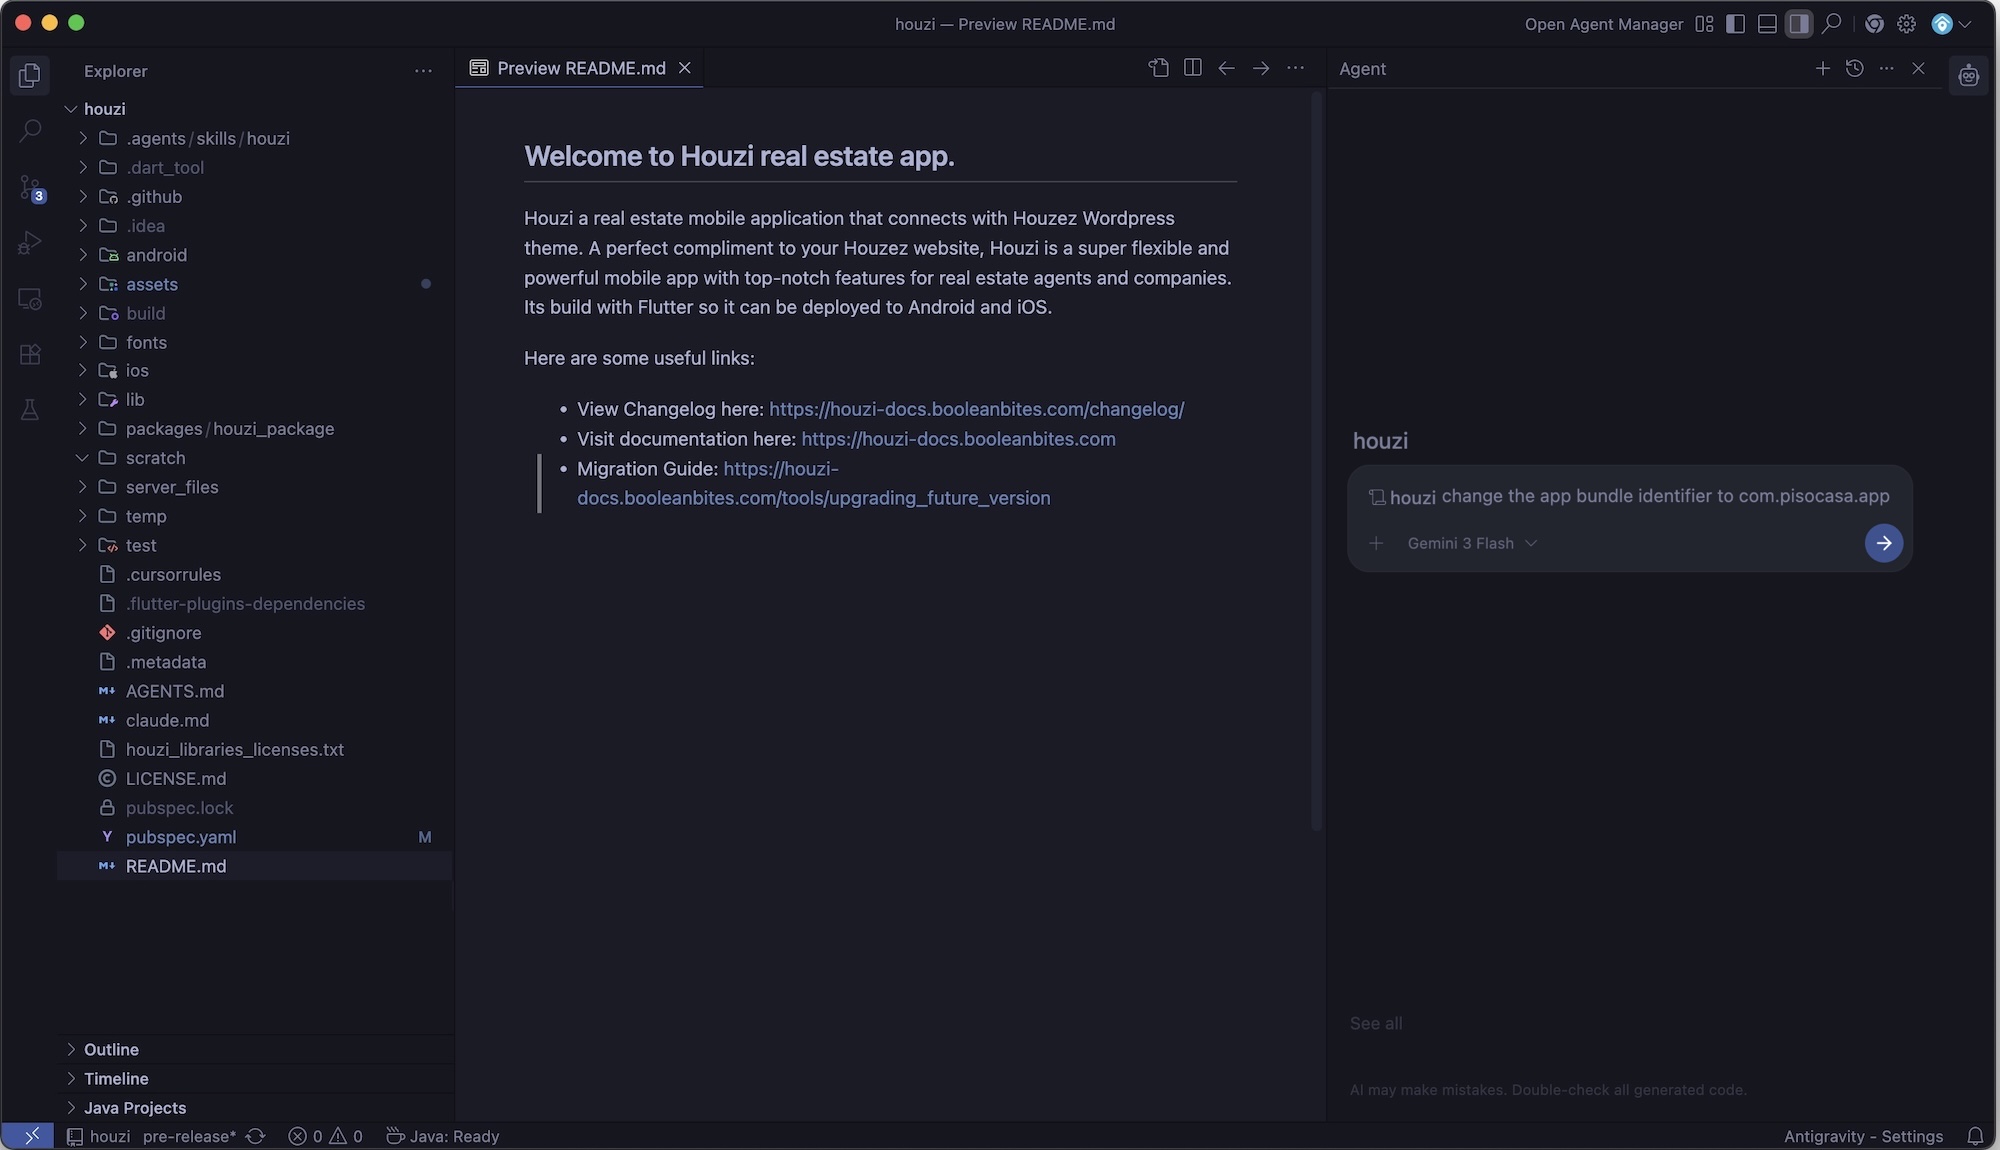
💡 Pro Tip: Direct Skill Invocation Since the Houzi configurations and hooks guidance is registered as a custom workspace skill, you can directly activate it by prefixing your prompt with
/houziin your AI chat panel:
/houzi change the app bundle identifier to com.pisocasa.app
Download and install the Antigravity IDE or command-line agent. Antigravity is a agentic AI coding companion by Google. Download from https://antigravity.ai/.
Launch Antigravity and open your Houzi Flutter project folder.
Once opened, Antigravity will automatically detect the .agents/skills/houzi/ skill. You don’t need to configure anything—the AI immediately becomes an “expert Houzi developer”.
Now, simply open the AI chat panel and start instructing the agent. Here are step-by-step examples of how to run your commands:
“/houzi Update my app’s name to ‘PisoCasa’, change the iOS and Android bundle identifiers to ‘com.pisocasa.app’, and use assets/icons/logo.png to generate all launcher icons.”
build.gradle and Xcode project settings.flutter_launcher_icons.yaml, and runs the generator command to rebuild all launcher resolutions.“/houzi Change the app theme’s primary color to a premium Indigo (#3F51B5), background to off-white, and switch the font family to ‘Outfit’.”
configurations.json structure, increments the api_config_version to trigger an Over-The-Air (OTA) update so your users get the new design instantly.“/houzi Add feature taxonomy terms as tabs in Home Air and also add its icons. Use wordpress api to fetch taxonomy from my website.”
configurations.json with the newly dynamic taxonomy terms tabs.Houzi is a highly configurable, white-label real estate application. It follows a clean architecture governed by two primary customization vectors: an OTA-enabled Configuration Engine (configurations.json) and a Dart-level Hooks Customization System (hooks_v2.dart).
Using an AI agent with the Houzi Skill allows you to leverage these systems seamlessly to:
Tools setup covers all of the technical things that you need to setup before you start editing the app. Here’re the few of the prerequisite before continue next. These are all mandatory.
We’ve developed a plugin that extends the default rest api functionality of Houzez theme to mobile apps. You can find the plugin inside your downloaded folder after purchase on codecanyon. It should be located in houzi / wordpress-plugin / houzi-rest-api-x.x.x.zip
You can also download the wordpress plugin from here Houzi Rest Api
To install this plugin, you go into your wordpress dashboard, from left menu select plugin and add new plugin
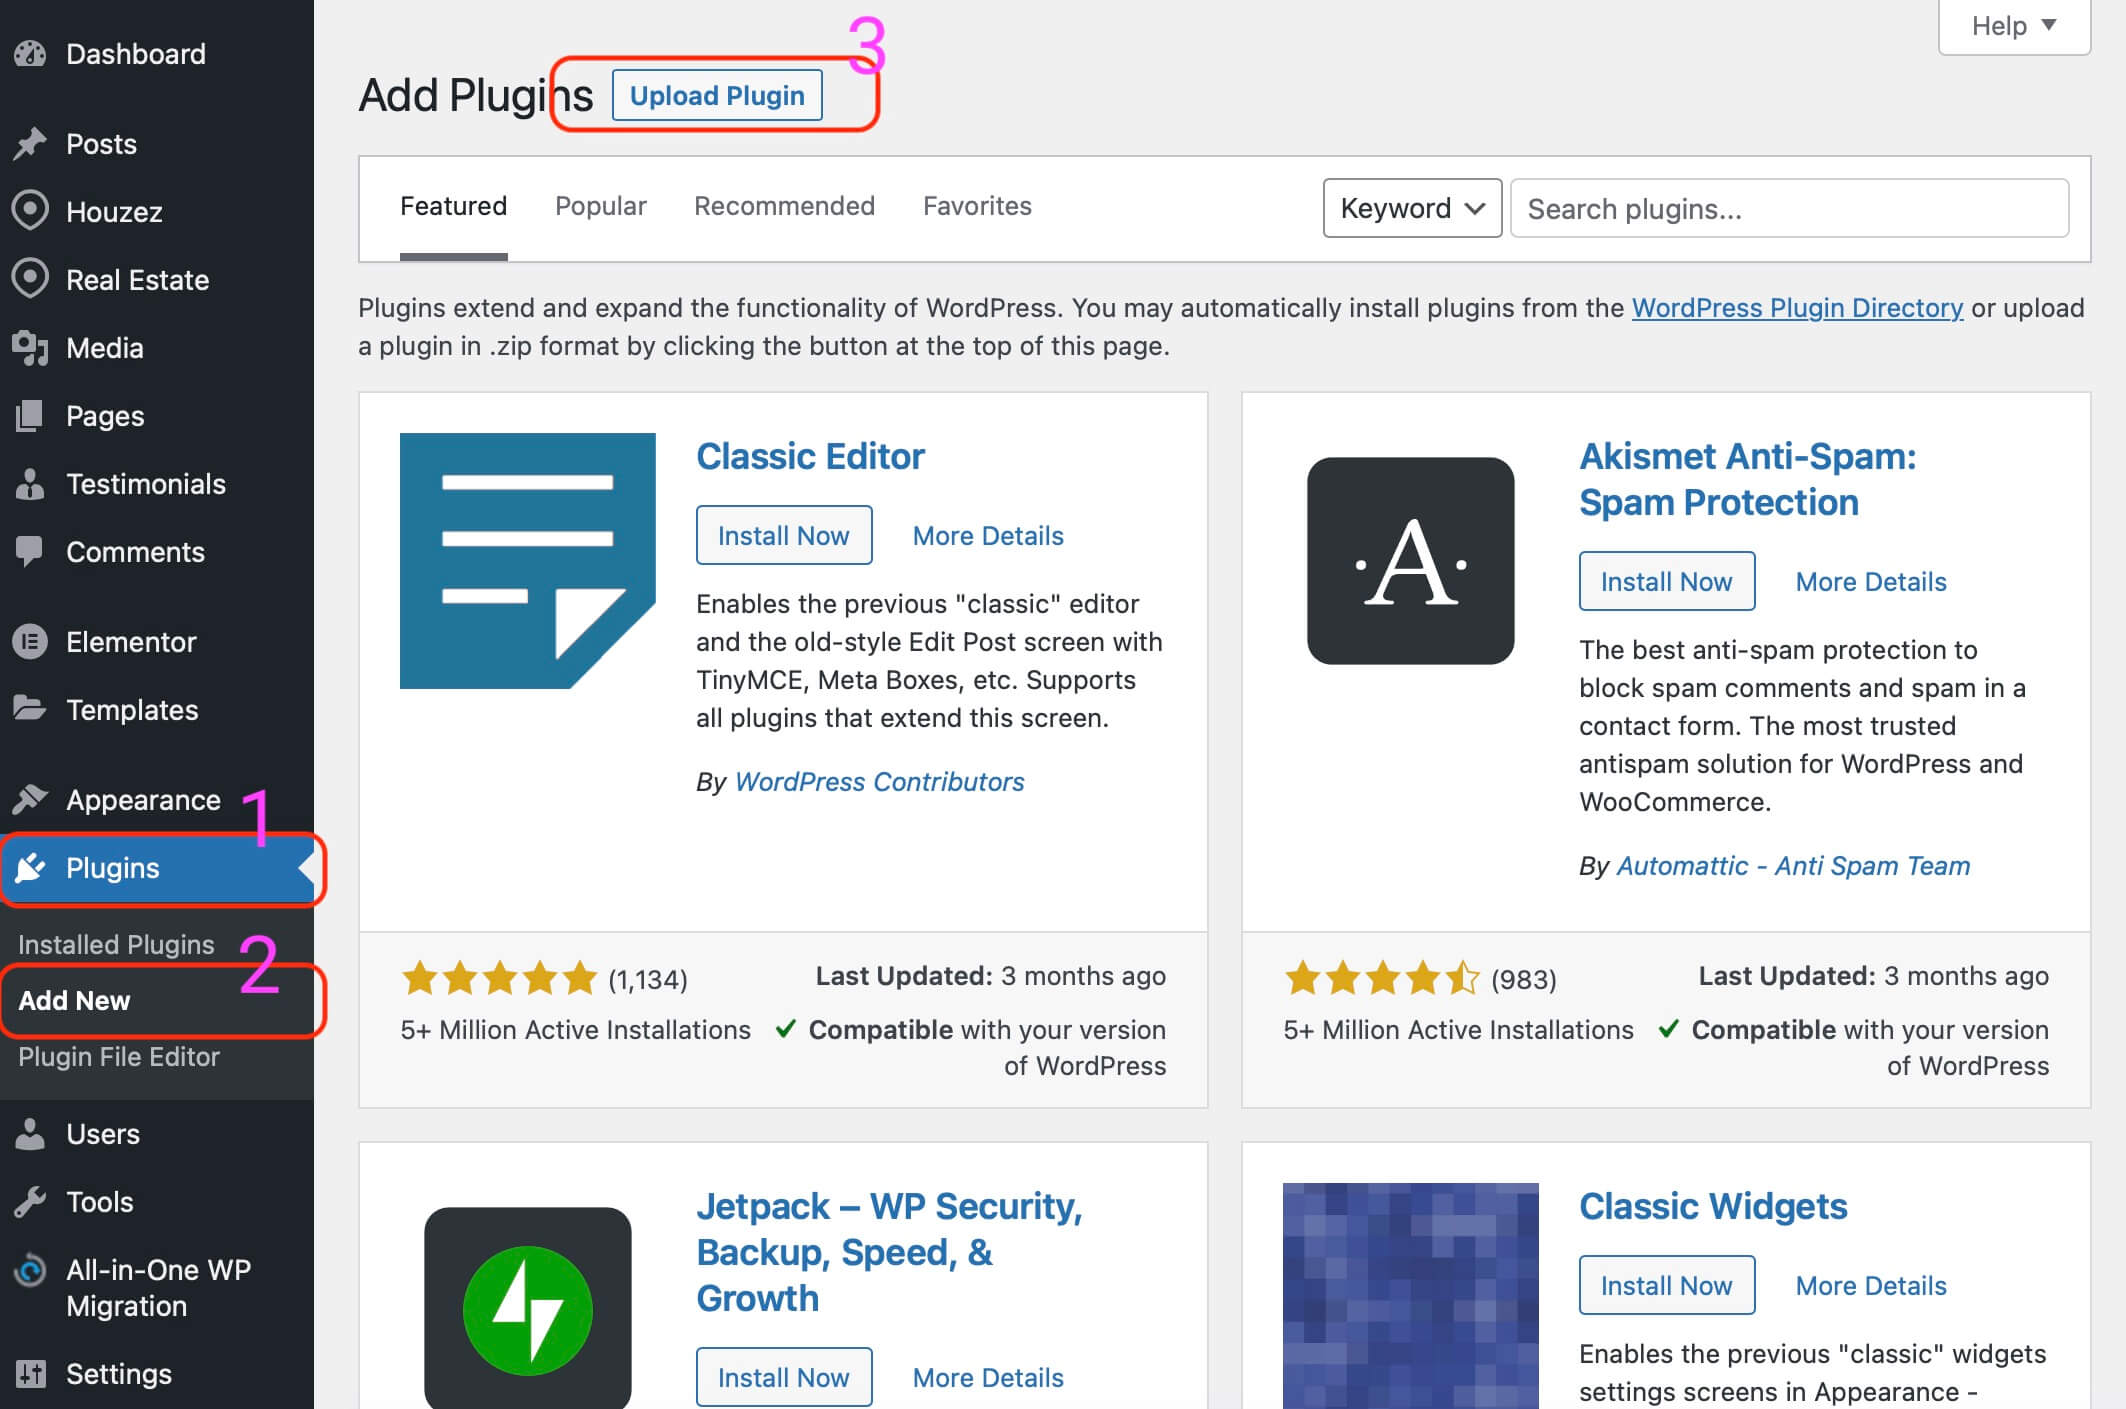
You also need to unlock the plugin functionality with entering the purchase code from CodeCanyon. You can consult this article to learn how to get item purchase code. Activation allows you to continuous upgrade, seamlsess api integration and support.
--- ## Setup App Secret URL: https://houzi-doc.booleanbites.com/tools/app_secret
Security is really importan, so we need to make communication between app and website secure. App Secret is a secret key that is used by your app when communicating with Wordpress and Rest Api.
Important This feature requires Houzi Rest Api Plugin version 1.2.0 or greater. You also need to activate your rest api plugin and also unlock it with your purchase code. Otherwise you won’t be able to setup Secret Key and many other configurations.
You can enter any string of 10 to 20 characters lenght. (shouldn’t be too long, though). When saved, Rest Api running on your website would look for app secret when any important communication is done, like add new property, user login, sign up or send email etc.
How your app will send secret key? The app needs to send this secret key in header hook. Read instruction below:
open following file:
Project_HOME > lib > hooks_v2.dart
Look for the getHeaderMap() method. and find key value pair for ‘app-secret’ in a given map. eg:
  …
    Map<String, dynamic> map = {
      ...
      "app-secret": "!296@#%234^&*()_-+=",
    };
  …
Make sure both keys on mobile app and website should be same, and keep them safe.
If you released your apps with older versions of Houzi than 1.2.0. And you want to disable the app secret and nonce checks for sometimes to give old version users sometime to update to newer version, you can disable this security check by check marking the “Disable Nonce security” checkbox on the plugin. It’ll pause the checks and will allow all kind of traffic to pass.
Additionally Disable NONCE can be used to do some quick testing.
Added in version 1.2.0
--- ## Setup JWT Auth for login from app URL: https://houzi-doc.booleanbites.com/tools/jwt_auth_plugin_setupIn order for the login and other user related tasks (add property, add review, CRM functionalities, admin activities), we’re using JWT (JSON Web Token) approach. For this we are using JWT Auth plugin.
You can download here: https://wordpress.org/plugins/jwt-authentication-for-wp-rest-api/
JWT Auth Plugin is required if you want to login from app.
To install this plugin, you go into your wordpress dashboard, from left menu select plugin and add new plugin
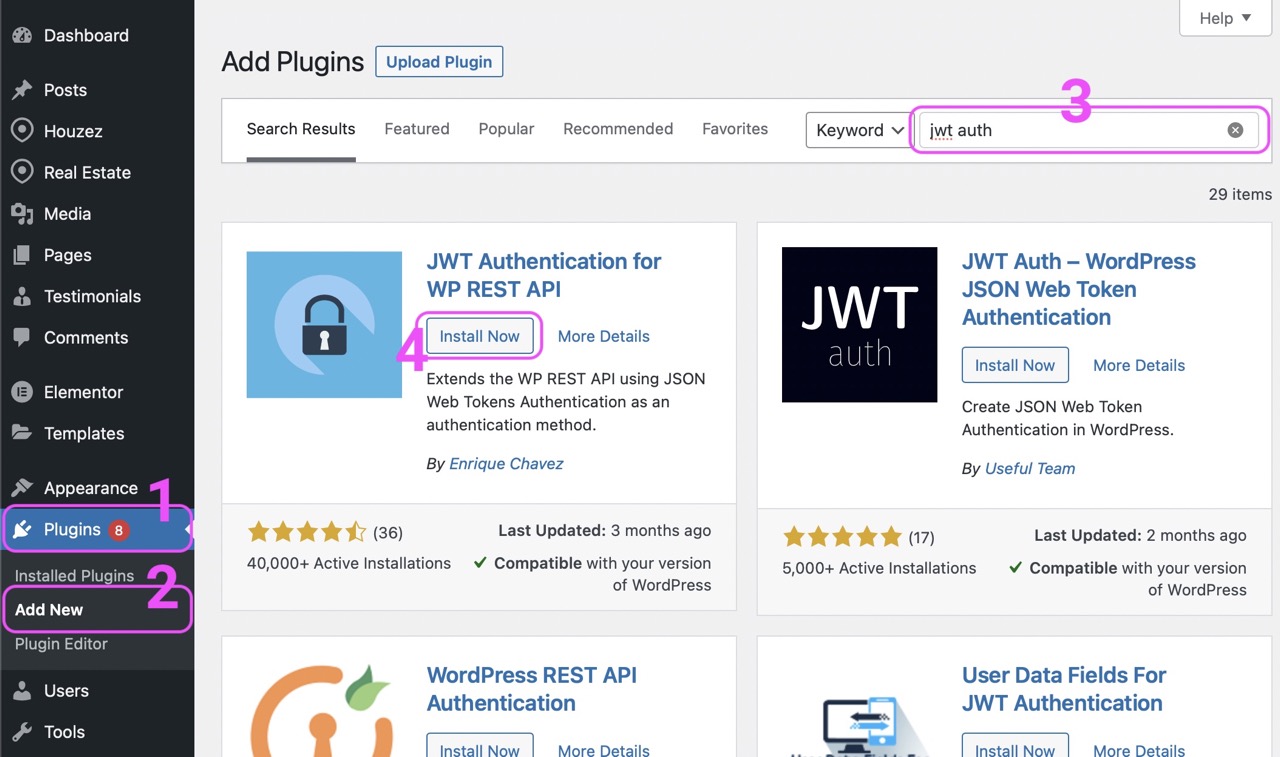
JWT Auth Plugin require a unique key to be setup in your wordpress installation. The key name is JWT_AUTH_SECRET_KEY. To setup this key, you’ll need to access the wp-config.php file of your Wordpress installation. You might either require FileZilla (or other ftp clients) or you can access the wp-config.php file from FileManager (or similar option ie File Explorer, File Browser etc) of your hosting. Some hosting may not provide FileManager service. Use FileZilla or similar apps in that case. The steps are as follow:
JWT_AUTH_SECRET_KEY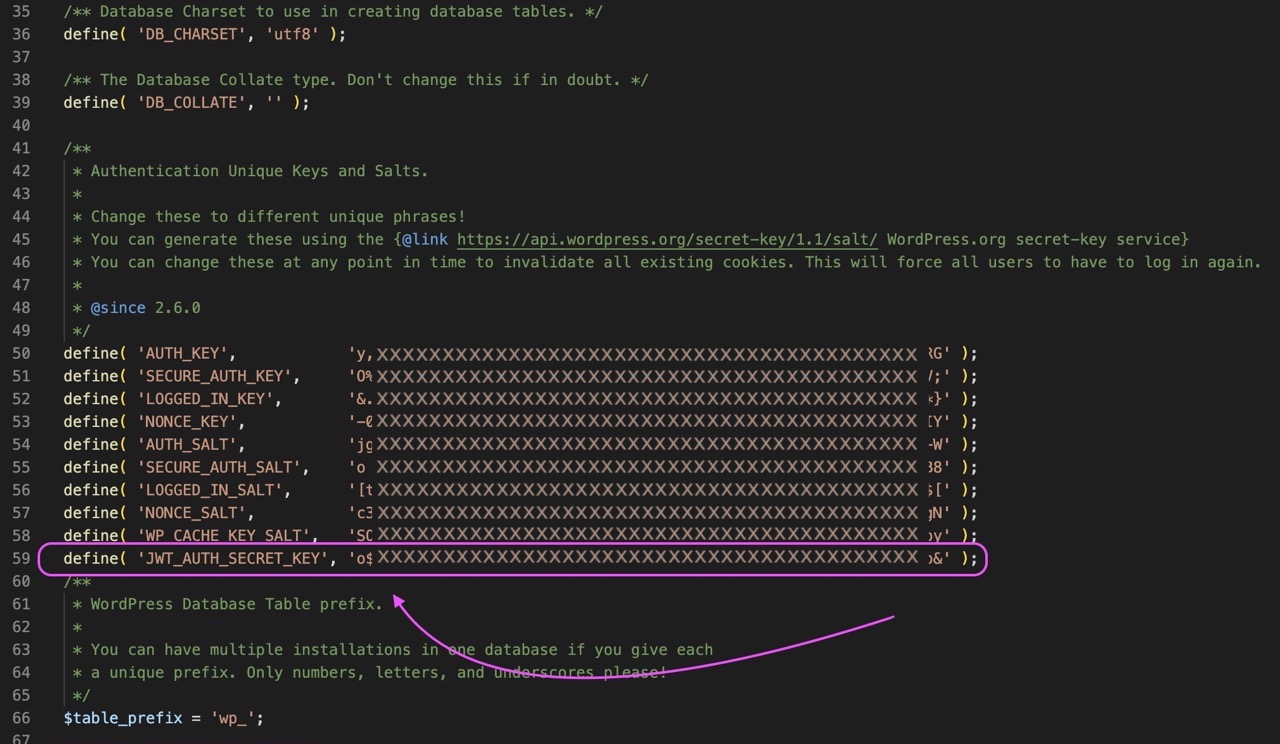
Consult Description of JWT Auth Plugin for more guidance here: https://wordpress.org/plugins/jwt-authentication-for-wp-rest-api/
--- ## Android Studio Setup URL: https://houzi-doc.booleanbites.com/tools/android_setup
Head over to this link to get the Android Studio executable or zip file. Follow instructions https://developer.android.com/studio
Within Android Studio, you can install the Android any SDK as follows:
step 1. Click Tools > SDK Manager.
Xcode is necessary to develop and upload apps for the iOS environment.
https://developer.apple.com/documentation/xcode
Just like gradle, CocoaPods is a dependency management system for iOS projects. Its necessary if you want to develop iOS apps with Flutter.
https://guides.cocoapods.org/using/getting-started.html
--- ## Flutter Setup URL: https://houzi-doc.booleanbites.com/tools/flutter_setup
Download the Flutter SDK version eg 3.44.XX for your platform from below URL:
Go to URL, https://docs.flutter.dev/get-started/install and follow setup instructions.
--- ## Setup Firebase URL: https://houzi-doc.booleanbites.com/tools/firebase_setup
Make sure your desired app bundle identifiers are set before setting up firebase.
Firebase is necessary to be set up if you want analytics, planning to support push notifications and other diagnostic related data.
It is good to have signing keys setup before setting firebase project. So you can generate SHA keys and add them to firebase project configurations.
https://firebase.google.com/docs/android/setup
https://firebase.google.com/docs/ios/setup
After acquiring the json and plist for both platforms. Place them at following places:
Android: Project_HOME > android > app > google-services.json
iOS: Project_HOME > ios > Runner > GoogleServices-Info.plist
When you create a Firebase project, a corresponding Google Cloud project is automatically created. This Google Cloud project serves as the underlying infrastructure for your Firebase project, allowing you to use various Google Cloud services (such as Maps, Places Api, Play Integrity, etc.) in conjunction with Firebase.
Headover to Google Google Cloud Console. Click the Project dropdown in the top-left corner. Select your project from the list or search for it. Then enable following options.
Once done, it is always a good idea to download latest configuration file from firebase console and update them at following place:
Project_HOME > android > app > google-services.jsonProject_HOME > ios > Runner > GoogleServices-Info.plist
Once you have setup the project on Google Cloud, you need to acquire the Key, and place it in Android and iOS projects.
You’ve to put the API key in configuration.json (automatically or manually) as well as in native project files. This API key is used for Maps, Places search and Static Maps.
You can use Houzi Config Builder to save the Maps api key: Theme Api & Config.
You can change colors from config by replacing *** with your own color code. Open the Project_HOME > assests > configuration > configuration.json file, and look for the following keys:
"google_map_api_key": "your_key_here",
After adding maps key in configuration.json, its mandatory to add this in native projects as well. Because both platform use native maps sdk to show maps in flutter apps.
Open AndroidStudio, expand android > app > src > main > res > values project folder, and find strings.xml file in your Android project. And look for the map key map_api_key and paste the key in value attributes.
Open Xcode and goto AppDelegate.swift, look for GMSServices.provideAPIKey() and paste your key in there.
Enabling location autocomplete is done in three steps as follow:
Once you have setup the project on Google Cloud, you need to enable the places api in your project on your Google Project console, in order to get the location search in filter page working. You can enable Places API here: Enable Places API
Billing setup is required for each project, but you will only be charged if a project exceeds its free quota. Here you can read about billing and free quota
You need to set maps api key (also used for places api) in your application.
You can use Houzi Config Builder to save the Maps api key: Theme Api & Config.
You can change colors from config by replacing *** with your own color code. Open the Project_HOME > assests > configuration > configuration.json file, and look for the following keys:
  "google_map_api_key": "your_key_here",
  "lock_places_api": true,
  "lock_places_api_countries": "US,FR",
Note: The
lock_places_api,lock_places_api_countriesare used to lock places api suggestions to specific countries. You should definitely limit the countries to get the correct results.
Once you’ve enabled Places API and billing on your project, you need to enable location search via Houzi Config Builder. Customize Search Screen
Or you can manually look into Project_HOME > assests > configuration > configuration.json and look for following keys:
{
    "section_type": "location_picker",
    "title": "City",
    ...
    "show_search_by_city": true,
    "show_search_by_location": false,
    ...
}
Set the show_search_by_location to true and you’re done.
Relaunch the app, and you should see the location selection on the filter search page.
For uploading apps to PlayStore or configuring firebase, you need to sign your builds with uniquely generated keys and keystores. Follow instructions here:
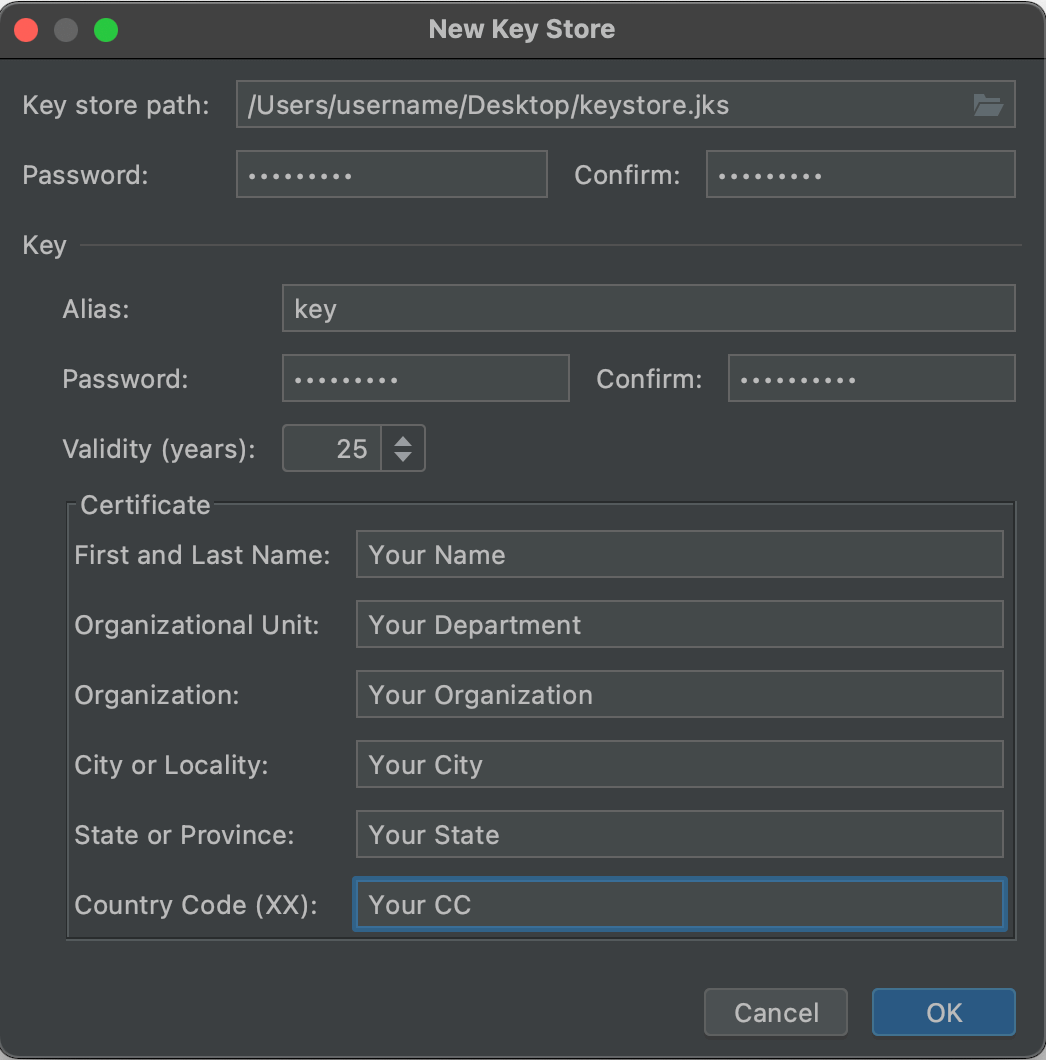
Follow Android Docs for any further help: Generate an upload key and keystore
Once you have generated a keystore.jks, you need to replace the existing keystore here:
Project_HOME > android > houzi_public_keystore.jks
If you have different name, you need to update its reference in this file:
Project_HOME > android > key.properties
The key.properties file refers to path relevant to gradle location. So always consider adding a path with relation to the gradle file.
For uploading apps to AppStore, you need to sign your builds with provisioning profile. A provisioning profile is coupled with a SigningCertificate.
Note: Apple Developer account is required for this step. Make sure to buy one before continuing.
There’re two ways to setup signing for your iOS app, one is doing everything manual, and second is doing automatic signing.
In modern Xcode, when you use automatic signing to let Xcode do everything required to sign the app. Here’re the steps:
Xcode Project > Runner > Signing & Capabilities > TeamFor full instructions, read through here: https://help.apple.com/xcode/mac/current/#/dev60b6fbbc7
The manual signing requires some steps that need to be performed and the process to do so may vary on different MacOS, Xcodes and environment. The essential steps required are listed below:
The manual process is sometimes necessary to enable certain features, so its better to follow online latest guideline to do do this process manually.
Full instructions to manually sign the app can found here: Manually sign an app
--- ## Setup Google social sign in URL: https://houzi-doc.booleanbites.com/tools/setup_google_signin
The keystore that you intend to use to sign the Android app will be used in this step. You might have already created this keystore in previous sections. After generating a signing key, the next step is to add SHA-1 and SHA-256 certificates to the firebase project. You go to the Firebase console > project > project settings > Add fingerprint
Here you add your SHA-1 and SHA-256 certificates, that you generated from your signing key and from the Google play console.
To generate SHA-1 and SHA-256 certificates from the key: https://developers.google.com/android/guides/client-auth#using_keytool_on_the_certificate
To get SHA-1 and SHA-256 certificates from the Google play console: https://developers.google.com/android/guides/client-auth#using_play_app_signing
You might also want to set the project name and email in Firebase > Settings > General > Public settings
To allow users to sign in using Google Sign-In, you must first enable the Google Sign-In provider for your Firebase project:
After adding the certificates, download the google-services.json. Place it at following place:
Project_HOME > android > app > google-services.jsonAlso download the GoogleServices-Info.plist for iOS and place it here:
Project_HOME > ios > Runner > GoogleServices-Info.plistFor iOS you need to provide a URL scheme for Google sign in, open the GoogleService-Info.plist configuration file, and look for the REVERSED_CLIENT_ID key. Copy the value of that key, and paste it into the URL Schemes box on the configuration page
Project_HOME > ios > Runner > Info Tab > URL Types section > Google Login Scheme
On completing above mentioned steps, google sign in is functional.(No additional work is required).
You might need to copy your PlayStore sha1 in your firebase as well to get the google login working.
--- ## Setup Facebook sign in URL: https://houzi-doc.booleanbites.com/tools/setup_facebook_signinFor Facebook sign in, first you need to register as a Facebook developer. Follow this link: https://developers.facebook.com/docs/development/register/
Then you have to create an app. Follow this link: https://developers.facebook.com/docs/development/create-an-app
If you integrate Facebook login in your mobile app, Facebook cross-checks your app’s ownership on your website at following address:
https://domain.com/app-ads.txt
Go to Project_HOME > server_files Open and edit the app-ads.txt file and replace FB_APP_ID_GOES_HERE with your Facebook app id. And then upload to your website root folder.
After creating app you will refer to app dashboard, on the top left your app id is mentioned, copy the app id and go to strings.xml file
Project_HOME > android > app > src > main > res > values > strings.xml and look for facebook_app_id. Replace its value with your own app id.
On facebook dashboard, go to Settings > Advanced and look for client token, copy it and go to strings.xml file and paste it for facebook_client_token.
On facebook dashboard, go to Settings > Basic fill your basic information and at the end of the page click on Add platform. Select android and then Google Play Store. Then go to Project_HOME > android > app > src > main > AndroidManifest.xml copy your package name and paste it in the Package Names field. Then copy the package name and paste in Class Name and write .MainActivity with your package name like this YOURPACKAGENAME.MainActivity
(e.g com.houzi.app.MainActivity).
Then put your hashkey in the Key hashes field. To find info to how to generate you key hash go to
https://developers.facebook.com/docs/facebook-login/android?locale=en_US#6–provide-the-development-and-release-key-hashes-for-your-app
OR to quickly find your hash key, copy your SHA-1 certificate and go to this website http://tomeko.net/online_tools/hex_to_base64.php paste it in the hex string field and you will get your key hashes in the output field.
On facebook dashboard, go to Settings > Basic at the end of the page click on Add platform and fill in the details.
Open Project_HOME > ios > Runner > Info >
FacebookAppID, FacebookClientToken, FacebookDisplayName
Replace these with your own facebook app id, client token and your app name.
Also look for the Facebook Login Scheme in the URL types (CFBundleURLTypes) section and enter your own facebook app id with fb prefixed like this:
fb1122334455667788
Save changes and facebook sign in is complete.
--- ## Setup Phone sign in URL: https://houzi-doc.booleanbites.com/tools/setup_phone_signin
The phone signup feature allows users to register for the mobile app using their phone numbers. Users will receive a verification code via SMS, which they must enter to complete the registration process. We have integrated firebase phone signup feature in the app. Make sure you have done following things before continuing:
Important: Adding a payment method to your Google Cloud Project is necessary for firebase to send an sms. Firebase allows 10 Free SMS per day. But it requires you to have payment method added.
The keystore that you intend to use to sign the Android app will be used in this step. You might have already created this keystore in previous sections. After generating a signing key, the next step is to add SHA-1 and SHA-256 certificates to the firebase project. You go to the Firebase console > project > project settings > Add fingerprint
Here you add your SHA-1 and SHA-256 certificates, that you generated from your signing key and from the Google play console.
To generate SHA-1 and SHA-256 certificates from the key: https://developers.google.com/android/guides/client-auth#using_keytool_on_the_certificate
To get SHA-1 and SHA-256 certificates from the Google play console: https://developers.google.com/android/guides/client-auth#using_play_app_signing
You might also want to set the project name and email in Firebase > Settings > General > Public settings
After adding the certificates, download the google-services.json. Place it at following place:
Project_HOME > android > app > google-services.jsonAlso download the GoogleServices-Info.plist for iOS and place it here:
Project_HOME > ios > Runner > GoogleServices-Info.plistFor iOS you need to provide a URL scheme for Google sign in, open the GoogleService-Info.plist configuration file, and look for the REVERSED_CLIENT_ID key. Copy the value of that key, and paste it into the URL Schemes box on the configuration page
Project_HOME > ios > Runner > Info Tab > URL Types section > Google Login Scheme
Now with Phone Sign In setup, ensure you have followed these steps:
Enable Phone as a Sign-In method in the Firebase console. Go to Firebase console > Authentication > Enable Phone
Goto Firebase > Project Settings > Your Apps > Android app. Make sure to add SHA-1 and SHA-256 fingerprints under SHA certificate fingerprints.
Goto Firebase > App Check > Apps. And Register your app for Play Integrity. Read here about App Check Documentation
Go to Google Cloud, APIs & Services section and enable Google Play Integrity API
After these step you are good to go sign in with Phone
--- ## Setup Apple social sign in URL: https://houzi-doc.booleanbites.com/tools/setup_apple_signinImportant! Please test phone signup on real device.
Note: If your iOS app offers social login with either facebook or Google, Apple login is a must in order to get the iOS app approved from Apple, its required to support Sign in with Apple, you cannot disable it on iPhone app and keep facebook or Google.
Integrate Apple sign in by following: sign_in_with_apple | Flutter Package (pub.dev)
You can skip the Android and Web sections.
If you want to enable Android, then follow the steps in library guide and then go to Project_HOME > packages > houzi_package > lib > common > constants.dart and look for APPLE_SIGN_ON_CLIENT_ID add APPLE_SIGN_ON_REDIRECT_URI. Replace their values with your own Service ID and Redirect Uri.
--- ## Google AdMob integration URL: https://houzi-doc.booleanbites.com/tools/setup_admobThese constants not needed if you just want to enable Apple sign in for iOS only.
To setup ads on Houzi app, you need following things:
Register your app as an AdMob app by completing the following steps:
Once apps for each platform are created, it is time to create a native ad unit. follow this link to create these ads: Create a native ad unit.
When you’ve acquired Native Ad Unit IDs, configure it in the app in the steps below.
After getting your app AdMob App ID go to:
- Android houzi > android > app > src > main > res > values > strings.xml file, and look for google_ads_app_id. Replace its value with your own AdMob App ID.
- iOS Project_HOME > ios > Runner > Info.plist file, and look for GADApplicationIdentifier. Replace its value with your own AdMob App ID.
You need to enable App Tracking Transparency in iOS Project. Follow here: Setup iOS ads tracking
Good to remember: After creating AdMob app, update your
GoogleServices-Info.plistfor iOS andgoogle-services.jsonfor android by downloading fresh copy from firebase.
Open houzi config and go to the section Api & Config. Enter your Android and iOS native ads id here
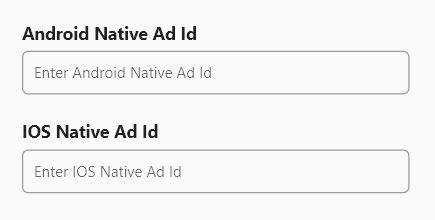
Copy that native ad unit and go to the Project_HOME > assests > configuration > configuration.json file, and look for android_native_ad_id for android and ios_native_ad_id for IOS. Replace its value with your own native ad unit.
Make sure set the value of show_ads: true to turn on the ads
Copy that native ad unit and go to the Project_HOME > packages > houzi_package > lib > common > constants.dart file, and look for ANDROID_NATIVE_AD_ID for android and IOS_NATIVE_AD_ID for IOS. Replace its value with your own native ad unit.
Make sure set the value of SHOW_ADS=true to turn on the ads
AdMob sdk provides a way to validate your ads on screen. We’ve disabled the ad validator by default. However you can enable the ad validator to check if you’ve any issues with your configurations.
Open houzi > android > app > src > main > AndroidManifest.xml file, and look for com.google.android.gms.ads.flag.NATIVE_AD_DEBUGGER_ENABLED. Replace its value android:value="false" to true.
Open file Project_HOME > ios > Runner > Info.plist file, and look for GADNativeAdValidatorEnabled. Replace its next tag <false/> with <true/>
This will enable ad validator for your app.
Good to remember: After AdMob has been integrated, Google may ask you to verify your apps ownership via app-ads.txt. It will ensure your app ad inventory is only sold through channels you’ve identified as authorized.
--- ## Setup iOS ads tracking URL: https://houzi-doc.booleanbites.com/tools/setup_ads_trackingGood to remember: After AdMob has been integrated, it is best to link your apps with your firebase. The Linked services page allows you to turn on user metrics and link your apps to Firebase from a single page in your AdMob account. Readmore about Linked Services.
If you want to show ads, you need to have a key in your Info.plist named NSUserTrackingUsageDescription and its description string like below:
<key>NSUserTrackingUsageDescription</key>
<string>Allows app to show ads more relevant to you.</string>
If you’ve this key in your info.plist you’re required to
Failing to do any of the above item will result in REJECTION by Apple.
From Houzi Configurations, if you set true for showing ads, Houzi will show app tracking permission dialog automatically as shown below:
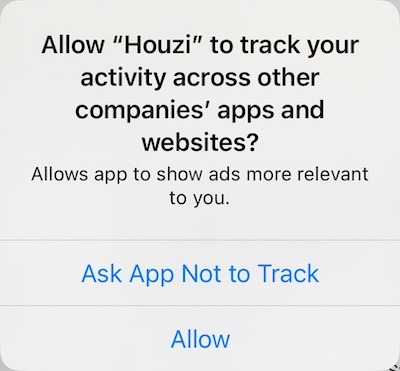
So make sure you’ve setup tracking correctly.
You’ll need to do following things:
"show_ads": true and "show_ios_ads": trueNSUserTrackingUsageDescription and its value in app’s info.plist. (as shown above).REPLACE_WITH_TRACKING_KEY_IF_ADS_NEEDED key that you can replace with NSUserTrackingUsageDescription. You can edit the message if you want otherwise leave it as it is.NOTE: if you have enabled ads in Houzi Config, but don’t have
NSUserTrackingUsageDescriptionkey in your info.plist, app will crash at launch.
You’ll need to do following things:
NSUserTrackingUsageDescription and its value from your app’s info.plist.If your app was rejected before for this reason, remove this key, set next build number and upload new binary resubmit for app review.
Read more about App Tracking Transparency
--- ## Setup Deep Link URL: https://houzi-doc.booleanbites.com/tools/setup_deeplinksDeep links or Universal link is the ability of your application being launch when user taps website URL and you want to open the URL in your application. We have added the ability to open property profile, when a property URL is opened on mobile.
Note: Right now application consider permalinks when it finds patterns as domain.com/property/, so make sure you are using this format in your website settings. Otherwise you can make changes to the URL supported in Android and iOS code.
To setup Deep Link in app, go to Project_HOME > android > app > src > main > res > values > strings.xml file, look for scheme,host and path_prefix. Replace its value with your own scheme (http or https) and domain host.
Make sure flutter_deeplinking_enabled meta tag added in AndroidManifest.xml file:
 <meta-data android:name= "flutter_deeplinking_enabled" android:value="true" />
 <intent-filter android:autoVerify="true">
      <action android:name="android.intent.action.VIEW" />
      <category android:name="android.intent.category.DEFAULT" />
      <category android:name="android.intent.category.BROWSABLE" />
          <data
              android:scheme="@string/scheme"
              android:host="@string/host"
              android:pathPrefix="@string/path_prefix"/>
  </intent-filter>
To setup Deep Link in app for iOS go to Project_HOME > iOS > Runner > Info.plist file, look for key CFBundleURLName, replace it with your host and CFBundleURLSchemes replace it with your scheme. Example below:
<key>CFBundleURLTypes</key>
<array>
    ....
    <dict>
        <key>CFBundleTypeRole</key>
        <string>Editor</string>
        <key>CFBundleURLName</key>
        <string>your_good_domain_here.com</string>
        <key>CFBundleURLSchemes</key>
        <array>
            <string>https</string>
        </array>
    </dict>
    ....
</array>
Make sure FlutterDeepLinkingEnabled added in Info.plist` file:
<key>FlutterDeepLinkingEnabled</key>
  <true/>
Then go to iOS Runner.entitlements in file: PROJECT_HOME/ios/Runner/Runner.entitlements and add following line:
...
<key>com.apple.developer.associated-domains</key>
  <array>
	<string>applinks:domain.com</string>
  </array>
...
Replace domain.com with your domain.
These files are located in your source code Project_HOME > server_files. You need to upload these files to your website root folder / .well-known directory and they must be publicly accessible like below:
https://domain.com/.well-known/apple-app-site-association https://domain.com/.well-known/assetlinks.json
Go to Project_HOME > server_files Open and Edit assetlinks.json file and enter your app package name against package_name key like below:
"package_name": "com.domain.app"
You also need to provide sha256 of your keystore.
There’re two flavour of same app in this files. One is for production sha256 and the other is for development purpose.
Go to Project_HOME > server_files Open and edit the apple-app-site-association file and enter your apple developer team id and app identifier against appID key like below:
"appID": "TEAM_ID_XX.com.domain.app"
That’s pretty much it, now your application should open the URL.
--- ## Migration Guide URL: https://houzi-doc.booleanbites.com/tools/upgrading_future_versionNote: You might need to restart the device or wait for few hours in case it is not working.
Always make a backup before updating to the next version.
1.4.8 introduces Houzi AI (AI-powered search, AI-first home, and ask-the-listing), upgrades all Android and iOS dependencies to their latest versions, and migrates the iOS project from CocoaPods to Swift Package Manager (SPM).
Once you’re done migrating, follow the AI Features setup guide to see what the new AI features look like and enable them on the Houzi Rest Api plugin.
We always assume, you haven’t made changes to files in houzi_package. If you made changes in your houzi_package then you’ll need to move over those manually (again).
Important — iOS is different this time. This release moves iOS from CocoaPods to Swift Package Manager. Hand-migrating an existing
iosfolder (removing the Podfile, de-integrating CocoaPods, and re-wiring OneSignal and Google Maps through SPM) is highly technical and error-prone, so we do not ask you to migrate it. Instead, replace youriosfolder with the one we provide in 1.4.8 and reconfigure it with your own app details (see the iOS section below). This also raises the minimum iOS version to 15.
Let’s assume you simply want to update your houzi_package, updating to 1.4.8 requires the following:
Project_HOME > packages > houzi_package from 1.4.8 and replace houzi_package in your existing project. This brings Houzi AI, the upgraded dependencies, and all related code changes (no app-level hook changes are required this release).Project_HOME/pubspec.yaml and add the SPM-compatible Google Maps iOS implementation under dependencies:
google_maps_flutter_ios_sdk9: 2.18.6
This must live in your app-level
pubspec.yaml(not in houzi_package). Flutter only honors an alternative plugin implementation when it is a direct app dependency; placed in houzi_package it is ignored and iOS silently falls back to the CocoaPods Google Maps. It requires a minimum iOS deployment target of 15.
ai_* localization keys added in 1.4.8. These live in your app-level Project_HOME/assets/localization/*.json files, so they do not come with houzi_package — if you skip this step, the AI screens will display raw keys (e.g. ai_search) instead of text.
Project_HOME/assets/localization/*.json files from 1.4.8 and replace yours.ai_* keys from each 1.4.8 file into your existing *.json files so your customizations are preserved.en, ar, am, es, fa, fr, ku, pt, ro, ru, tr, ur.Project_HOME > .agents > skills > houzi directory and the AI assistant config files (Project_HOME > CLAUDE.md, Project_HOME > .cursorrules, Project_HOME > .github > copilot-instructions.md, and Project_HOME > AGENTS.md) from 1.4.8 to your own project root. This is only needed if you want to leverage the built-in AI Agent Skill in AI coding assistants (such as Antigravity, Cursor, Claude Code, or GitHub Copilot); you can skip it entirely otherwise. The skill was updated in 1.4.8 for the new AI features.Project_HOME/android/settings.gradle, update the Android Gradle Plugin version:
id "com.android.application" version '8.13.2' apply falseProject_HOME/android/gradle.properties, add the following lines:
org.gradle.caching=true
# This builtInKotlin flag was added automatically by Flutter migrator
android.builtInKotlin=false
# This newDsl flag was added automatically by Flutter migrator
android.newDsl=false
Project_HOME/android/app/src/main/AndroidManifest.xml, add the microphone permission (required for AI voice search):
<uses-permission android:name="android.permission.RECORD_AUDIO" />
and, inside the existing <queries> block, add the speech recognizer intent (required on Android 11+):
<intent>
    <action android:name="android.speech.RecognitionService" />
</intent>
google_mobile_ads API. Open both Project_HOME/android/app/src/main/kotlin/<your app package>/HomeNativeAdFactory.kt and ListTileNativeAdFactory.kt, and in each file:
import io.flutter.plugins.googlemobileads.GoogleMobileAdsPluginimport io.flutter.plugins.googlemobileads.NativeAdFactory... : GoogleMobileAdsPlugin.NativeAdFactory {... : NativeAdFactory {(MainActivity.kt needs no change; its registerNativeAdFactory(...) calls resolve once the factories implement the new interface.)
Because iOS moved to Swift Package Manager, replace your ios folder instead of migrating it:
Project_HOME/ios folder from 1.4.8 and replace the ios folder in your existing project.ios/Runner/GoogleService-Info.plist with your own.ios/Runner/AppDelegate.swift, set your key in GMSServices.provideAPIKey("your-maps-api-key").ios/Runner/AppDelegate.swift, set ONE_SIGNAL_APP_ID.GADApplicationIdentifier in ios/Runner/Info.plist.ios/Runner/Info.plist and follow each provider’s guide:
ios folder already includes the full SPM setup, the OneSignal Notification Service Extension wired through SPM (linked as OneSignalExtension, Do Not Embed), and the microphone/speech-recognition usage descriptions. There is no Podfile — do not run pod install.pubspec.lock (there is no ios/Podfile.lock anymore once you use the provided ios folder).flutter pub get.On the wordpress admin panel:
We always assume, you haven’t made changes to files in houzi_package. If you made changes in your houzi_package then you’ll need to move over those manually (again).
If you are upgrading from an older version than 1.4.7.1, you must follow the previous migration guides below.
Let’s assume you simply want to update your houzi_package, updating to 1.4.7.2 requires following things:
Project_HOME > packages > houzi_package from 1.4.7.2 and replace houzi_package in your existing project.Project_HOME > lib > hooks_v2.dart and configure getValuedFeatureDesignHook() to return 'v2' if you want to switch from the horizontal scroll layout to the new 3-column grid design for bedrooms, bathrooms, etc. on the property details page. Note that when configuring or adding a new hook in lib/hooks_v2.dart, you must also register it in lib/main.dart inside the hooksMap by adding:
hooksMap["valuedFeatureDesignHook"] = v2Hooks.getValuedFeatureDesignHook();
Project_HOME > .agents > skills > houzi directory and all AI skill-related configuration files (Project_HOME > claude.md, Project_HOME > .cursorrules, Project_HOME > .github > copilot-instructions.md and Project_HOME > AGENTS.md) from 1.4.7.2 to your own project root if you want to leverage the built-in AI Agent Skill in AI coding assistants (such as Antigravity, Cursor, Claude Code, or GitHub Copilot).On the wordpress admin panel:
We always assume, you haven’t made changes to files in houzi_package. If you made changes in your houzi_package then you’ll need to move over those manually (again).
If you are upgrading from an older version than 1.4.7, you must follow Migration Guide 1.4.5 to update your project for Android 15+ (API 36) and 16KB page size support.
Let’s assume you simply want to update your houzi_package, updating to 1.4.7.1 requires following things:
Project_HOME/android/app/src/main/AndroidManifest.xml and remove the permission android.permission.READ_EXTERNAL_STORAGE.Project_HOME > packages > houzi_package from 1.4.7.1 and replace houzi_package in your existing project.Project_HOME/ios/Runner/AppDelegate.swift and find
let controller = window.rootViewController as! FlutterViewController
replace with
let controller = window?.rootViewController as! FlutterViewController //Notice the ? after windowpod install --repo-update from terminal to referesh the local pod repo. Important: Run this only after you have run the flutter pub get in your project root via terminal or from UI.On the wordpress admin panel:
We always assume, you haven’t made changes to files in houzi_package. If you made changes in your houzi_package then you’ll need to move over those manually (again).
If you are upgrading from an older version than 1.4.7, you must follow Migration Guide 1.4.5 to update your project for Android 15+ (API 36) and 16KB page size support.
Let’s assume you simply want to update your houzi_package, updating to 1.4.7 requires following things:
Project_HOME > packages > houzi_package from 1.4.7 and replace houzi_package in your existing project.Project_HOME/android/app/src/main/res/drawable/download_icon.xml to your project in the same location.Project_HOME/assets/icon/compass_icon.png to your project in the same location.Project_HOME/ios/Runner/AppDelegate.swift and find
let controller = window.rootViewController as! FlutterViewController
replace with
let controller = window?.rootViewController as! FlutterViewController //Notice the ? after windowProject_HOME > lib > hooks_v2.dart and copy and paste the following hooks code from following link:
hooksMap in Project_HOME/lib/main.dart by adding:
hooksMap["customSearchWebParamsHook"] = v2Hooks.getCustomSearchWebParamsHook();
hooksMap["houziMapProviderHook"] = v2Hooks.getHouziMapProviderHook();
hooksMap["osmGeoAdminEmailHook"] = v2Hooks.getOsmGeoAdminEmailHook();
hooksMap["mapViewInitialLocationHook"] = v2Hooks.getMapViewInitialLocationHook();
hooksMap["mapBoxApiKeyHook"] = v2Hooks.getMapBoxApiKeyHook();
Project_HOME/android/settings.gradle, update to these latest:
id "com.android.application" version '8.11.1' apply falseid "org.jetbrains.kotlin.android" version '2.2.20' apply falseid "com.google.gms.google-services" version "4.4.2" apply falseProject_HOME/android/gradle/wrapper/gradle-wrapper.properties, update your current to this:
distributionUrl=https\://services.gradle.org/distributions/gradle-8.14-all.zipProject_HOME/android/app/build.gradle, update the following dependencies:
dependencies {
    coreLibraryDesugaring 'com.android.tools:desugar_jdk_libs:2.1.5'

    implementation 'com.google.firebase:firebase-analytics:22.5.0'
    implementation 'com.google.android.gms:play-services-ads:24.1.0'

    // We commented this out because we are using minSdk 26 (Android 8) which is above 21,
    // so Android handles multidex automatically. Also this is old support library which
    // is no longer maintained by Google and conflicts with AndroidX.
    // If you ever need multidex library, use androidx.multidex:multidex:2.0.1 instead.
    // implementation 'com.android.support:multidex:1.0.3'

    implementation 'androidx.cardview:cardview:1.0.0'
    implementation 'androidx.appcompat:appcompat:1.7.0'
    implementation 'com.google.android.play:integrity:1.4.0'
    implementation 'androidx.browser:browser:1.8.0'
    implementation 'androidx.activity:activity:1.10.1'
    implementation 'com.onesignal:OneSignal:5.1.26'
}
Project_HOME/android/gradle.properties, remove android.enableR8=true, because it is deprecated now.pod install --repo-update from terminal to referesh the local pod repo. Important: Run this only after you have run the flutter pub get in your project root via terminal or from UI.Once downloaded, use the builder to export the updated configuration.
Alternatively, you can manually update your configuration.json with the following:
"home_layout_config": {
     "section_type": "app_bar",
     "layout_tabs": [
          {
               "term": "all",
               "sub_term": "all"
          },
          {
               "term": "property_status",
               "sub_term": "For Rent",
               "title": "For Rent",
               "icon_data": "{\"name\":\"adb_outlined\",\"fontFamily\":\"MaterialIcons\",\"codePoint\":60984}",
               "search_route_map": {
                    "property_type": [
                         "For Rent"
                    ],
                    "property_type_slug": [
                         "For Rent"
                    ]
               }
          },
          {
               "term": "property_status",
               "sub_term": "For Sale",
               "title": "For Sale",
               "icon_data": "{\"name\":\"adb_outlined\",\"fontFamily\":\"MaterialIcons\",\"codePoint\":60984}",
               "search_route_map": {
                    "property_type": [
                         "For Sale"
                    ],
                    "property_type_slug": [
                         "For Sale"
                    ]
               }
          }
     ]
},
"show_floating_map_widget": false,
On the wordpress admin panel:
We always assume, you haven’t made changes to files in houzi_package. If you made changes in your houzi_package then you’ll need to move over those manually (again).
If you are upgrading from an older version than 1.4.5, you must follow Migration Guide 1.4.5 to update your project for Android 15+ (API 36) and 16KB page size support.
Let’s assume you simply want to update your houzi_package, updating to 1.4.6 requires following things:
Project_HOME > packages > houzi_package from 1.4.6 and replace houzi_package in your existing project.Project_HOME/android/app/src/main/res/drawable/download_icon.xml to your project in the same location.Project_HOME/ios/Runner/AppDelegate.swift and find
let controller = window.rootViewController as! FlutterViewController
replace with
let controller = window?.rootViewController as! FlutterViewController //Notice the ? after windowpod install --repo-update from terminal to referesh the local pod repo. Important: Run this only after you have run the flutter pub get in your project root via terminal or from UI.On the wordpress admin panel:
We always assume, you haven’t made changes to files in houzi_package. If you made changes in your houzi_package then you’ll need to move over those manually (again).
Let’s assume you simply want to update your houzi_package, updating to 1.4.5 requires following things:
Project_HOME > packages > houzi_package from 1.4.5 and replace houzi_package in your existing project.Open Android Studio → SDK Manager, install Android SDK 36 (Android 15+), install latest Build Tools, and update NDK to version 29.0.13846066 or newer.
Project_HOME/android/settings.gradle, update AGP version:
id "com.android.application" version '8.7.3' apply falseProject_HOME/android/gradle/wrapper/gradle-wrapper.properties, update:
distributionUrl=https\://services.gradle.org/distributions/gradle-8.12-all.zipProject_HOME/android/app/build.gradle, update:
compileSdkVersion 36minSdkVersion 24targetSdkVersion 36Project_HOME/ios/Podfile, update:
platform :ios, '15.0 at line number 2.Project_HOME/ios/Runner/HomeNativeAdViewFactory.swift, find and replace:
GADNativeAdView and replace with NativeAdView.GADNativeAd and replace with NativeAd.Project_HOME/ios/Runner/ListTileNativeAdViewFactory.swift, find and replace:
GADNativeAdView and replace with NativeAdView.GADNativeAd and replace with NativeAd.pod install --repo-update from terminal to referesh the local pod repo. Important: Run this only after you have run the flutter pub get in your project root via terminal or from UI.On the wordpress admin panel:
We always assume, you haven’t made changes to files in houzi_package. If you made changes in your houzi_package then you’ll need to move over those manually (again).
Let’s assume you simply want to update your houzi_package, updating to 1.4.0.1 requires following things:
Project_HOME > packages > houzi_package from 1.4.0.1 and replace houzi_package in your existing project.id "org.jetbrains.kotlin.android" version "2.1.21" apply false // Required for Flutter 3.32.x compatibilityProject_HOME/lib/hooks_v2.dart and Project_HOME/lib/main.dart and replace both in your existing project. Then configure your hooks again. (Mandatory if you are updating.)pod install --repo-update from terminal to referesh the local pod repo. Important: Run this only after you have run the flutter pub get in your project root via terminal or from UI.On the wordpress admin panel:
We always assume, you haven’t made changes to files in houzi_package. If you made changes in your houzi_package then you’ll need to move over those manually (again).
Let’s assume you simply want to update your houzi_package, updating to 1.4.4 requires following things:
Project_HOME > packages > houzi_package from 1.4.4 and replace houzi_package in your existing project.id "org.jetbrains.kotlin.android" version "2.1.21" apply false // Required for Flutter 3.32.x compatibilityProject_HOME/lib/hooks_v2.dart and Project_HOME/lib/main.dart and replace both in your existing project. Then configure your hooks again. (Mandatory if you are updating.)pod install --repo-update from terminal to referesh the local pod repo. Important: Run this only after you have run the flutter pub get in your project root via terminal or from UI.On the wordpress admin panel:
Important Notice: If you are updating from version lower than 1.4.0, we recommend you to first perform the migration for 1.4.0, then do essentials listed in 1.4.2 migration and then perform migration to 1.4.3. Upgrading from 1.4.2 should be easy as below.
We always assume, you haven’t made changes to files in houzi_package. If you made changes in your houzi_package then you’ll need to move over those manually (again).
Let’s assume you simply want to update your houzi_package, updating to 1.4.3.4 requires following things:
Project_HOME > packages > houzi_package from 1.4.3.4 and replace houzi_package in your existing project.compileSdkVersion 35 and targetSdkVersion 35. It will require you to download android 35 sdk.Project_HOME > lib > hooks_v2.dart and fix follow imports. [Not required if old version is 1.4.3 or above]
import 'package:houzi_package/models/map_marker_data.dart';import 'package:houzi_package/models/search/map_marker_data.dart';import 'package:houzi_package/models/drawer_menu_item.dart';import 'package:houzi_package/models/drawer/drawer_menu_item.dart';import 'package:intl/intl.dart';Project_HOME/android/app/src/main/kotlin/com/houzi/app/ApplicationClass.kt and change its parent class from FlutterApplication to Application. Check ApplicationClass.kt from 1.4.3.4 for reference. (Note: Your package directory and hirarchy may vary).android/app/build.gradle and find the implementation 'com.onesignal:OneSignal:5.1.20' and change it to implementation 'com.onesignal:OneSignal:5.1.26' So it uses latest OneSignal library.pod install --repo-update from terminal to referesh the local pod repo. Important: Run this only after you have run the flutter pub get in your project root via terminal or from UI.On the wordpress admin panel:
When building the REST API for the app, we added all the api routes to a postman collection to share between the teams. So this became a useful collection to list all the required api and their path that we use in the app. It is pretty helpful when debugging the app behaviors and finding bugs.
The Houzi Rest API plugin contains a postman collection, that can be imported to postman to test different apis You can download here: Postman Collection
Install and activate. A normal flow would be login first, get the auth token and use this auth token for everything that requires authentication. API uses bearer token auth approach.
--- ## In App Purchase URL: https://houzi-doc.booleanbites.com/tools/in_app_purchaseThis guide will walk you through the necessary steps to configure In-App Purchase in Google Play and Apple Store for Android and iOS devices, respectively. By following these instructions, you’ll be able to offer various membership procedures to your users. Houzez offers three membership procedure i.e Free (Pay for featured), Pay Per Listing, and Membership options. You can choose one at a time.
Let’s dive into the details of each section.
To begin setting up in-app purchases and membership procedures in your Houzi app, first go to your admin panel on your website. Navigate to Theme Options > Membership then follow the steps below:
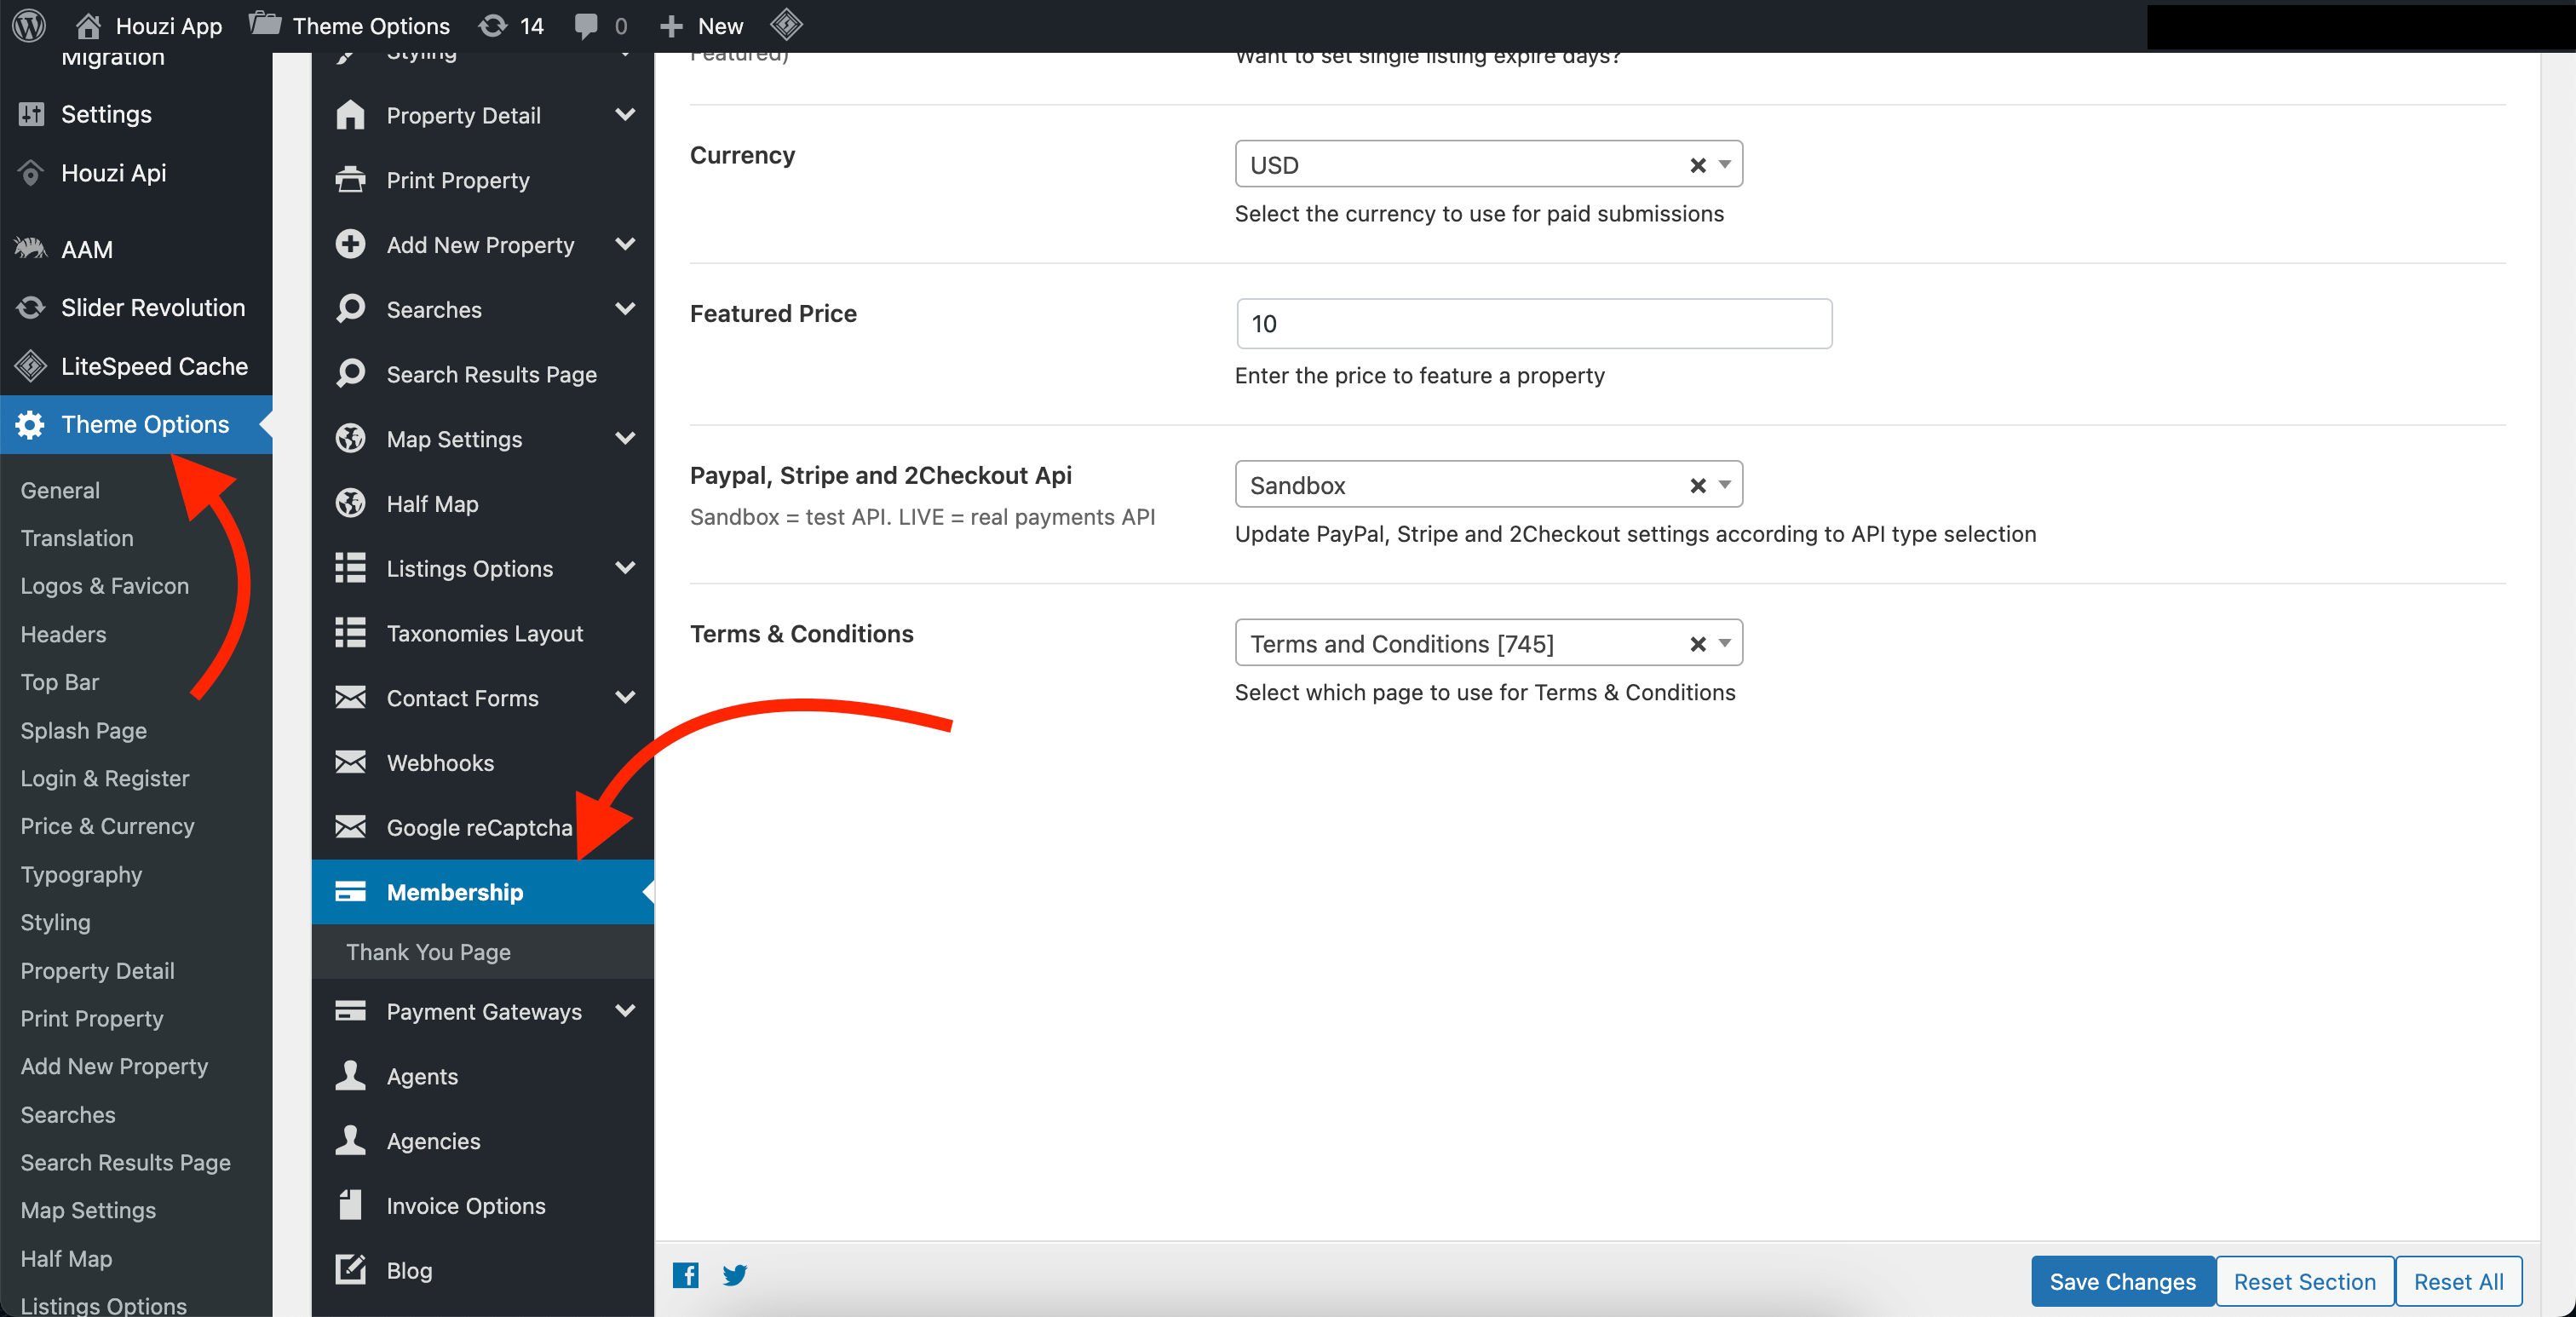
Free (Pay for featured)
In this procedure, your app is free to list properties, but users are charged if they want to upgrade their properties to featured. To enable this option:
Theme Options > Membership.
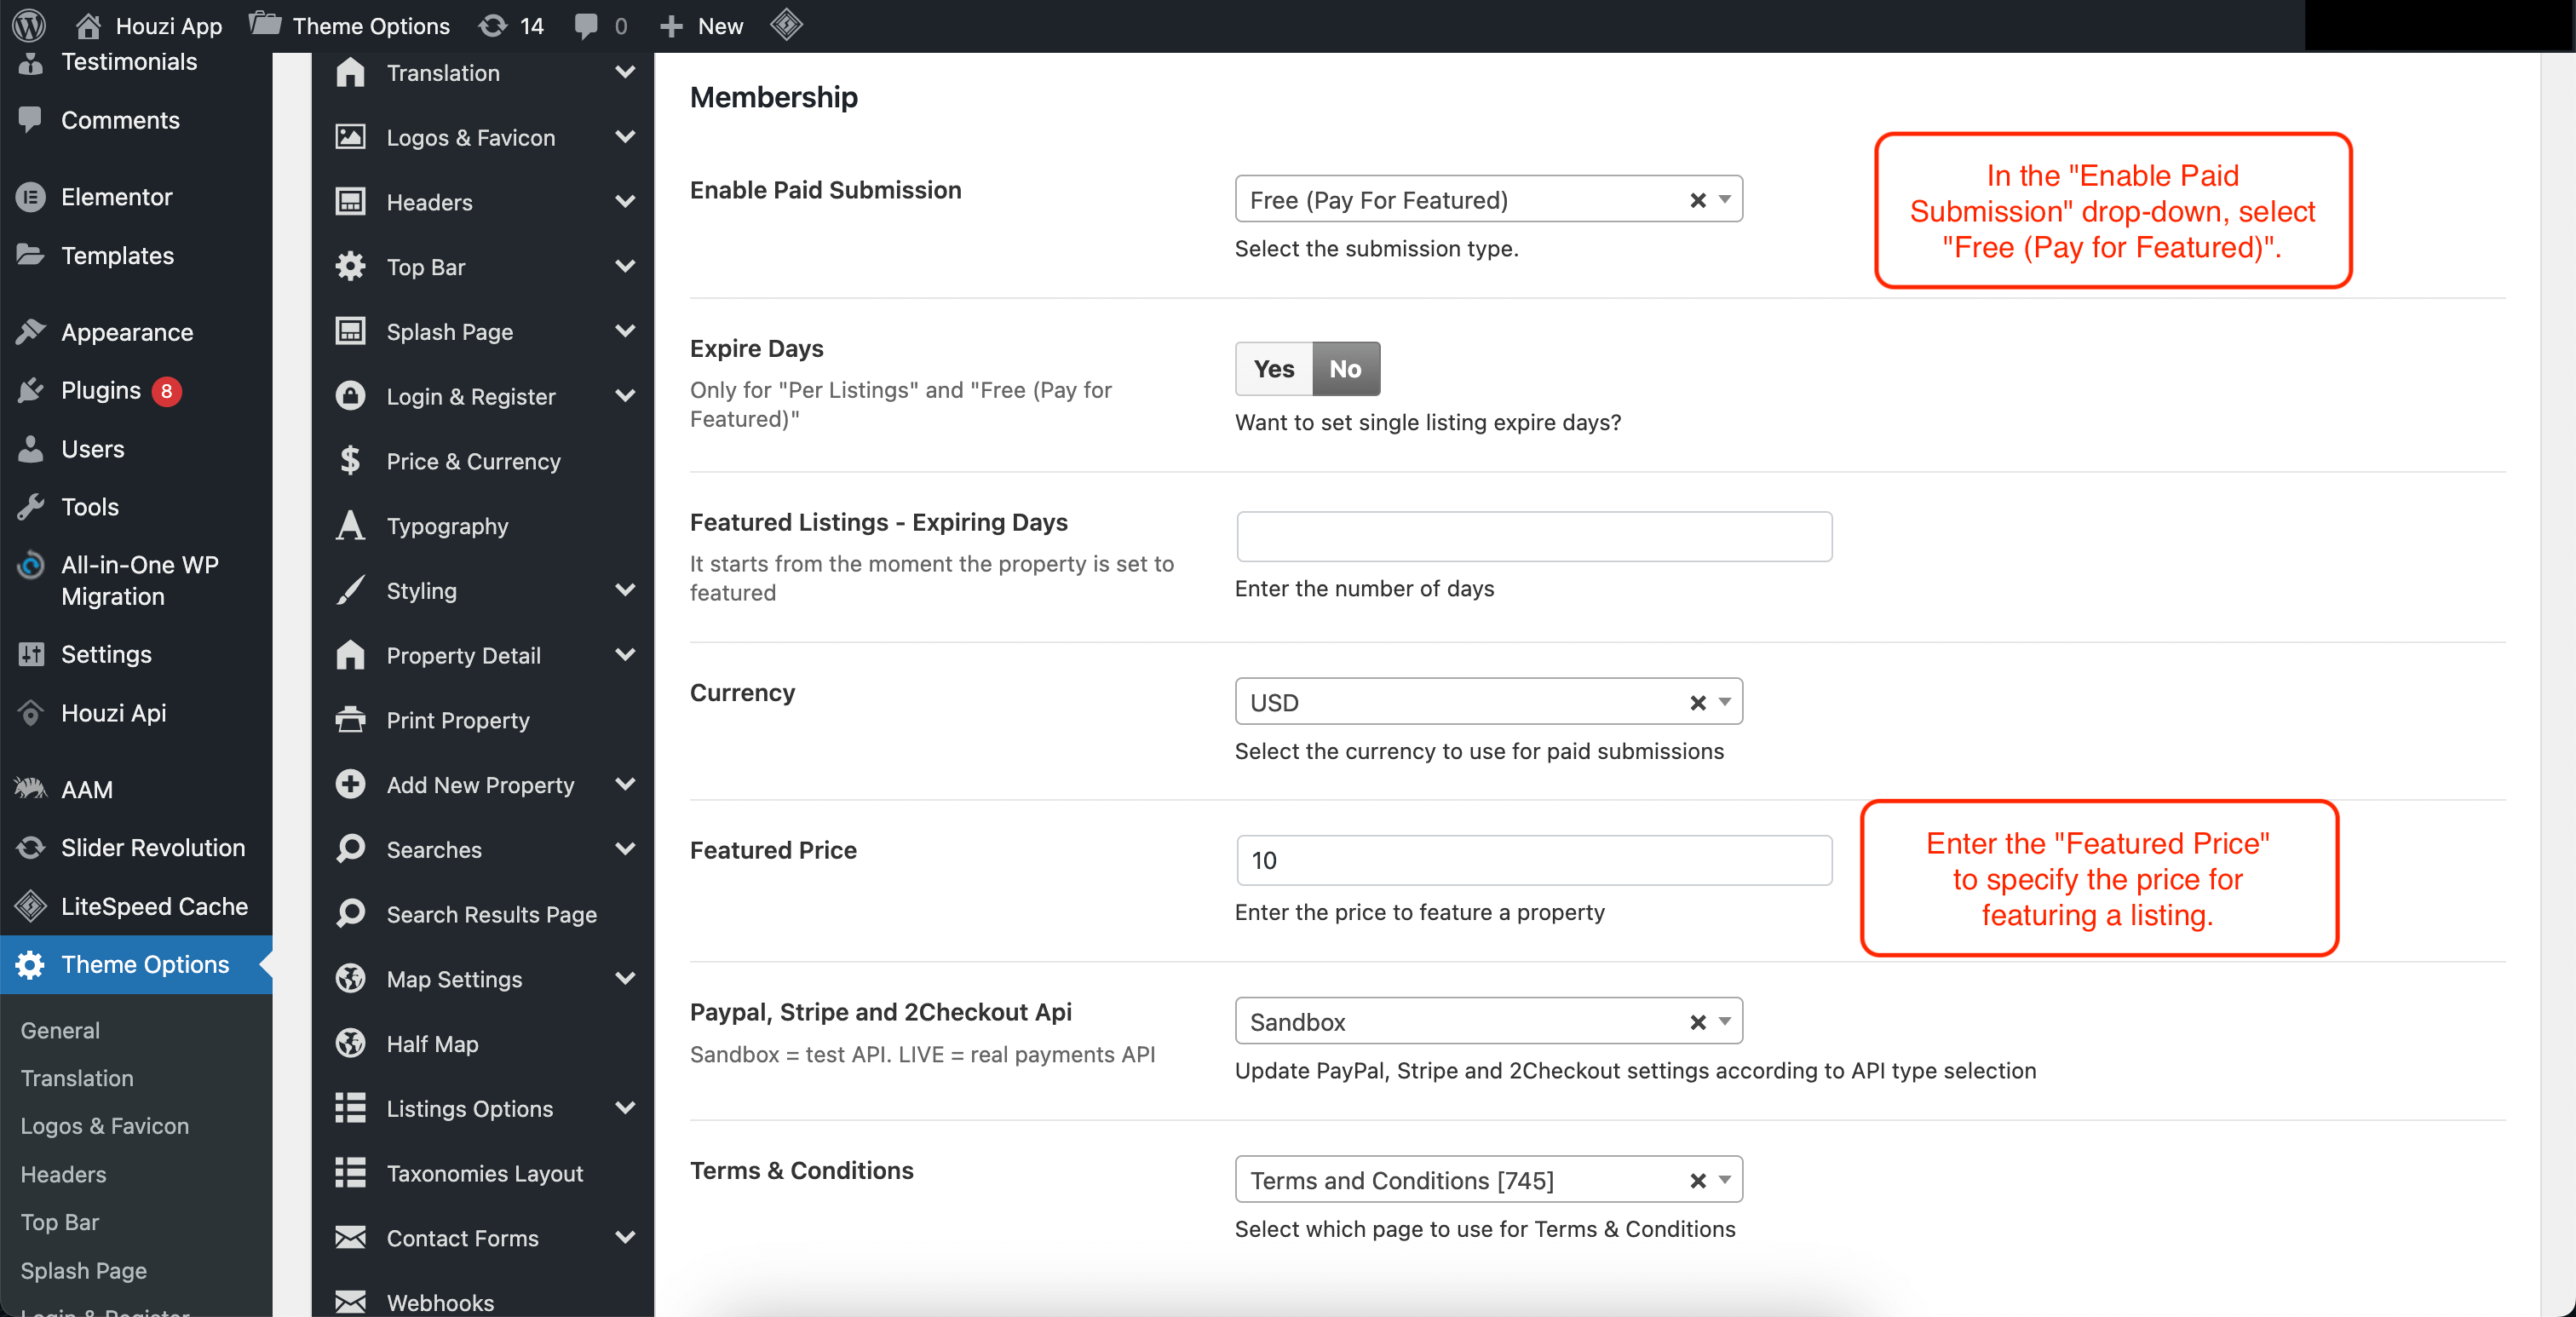
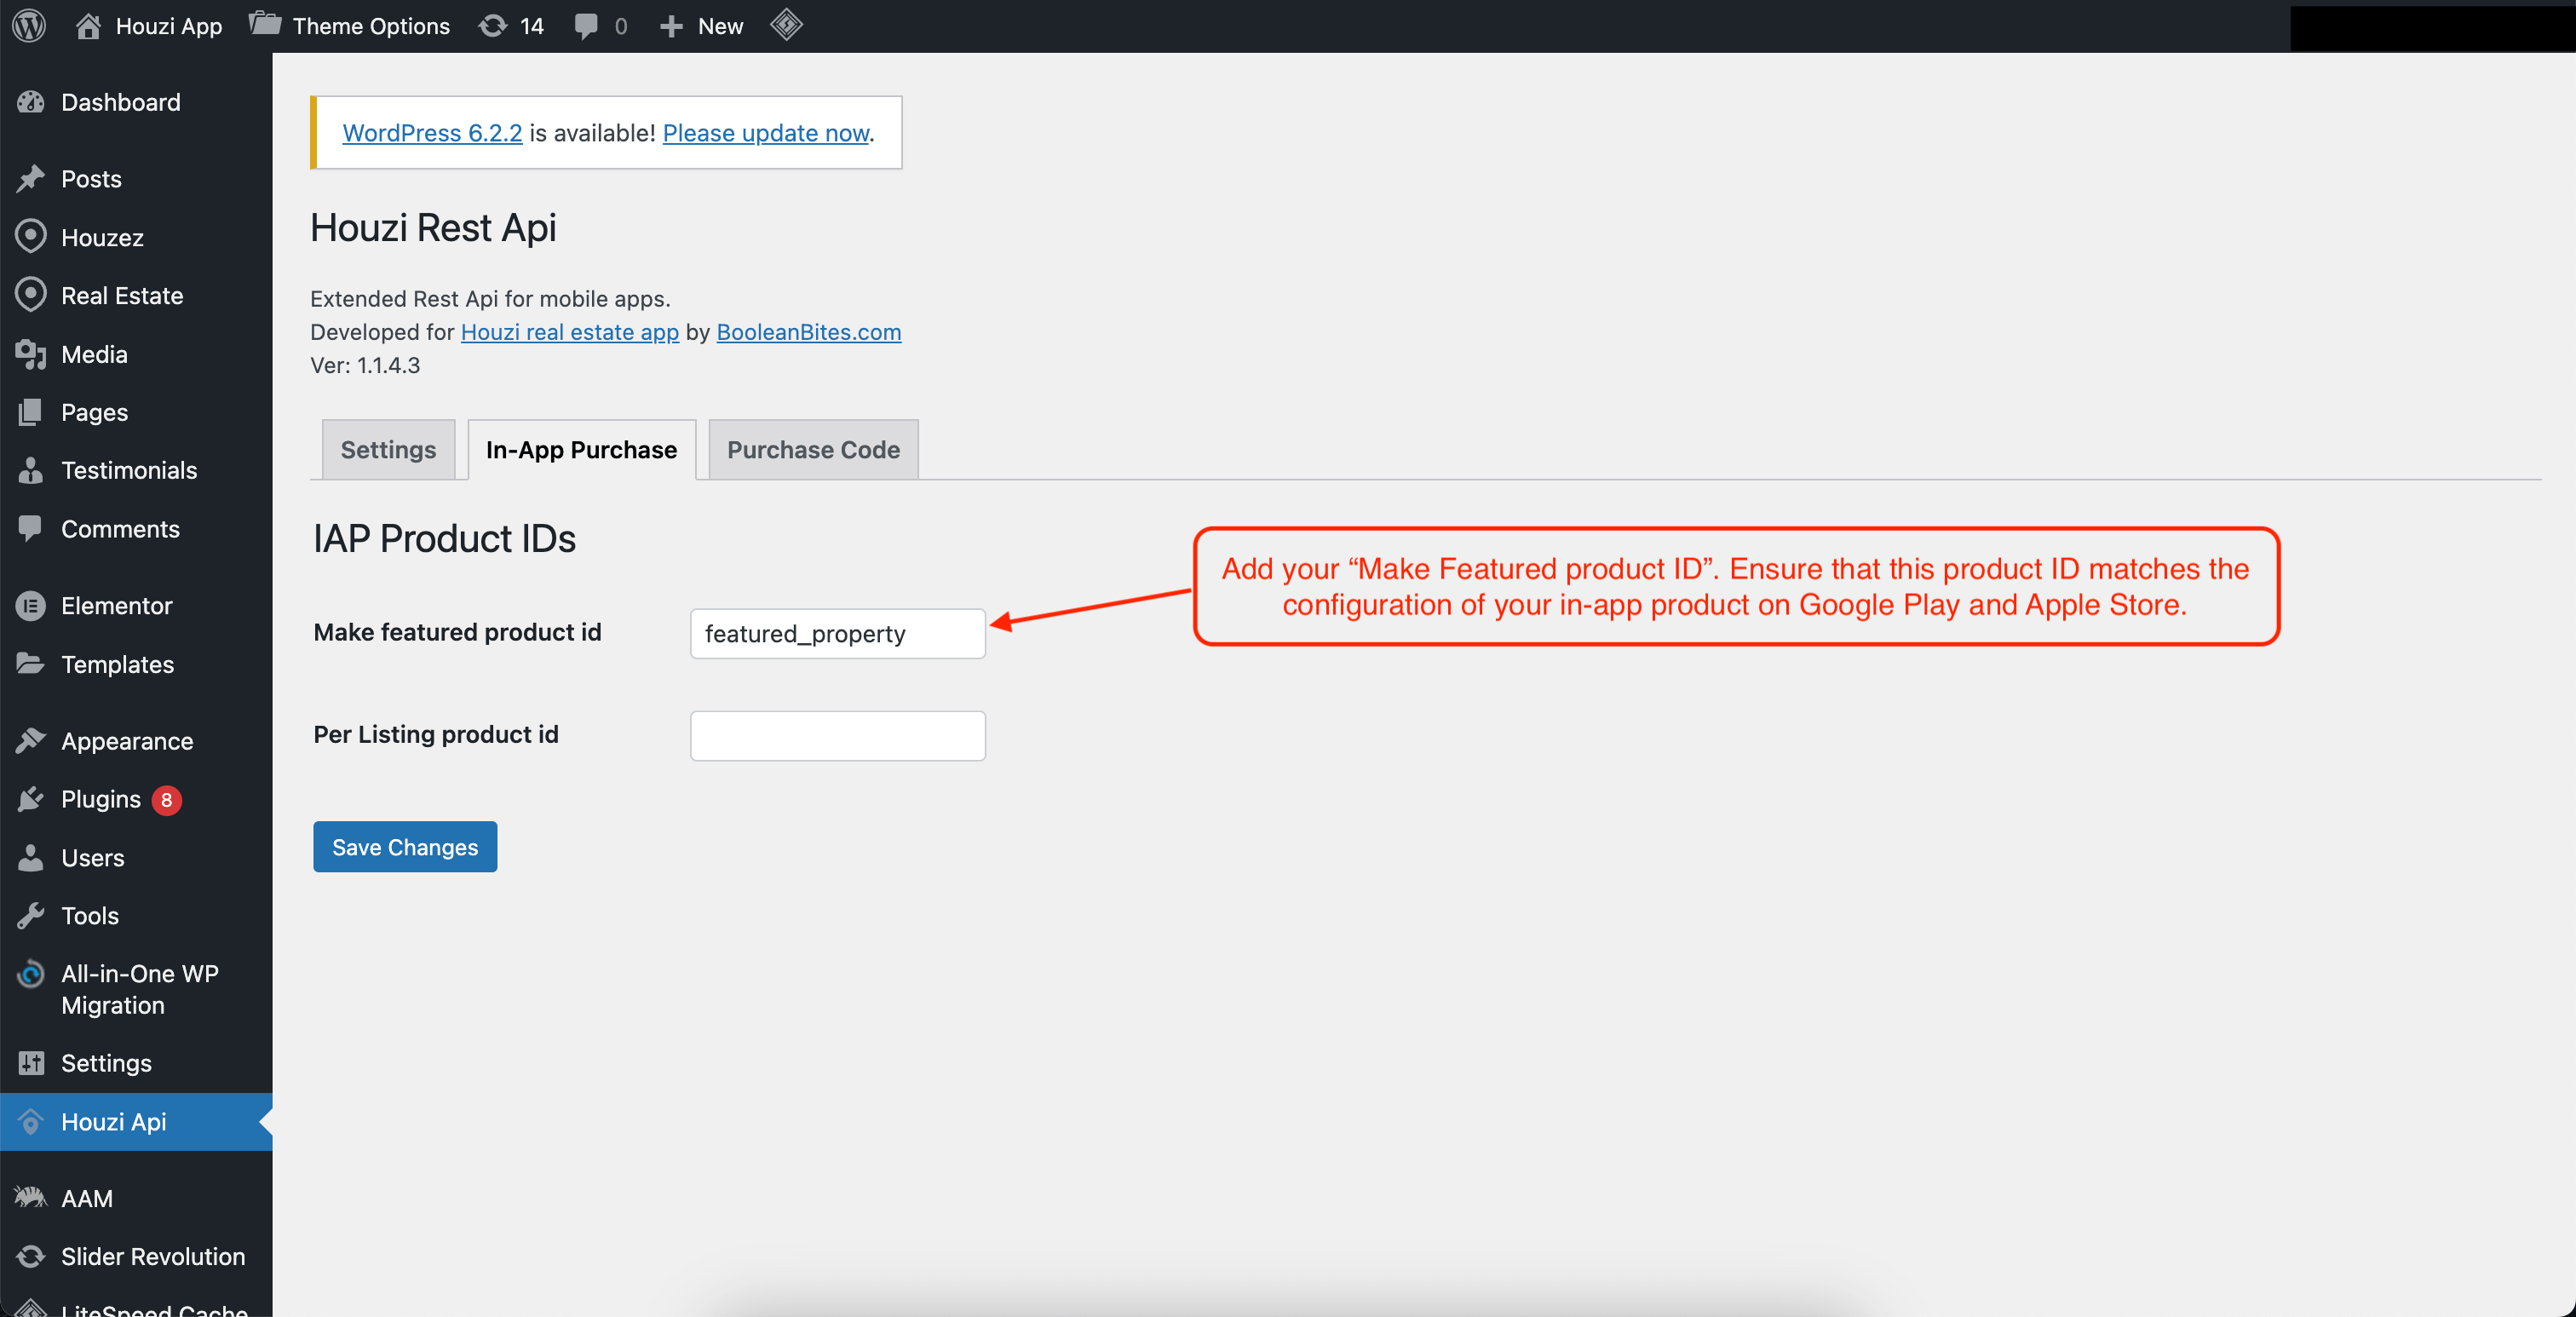
Additionally, within the Houzi API plugin, in the in-app purchase tab, add your “Make Featured product ID”. Ensure that this product ID matches the configuration of your in-app product on Google Play and Apple Store.
Pay Per Listing
In this procedure, users are charged for each property they publish. To set up this option:
Theme Options > Membership.
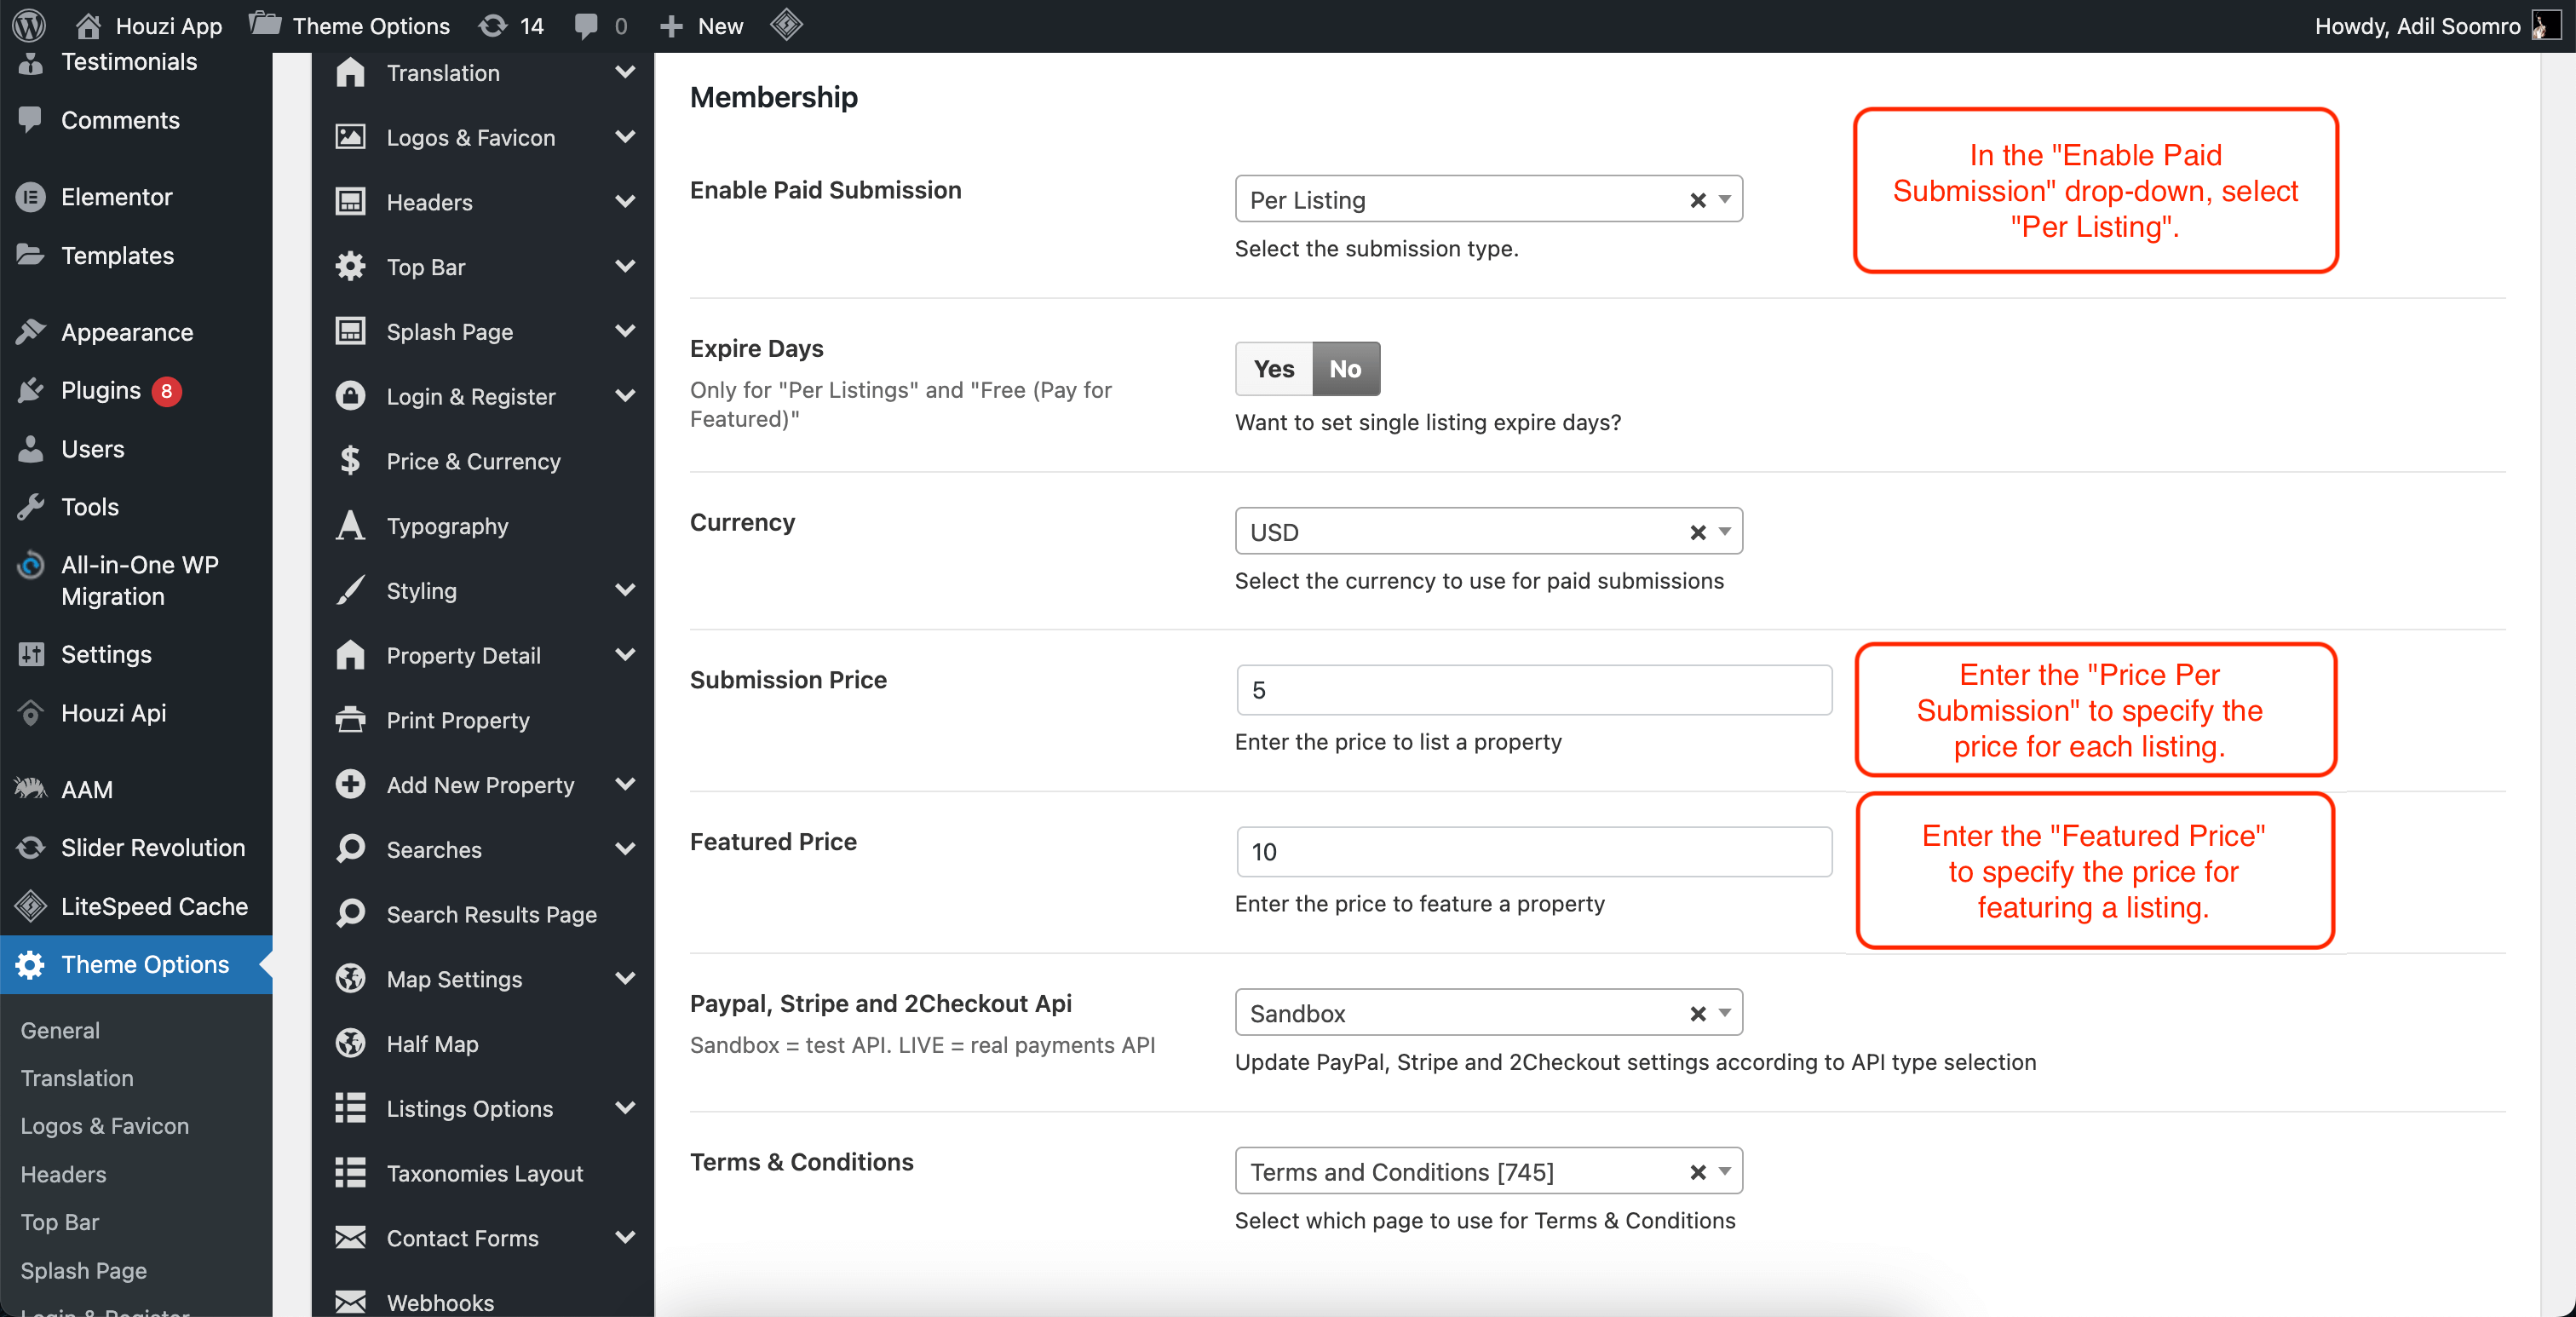
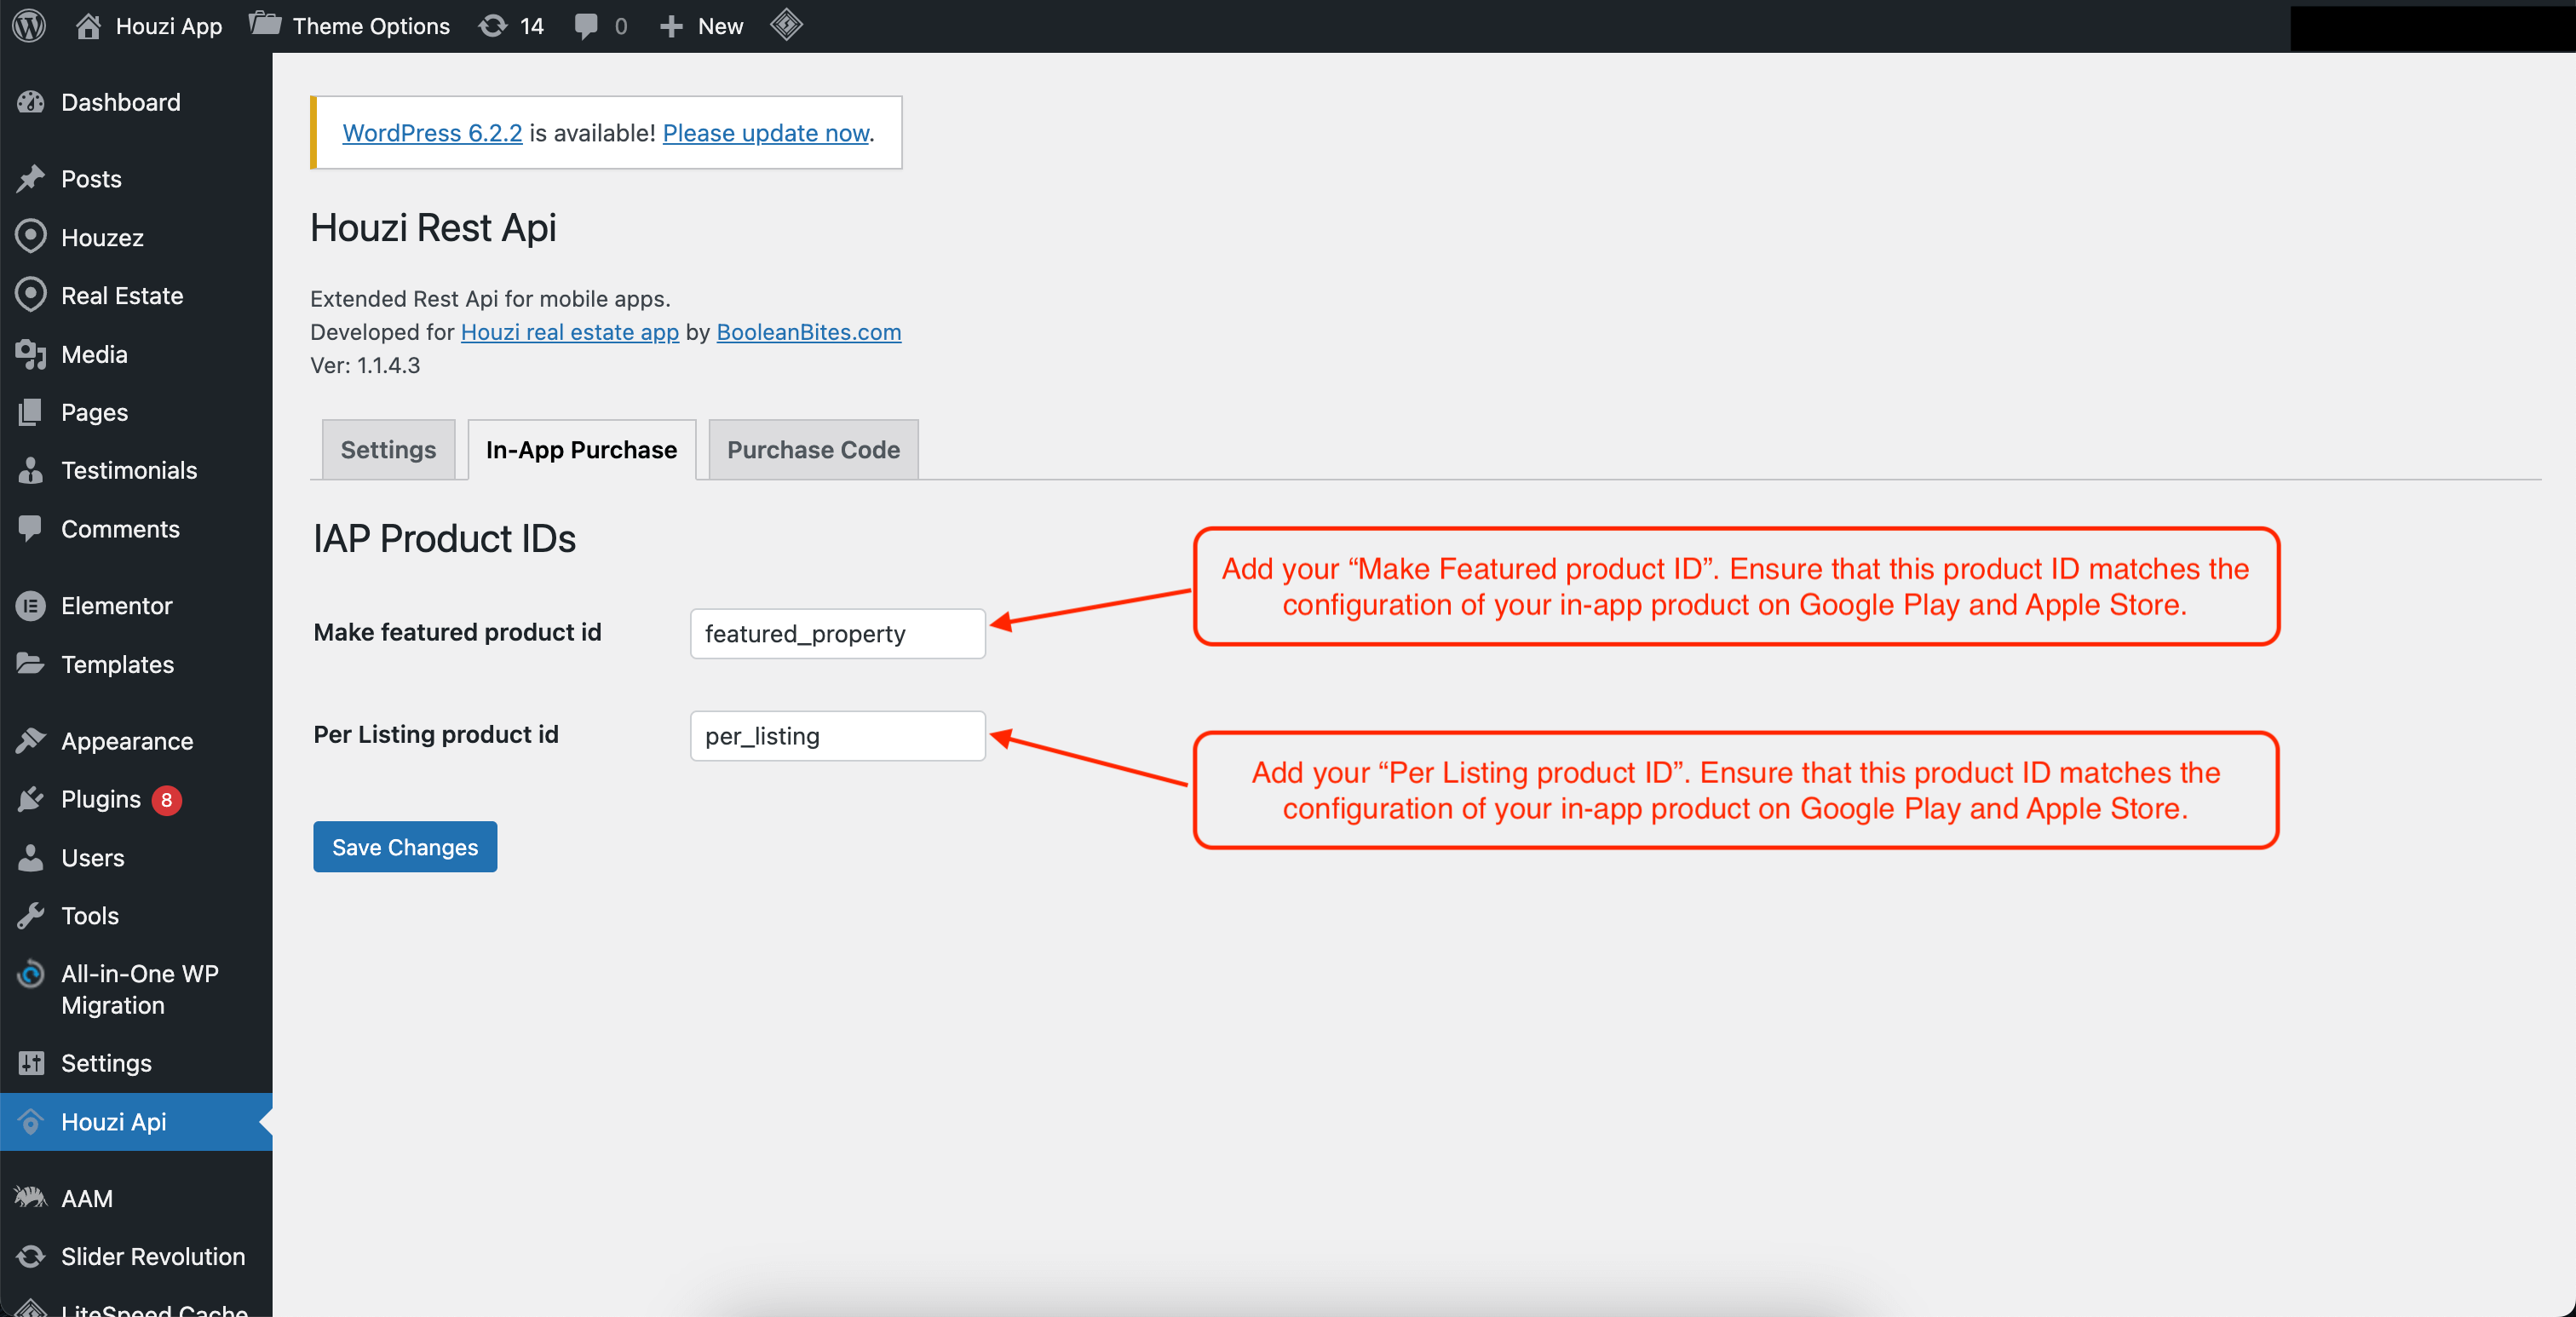
Within the Houzi API plugin, in the in-app purchase tab, add your “Make Featured” and “Per Listing” product IDs. Ensure that these product IDs match the configuration of your in-app products on Google Play and Apple Store.
Membership
In this procedure, you can create membership packages that users can purchase. To configure this option:
Theme Options > Membership.Enter the “Featured Price” to specify the price for featuring a property.
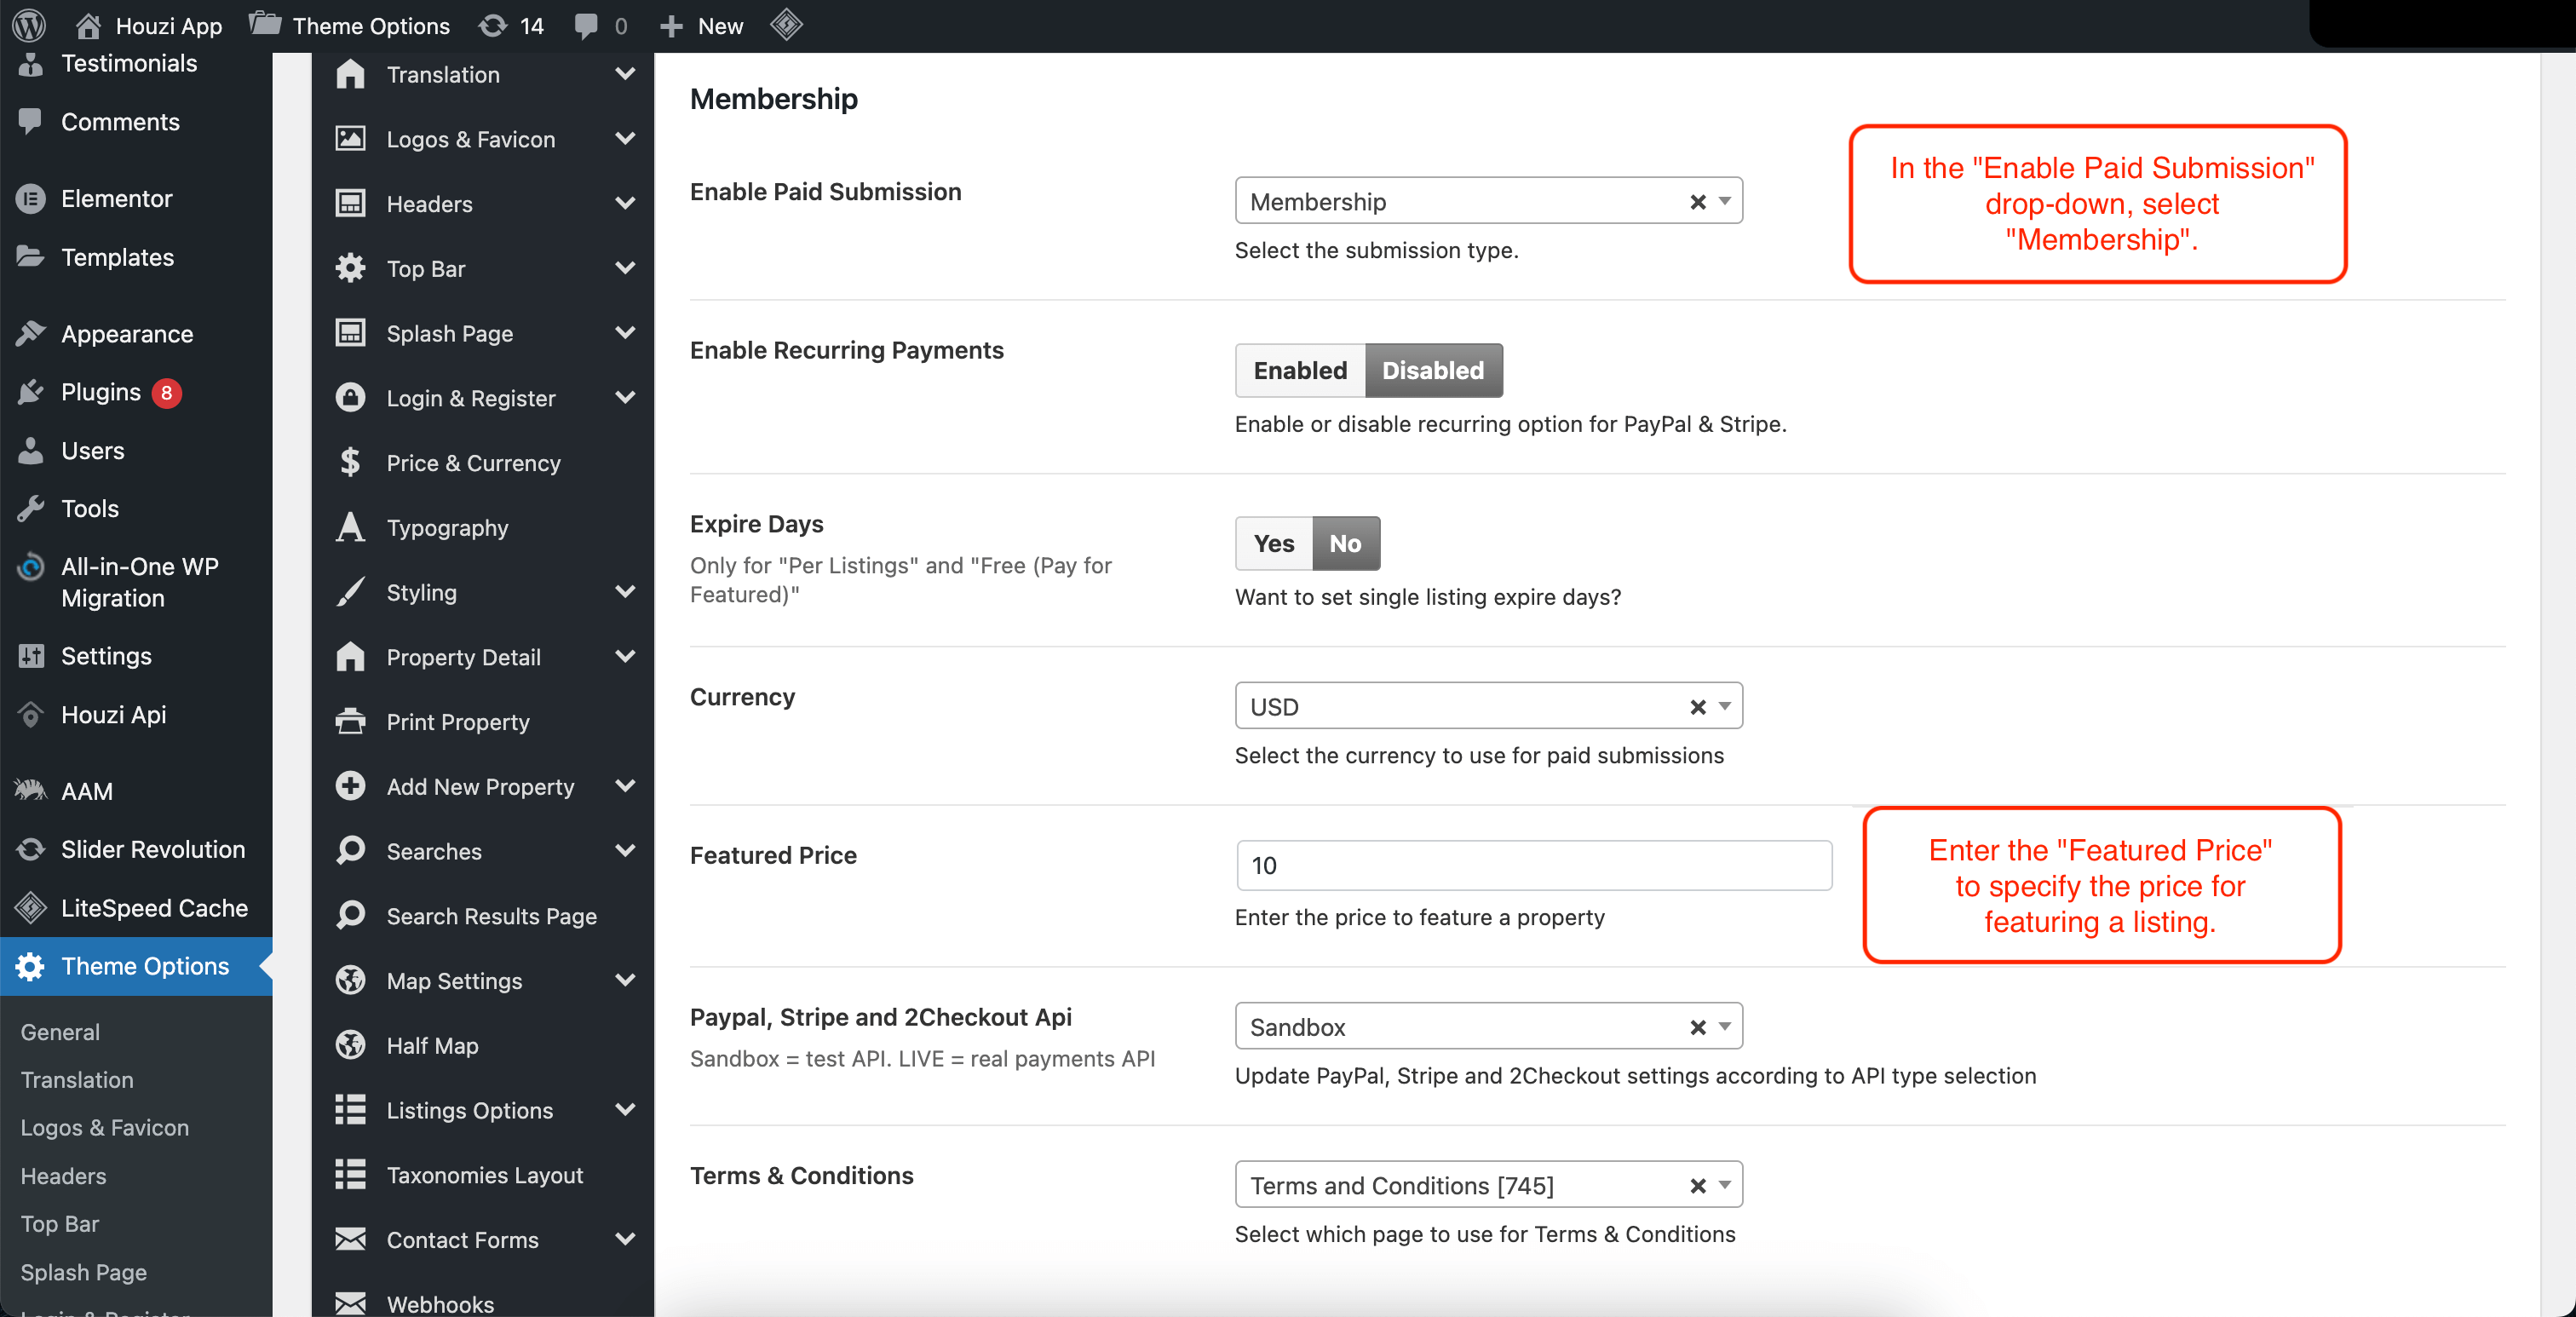
Set up membership packages by following these steps:
In your left sidebar, navigate to Real Estate > Packages > Add New Package.
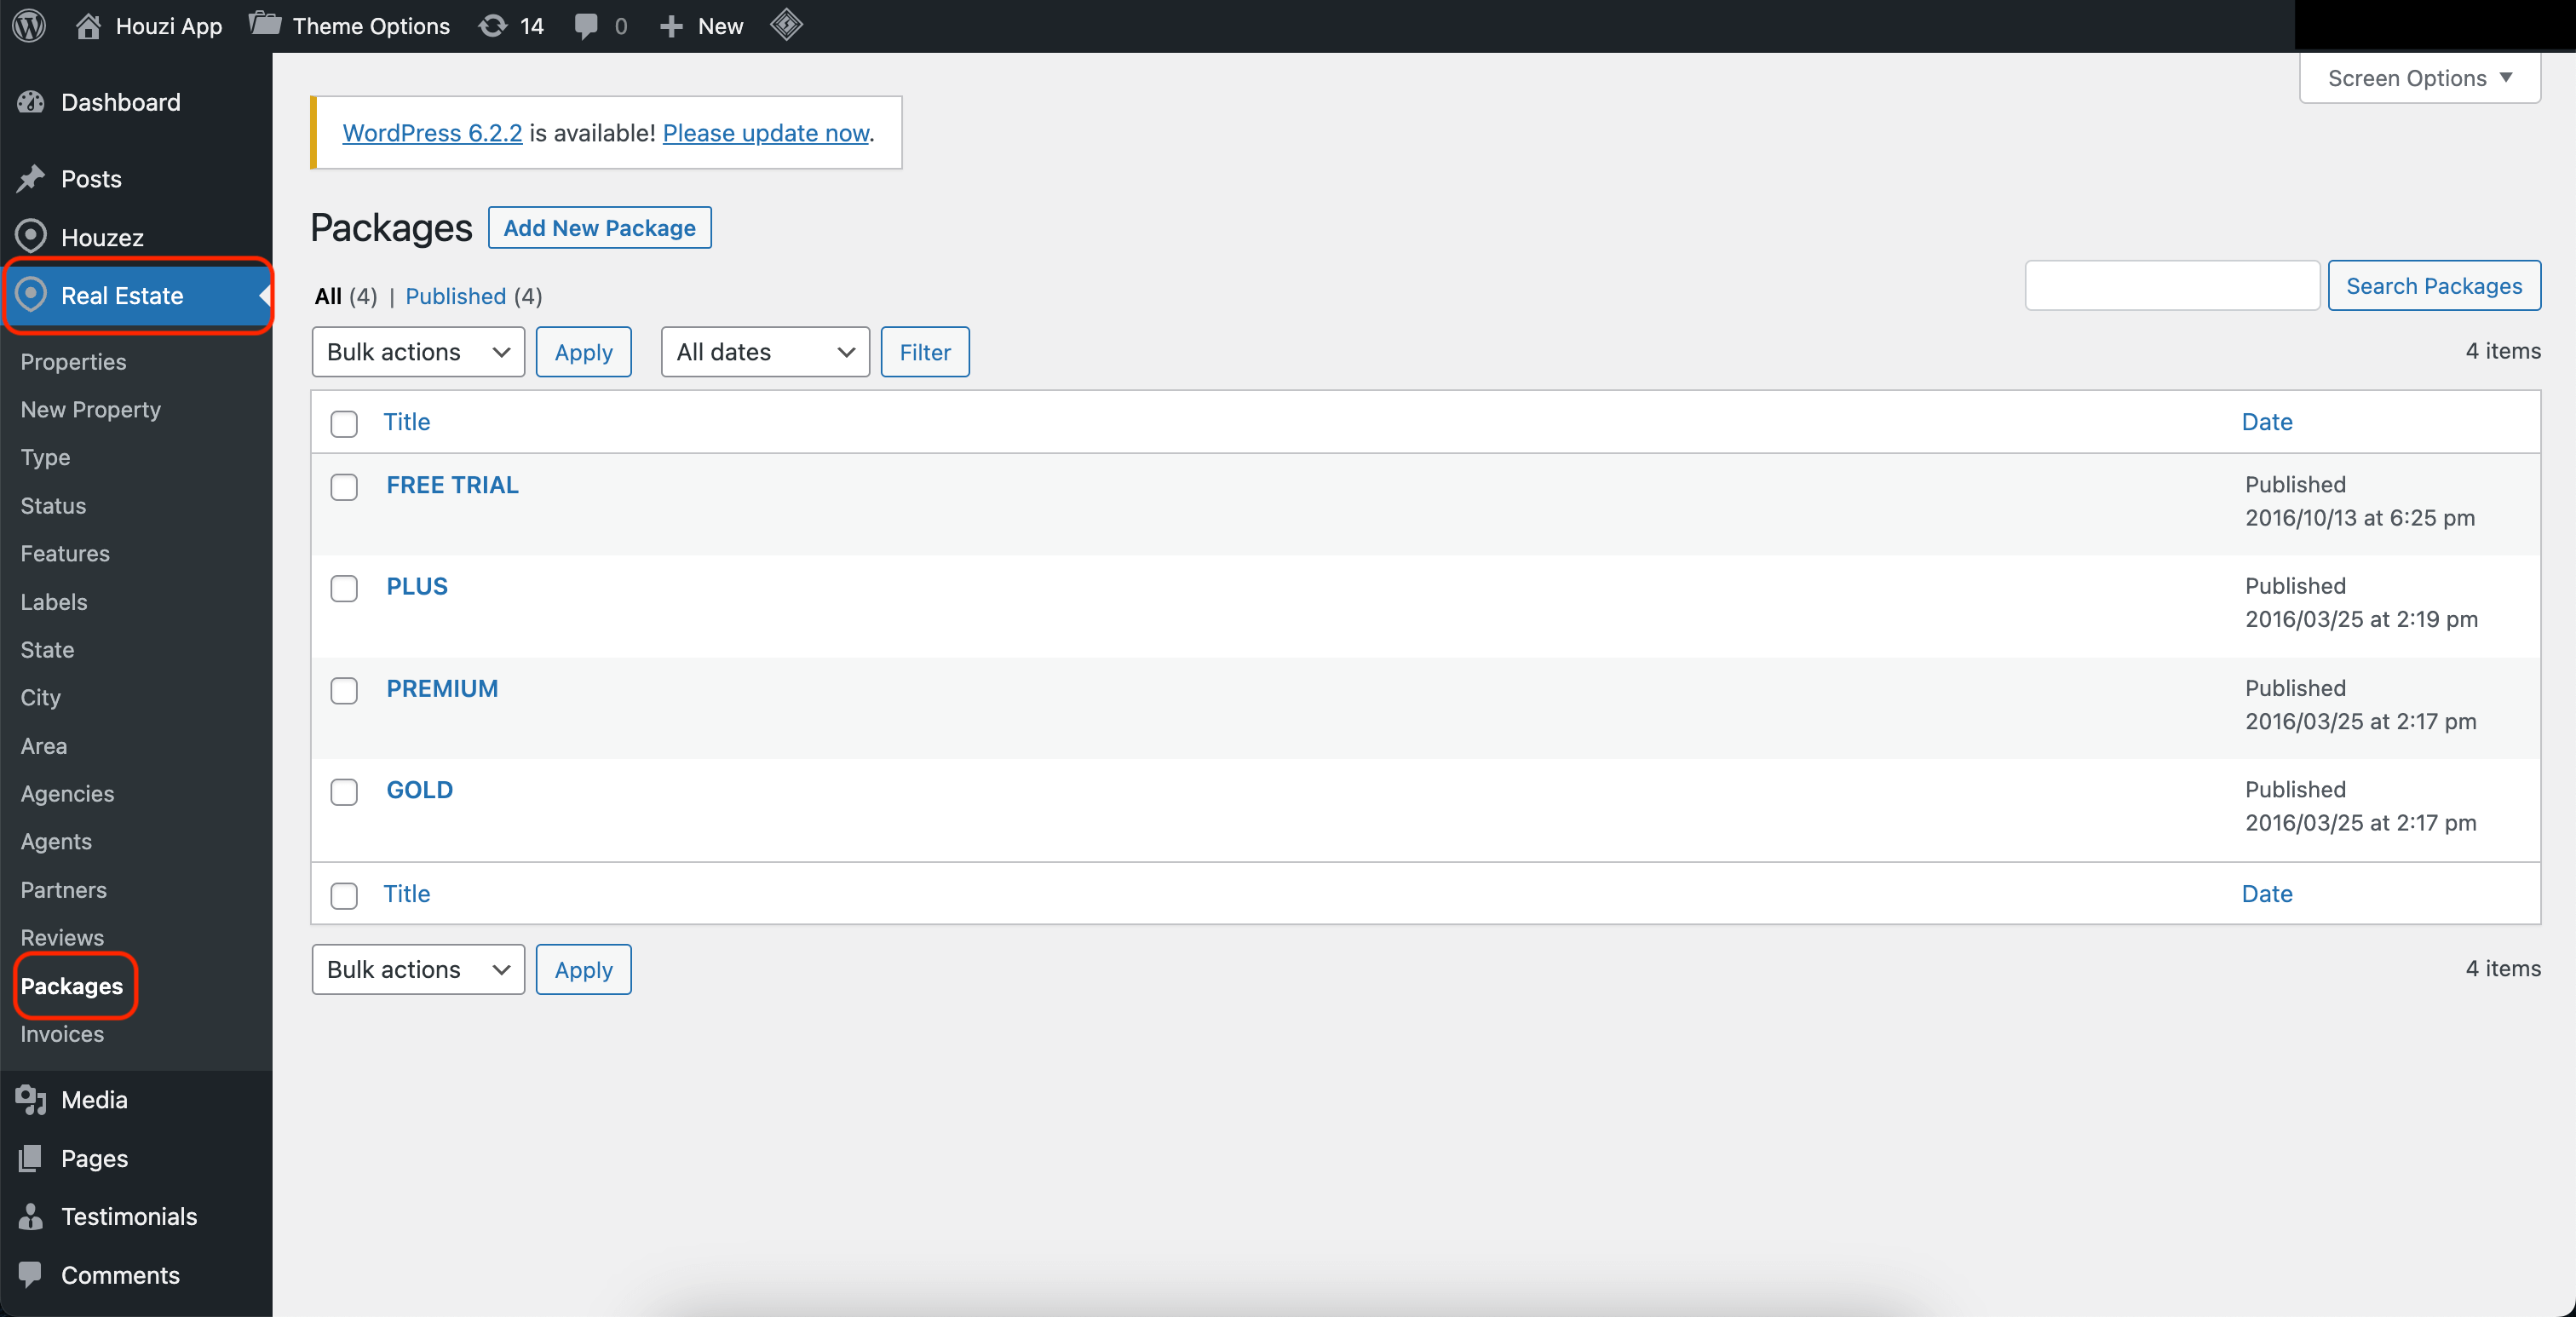
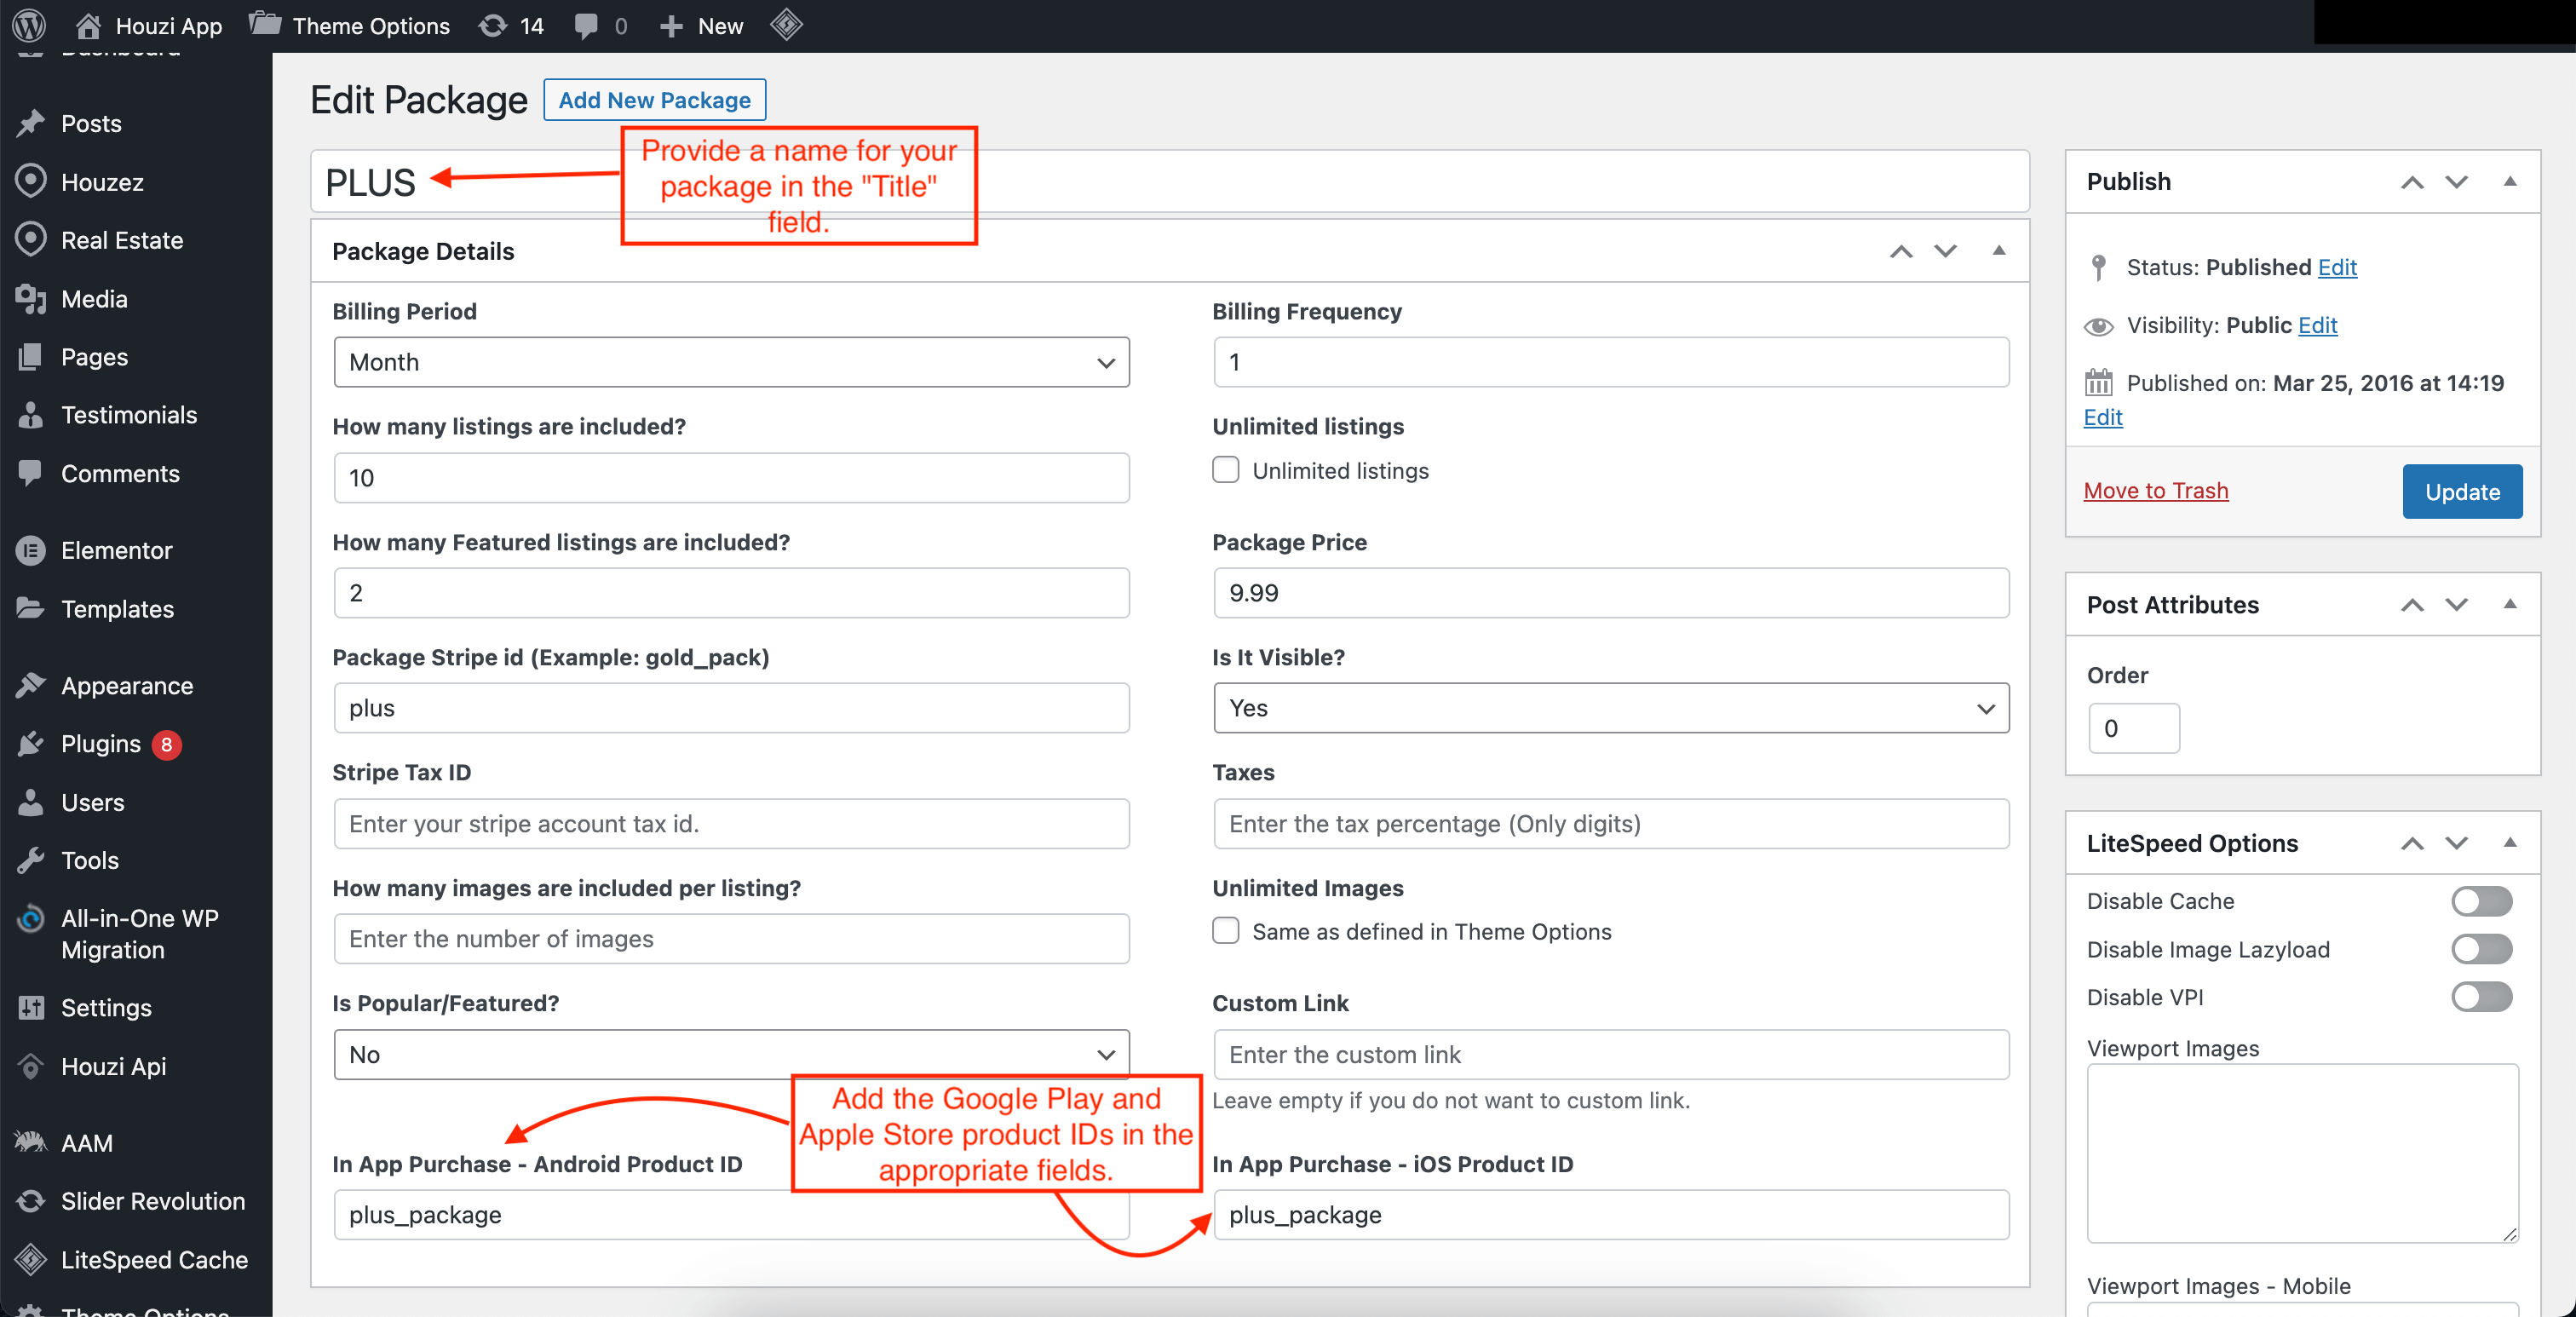
Save the package configuration.
 user-access.jpeg
Repeat the package creation process for each membership package you want to offer.
Once you have completed the setup in the admin panel, you can proceed to configure in-app purchases on Apple Store and Google Play.
To configure in-app purchases for iOS devices on the Apple Store, follow these steps:
Before proceeding with in-app purchases, make sure you have an active agreement for paid apps in App Store Connect:
To ensure a smooth and error-free experience for your users, it’s essential to conduct thorough testing of your in-app purchases before releasing them on the Apple Store. Apple provides a sandbox environment specifically for testing in-app purchases without making actual payments. Follow the steps below to set up sandbox testing:
Note: If you are using a Gmail account you can create a task-specific email address. For example, if you own foo@gmail.com you can create an account with the following e-mail foo+sandbox@gmail.com. The email for this account will still be received in foo@gmail.com inbox. Google Workspace Learning Center.
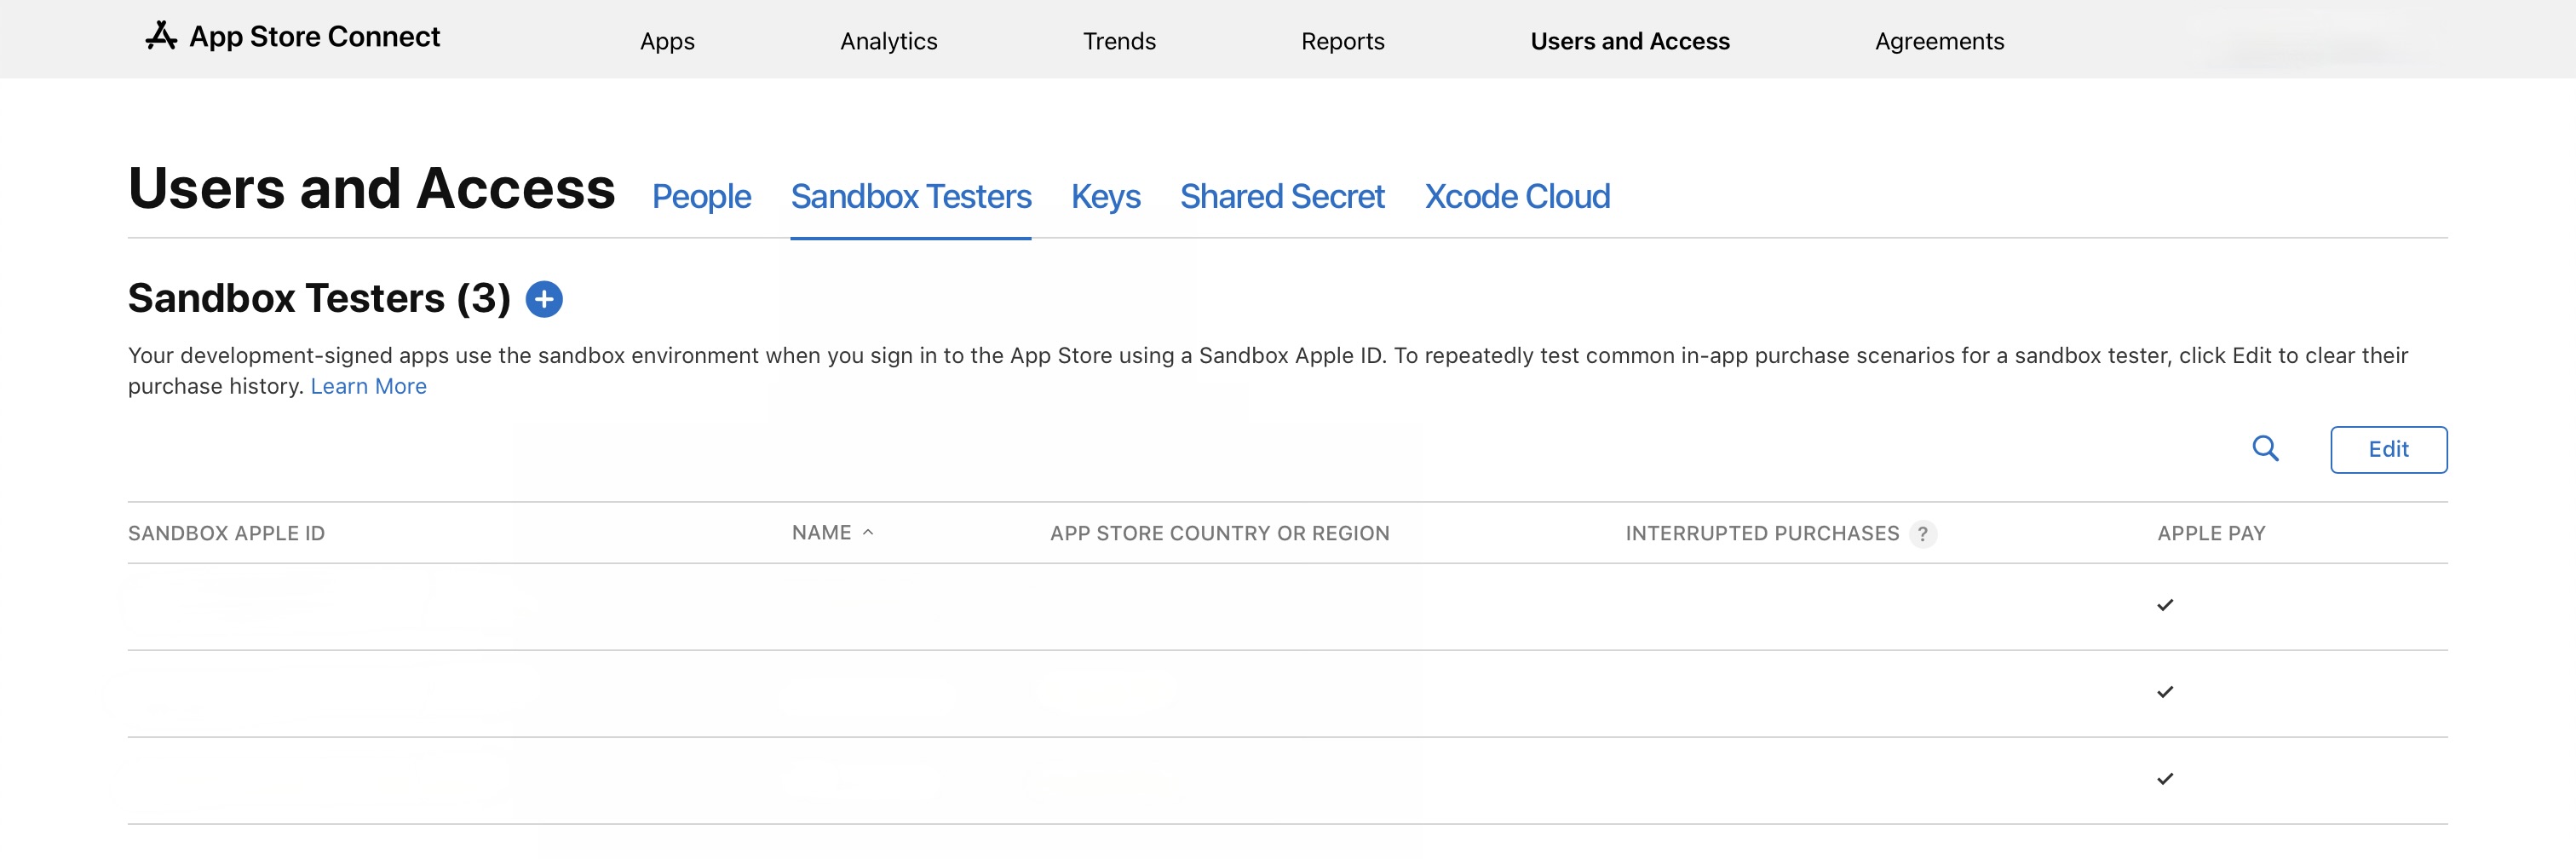
Now you can set up your sandbox user on your iPhone by going to Settings > App Store > Sandbox-account.
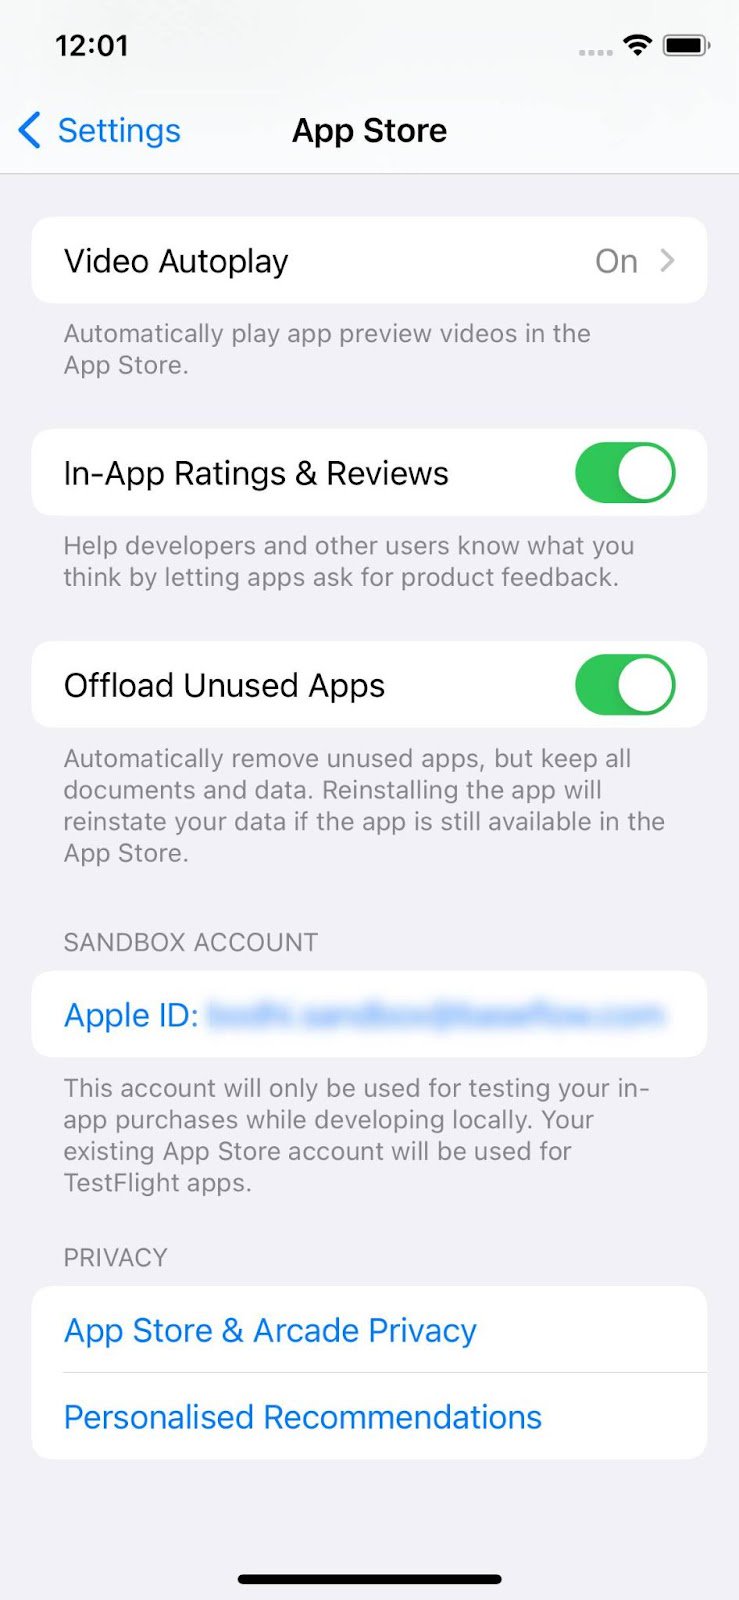
Important: If you cannot find the sandbox account in Settings > App Store, simply log out from your App Store account. Next, launch the app and proceed with a purchase. During this process, you will be prompted to log in using the sandbox test user. Make sure to input the credentials that you previously added to the Sandbox Testers section.
To configure in-app purchases on Apple Store:
Theme Options > Membership.Properties > Action button on property card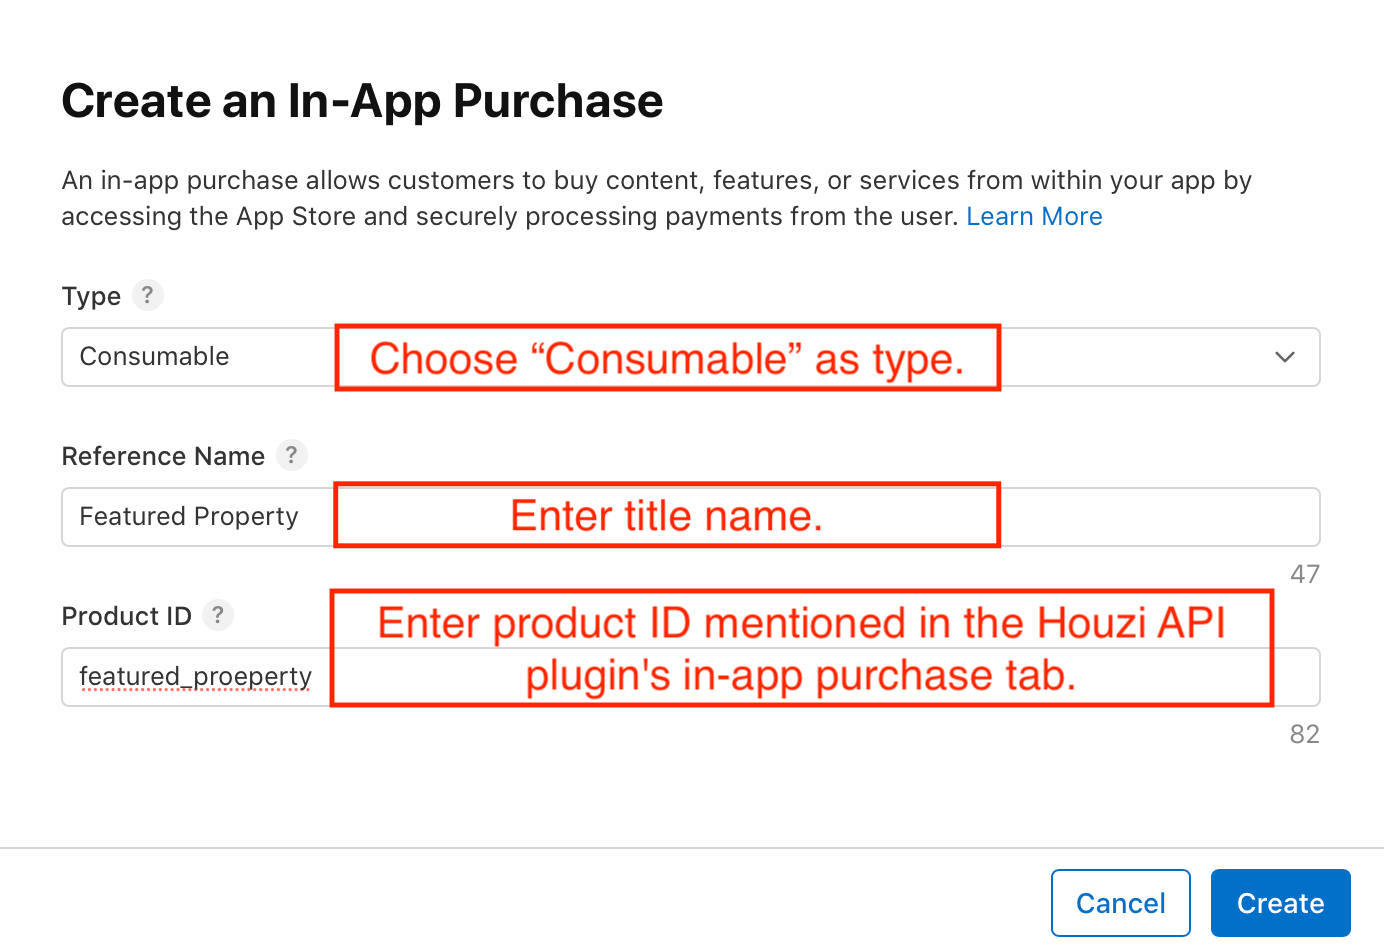
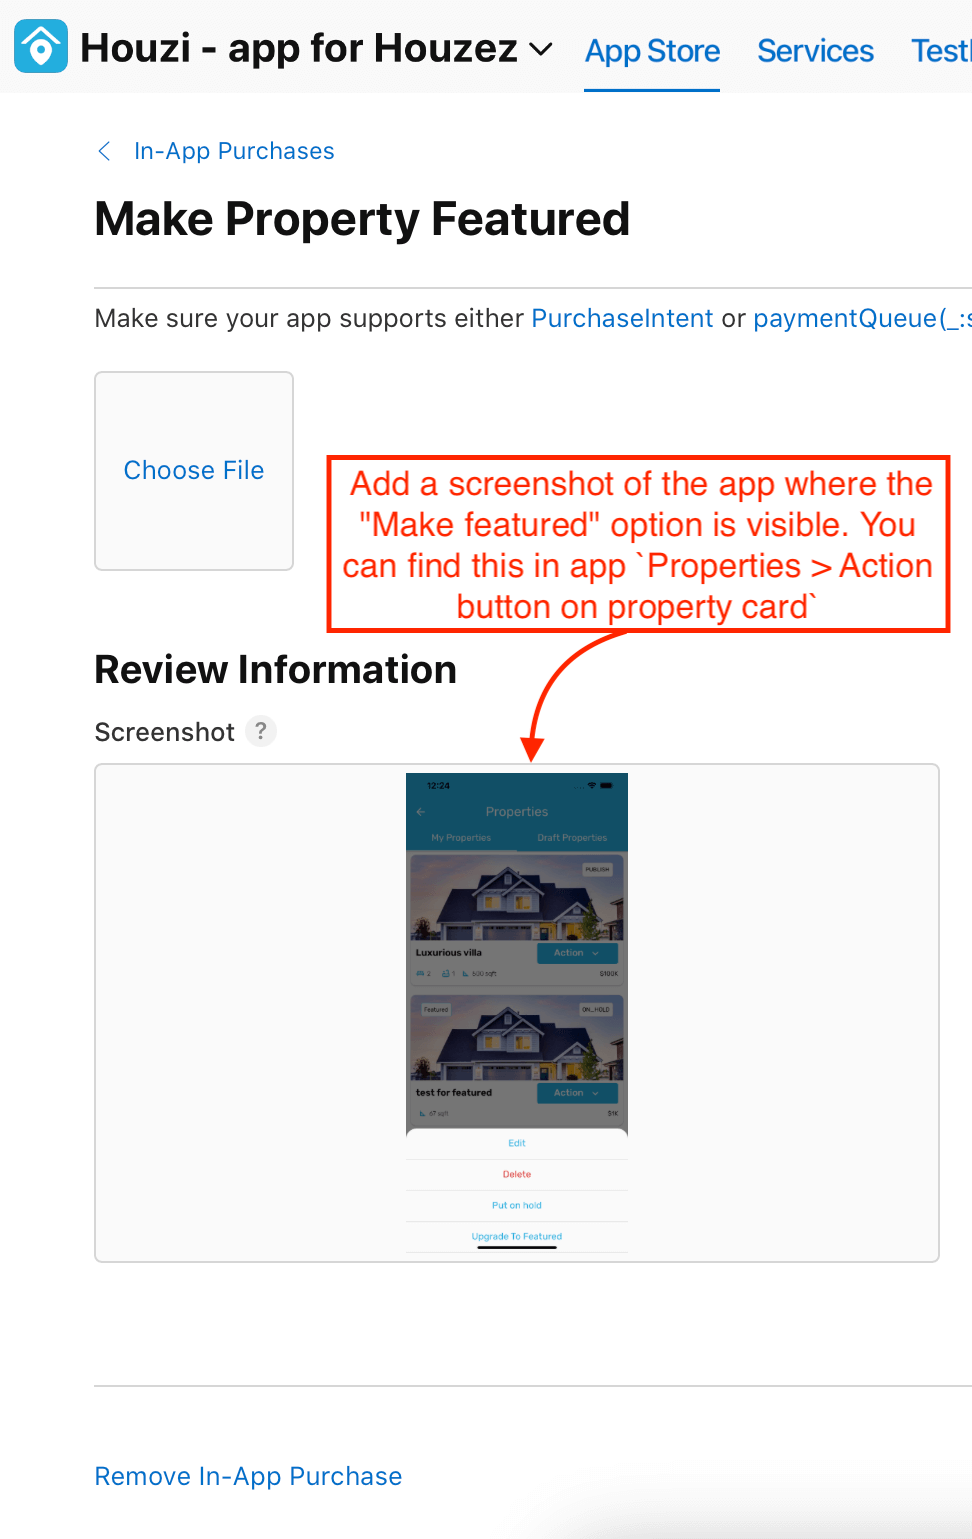
Theme Options > Membership.Properties > Action button on property cardProfile > MembershipYou first need to release on the closed testing track as this results in a code review from Google. This is a requirement to be able to access any play store products. Next, upload the app-release.aab app bundle that was generated by the build command. Click Save and then click Review release. Finally, click Start rollout to Internal testing to activate the internal testing release.
To be able to test in-app purchases, Google accounts of your testers must be added in the Google Play console in two locations:
First, start with adding the tester to the internal testing track. Go back to Release > Testing > Internal testing and click the Testers tab.
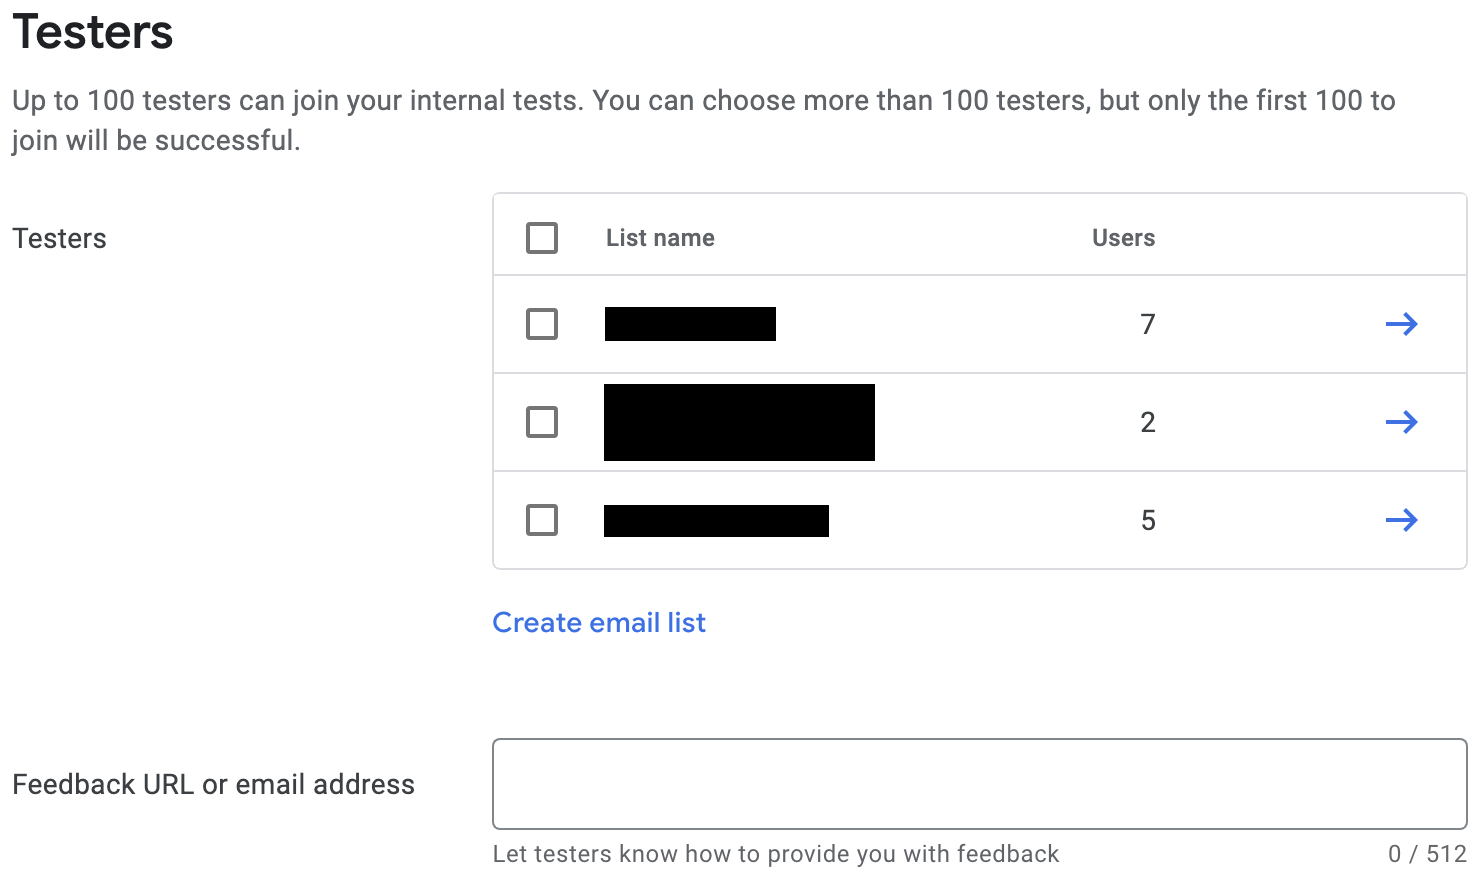
Create a new email list by clicking Create email list. Give the list a name, and add the email addresses of the Google accounts that need access to testing in-app purchases.
Next, select the checkbox for the list, and click Save changes.
Then, add the license testers:
All apps view of the Google Play Console.Setup > License testing.RESPOND_NORMALLY.Click Save changes.
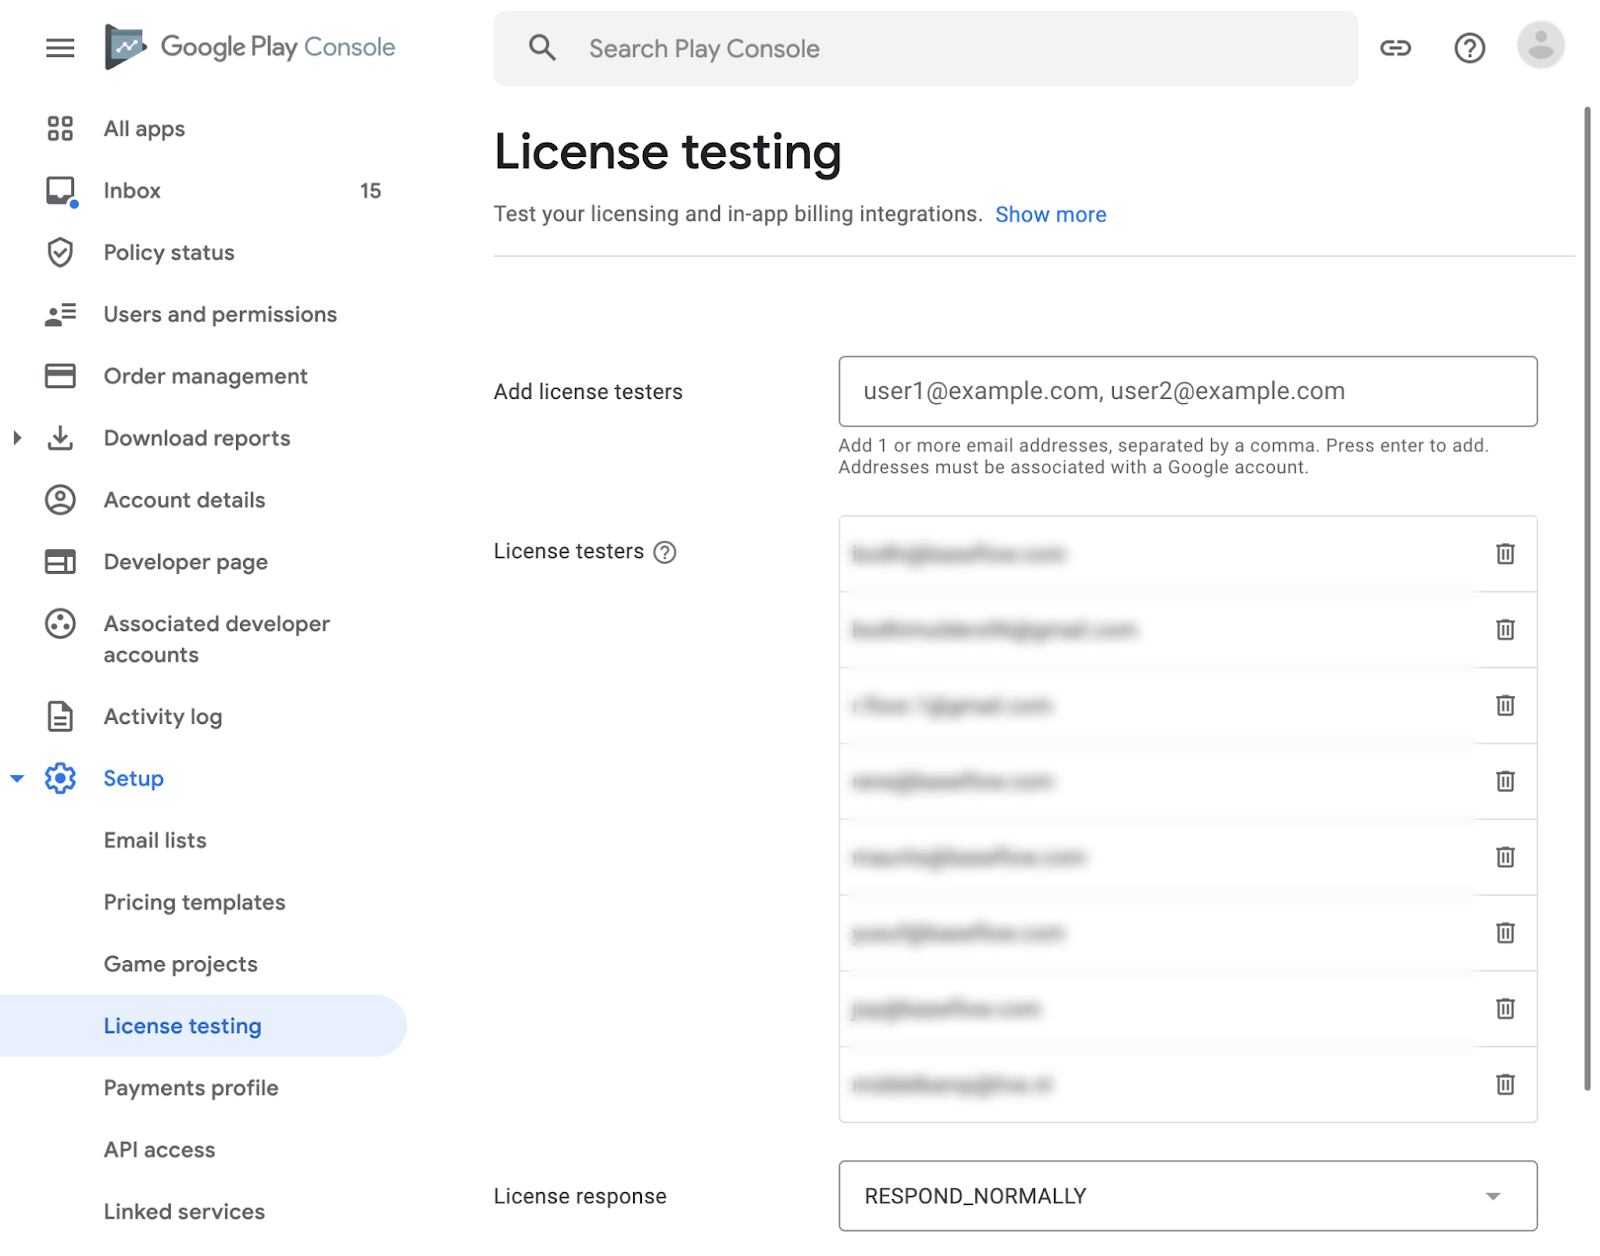
To configure in-app purchases for Android devices on Google Play, follow these steps:
To enable in-app purchases for your application on the Google Play Store, you’ll need to set up a Google Payments merchant account. Follow the steps below to get started:
Access Payments Settings: In the Play Console, navigate to the “Setup” section and select “Payments profile.”
Create Payments Profile: Click on the “Create payments profile” option. Make sure you have your business information ready as you’ll need it to set up your payments profile.
Monetize > Products > In-app products.Theme Options > Membership.Theme Options > Membership.Congratulations! You have successfully completed the setup of in-app purchases and membership procedures for your Houzi app. Users can now enjoy the powerful property management system, and you can monetize your real estate marketplace by offering different membership options.
Make sure to follow the instructions carefully and double-check all the configurations to ensure a smooth user experience. If you encounter any issues or need further assistance, please refer to the Houzi documentation or contact our support team.
--- ## Add Kurdish Language Support URL: https://houzi-doc.booleanbites.com/tools/add_kurdish_language_supportYou can add Kurdish Language support in your app by following these simple steps:
Download the kurdish_material_localization_delegate.dart file.
Download the kurdish_widget_localization_delegate.dart file.
Now head to the project and go to the l10n directory, path:
PROJECT_NAME/packages/houzi_package/lib/l10n
Now place both the files in this directory.
Now go to the houzi_main.dart file, path:
PROJECT_NAME/packages/houzi_package/lib/houzi_main.dart
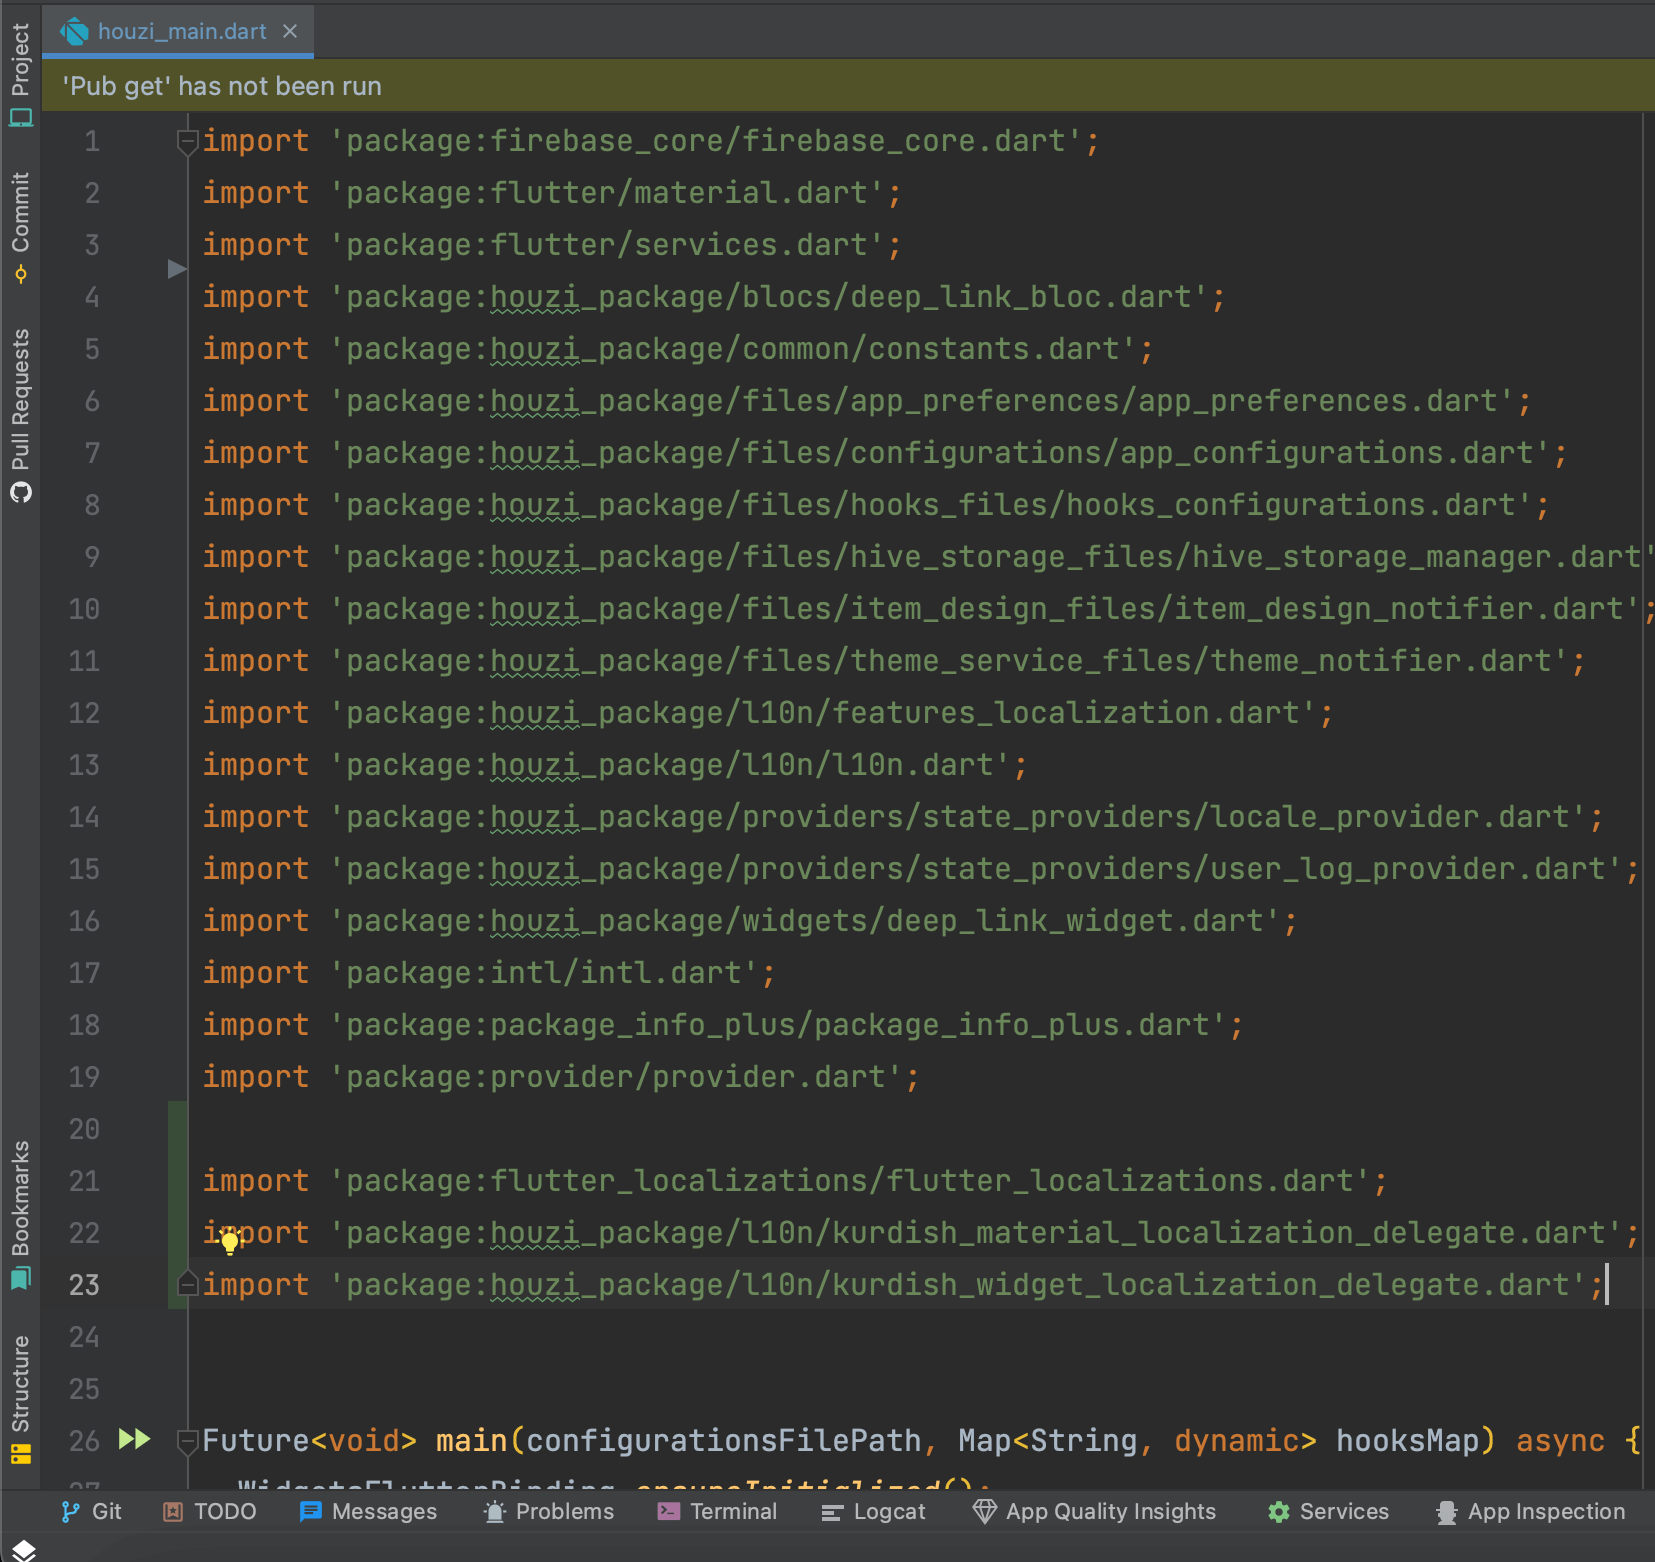
Add following imports at the start of file, under all the imports.
import 'package:flutter_localizations/flutter_localizations.dart';
import 'package:houzi_package/l10n/kurdish_material_localization_delegate.dart';
import 'package:houzi_package/l10n/kurdish_widget_localization_delegate.dart';
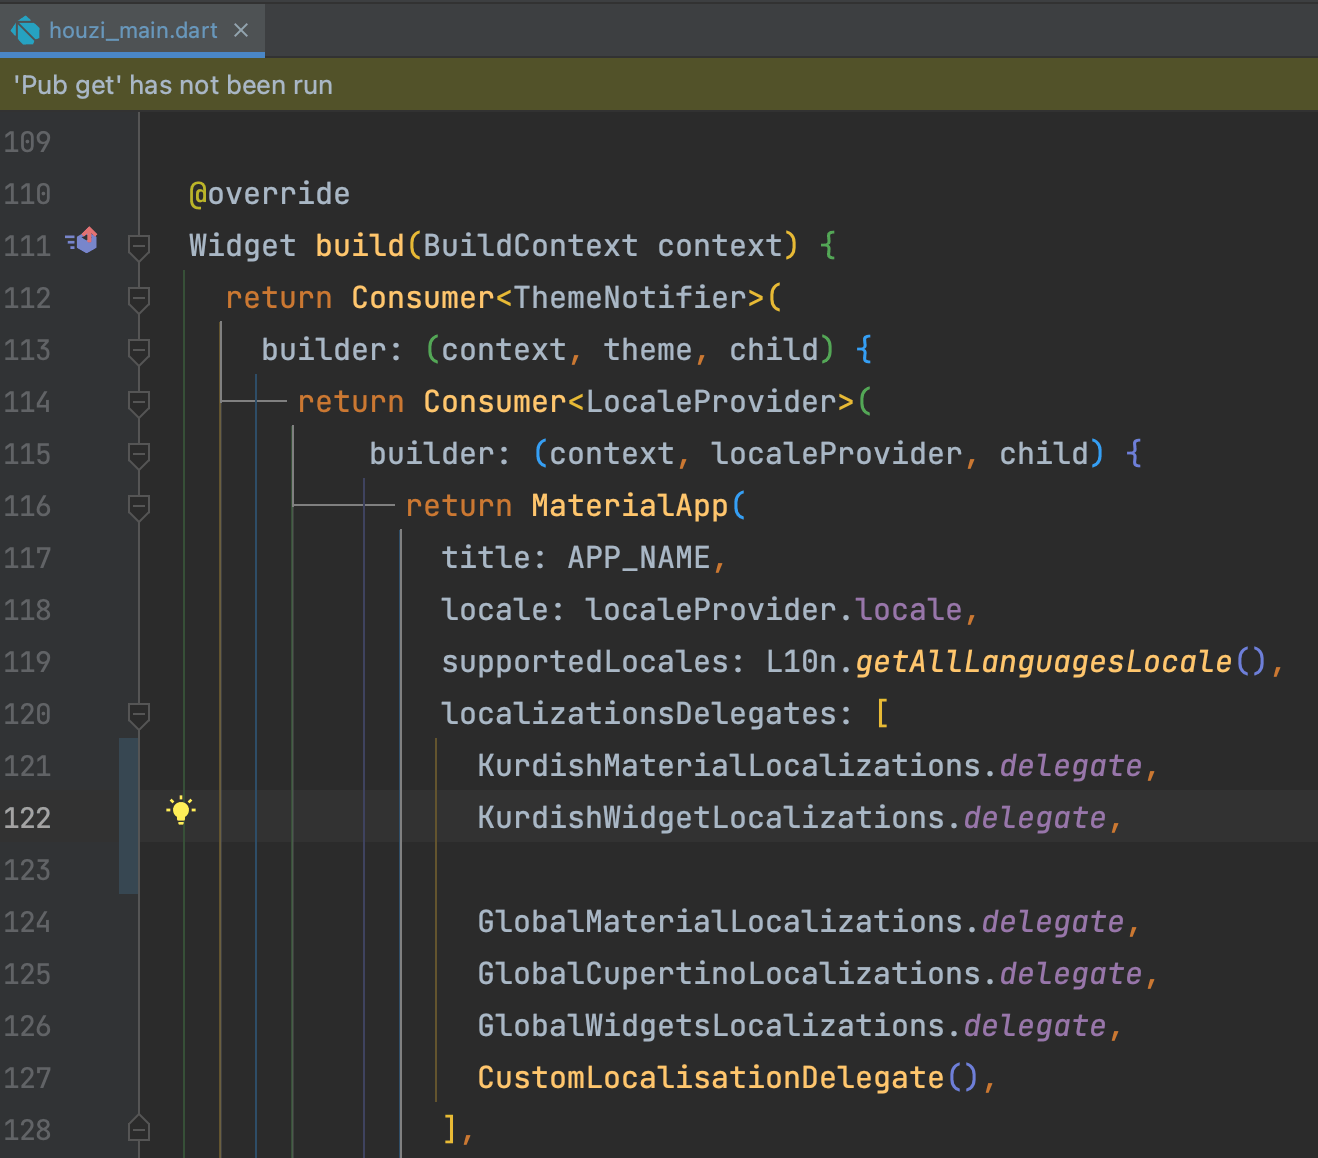
Now go to the build() function and add following lines in the localizationsDelegates.
KurdishMaterialLocalizations.delegate,
KurdishWidgetLocalizations.delegate,
Now head to the hooks_v2.dart file and look for the getLanguageCodeAndName() hook, path:
PROJECT_NAME/lib/hooks_v2.dart
Define kurdishLanguageMap and add this map to the languageList in the hook.
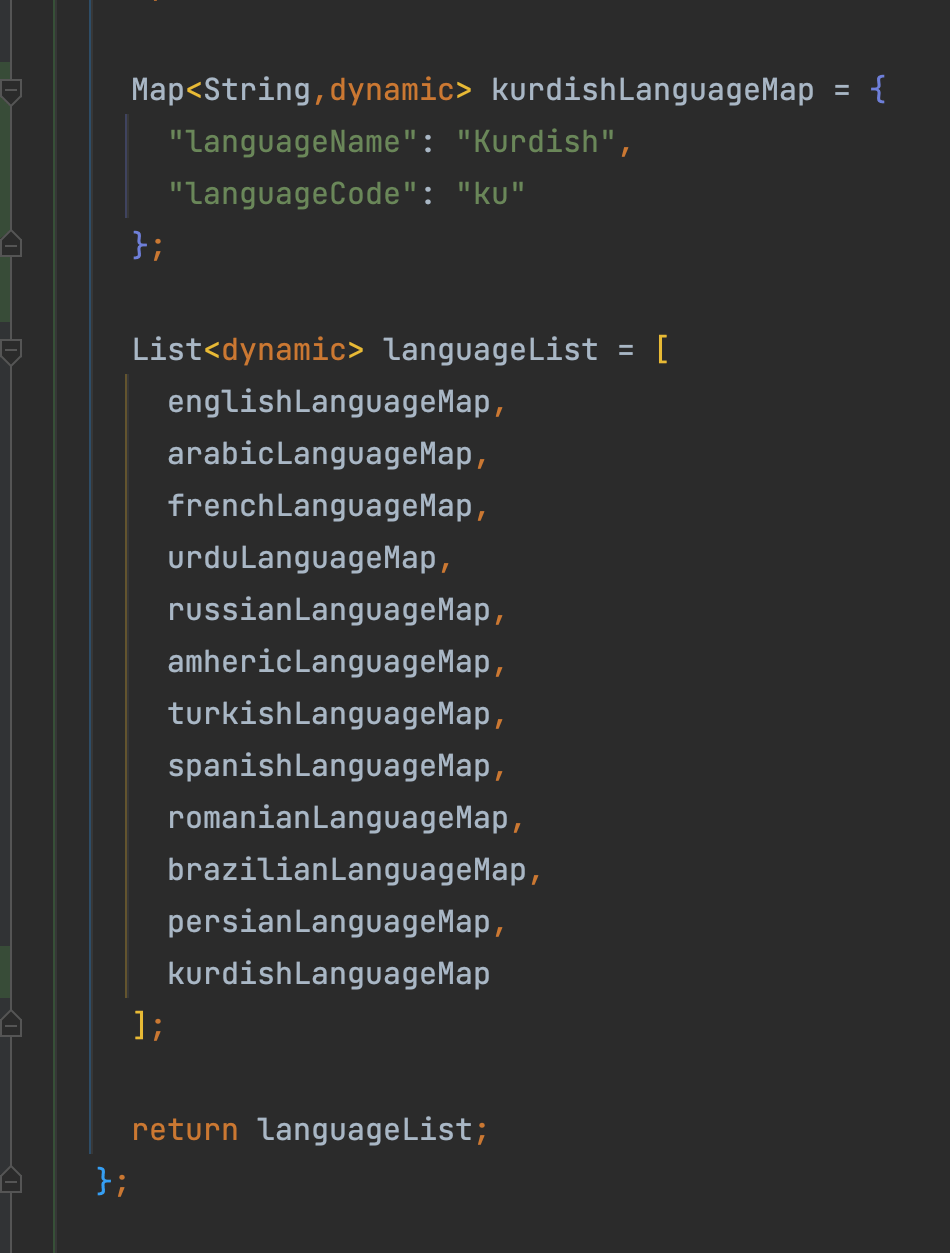
Restart the app.
Now Kurdish language support is added to your app.
--- ## Push Notifications URL: https://houzi-doc.booleanbites.com/tools/push_notifications_integration
Push notifications play a crucial role in keeping your real estate business updated. We’ve incorporated this feature to enhance engagement with your app and website.
❗️❗️IMPORTANT❗️❗️
Houzez v 3.1.0 or later is required. This version introduces the ability to send push notifications for important actions. Please ensure you update to Houzez v 3.1.0 before implementing push notifications on your website.
❗️❗️IMPORTANT NOV 28, 2024❗️❗️
OneSignal has recently updated to new rich api, where they only need OneSignal App ID, OneSingnal API Key. We’ve patched the Houzi Rest API Plugin in version 1.4.2.2. Please download the latest plugin from here: Houzi Rest API 1.4.2.2
We utilize OneSignal for push notifications. You will need to configure OneSignal on both your WordPress site and your app. This guide includes the following sections:
We require two things from OneSignal.
To acquire these, use the following link to sign-up/login in. https://app.onesignal.com/login
A typical flow should like this:
Keep in mind that we already have integrated the SDKs in the project, you just need app id so don’t follow steps to integrate sdks.
Go to the Houzi Api > Push Notification > OneSignal Configurations.
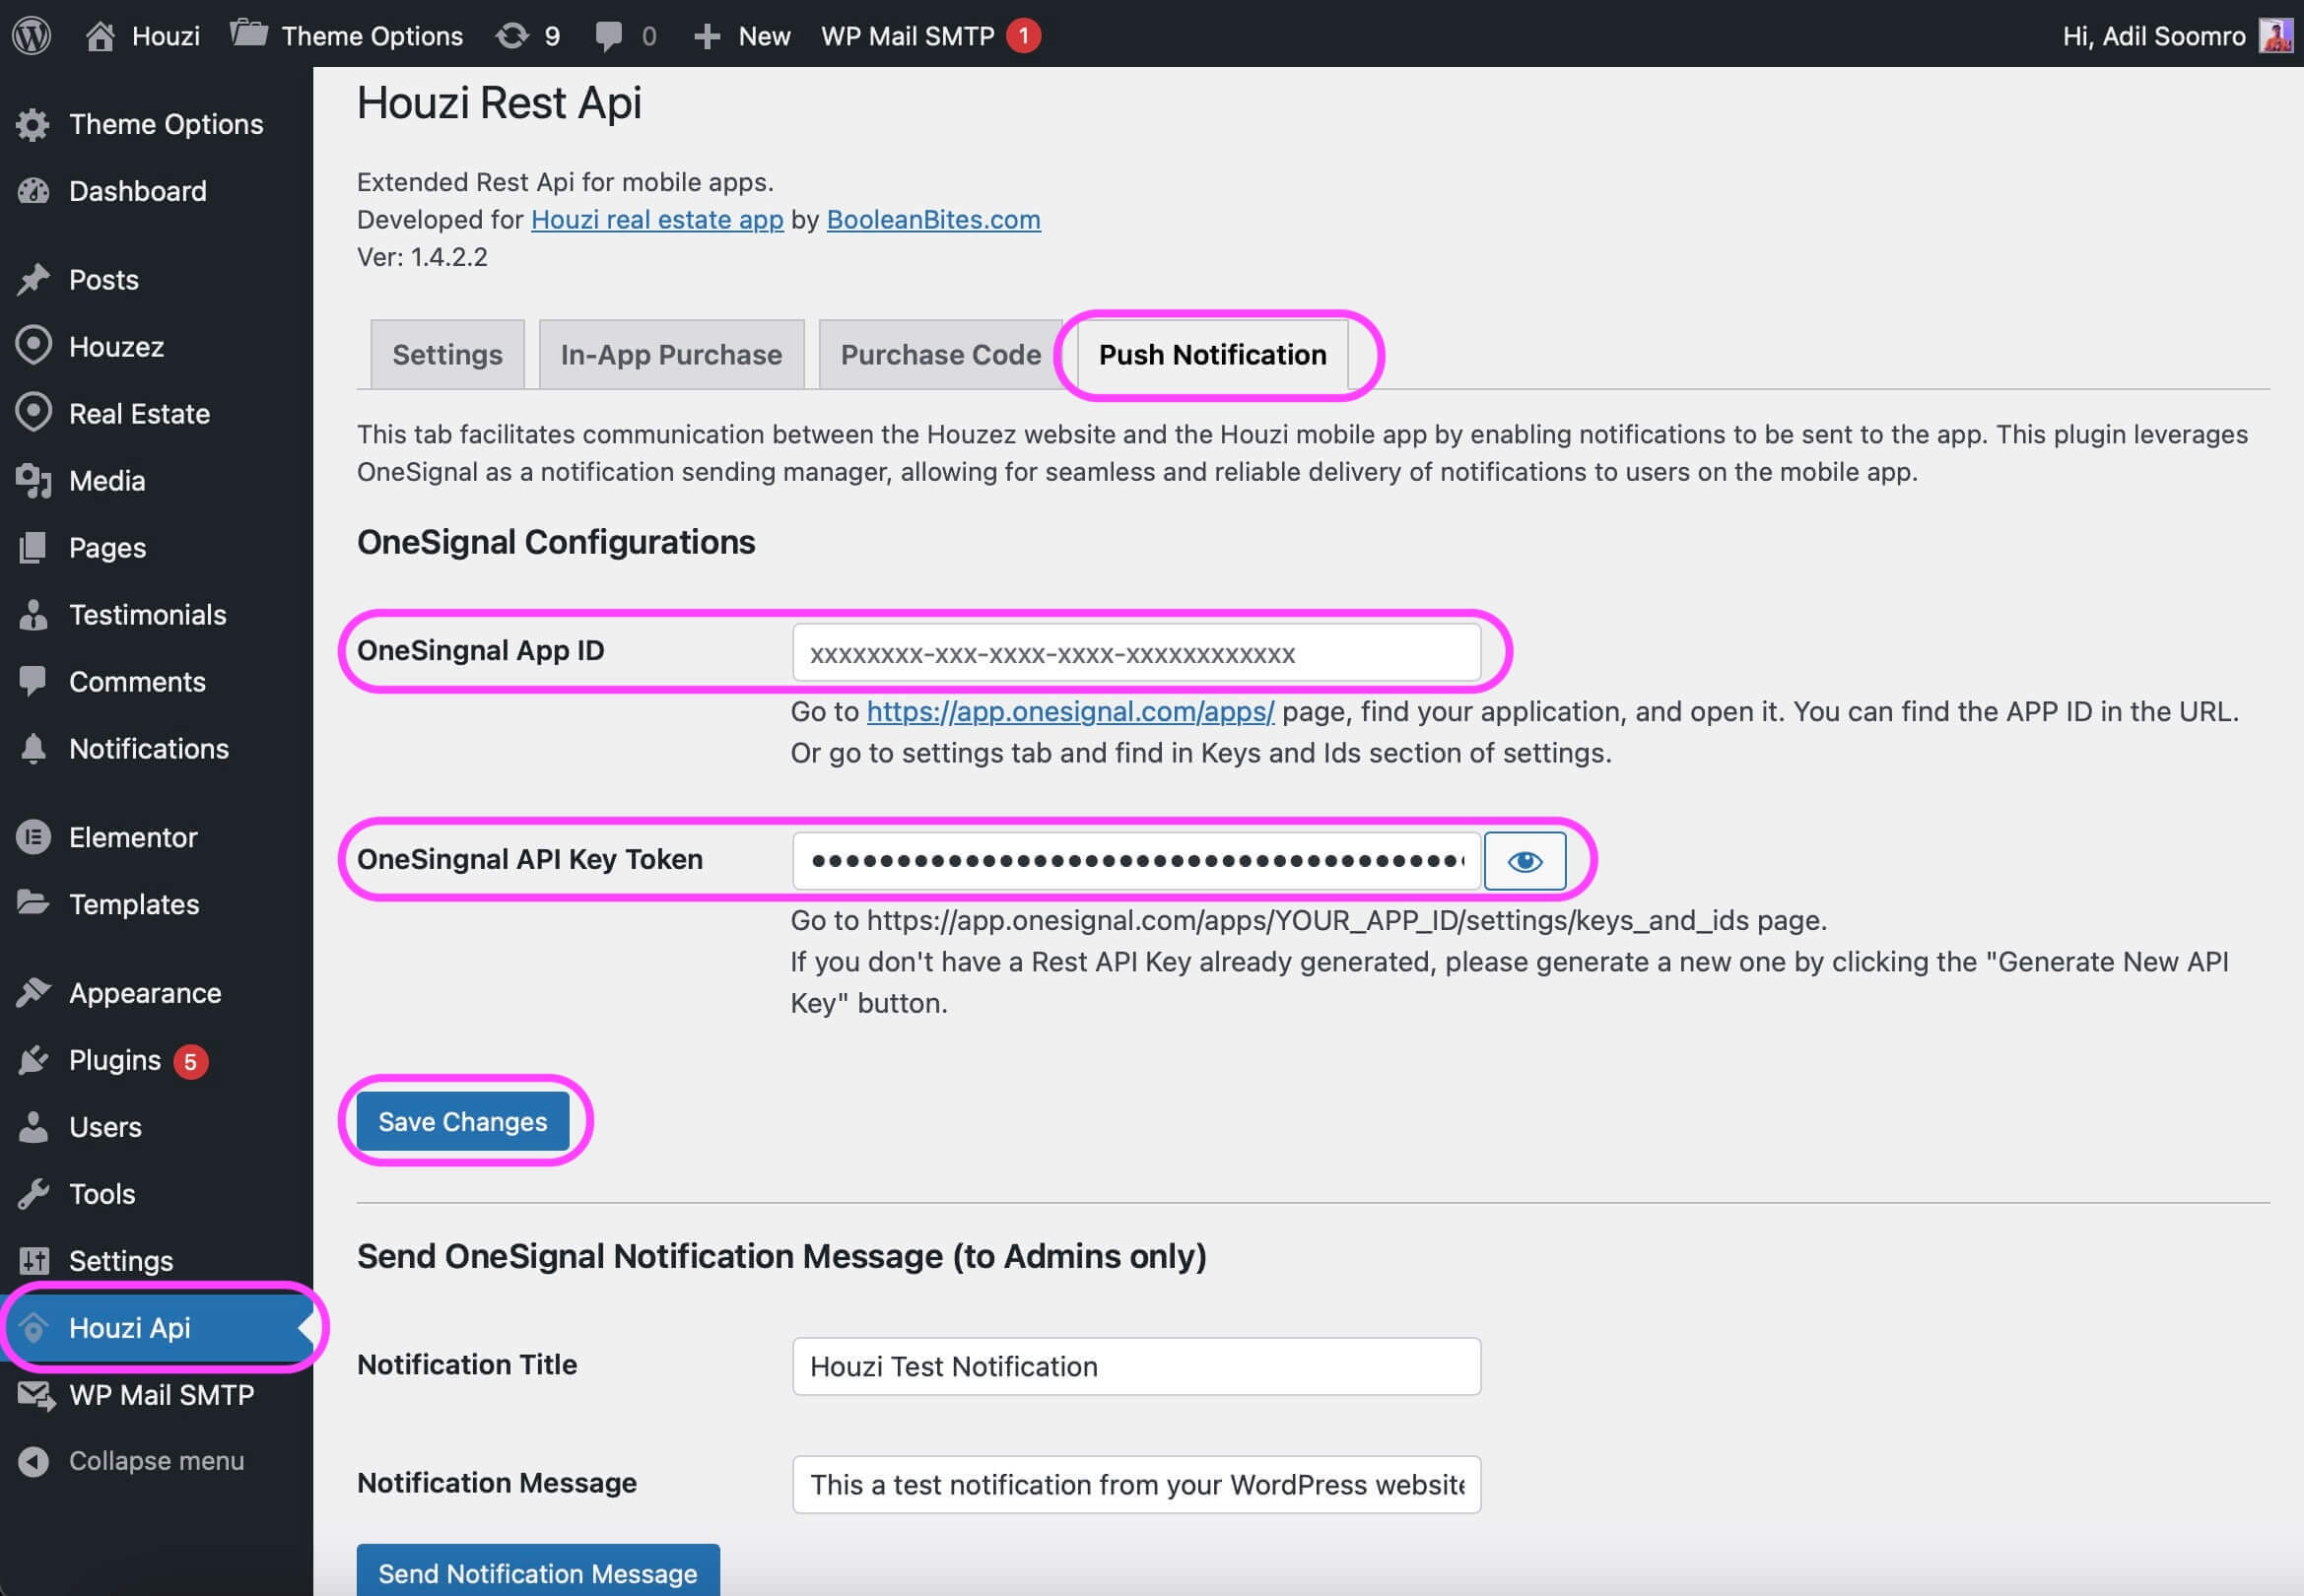
You have to provide these following configurations:
Provide your OneSignal App ID in the respective text field.
If you do not know how to get the One Signal App ID, Go to https://app.onesignal.com/apps/ page, find your application, and open it. You can find the APP ID in the URL.
Or go to Settings tab and find in Keys and Ids section of settings.
Provide your OneSingnal API Key Token in the respective text field. If you do not know how to get the OneSingnal API Key Token, Go to https://app.onesignal.com/apps/YOUR_APP_ID/settings/keys_and_ids page.
If you don’t have a Rest API Key already generated, please generate a new one by clicking the Generate New API Key button.
After providing the configurations, click on the Save Changes button.
Copy your OneSignal App ID. If you do not know how to get the One Signal App ID, Go to https://app.onesignal.com/apps/ page, find your application, and open it. You can find the APP ID in the URL. Or go to Settings tab and find in Keys and Ids section of settings.
You will have to provide this app id in the following destinations (Mandatory):
Nees to setup two things:
Project_HOME > android > app > src > main > res > values > strings.xml file, and look for onesignal_app_id. Replace its value with your app id.Nees to setup two things:
Project_HOME > ios > Runner > AppDelegate.swift file, and look for ONE_SIGNAL_APP_ID. Replace its value with your app id.Open your configuration.json in HouziBuilder Go to the Api & Config section of the Houzi Builder and provide the OneSignal App ID in the respective text field. Checkout HouziBuilder Push Notifications Configurations.
If you don’t want to use HouziBuilder, open configuration.json and find one_signal_app_id and provide your OneSignal App ID as its value. If the key doesn’t exist in your configuration, you can add as a new key in the root object of json.
Please follow this guide to change the notifcation icon:
Added in version 1.4.0
--- ## Direct Messages URL: https://houzi-doc.booleanbites.com/tools/direct_messagesDirect Messaging is an excellent way to connect with realtors efficiently. We’ve developed this feature to significantly improve engagement and communication between clients and real estate professionals. By enabling seamless and direct interaction, it fosters a more personalized and responsive experience, allowing for timely updates and meaningful conversations. This feature is designed to bridge the gap between clients and realtors, enhancing overall satisfaction and streamlining the real estate process.
Important: These messages are not real-time like WhatsApp; instead, they are HTTP-based, where the app periodically polls the server for new messages. You can adjust the polling interval through a hook as described below.
Direct Message are disabled by default on Houzez. To use the Direct Message feature, you will need to perform some configurations on your WordPress site.
This guide includes the following sections:
You have to provide these following configurations:
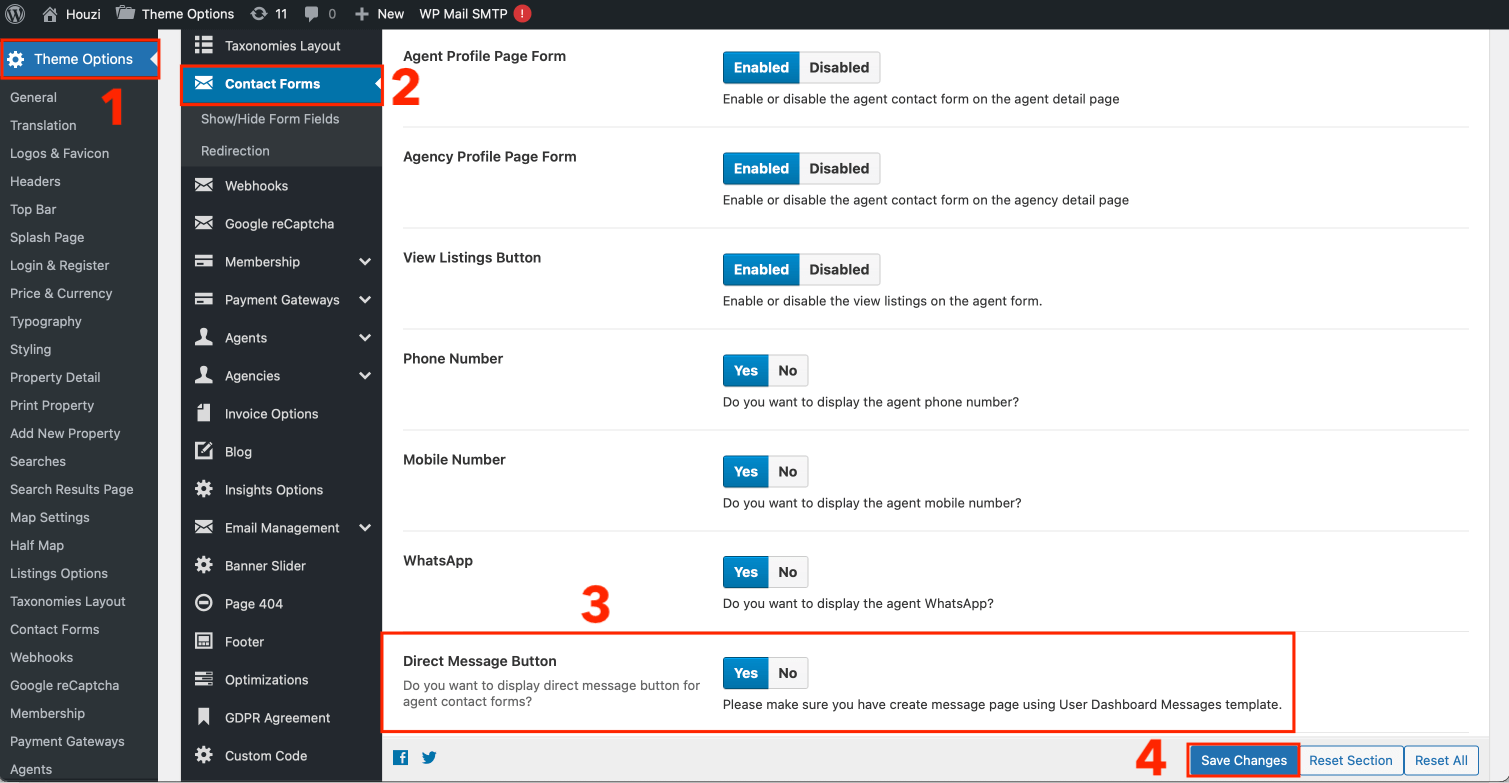
Go to the Theme Options > Contact Forms. Enable the Direct Message Button setting and Save Changes.
Pages and click on Add New.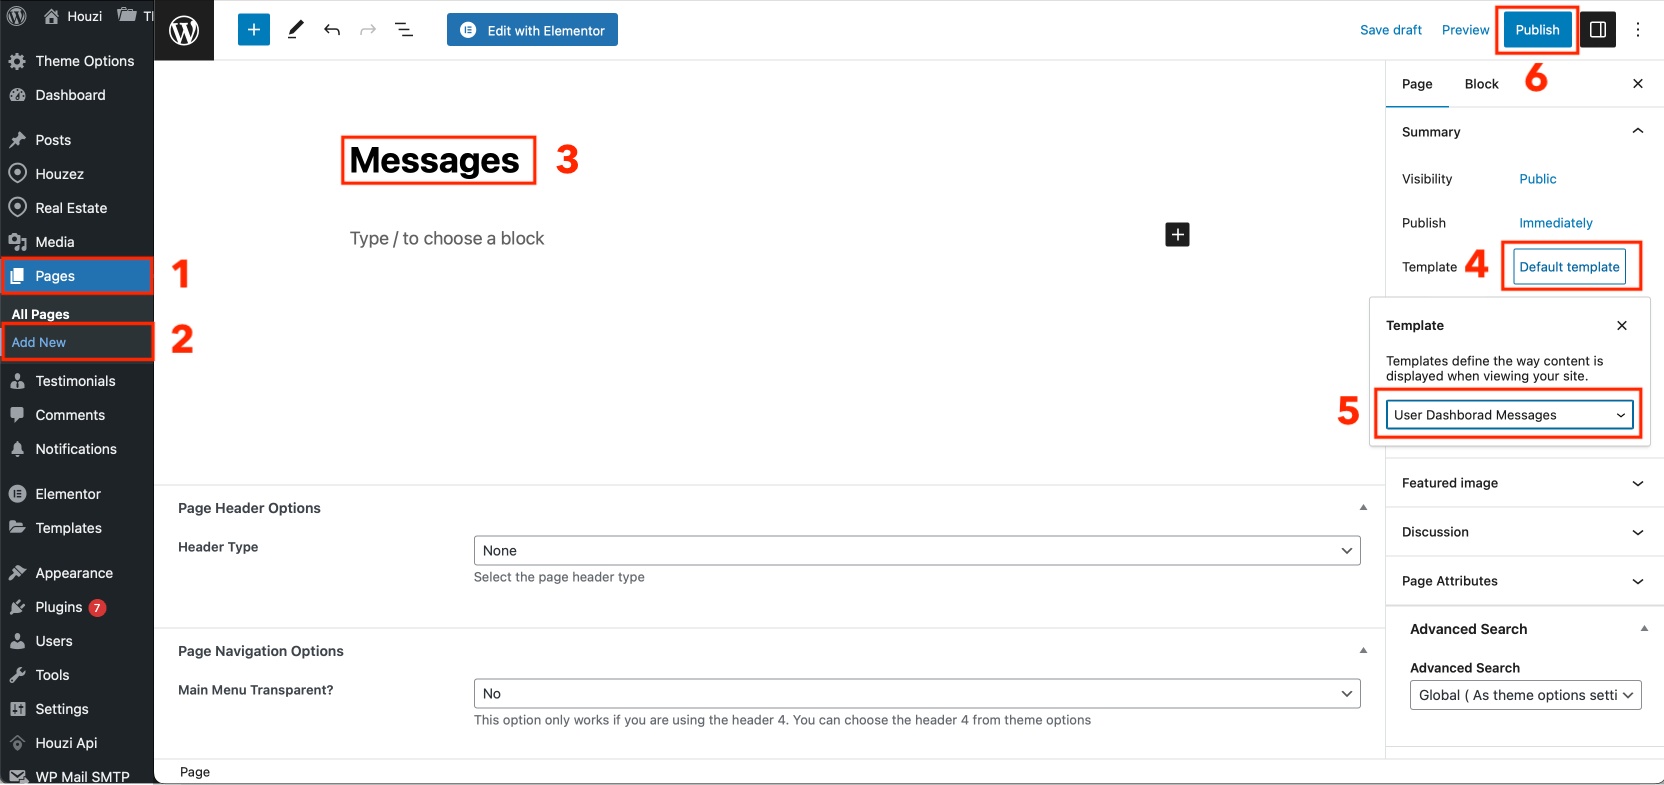
Houzez v3.3.0 already sends the push notification for direct messages.
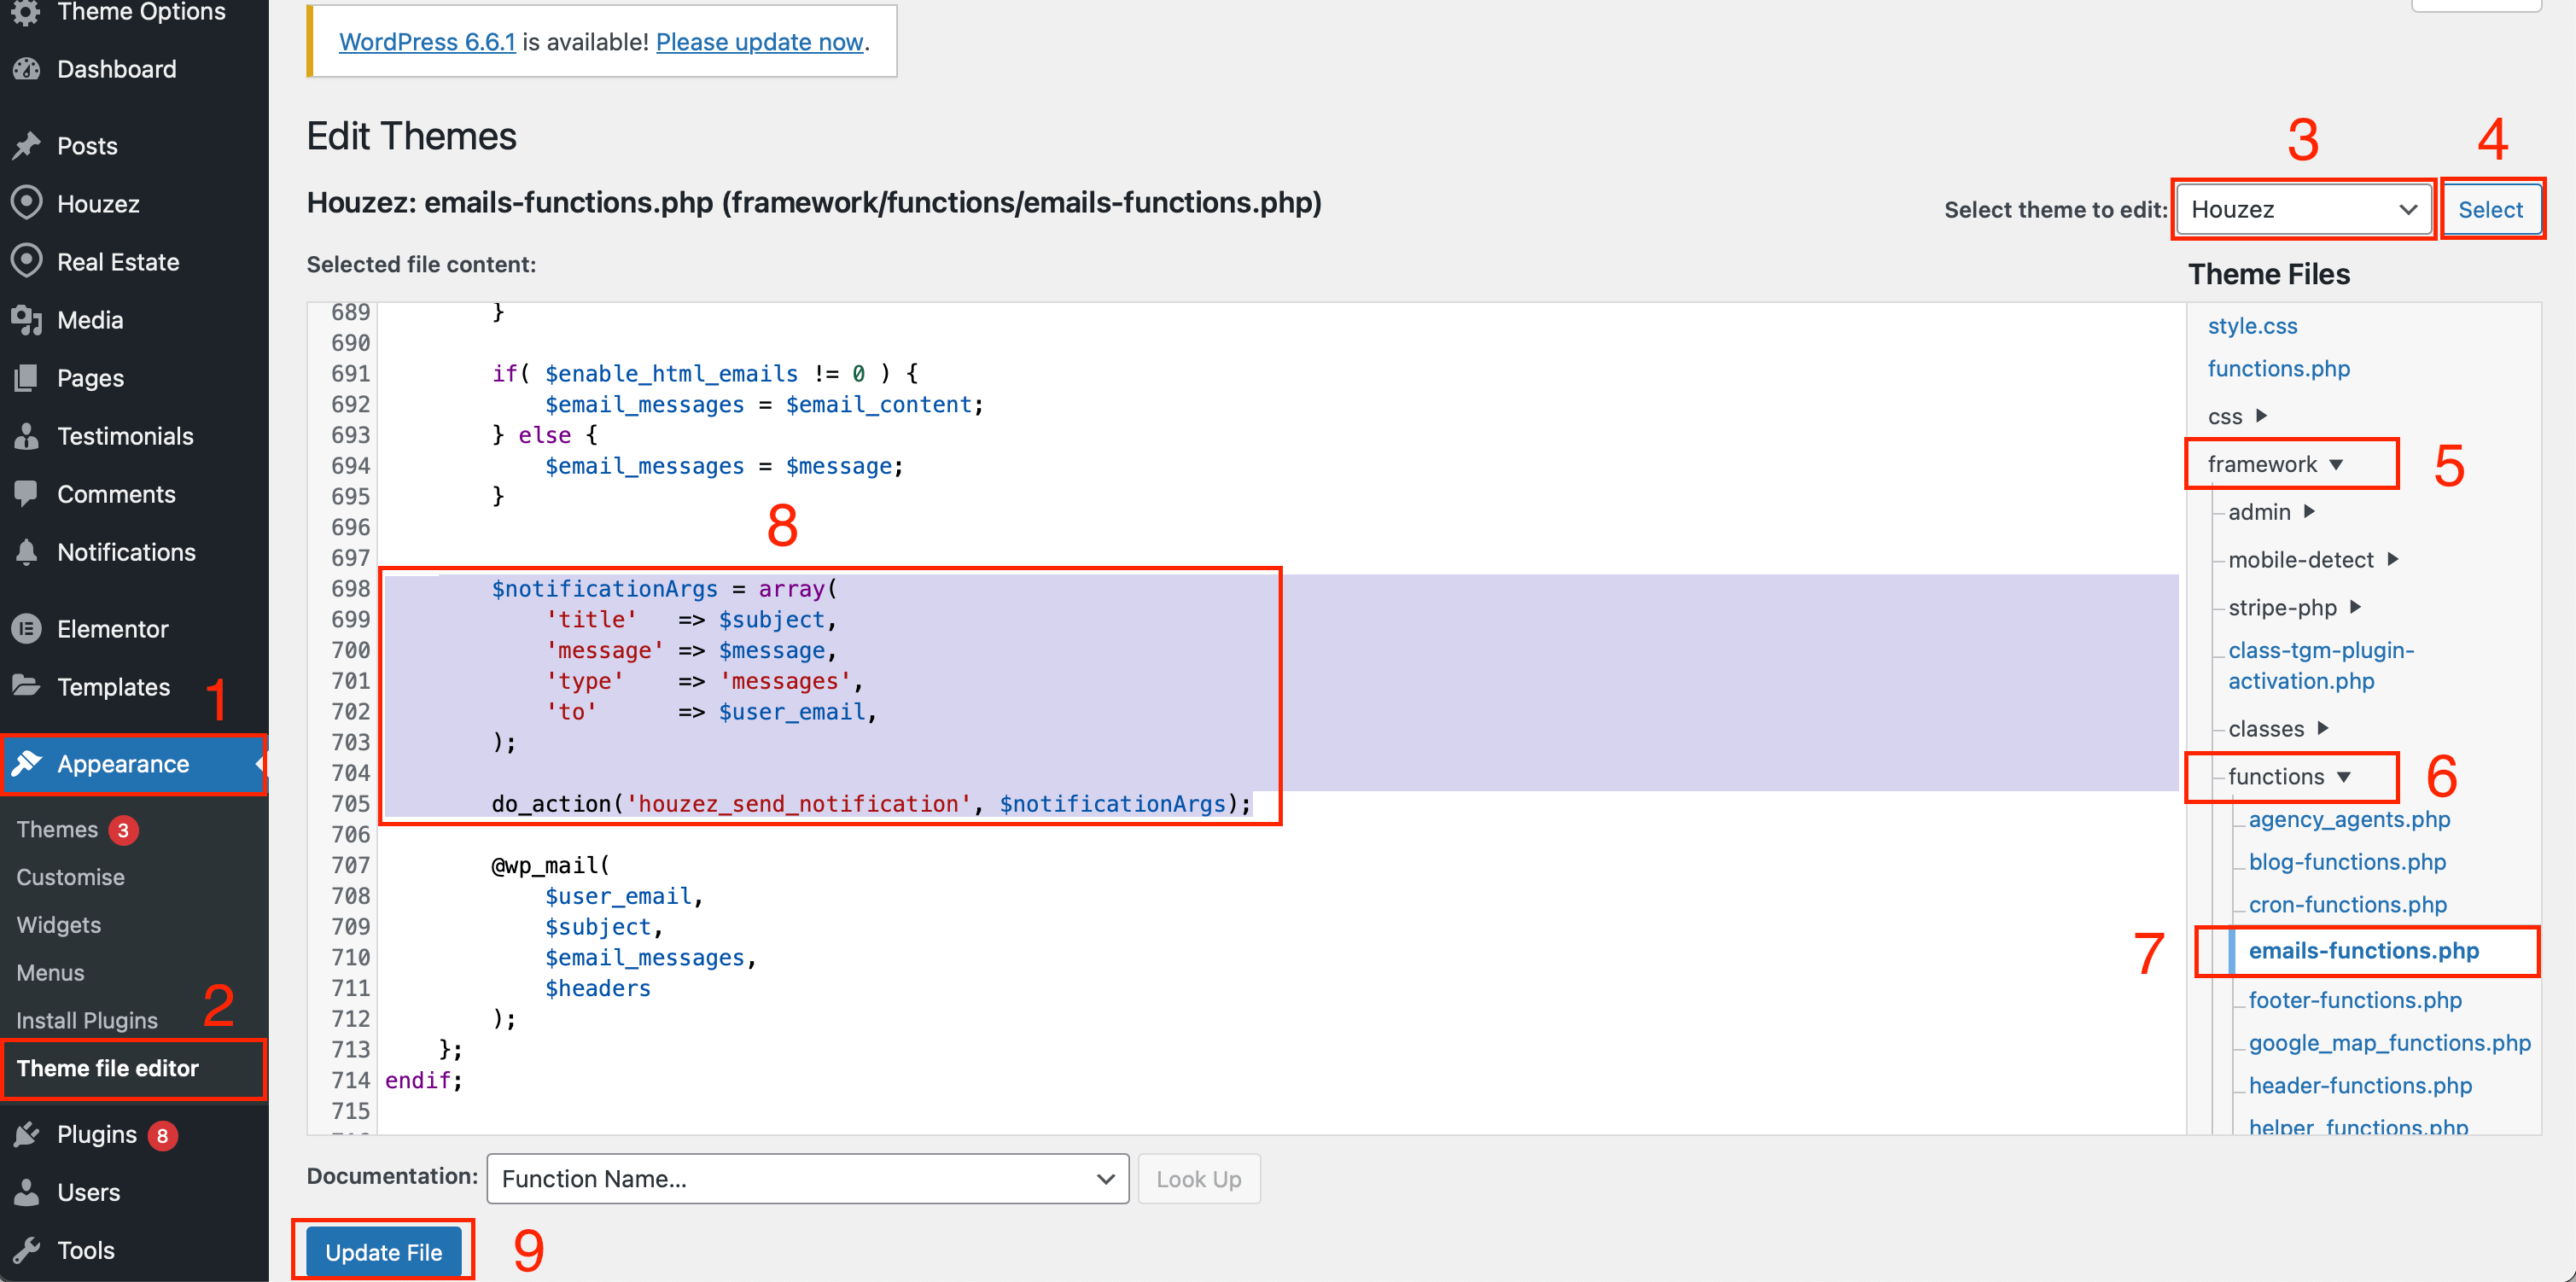
To Enable Push Notifications for Messages in Houzez version 3.2.5 and below, you will need to do following changes manually:
Appearance > Theme File Editor). (If it is not available for you, you will need to enable it via hosting panel. Please consult Wordpress Doc or Youtube to enable this.).framework > functions > emails-function.php).houzez_send_messages_emails.$notificationArgs = array(
"title" => $subject,
"message" => $message,
"type" => "messages",
"to" => $user_email,
);
do_action('houzez_send_notification', $notificationArgs);
Go to the Property Profile section of the Houzi Builder and enable/disable the Direct Message button. Checkout HouziBuilder Listing Details Configurations.
Go to the Navigation Bar section of the Houzi Builder and configure the Direct Messages. Checkout HouziBuilder Navigation Bar Configurations.
Checkout Direct Messages Hooks for further direct messages configurations.
❗️❗️IMPORTANT❗️❗️
Direct Messages Setup on WordPress is required. Please ensure that you have configured Direct Messages on your Wordpress before configuring via HouziBuilder and Hooks.
❗️❗️IMPORTANT❗️❗️
Direct Messages are sent directly to the author of the listing. If the listing is assigned to an agency or an agent, they will not receive these messages. In contrast, when a contact email is sent regarding a listing, it is directed to the assigned agency or agent. This is how Houzez theme designed the messages.
Added in version 1.4.2
--- ## Publishing to the App Store URL: https://houzi-doc.booleanbites.com/tools/publish_on_appstore
This guide walks you through the step-by-step process of publishing your Houzi Flutter app on the Apple App Store, from setting up your developer account to making your app live.
Before you begin, ensure you have the following:
Congratulations! You’ve successfully published your Houzi Flutter App on the Apple App Store. Follow these steps carefully, and you’ll ensure a smooth launch process.
If you have any questions, feel free to reach out. Happy publishing!
--- ## Publishing to the GooglePlay URL: https://houzi-doc.booleanbites.com/tools/publish_on_google_play
This guide walks you through the step-by-step process of publishing your Houzi Flutter app on the GooglePlay store, from setting up your developer account to making your app live.
Before you begin, ensure you have the following:
build/app/outputs/bundle/release/ directory.Google Requires Some Configurations Before Applying to Production
Once app is approved for closed testing. Now is the time to share link with closed testers.
Once the 14-day testing is complete, it is time to Apply for Production.
Once approved, you can release your app to Production.
Your Houzi Flutter App is now published on the Google Play Store. Keep improving it, monitor performance, and engage with users for long-term success!
--- ## Setup AI Features URL: https://houzi-doc.booleanbites.com/tools/setup_ai_featuresHouzi now ships with built-in AI features that make your real estate app smarter for your users. The AI features are powered by your own AI provider account (bring your own key), so you stay in full control of the provider, the model, and the cost.
There are three AI features in the app:
The home screen greets users with a natural language search box and a Tailored for You section — AI-generated shortcuts based on the taxonomies of your website (property types, statuses, and features), along with Top Matches for You. See the Home AI Layout guide to select this design and configure the AI widgets.
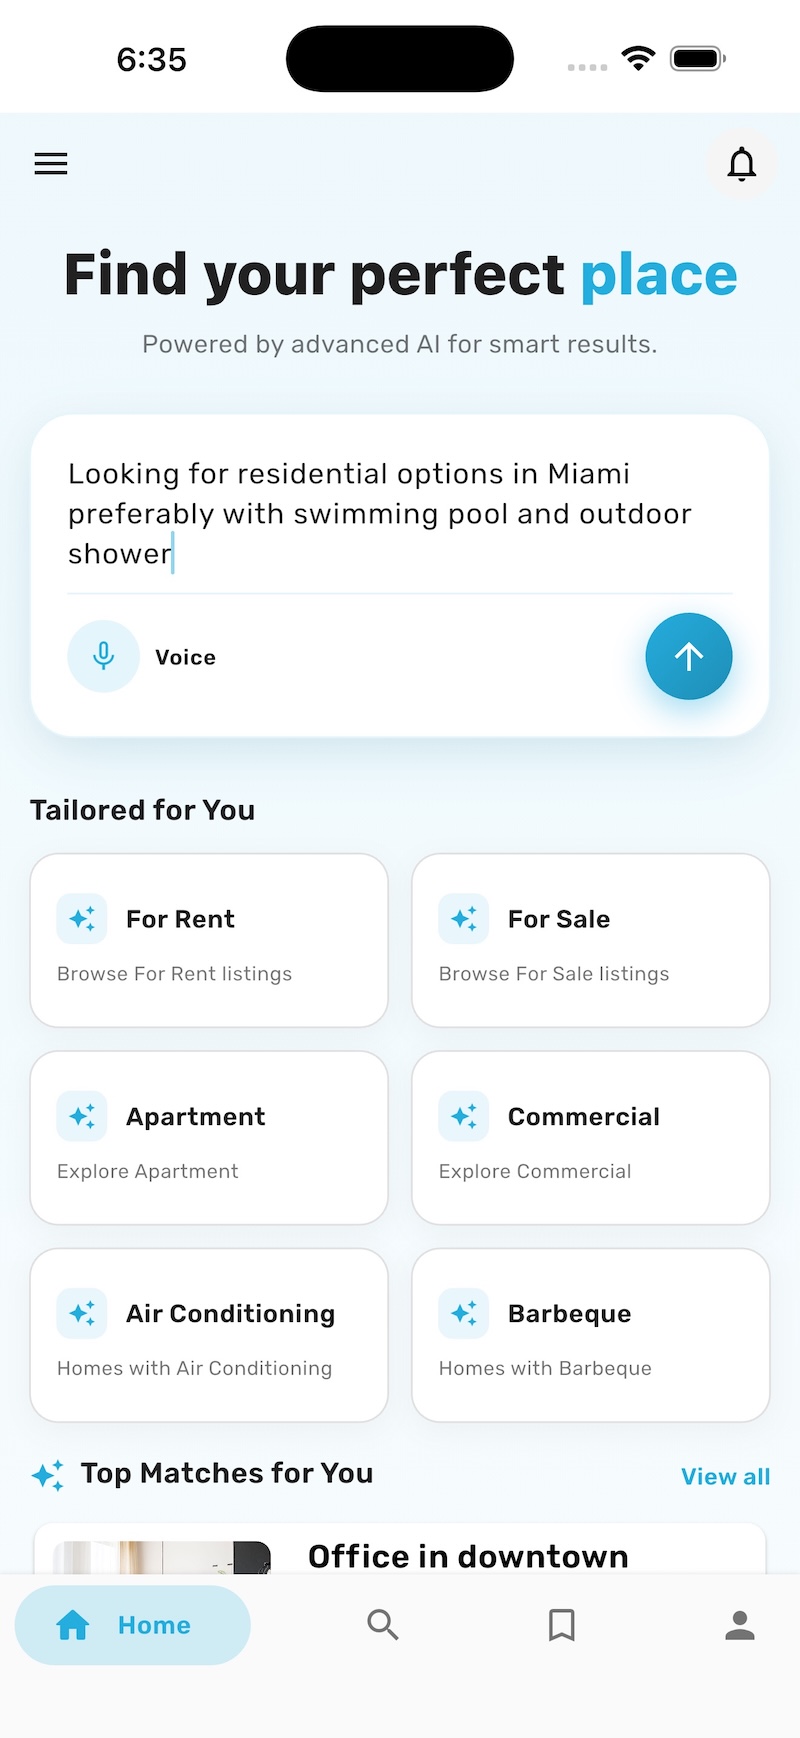
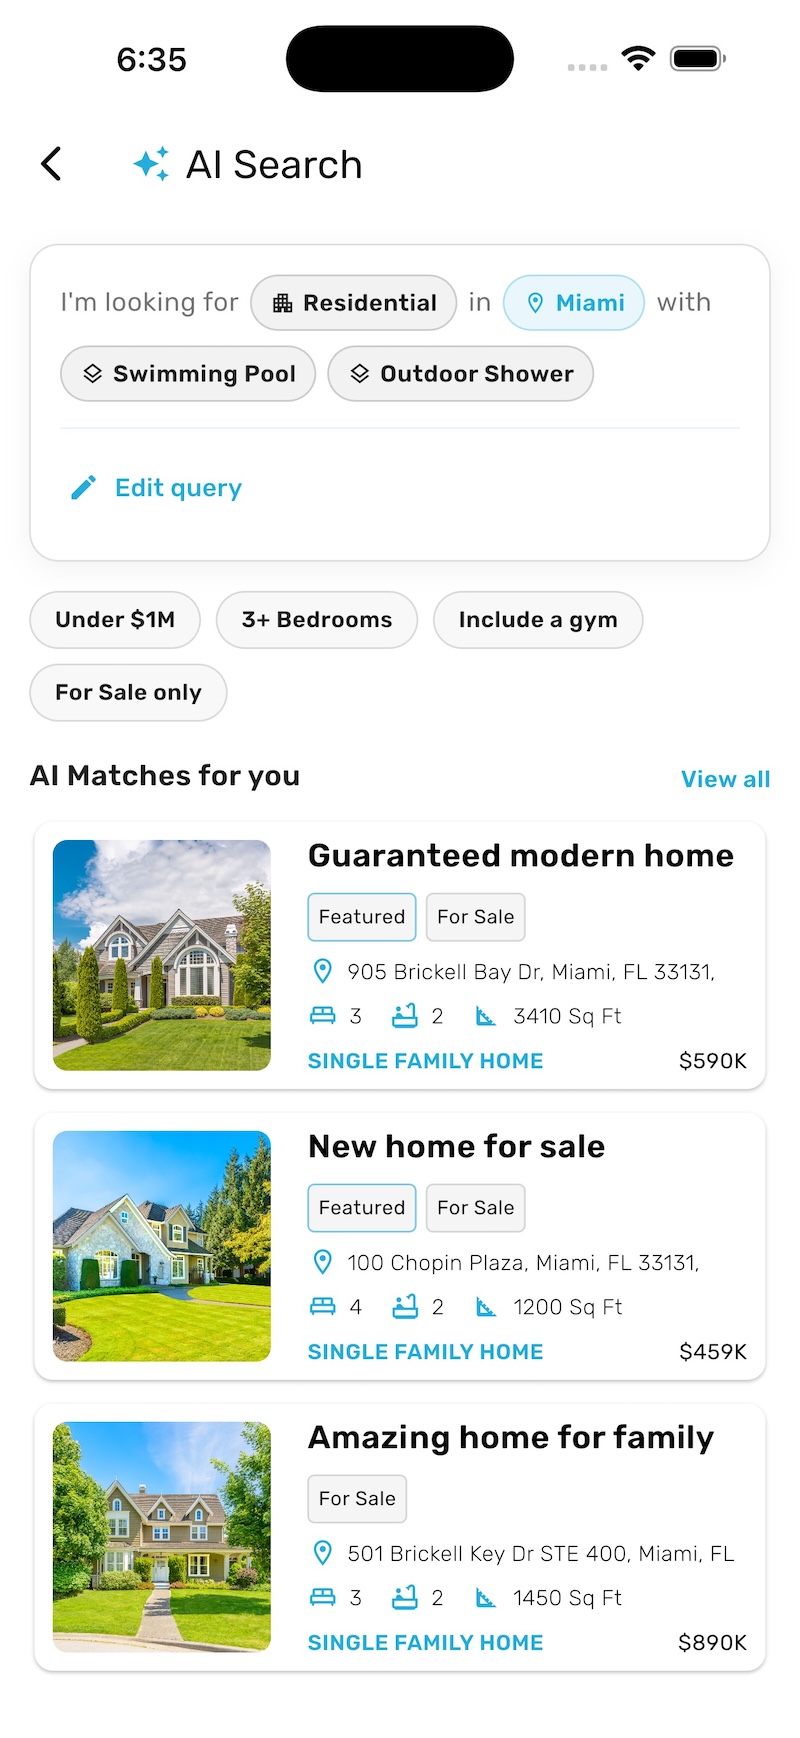
Users can type (or speak) what they’re looking for in plain language — for example, “Looking for residential options in Miami preferably with swimming pool and outdoor shower”. The AI understands the query, converts it into structured search filters (property type, location, features), and shows matching listings. Users can refine further with suggested follow-up chips like Under $1M or 3+ Bedrooms.
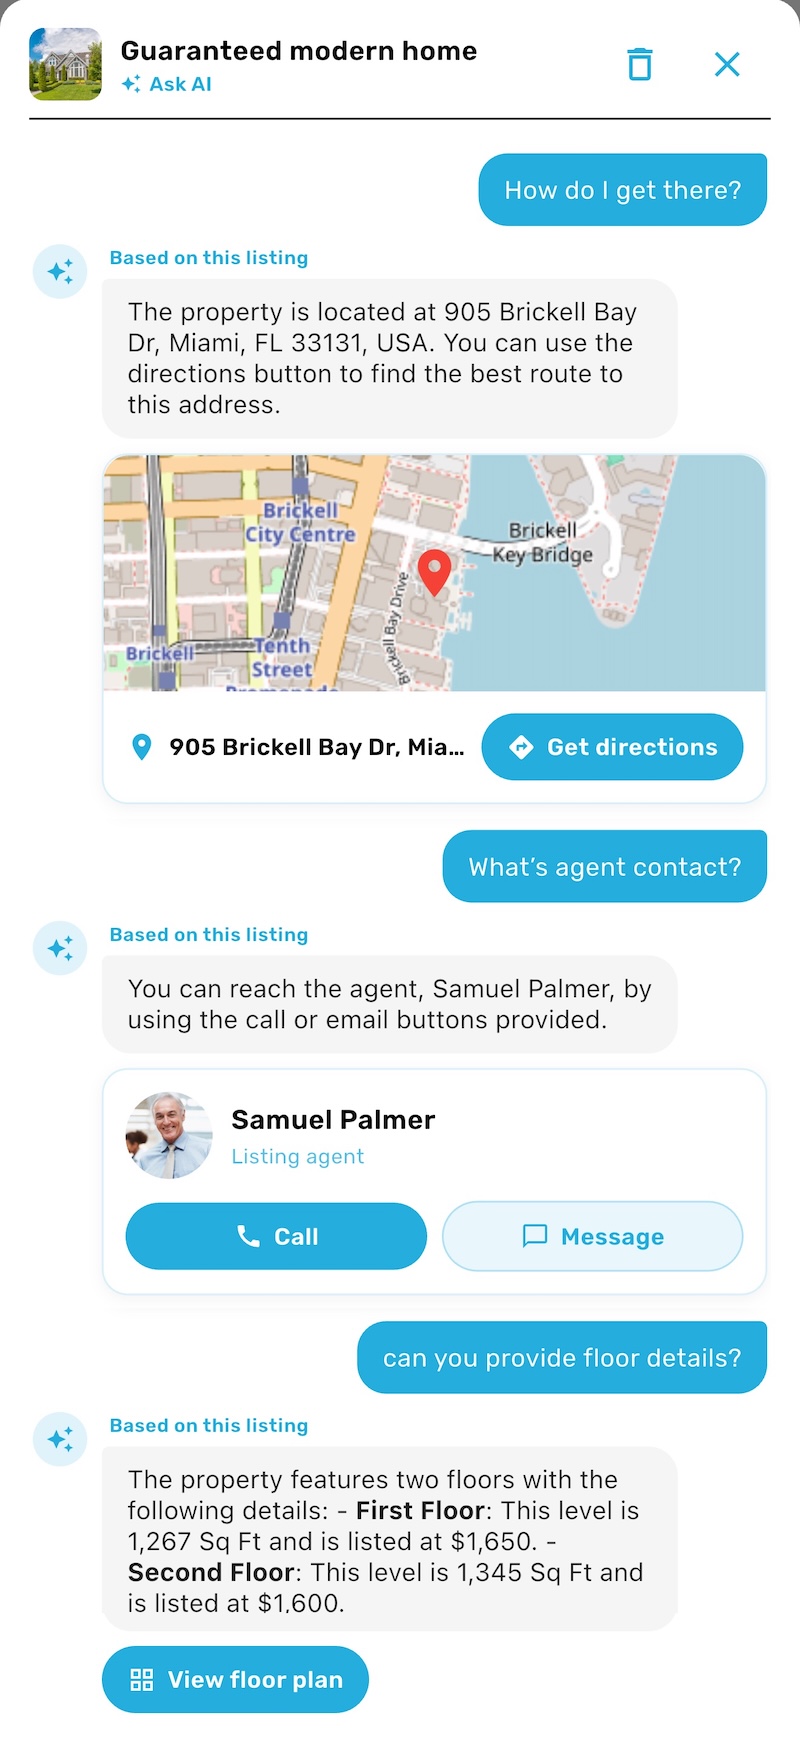
On the property details screen, buyers can chat with AI about the listing. The AI answers questions strictly based on the listing data — directions to the property, agent contact, floor details, and more — with rich, actionable cards (map with directions, agent call/message buttons, floor plan).
The AI features require:
Update the Houzi Rest Api plugin on your WordPress site and rebuild your app with the latest Houzi version. If you’re upgrading an existing project, follow the 1.4.8 Migration Guide first.
In your WordPress admin, go to Houzi Rest Api → AI tab.
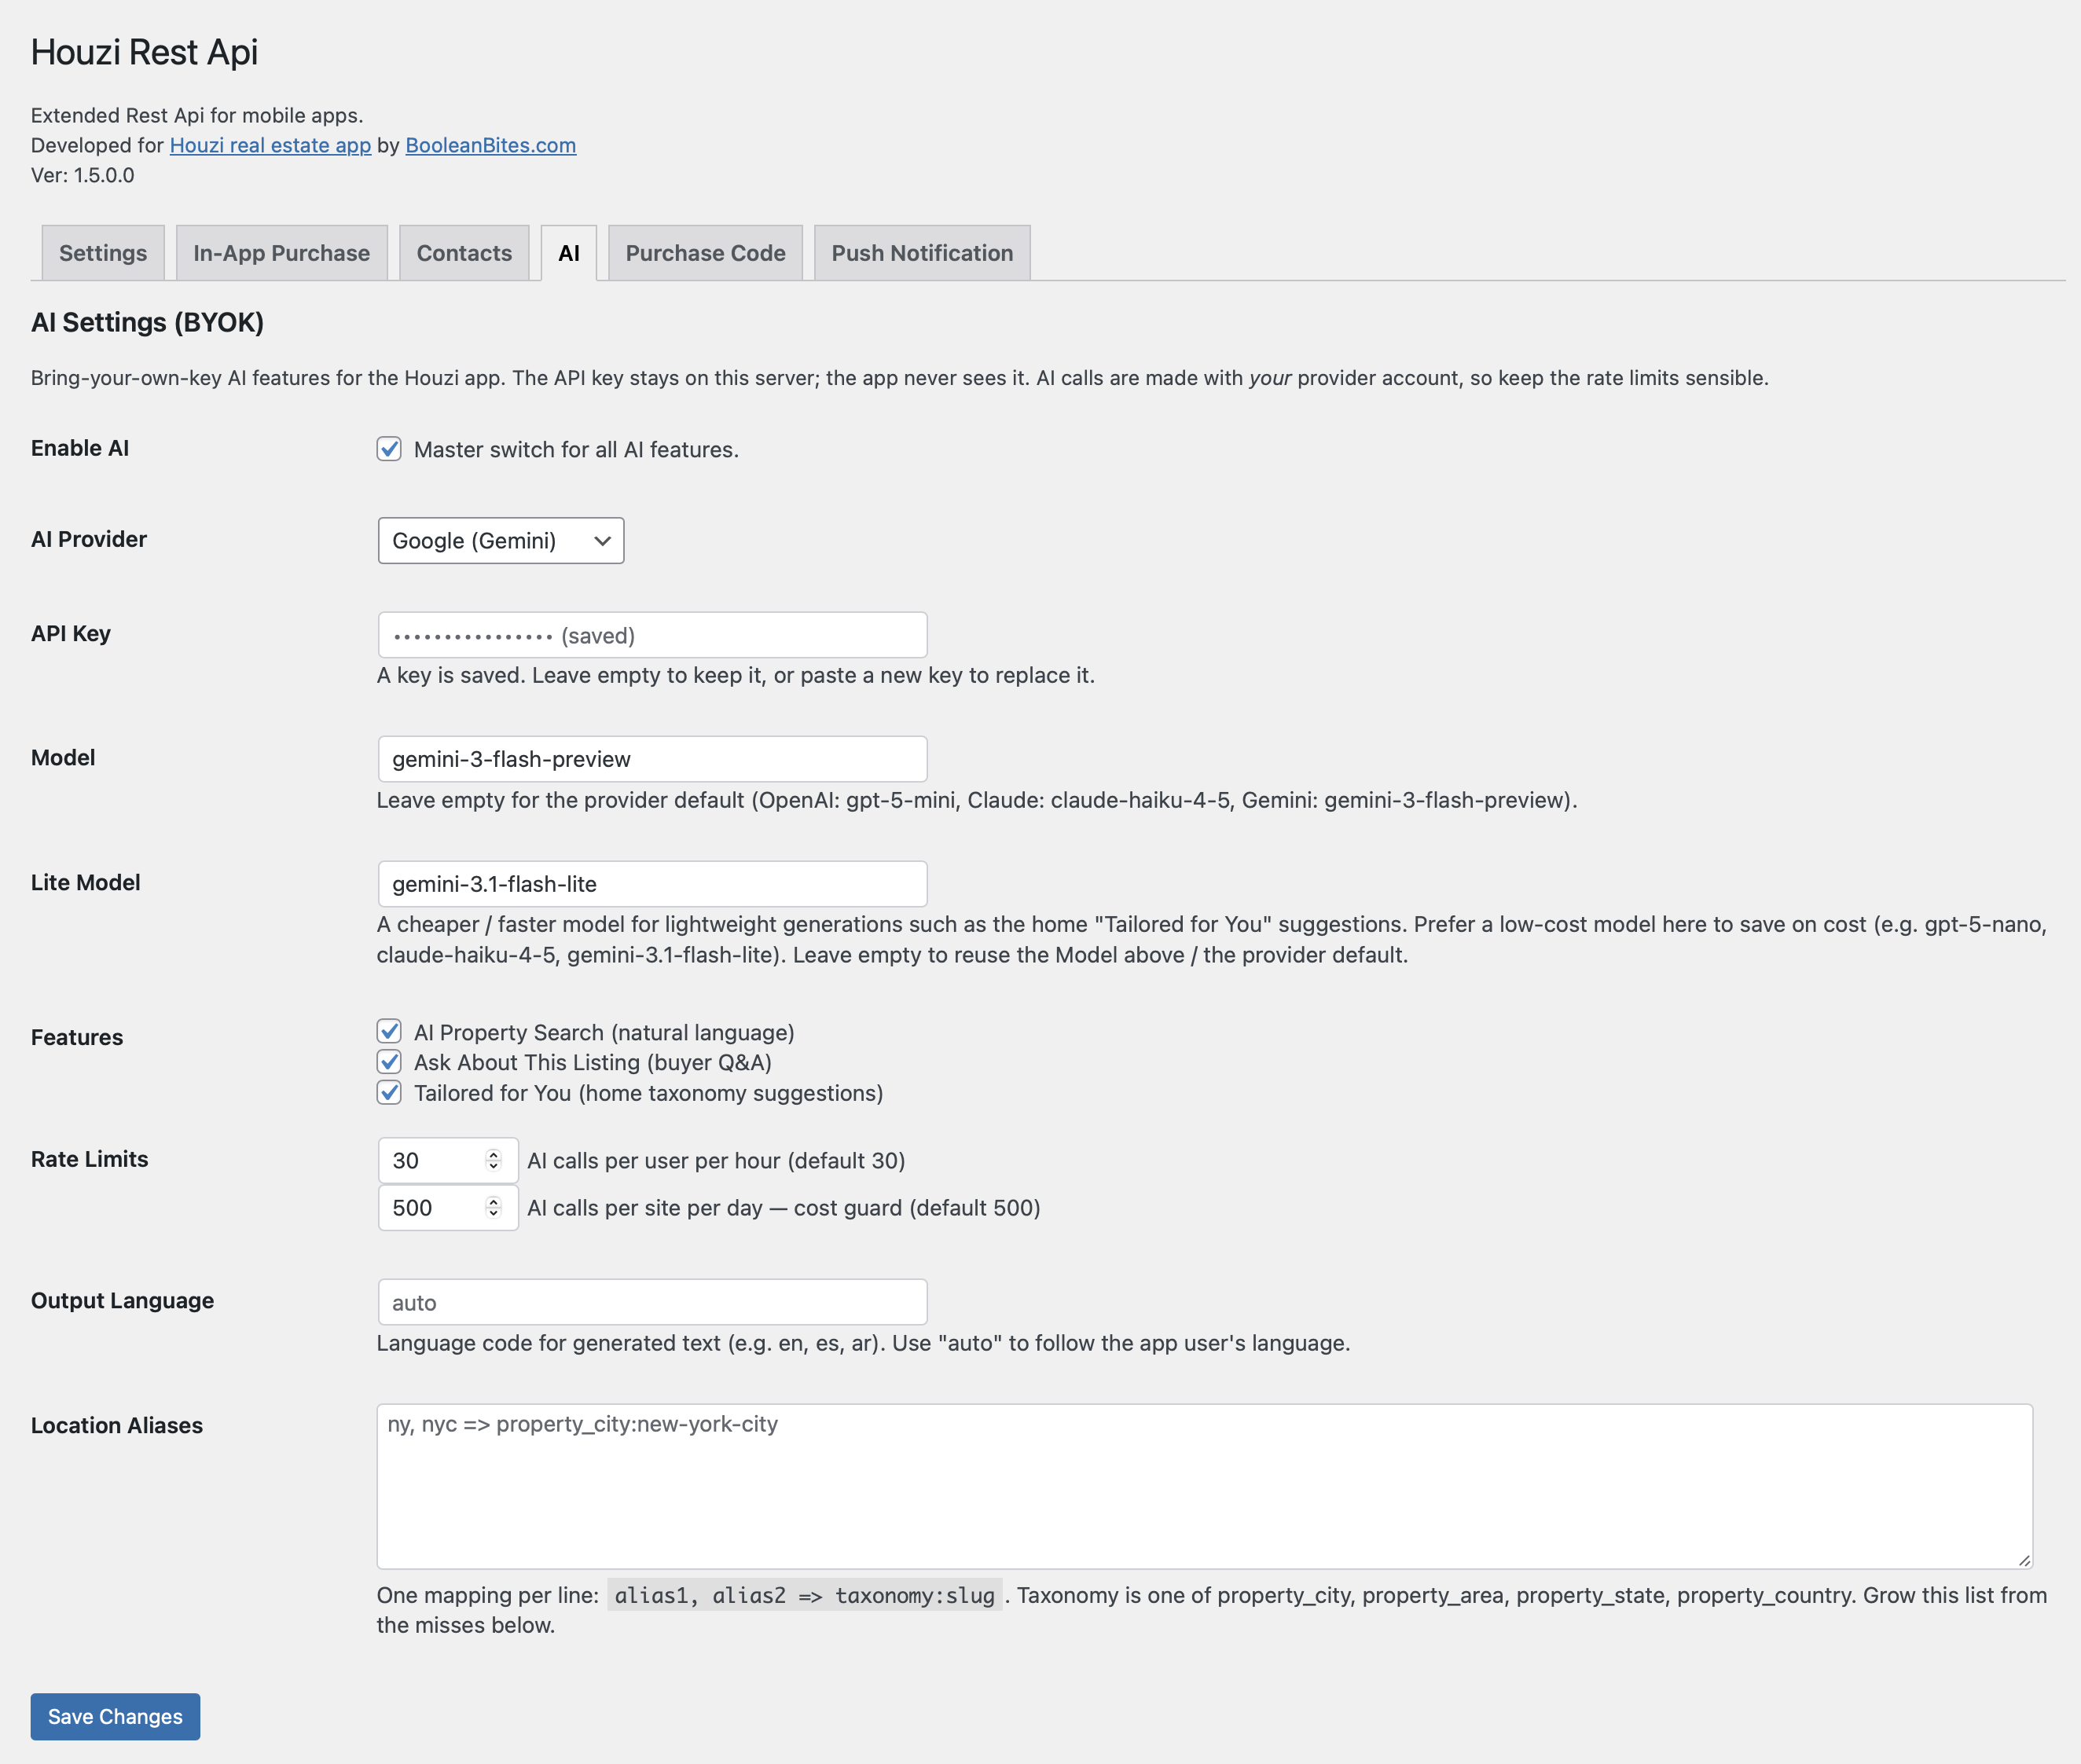
Turn on Enable AI — the master switch for all AI features.
Houzi AI works on a bring-your-own-key (BYOK) model. Your API key stays on your server; the app never sees it. Pick one of the supported providers and paste its API key:
Select the provider in the AI Provider dropdown and paste the key in the API Key field.
Since AI calls are billed to your provider account, we recommend using the flash / lite / mini model of each provider. They are very cost effective and more than sufficient for the features Houzi offers:
| Provider | Recommended Model | Recommended Lite Model |
|---|---|---|
| Google (Gemini) | gemini-3-flash-preview |
gemini-3.1-flash-lite |
| Claude (Anthropic) | claude-haiku-4-5 |
claude-haiku-4-5 |
| OpenAI | gpt-5-mini |
gpt-5-nano |
Note: These are the recommended models as of writing this doc (23 July 2026). Please check your provider’s website for the latest available models when you set this up — newer flash / lite variants may have been released since.
Under Features, toggle each AI feature individually:
en, es, ar). Use auto to follow the app user’s language.ny, nyc => property_city:new-york-city. Grow this list from the misses the plugin reports below the field.Hit Save Changes — and that’s it. Launch the app and the AI features will light up on the home screen.
--- ## Houzi Project Components URL: https://houzi-doc.booleanbites.com/app-setup/houzi_project_components
The Houzi project is a real estate app designed using Flutter and includes several essential components. This document outlines the major parts of the project and their purpose, providing developers with a comprehensive understanding of how each piece works.
This is the main part of the Houzi project and follows a standard Flutter project structure. The Flutter project contains two critical files:
The houzi_package is the core of the app, containing all of the code that powers Houzi’s features and functionality. While the Flutter project depends on this package, it exists as a separate component. This separation allows for easier upgrades when a new version of Houzi is released.
The Android native project is the part that interacts with Android-specific functionalities like Firebase, push notifications, and Android-specific permissions. You will need to edit following things when configuring the project for the first time.
Once set up initially, updates to the houzi_package usually do not require editing the Android project files.
Similar to the Android native project, the iOS native project is responsible for iOS-specific features like push notifications and deep linking. You will need to edit following things when configuring the project for the first time.
This part generally doesn’t need editing when updating the houzi_package unless you need to change core settings or app branding.
The assets directory contains all the static files used by the app, including:
Typically, this directory remains unchanged when upgrading the houzi_package unless you need to update your custom branding or design elements.
The configurations.json file is a vital part of the app’s customization. It includes:
hooks_v2.dart file and the configurations JSON file, allowing for deep personalization without modifying the core code.
You can use Houzi Config Builder to Change Website URL and provide many other URLs required for the app.
Open the Project_HOME > assests > configuration > configuration.json file, and look for wordpress_url_domain and wordpress_url_scheme. Replace with your own domain and scheme.
//Mandatory
"wordpress_url_scheme": "https",
"wordpress_url_domain": "domain.com",
"wordpress_url_path": "",
if your website URL does not contain a subpath then leave wordpress_url_path as it is.
You need to provide following URL to your website pages
//Optional
"app_terms_url": "https://domain.com/terms.html",
"app_privacy_url": "https://domain.com/privacy.html",
"app_terms_of_use_url": "https://domain.com/terms.html",
"wordpress_url_gdpr_agreement": "https://domain.com/gdpr.html",

/// Your Company Related
"company_url": "https://booleanbites.com",
Important: If you are using non secure domain, add your domain to following files for mobile systems to allow communication to non-secure domain:
network_security_config.xmlNSAppTransportSecurity key in info.plistRead guides here:
Since this is a Flutter app, and it generates both Android and iOS projects. You’ll need to change icons in each platform project.
Flutter Launcher Icons has been designed to help quickly generate launcher icons for both Android and iOS:
pubspec.yaml file (within your Flutter project) to use it.
dev_dependencies:
  flutter_launcher_icons: "0.9.2"
pubspec.yaml file specify the path of the icon you wish to use for the app and then choose whether you want to use the icon for the iOS app, Android app or both.
flutter_launcher_icons:
  android: true
  ios: true
  image_path: "assets/icon/icon.png"
flutter pub get
dart run flutter_launcher_icons
The default launcher icons have now been replaced with your custom icon.
You can manually replace icons in Android and iOS projects at following places:
Project_HOME > android > app > src > main > res > drawableProject_HOME > ios > Runner > Assets.xcassetsKeep in mind, in a manual method, you’ll have to generate icons in different resolutions. There’s plenty of tools available that can take your high-res icon and convert them to platform supported resolutions.
Starting from Android OS 8 api 26, Android has provided adaptive icons option. An adaptive icon, or AdaptiveIconDrawable, can display differently depending on individual device capabilities and user theming.
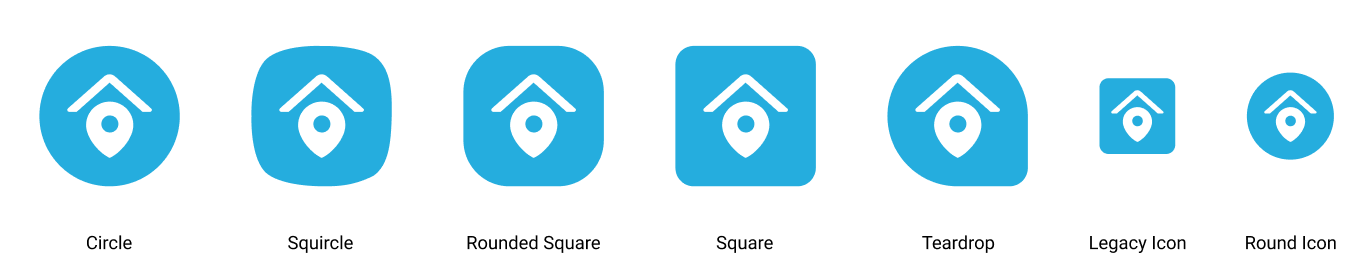
We also have included a sample adaptive icon in android project. Either you can provide your own adaptive icon or remove those icons.
replace these files with your own:
 res / drawable / icon_background.xml
 res / drawable / icon_foreground.xml
rename the res / mipmap-anydpi-v26 / ic_launcher_rename_if_required.xml to ic_launcher.xml
To provide your own icon as adaptive, you’ll need to design your icon as an svg and then export both the background and foreground layers in separate svg files. Later either convert them to Android vector or import them using android import tool from Android Studio. Importing an SVG or PSD file
If you keep the file name same as above, then nothing more need to be done. Otherwise you’ll need to reference these newly imported files in res / mipmap-anydpi-v26 / ic_launcher.xml as foreground and background of your vector.
For 1.3.0 and above, nothing needed.
For 1.2.0 and below, remove following files:
res / drawable / icon_background.xml
res / drawable / icon_foreground.xml
res / mipmap-anydpi-v26 / ic_launcher.xml
Starting from Android 13 (API level 33), Android introduced a feature for Themed Icons. Themed icons dynamically adjust their color based on the user’s chosen wallpaper and system-wide theme, giving your app a modern and personalized look. When a user applies a new wallpaper, the icon color will adapt to complement the overall theme of the device, ensuring visual harmony.
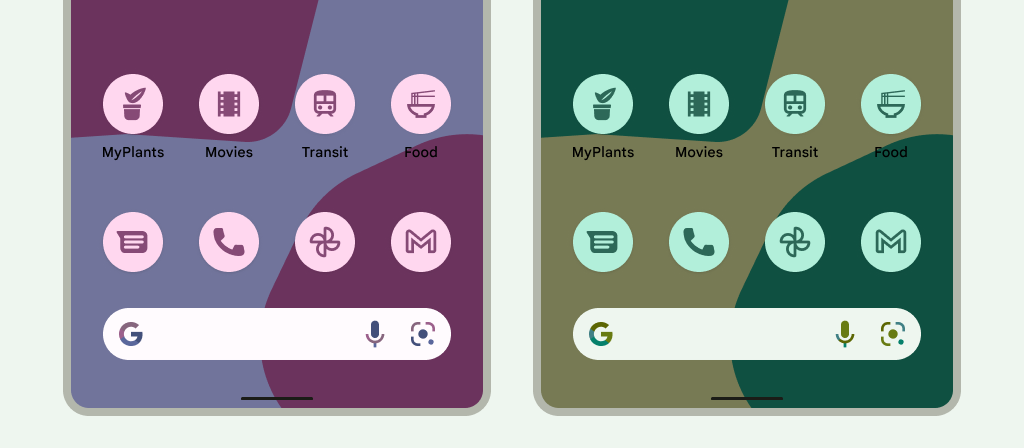
To add support for themed icons in your app, follow these steps:
Create a Monochrome Icon: Your themed icon needs to be a monochrome version of your primary icon. This will be used for theming purposes.
Add to Android Project: Add the monochrome icon file in the Android project and update the launcher configuration.
res/drawable/monochrome_icon.xml if it is a new iconres/mipmap-anydpi-v26/ic_launcher.xml file like so:<adaptive-icon xmlns:android="http://schemas.android.com/apk/res/android">
<background android:drawable="@drawable/icon_background"/>
<foreground android:drawable="@drawable/icon_foreground"/>
<monochrome android:drawable="@drawable/monochrome_icon"/> <!-- this can be icon_foreground or a separate monocrhome icon>
</adaptive-icon>
If you want to know more about adaptive icons, read more here: Adaptive Icons
--- ## App display name URL: https://houzi-doc.booleanbites.com/app-setup/change_app_display_name
By default the display name for the app is set to Houzi. For Android, you can change it in AndroidManifest.xml. For iOS, you can change it in info.plist.
Open AndroidStudio, expand android > app > src > main project folder, and find AndroidManifest.xml
Look for the application tag, and replace android:label attribute with your own display name.
open Xcode, and click on the project name (Runner) on the top left side and click on Info tab, you should see the Bundle Identifier option, change its value with your own. Project_HOME > ios > Runner > Info > Bundle Name
Replace Bundle Name value with your display name.
--- ## App bundle identifier & version URL: https://houzi-doc.booleanbites.com/app-setup/change_app_identifier
Mandatory App bundle identifiers are unique identifiers for your apps, they’re globally unique. Most of the time, you can reverse your website domain to create an identifier for your app. For example:
com.domain.app_name
This guide consists of following sections:
Once you’ve decided the unique identifiers, you need to replace existing with your own package identifier.
Important Once you have changed the bundle identifier, you will be required to setup your own firebase projects. App will not compile if you just change your package identifier and not setup your own firebase.
You’ve to change package info in two places. build.gradle and AndroidManifest.xml
To change the package in build.gradle, follow these steps:
Project_HOME > android > app > build.gradleapplicationId and replace the value with your own.versionCode and replace the value with your own. versionCode is for developers to keep track of builds.versionName and replace the value with your own. versionName is for the public.namespace in the android block and replace the value with your own.To change the package in AndroidManifest.xml, follow these steps:
houzi > android > app > src > main > AndroidManifest.xmlpackage="com.houzi.app" with your own package name like package="your.package.name".android > app > src > main > kotlin > your > package > name > all_kotlin_files
Suggestion We suggest renaming the folders manually using Finder or Windows Explorer. Then change the package declaration in kotlin files as well, for example in all kotlin files change this line:
package com.houzi.appTo your own package like this:
package your.package.name
If you want to support push notification, you have to do following steps:
houzi > android > app > src > main > AndroidManifest.xml<meta-data android:name="com.onesignal.NotificationServiceExtension"
android:value="com.houzi.app.NotificationServiceExtension" />
It should become something like this:
<meta-data android:name="com.onesignal.NotificationServiceExtension"
          android:value="your.package.name.NotificationServiceExtension" />
To change the package name or bundle id, you have to open the project in Xcode.
For iOS, open Xcode, and click on the project name (Runner) on the top left side and click on General tab, you should see the Bundle Identifier option, change its value with your own.
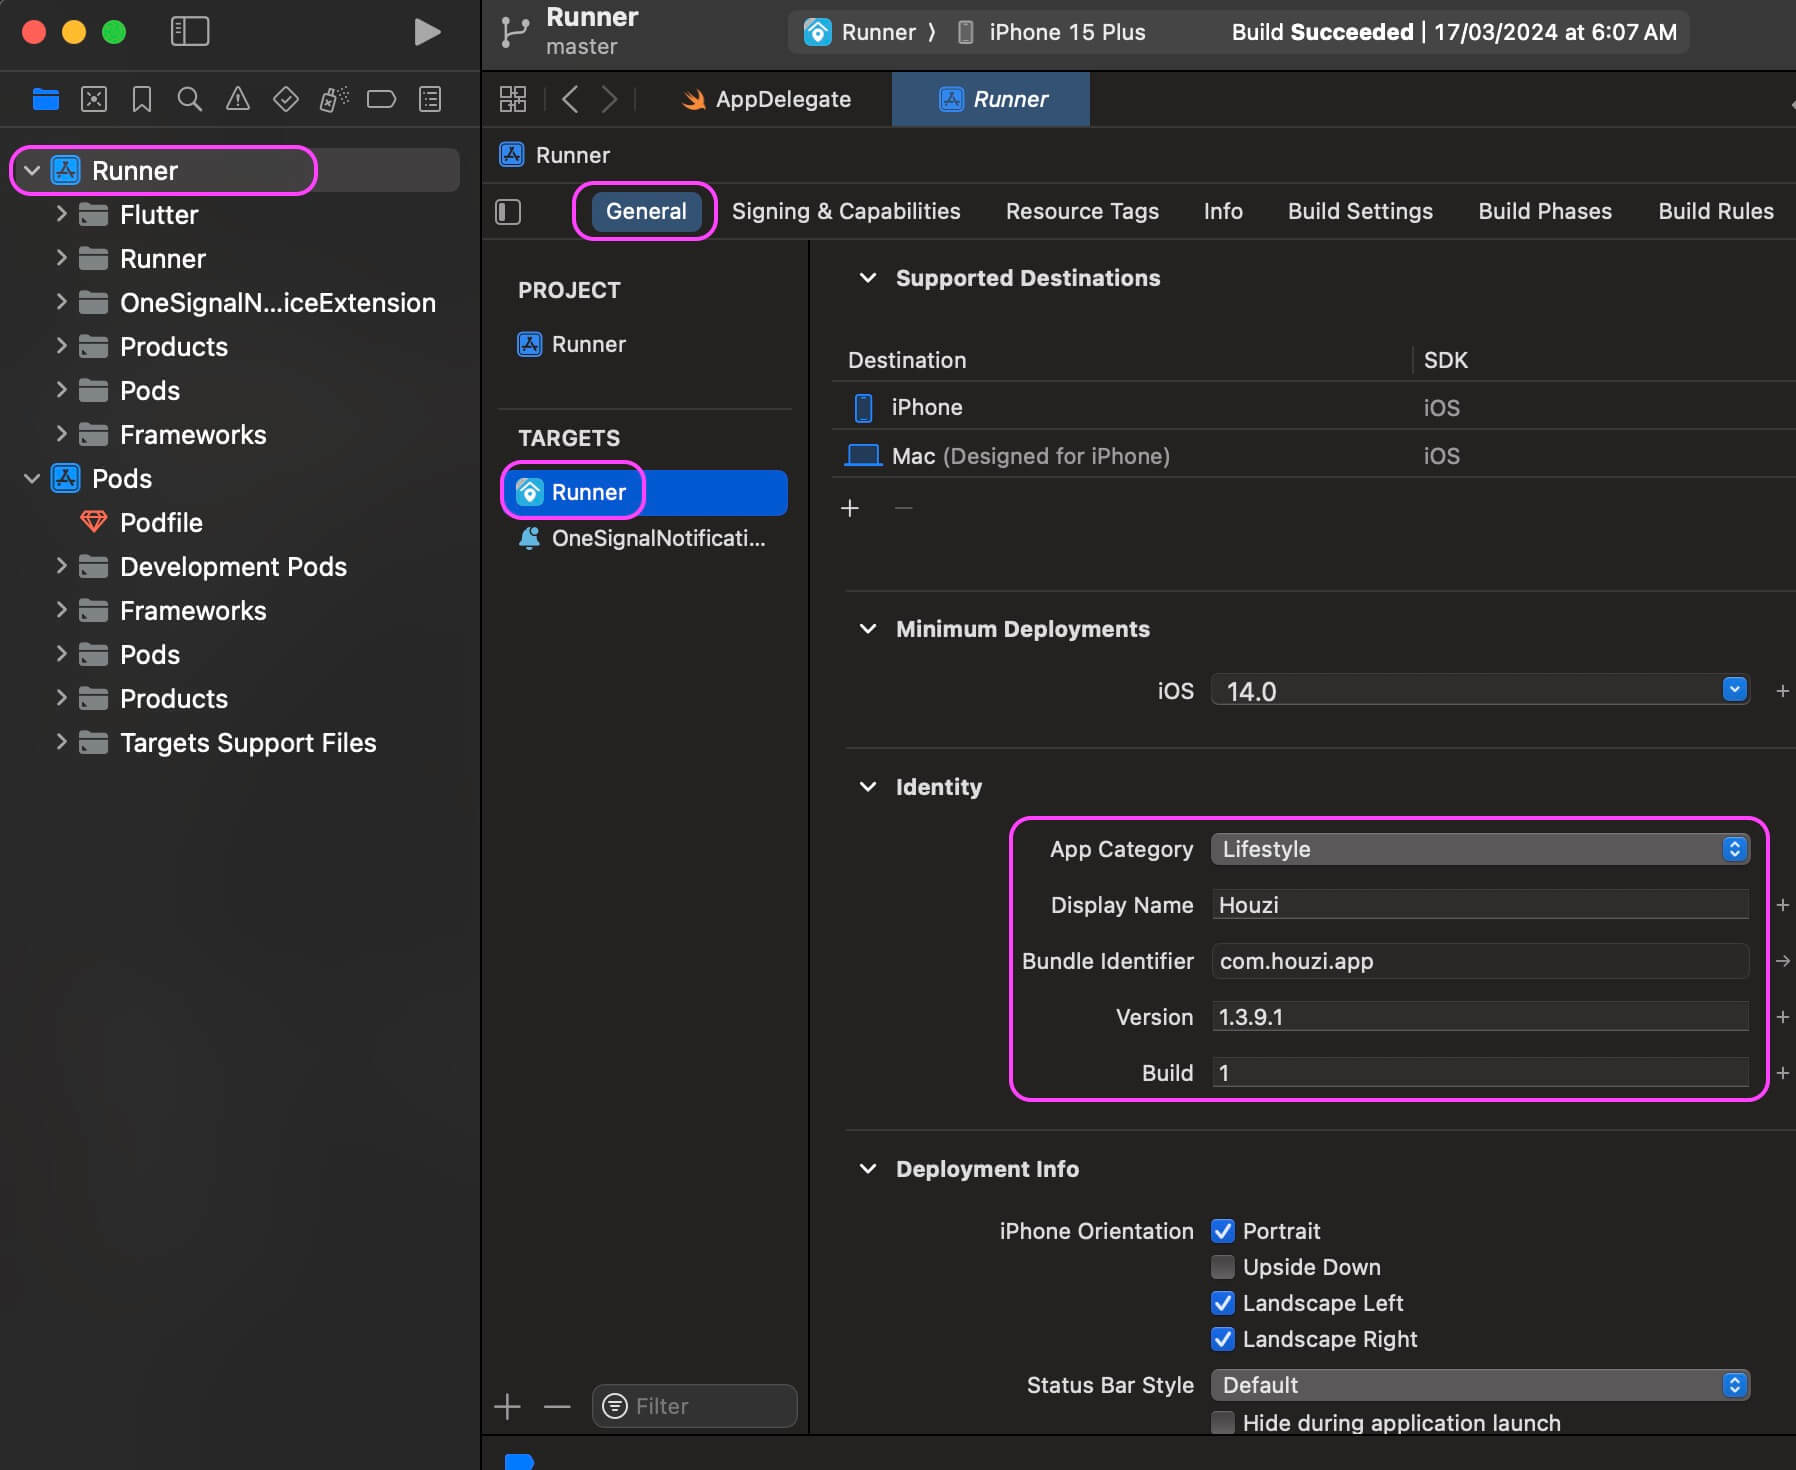
open: Project_HOME > ios > Runner > General > Bundle Identifier
If you want to enable OneSignal Push Notification, then you also need to update the App Group bundle identifier in two places.
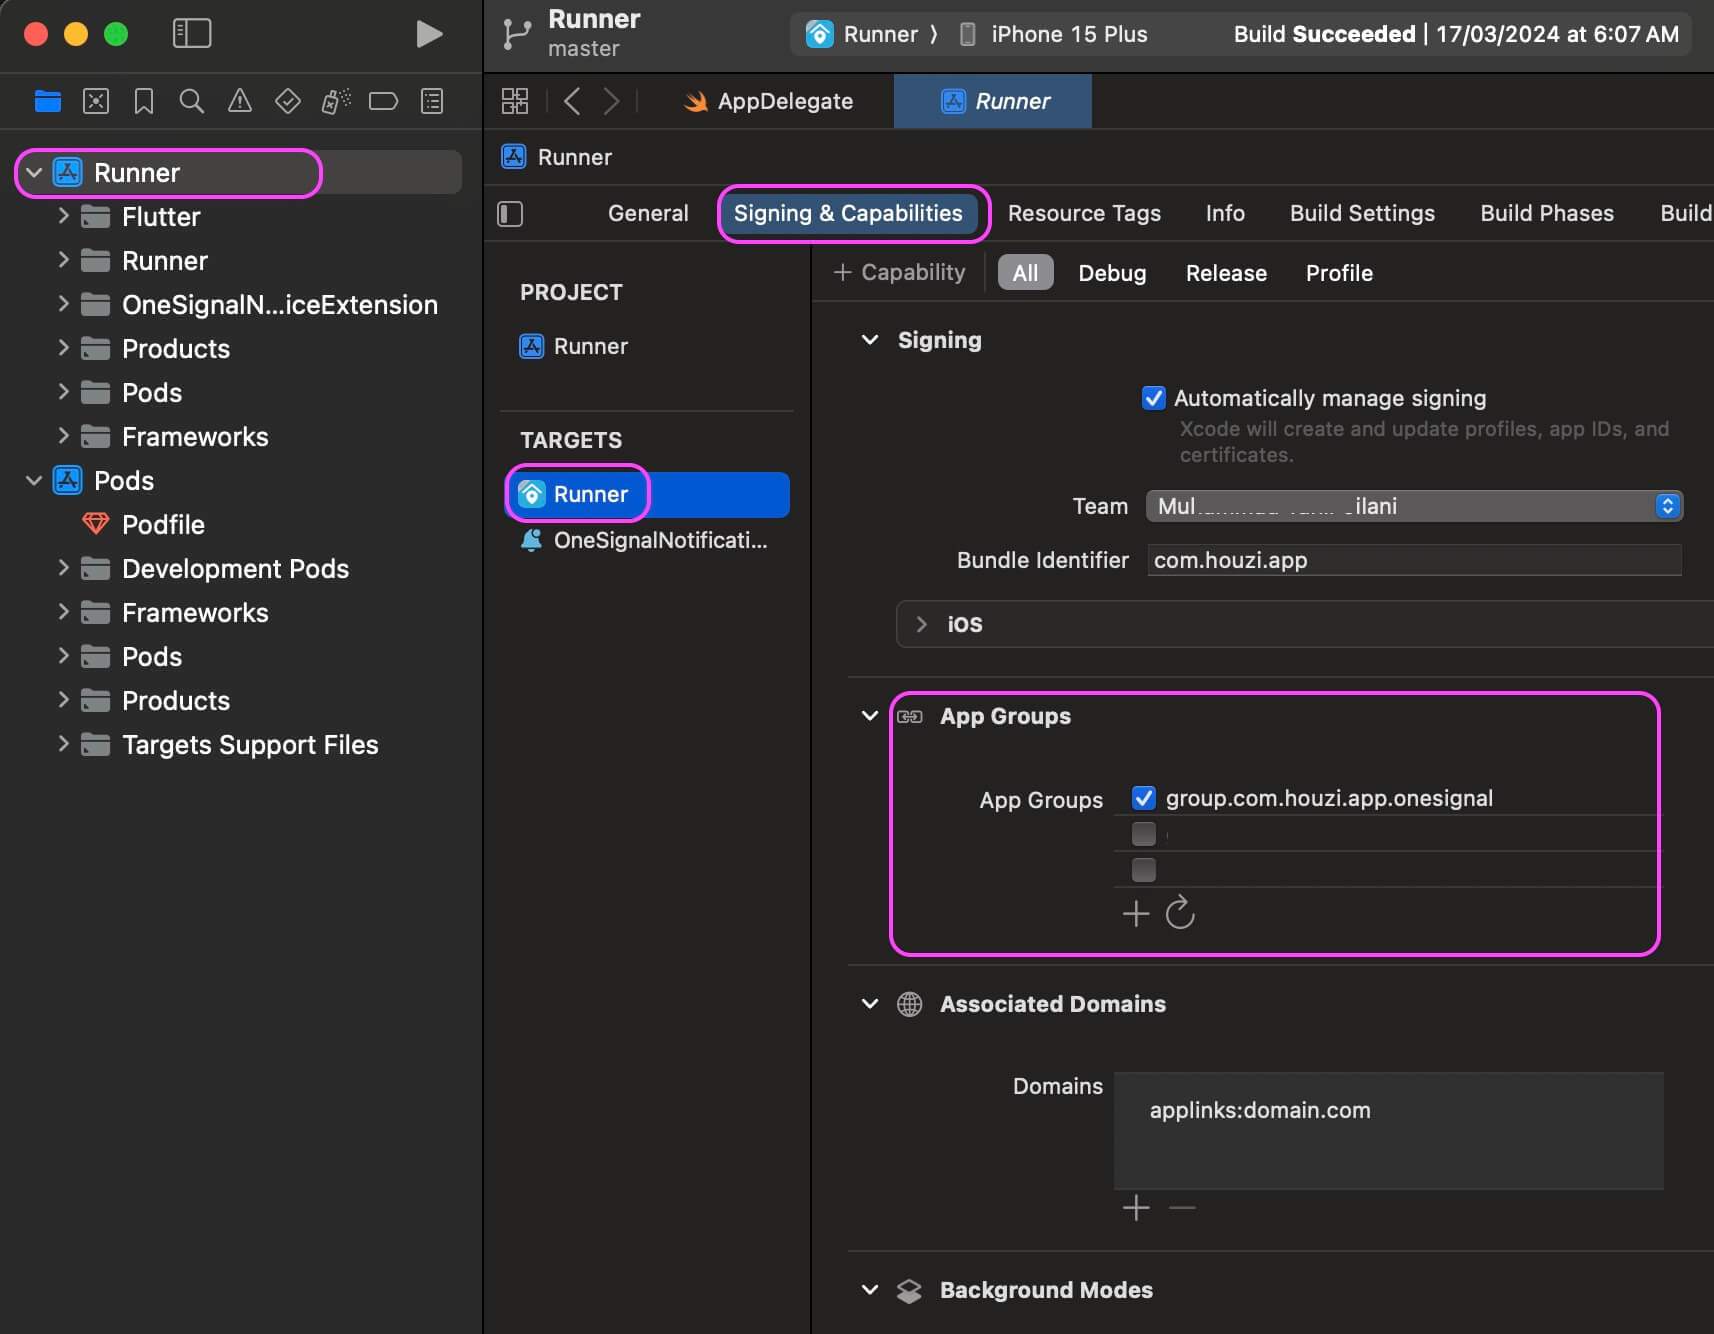
open: Project_HOME > ios > Runner > Signing & Capabilities > App Groups
Set the App Groups in signing to be group.YOUR_BUNDLE_IDENTIFIER.onesignal where YOUR_BUNDLE_IDENTIFIER is the same as your Main Application “Bundle Identifier”.
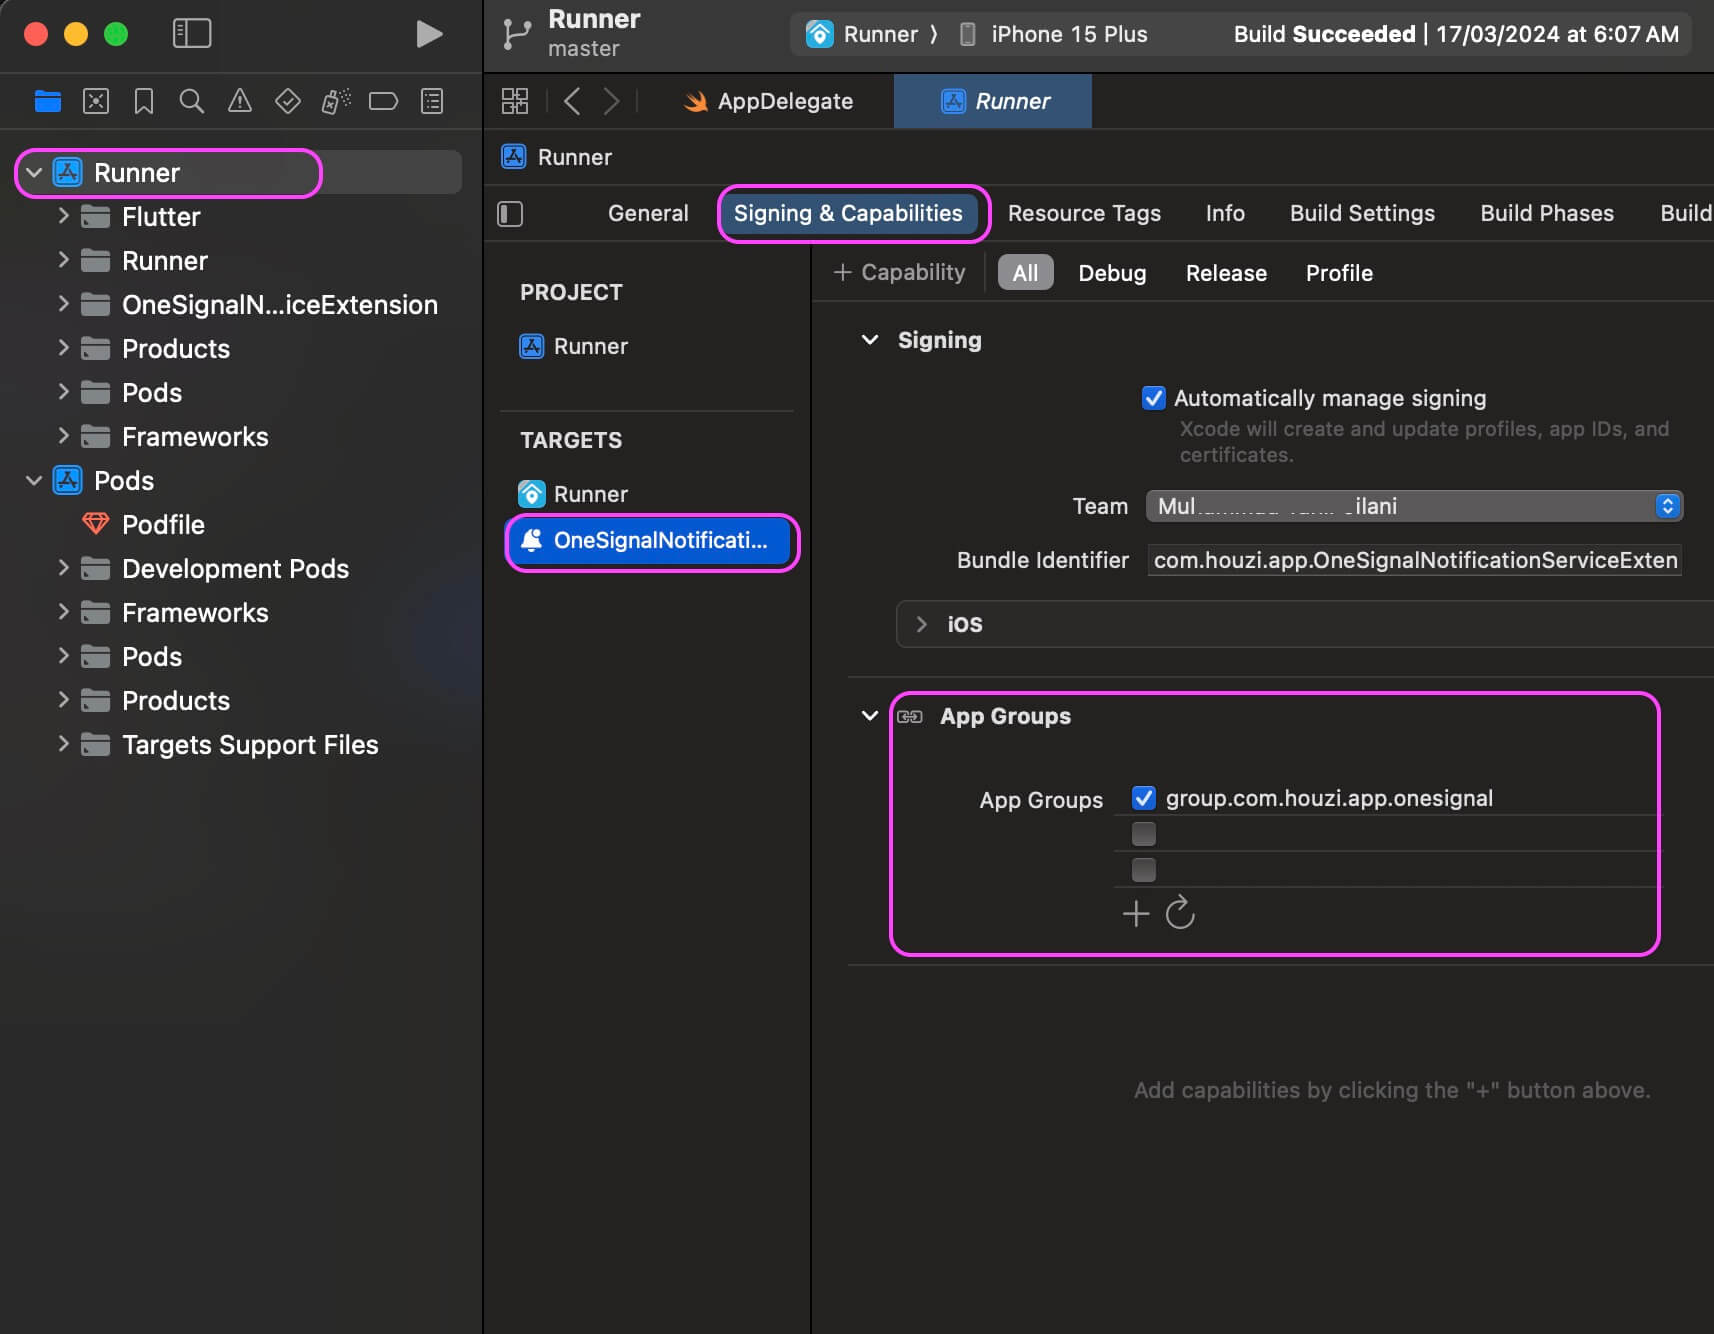
open: Project_HOME > ios > OneSignalNotificationServiceExtension > Signing & Capabilities > App Groups
Set the App Groups in signing to be group.YOUR_BUNDLE_IDENTIFIER.onesignal where YOUR_BUNDLE_IDENTIFIER is the same as your Main Application “Bundle Identifier”. Make sure it is the same as you have in your Main Runner Target App Group.
You can use Houzi Config Builder to change Theme Colors and many other options.
You can change colors from config by replacing *** with your own color code. Open the Project_HOME > assests > configuration > configuration.json file, and look for the following keys:
Note: The FF, 4D, 99 are used for opacity, if you want to change the opacity then modify them otherwise leave it as it is:
 "primary_color": "#FF******",
  "secondary_color": "#FF******",
  "icon_tint_color": "#FF******",
  "bottom_tab_bar_tint_color": "#FF******",
  "slider_tint_color": "#FF******",
  "selected_item_background_color": "#4D******",
  "un_selected_item_background_color": "#1A808080",
  "selected_item_text_color": "#FF******",
  "un_selected_item_text_color": "#8A000000",
  "action_button_background_color": "#FF******",
  "featured_label_background_color": "#99******",
--- ## Changing Splash screen URL: https://houzi-doc.booleanbites.com/app-setup/change_app_splash_screenNote: If you didn’t update the version number of config, then you will need to remove the existing app and re-install on device.
Flutter command: You can change splash background by adding this flutter library: https://pub.dev/packages/flutter_native_splash Follow instructions for changing splash from one place.
You can manually change splash screen in Android and iOS projects at following places:
Project_HOME > android > app > src > main > res > values > strings.xml
Change the “backgroundColor” with hex color like this:
<color name="backgroundColor">#2B3D2D</color>
To change or remove the splash icon, open these files:
Project_HOME > android > app > src > main > res > drawable > launch_background.xmlProject_HOME > android > app > src > main > res > drawable-night > launch_background.xmlTo remove the icon, remove these line:
<item>
    <bitmap
        android:gravity="center"
        android:src="@drawable/ic_launcher" />
</item>
To edit or replace the icon, replace the image file at this place:
Project_HOME > android > app > src > main > res > drawable > ic_launcher.pngProject_HOME > android > app > src > main > res > drawable-night > ic_launcher.pngThe icon can be of any size. You can use any name with icon file, just update the reference in launch_background.xml
Project_HOME > ios > Runner > Runner > LaunchScreen
Open LaunchScreen and it’ll show you a graphical interface to edit your launch screen. You can add text, photos and anything on your screen. To learn more, read the official docs here: Specifying Your App’s Launch Screen
Once everything is set up. Do a flutter clean, so flutter picks up the new configuration and setup everything in child projects.
From top menu toolbar select Tools > Flutter > Flutter Clean
From top menu toolbar select Run > Run main.dart
Wait… and see if it compiles and run for you.
--- ## Localization (Translation) URL: https://houzi-doc.booleanbites.com/app-setup/localizationFollow Hooks and Widget section on how to Add New Language.
There are two types of strings that we need to handle, first one is app level/static strings and the other is for translating dynamic strings sent from the server. Both of them can be handle in one file
We’ve generated an exhaustive English translation file. You can copy this file and rename it with your own language.
For translation, copy and duplicate the following file with your own locale.
Go to the Project_HOME > assets > localization > en_localization.json and duplicate and translate the values on the right side in the new file like this:
"search": "Search"
To Dutch like this:
"search": "zoekopdracht"
The traditional localisation method handles strings that are already included in the project source, but there are certain events where strings come from the server, and we still need to translate those.
For example we cannot know how many property statuses or how many property features are there on your server, so we also covered a dynamic way of localisation for those strings.
Find json files placed in following folder:
Project_HOME > assets > localization > en_localization.json
Add missing / non translated strings to the English file, and then copy this file in the same folder, prefix this to your locale like ar_localization.json for Arabic and start adding strings that are coming from your server in a json format.
If you need to use this custom translation at any place, use following method:
String localized = UtilityMethods.getLocalizedString("String Key in json");
When you’re using WPML, you provide localization of your data on langugage specific URL of your website. It can either be a parameter (domain.com/?lang=en, domain.com/?lang=fr) or it can be a subdirectory (domain.com/en, domain.com/fr). The REST API provide localized data on localized URL. So if you want to get localized data from server you can add language name as Parameter or Directory. There is a third option if you do not want to add language name to the URL.
Open the Project_HOME > assests > configuration > configuration.json file, and look for the locale_in_url key.
If you want to add language name as parameter set the value Language name as parameter, like following:
    ...
    "locale_in_url": "Language name as parameter",
    ...
If you want to add language name as directory set the value Language name as directory, like following:
    ...
    "locale_in_url": "Language name as directory",
    ...
If you want to do not want both of them set the value Do not change url, like following:
    ...
    "locale_in_url": "Do not change url",
    ...
You can also change these option from Houzi Builder Api & Config section.
--- ## Add item in drawer URL: https://houzi-doc.booleanbites.com/hooks-widgets/add_item_in_drawerTo add an item to the drawer, follow these steps:
Open the file hooks_v2.dart located in the following path within your project: Project_HOME > lib > hooks_v2.dart.
Locate the getDrawerItems() method in the file.
Inside the getDrawerItems() method, you can add a new item to the drawer by creating a DrawerItem object.
Specify the properties of the DrawerItem object as follows:
sectionType: Provide a unique name for the section.title: Set the title of the section.checkLogin: Specify whether login is required to see this section. Set it to true or false.enable: Set whether the section should be hidden or shown. Use true or false.insertAt: Specify the position where you want to place the item in the drawer.icon: Select an appropriate icon for the section from the Google Material icons library.onTap: Define the action to be performed when the item is tapped. You can navigate to a new screen or execute any other desired action.Once you have created the DrawerItem object, add it to the drawerItemList list.
Finally, return the drawerItemList from the getDrawerItems() method.
To add an expandable item to the drawer, you can follow a similar process with an additional step:
Create a new DrawerItem object for the expandable item.
Set the expansionTileChildren property of the expandable item to a list of DrawerItem objects. These objects represent the items that will be displayed when the expandable item is clicked.
Add the expandable item, along with its child items, to the drawerItemList list.
Here’s an updated example of the code:
@override
DrawerHook getDrawerItems() {
  DrawerHook drawerHook = (BuildContext context) {
    // Add a regular drawer item
    DrawerItem drawerItem = DrawerItem(
      sectionType: "section_name",
      title: "Your title here",
      checkLogin: false,
      enable: true,
      insertAt: 5,
      icon: Icons.real_estate_agent,
      onTap: () {
        Navigator.push(
          context,
          MaterialPageRoute(
            builder: (context) => AllAgents(),
          ),
        );
      },
    );

    // Add an expandable item with child items
    DrawerItem expandedDrawerItem = DrawerItem(
      sectionType: "section_name",
      title: "Your title here",
      checkLogin: false,
      enable: true,
      insertAt: 5,
      icon: Icons.real_estate_agent,
      expansionTileChildren: [
        DrawerItem(
          sectionType: "hook",
          title: "Activities",
          checkLogin: true,
          enable: true,
          icon: Icons.article_outlined,
          onTap: () {
            // Add your code here for desired action
          },
        ),
        DrawerItem(
          sectionType: "hook",
          title: "Inquiries",
          checkLogin: true,
          enable: true,
          icon: Icons.question_answer,
          onTap: () {
            // Add your code here for desired action
          },
        ),
      ],
    );

    List<dynamic> drawerItemList = [drawerItem, crmExpandedDrawerItem];

    return drawerItemList;
  };

  return drawerHook;
}
Remember to replace the placeholder values with your desired names, titles, and actions.
Note: The Icons.xxxxx values in the code are based on the icons provided by the Google Material icons library. You can find the complete list of available icons here. Choose the appropriate icon by selecting the corresponding icon name from the library.
If you want to add item in profile tab, go to Project_HOME > lib > hooks_v2.dart. Look for the getProfileItemHook() method.
  static getProfileItemHook(){
    ProfileHook profileHook = (BuildContext context){
      List<Widget> profileItemHookList = [
        // Add menu item map here
      ];
      return profileItemHookList;
    };
  }
  Widget menuItem = genericWidgetRow(
    iconData: ,
    text: ,
    onTap: (){
      // Some Function()
    },
    removeDecoration: ,
    padding: ,
  );
iconData field.text field.onTap field.removeDecoration to true.padding field.menuItem, as you like.profileItemHookList.Widget descriptionMenuItem = genericWidgetRow(
iconData: Icons.description_outlined,
text: "Temporary Show Description",
onTap: (){
// Some Function()
print("Showing Description.........................");
},
// removeDecoration: true,
// padding: EdgeInsets.symmetric(horizontal: 20.0, vertical: 10.0),
);
Widget helpMenuItem = genericWidgetRow(
iconData: Icons.help_outlined,
text: "Temporary Show Help",
onTap: (){
// Some Function()
print("Showing Description.........................");
},
// removeDecoration: true,
// padding: EdgeInsets.symmetric(horizontal: 20.0, vertical: 10.0),
);
List<Widget> profileItemHookList = [
// Add menu item map here
descriptionMenuItem,
helpMenuItem,
];
If you want to add item in Settings, go to Project_HOME > lib > hooks_v2.dart. Look for the getSettingsItemHook() method.
static getSettingsItemHook(){
    SettingsHook settingsHook = (BuildContext context){
      List<dynamic> settingsItemHookList = [
        // Add menu item map here
      ];
      return settingsItemHookList;
    };
  }
There are two types of items that you can add to Settings:
Copy and paste the sample code of singleSettingsMenuItem.
Widget singleSettingsMenuItem = genericWidgetRow(
     iconData: ,
     text: ,
     onTap: (){
       // Some Function()
     },
     removeDecoration: ,
     padding: ,
     sectionType: "preferences",
   );

   Map<String, dynamic> singleSettingsMenuItemMap = {
     "sectionType" : "preferences",
     "menuItem" : singleSettingsMenuItem,
   };
iconData field.text field.onTap field.removeDecoration to true.padding field.singleSettingsMenuItem, as you like.If you want to place the menu item in specific section, define the section type (preferences or community_standards_and_legal_policies) against the
sectionTypekey insingleSettingsMenuItemMap.
menuItem key in singleSettingsMenuItemMap.settingsItemHookList.
Widget descriptionSettingsMenuItem = genericWidgetRow(
            iconData: Icons.description_outlined,
            text: "Temporary Show Description",
            onTap: (){
                // Some Function()
                print("Showing Description.........................");
            },
            removeDecoration: true,
            padding: EdgeInsets.symmetric(horizontal: 20.0, vertical: 10.0),
        );

        Map<String, dynamic> descriptionSettingsMenuItemMap = {
            "sectionType" : "",
            "menuItem" : descriptionSettingsMenuItem,
        };

        Widget helpSettingsMenuItem = genericWidgetRow(
            iconData: Icons.help_outlined,
            text: "Temporary Show Help",
            onTap: (){
                // Some Function()
                print("Showing Description.........................");
            },
            removeDecoration: true,
            padding: EdgeInsets.symmetric(horizontal: 20.0, vertical: 10.0),
        );

        Map<String, dynamic> helpSettingsMenuItemMap = {
            "sectionType" : "",
            "menuItem" : helpSettingsMenuItem,
        };


        List<dynamic> settingsItemHookList = [
            descriptionSettingsMenuItemMap,
            helpSettingsMenuItemMap,
        ];
Copy and paste the sample code of settingsMenuSectionWithItems.
Widget settingsMenuSectionWithItems = genericSettingsWidget(
     headingText: "",
     headingSubTitleText: "",
     removeDecoration: false,
     enableTopDecoration: true,
     enableBottomDecoration: false,
     body: Column(
       crossAxisAlignment: CrossAxisAlignment.start,
       children: [
         // define your menu items here
       ],
     ),
   );

   Map<String, dynamic> settingsMenuSectionWithItemsMap = {
     "sectionType" : "",
     "menuItem" : settingsMenuSectionWithItems,
   };
removeDecoration to true.enableTopDecoration to true.enableBottomDecoration to true.settingsMenuSectionWithItems, as you like.childern section of the body.sectionType key in settingsMenuSectionWithItemsMap.menuItem key in settingsMenuSectionWithItemsMap.settingsItemHookList.Settings Menu Section with items:Widget settingsMenuSectionWithItems = genericSettingsWidget(
headingText: "Temporary Heading",
headingSubTitleText: "Temporary Sub Heading",
enableTopDecoration: true,
enableBottomDecoration: false,
body: Column(
crossAxisAlignment: CrossAxisAlignment.start,
children: [
genericWidgetRow(
iconData: Icons.description_outlined,
text: "Temporary Show Description",
onTap: (){
// Some Function()
print("Showing Description.........................");
},
removeDecoration: true,
),
genericWidgetRow(
iconData: Icons.help_outlined,
text: "Temporary Help Description",
onTap: (){
// Some Function()
print("Showing Help.........................");
},
removeDecoration: true,
),
],
),
);
Map<String, dynamic> settingsMenuSectionWithItemsMap = {
"sectionType" : "",
"menuItem" : settingsMenuSectionWithItems,
};
List<dynamic> settingsItemHookList = [
settingsMenuSectionWithItemsMap,
];
If you want to add new langauge, you have to follow some few steps:
First open Project_HOME > assets > localization, simply make a copy of English localization and rename it as YOUR-LANGUAGE-CODE_localization.json then translate the right side of sentences in your language.
*Note: Your file name must contain language code like YOUR-LANGUAGE-CODE_localization.json (e.g. en_localization.json).
*If you want to use different script for the same language like Chinese zh-Hant and zh-Hans, rename your file including the script code. For example, zh_Hant_localization.json etc.
You need to add the new files path in pubspec.yaml, so it can be bundled in final app binary after compile. Open file Project_HOME > pubspec.yaml and find the assets section. Copy your localized strings file name and mention it like following example.
assets:
  ...
    # if you are not using different script:
    - assets/localization/YOUR-LANGUAGE-CODE_localization.json
    - assets/localization/en_localization.json

    # if you are using different script, add script code as well:
    - assets/localization/YOUR-LANGUAGE-CODE_SCRIPT-CODE_localization.json
    - assets/localization/zh-Hant_localization.json
  ...
Now go to Project_HOME > lib > hooks_v2.dart and look for the getLanguageCodeAndName() method. Specify your language code and language name.
[Optional] You can also specify scriptCode, countryCode and languageFileName.
  …
  static getLanguageCodeAndName() {
    LanguageHook languageHook = () {

      Map<String,dynamic> russianLanguageMap = {
        "languageName": "Russian",
        "languageCode": "ru",
        "languageCodeForURL": "/ru"
      };

       Map<String,String> chineseLanguageMap = {
        "languageName": "Chinese (Traditional)",
        "languageCode": "zh",
        "scriptCode": "Hant",
        "countryCode": "CN",
        "languageFileName": "zh_Hant_localization.json",
      };

      Map<String,dynamic> yourLanguageMap = {
        "languageName": "YOUR-LANGUAGE-NAME",      // Specify your language name
        "languageCode": "YOUR-LANGUAGE-CODE"       // Specify your language code
        "scriptCode": "YOUR-SCRIPT-CODE"       // [Optional] Specify your script code
        "countryCode": "YOUR-COUNTRY-CODE"       // [Optional] Specify your country code
        "languageFileName": "YOUR-LANGUAGE-FILE-NAME"       // [Optional] Specify your language file name
        /// Optional for routing/localized URL:
        "languageCodeForURL": "/uk"                   // "/uk" or simply "uk"
      };

      List<dynamic> languageList = [russianLanguageMap, chineseLanguageMap, yourLanguageMap];  //add your map here
      return languageList;
    };

    return languageHook;
  }
  …
--- ## Add new font URL: https://houzi-doc.booleanbites.com/hooks-widgets/add_new_font*Note: You can add yourLanguageMap in the languageList without the Optional fields. In simple words, the optional fields can be removed.
You can add new fonts to the app by copying the font with different weight in the following folder
Project_HOME > fonts > new_font_folder
They should contain font weight files like this:
Project_HOME > fonts > new_font_folder
> new_font-regular.ttf
> new_font-light.ttf
> new_font-bold.ttf
Don’t forget to add new font entry to following file in pubspec.yaml fonts section, open file here:
Project_HOME > pubspec.yaml
And add the entry in fonts section like this
Fonts:
- family: FontNameYouDesire
  Fonts:
    - asset: fonts/new_font_folder/new_font-regular.ttf
    - asset: fonts/new_font_folder/new_font-light.ttf
    - asset: fonts/new_font_folder/new_font-bold.ttf
If you want to apply the font at application level, open following file:
Project_HOME > lib > hooks_v2.dart
Look for the getFontHook() method and add your font name as follow:
//you can also add a condition to change font for multiple locales as well:
FontsHook fontsHook = (Locale locale) {

    return "FontNameYouDesire";

};

//You can also use this font in a TextStyle like this
TextStyle(
    …
    fontFamily: "FontNameYouWroteInPubSpec",
);
Read more about fonts here: https://docs.flutter.dev/cookbook/design/fonts
--- ## Set default Language URL: https://houzi-doc.booleanbites.com/hooks-widgets/set_default_languageIf you want to set default langauge, go to Project_HOME > lib > hooks_v2.dart. Look for the getDefaultLanguageHook() method.
DefaultLanguageCodeHook defaultLanguageCodeHook = () {
      /// Add here your default language code
      return "en";
    };
If you want to set default Country Code for Phone Login, go to Project_HOME > lib > hooks_v2.dart. Look for the getDefaultCountryCodeHook() method.
DefaultCountryCodeHook defaultCountryCodeHook = () {
    // return 2 Letter ISO Code to make it default country code for phone login
    return "PK";
};
If you want to change property listing, you need to open following file:
Project_HOME > lib > hooks_v2.dart
Look for the getPropertyItemHeightHook() method. Return the height (in double, e.g. return 200;) instead of returning null.
  …
   @override
  PropertyItemHeightHook getPropertyItemHeightHook() {
    PropertyItemHeightHook propertyItemHeightHook = (String designName) {

        return null;
    };
    return propertyItemHeightHook;
  }
  …
Look for the getPropertyItemHookV2() method. You are provided with the following parameters:
aritcle is the instance of property/listing item. You can get the listing related information (e.g. Listing’s title, price etc.) from it.
designName is a String parameter. If you want to use specific design for specific type of listing item/items, you can use the designName to achieve this purpose.
Whe you select the “item_design_form_hook” option form the dropdown menu of layout designs, the Title of that widget will be provided to you as the designName so if you want, you can provide seperate listing design for that paritcular listing section.
By default, the listings provided by the Houzi app uses the Hero widget for smooth transititon between listing item and listitng item profile. If you want to take advantange of this Hero widget, you can use the heroId in the tag of your Hero widget.
onTap is the default call back provided by the Houzi app. If you want to use the default call back on the listing item, then use the onTap.
  …
    @override
  PropertyItemHookV2 getPropertyItemHookV2() {
    PropertyItemHookV2 propertyItemHookV2 =
        ({required article, required designName, required heroId, required onTap}) {

      // Return your designName specific listing design widget here
     if (designName == 'Featured Properties') {
        return YOUR_SPECIFIC_DESIGN_WIDGET_HERE or null;
      }

      // Return your global listing design widget here
      return YOUR_GLOBAL_DESIGN_WIDGET_HERE or null;
    };

    return propertyItemHookV2;
  }
  …
Following is the description of depricated hook. We recommend you to use the PropertyItemHookV2.
Look for the getPropertyItemHook() method. The Property/Article instance is provided to you, return the widget that you want to show. eg:
  …
    PropertyItemHook propertyItemHook = (BuildContext context, Article article) {

      return YOUR_GLOBAL_DESIGN_WIDGET_HERE or null;

    };
  …
If you want to change property listing, you need to open following file:
Project_HOME > lib > hooks_v2.dart
Look for the getAgencyItemHook() method. The Agency instance is provided to you, return the widget that you want to show. eg:
  …
    AgencyItemHook agencyItemHook = (Agency agency) {
      return Container(
        child: Center(child: Text(agency.title)),
      );
    };
  …
If you want to change property listing, you need to open following file:
Project_HOME > lib > hooks_v2.dart
Look for the getAgentItemHook() method. The Agent instance is provided to you, return the widget that you want to show. eg:
  …
    AgentItemHook agentItemHook = (Agent agent) {
      return Container(
        child: Center(child: Text(agent.title)),
      );
    };
  …
Each Property Type, Property Status and Property Label are called Term in the Houzez (wordpress) taxonomies. When you add a new property type, you actually add new term in Property Type taxonomy in your wordpress.
When you open app, the app loads Property Type, Property Status and other taxonomies on homepage. For each term (for-sale, for-rent, house, office) we show an icon against its slug. See below screenshot
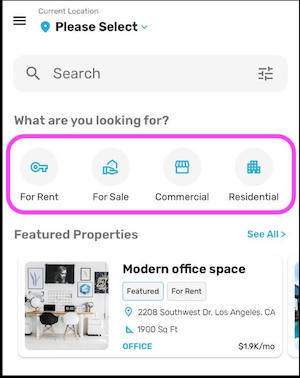
Each Term has title, slug and other meta-data. So lets say you’ve a term Shop, and its slug is shop, you can set its icon with hooks. If you want to show term icon for your translated Term, you need to open following file:
Project_HOME > lib > hooks_v2.dart
Look for the getElegantHomeTermsIconMap() method. Then look for _iconMap, and edit existing or add new entry for your desired term, add the slug-name of your term.
You can return Google Material Icon library icon as term for a slug, as below:
Map<String, dynamic> _iconMap = {
    "for-rent": Icons.vpn_key_outlined,
    "residential": Icons.apartment_outlined,

    "shop": Icons.store_outlined,
    "متجر": Icons.store_outlined,     //<-- translated slug of term for shop
    ...
};
The Icons.xxxxx are coded from Google Material icons here: https://fonts.google.com/icons
You can also provide your own colored icon or image for a term. This will allow you to provide more customized and brand aligned icons for your app.
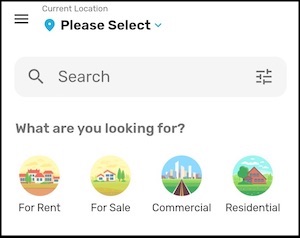
The process is as below:
Project_HOME > pubspec.yaml and add reference to the newly added icons under assets: keyword, so they’re bundled in your app.assets:
...
existing assets references
...
- assets/new_icon_here.png
Project_HOME > lib > hooks_v2.dart and find getElegantHomeTermsIconMap() and make changes as below:Map<String, dynamic> _iconMap = {
"for-rent": Image.asset('assets/for-rent.png'),
"for-sale": Image.asset('assets/for-sale.png'),
"commercial": Image.asset('assets/commercial.png'),
"residential": Image.asset('assets/residential.png'),
...
};
The recommended size for the custom icon image is 100x100.
--- ## Change design of Term URL: https://houzi-doc.booleanbites.com/hooks-widgets/term_widget_item_design_customIf you want to change Term Widget design, you need to open following file:
Project_HOME > lib > hooks_v2.dart
Look for the getTermItemHook() method. The metaDataList list is provided to you, return the widget that you want to show. eg:
  …
    TermItemHook termItemHook = (List metaDataList) {

      return //your widget here;
    };
  …
Houzi provides you with the option to completely customize your Property Details Screen. You can provide your own custom widgets if you do not want to utilize the default Houzi widgets for the Property details screen.
Simply open the file from the following path:
Project_HOME > lib > hooks_v2.dart
Look for the getWidgetHook() method. You are provided wtih the following parameters:
The parameter context is of the type of Build Context. If you wnat to provide a inline widget you can use this context widget.
It is recommended that you use proper widget (stateless or stateful) instead of using inline or function widgets.
The parameter article is property object whose details are being displayed. If you are providing your custom widget then you will need the property object data to display in your widget e.g. Tiltle or Address of property etc.
You can visit the following file to learn more about article.
Project_HOME > packages > houzi_package > lib > models > article.dart
The parameter hook represents the identifier for the widget being built.
'article_title', 'article_description').widget_type: "place_holder", the hook parameter will match the widget_title you defined in the configuration.If you provide your custom widget against the desired hook, the default Houzi widget (or an empty space) will be replaced with your custom widget.
Following is the glimpse of the getWidgetHook(). You can provide your custom widget against any desired section/widget just by simply returning your custom widget instead of returing null.
  …
   @override
  PropertyPageWidgetsHook getWidgetHook() {
    PropertyPageWidgetsHook detailsHook = (
      BuildContext context,
      Article article,
      String hook,
    ) {
      if (hook == 'article_images') {
        return null;
      } else if (hook == 'article_title') {
        return null;
      } else if (hook == 'article_address') {
        return null;
      }
  …
You have a custom widget named as customDescriptionWidget() and you want to use this widget instead of default Houzi Description widget on the Property Details Screen. You can simply replace the null with your custom widget against the “article_description” hook as follows:
  …
    else if (hook == 'article_features') {

        return null;
    } else if (hook == 'article_description') {

        return customDescriptionWidget(context, article);
    } else if (hook == 'article_address_info') {

        return null;
    }
  …

// your customDescriptionWidget
static Widget customDescriptionWidget(BuildContext context, Article article) {
    return Text(
        article.content ?? "",
        maxLines: 5,
        overflow: TextOverflow.ellipsis,
        textAlign: TextAlign.justify,
      );
--- ## Feature icon in Property Details URL: https://houzi-doc.booleanbites.com/hooks-widgets/property_details_feature_iconsAfter modifications, restart the app and the changes will reflect in your app.
If you want to show feature icon for your translated property feature, you need to open following file:
Project_HOME > lib > hooks_v2.dart
Look for the getPropertyDetailPageIconsMap() method. Then look for _iconMap, and edit existing or add new entry for your desired features, eg:
Map<String, dynamic> _iconMap = {
    "Piscine": Icons.pool_outlined,
    "Pool": Icons.pool_outlined,
    ...
};
The Icons.xxxxx are coded from Google Material icons here: https://fonts.google.com/icons
--- ## Set Home Right Bar Button URL: https://houzi-doc.booleanbites.com/hooks-widgets/home_right_bar_buttonIf you want to add item in Settings, go to Project_HOME > lib > hooks_v2.dart. Look for the getHomeRightBarButtonWidgetHook() method.
static getHomeRightBarButtonWidgetHook() {
    HomeRightBarButtonWidgetHook homeRightBarButtonWidgetHook = (context) {

      Widget? rightBarButtonHook;
      // Widget rightBarButtonHook = DefaultRightBarButtonIdWidget();

      return rightBarButtonHook;
    };
  }
rightBarButtonHook.rightBarButtonHook.rightBarButtonHook.rightBarButtonHook.
// Hide Home Right Bar Button Id Widget
Widget rightBarButtonHook = null;
return rightBarButtonHook;

// Default Home Right Bar Button Id Widget
Widget rightBarButtonHook = DefaultRightBarButtonIdWidget();
return rightBarButtonHook;

// Custom Widget
 Widget rightBarButtonHook = GestureDetector(
  child: Icon(Icons.search_outlined),
  onTap: () {
    // Perform Some Function here
  },
);

return rightBarButtonHook;
If you want to set default HomePage, go to Project_HOME > lib > hooks_v2.dart. Look for the getDefaultHomePageHook() method. You can choose your default home for the app. You have four options, choose one of the following:
DefaultHomePageHook defaultHomePageHook = () {

  return "home_1";

};
Otherwise you can set this from Houzi Builder.
--- ## Set Custom Map Pin URL: https://houzi-doc.booleanbites.com/hooks-widgets/set_custom_markerIf you want to show custom map pin with custom dynamic string like price on MapView instead of default Google Maps Pin, you can enable this using this hook.
Open file at Project_HOME > lib > hooks_v2.dart. Look for the getCustomMarkerHook() method.
  CustomMarkerHook getCustomMarkerHook() {

    CustomMarkerHook markerIconHook = (BuildContext context, Article article) {
      /// If you want to set the default Pin Point marker return null
      /// else return the title, background, title-color and an optional text style
      ///
      MapMarkerData markerData = MapMarkerData(
          text: article.getCompactPriceForMap(),
          backgroundColor: Colors.red,
          textColor: Colors.white
      );
      return markerData;
    };

    return markerIconHook;
  }
MapMarkerData is a class that takes text, backgroundColor, textColor and textStyle. You can provide the text that you want to show on Map pin. textColor and textStyle are optional. But they’re there for you to provide any customization.
You can return null if you don’t want to use custom map pin.
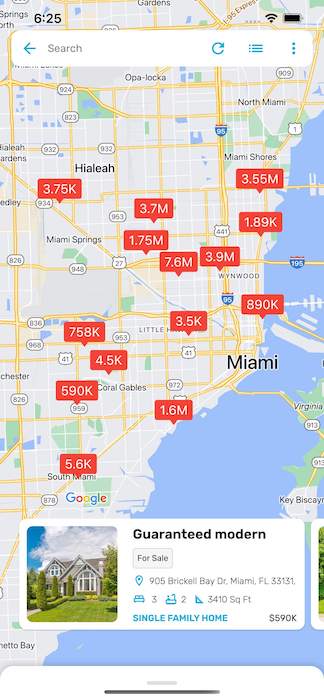
Added in version 1.2.0
--- ## Set Custom Map Icon URL: https://houzi-doc.booleanbites.com/hooks-widgets/custom_map_markerShow custom marker in MapView instead of default Pin Point marker using this hook. First you have to go to Project_HOME > assets folder and paste your image. Copy your image name and go to PROJECT_HOME > pubspec.yaml and specify image path in asset section e.g
  ...
    assets:
      - assets/IMAGE-NAME.png
  ...
Then go to Project_HOME > lib > hooks_v2.dart. Look for the getMarkerIconHook() method.
static getMarkerIconHook() {
    MarkerIconHook markerIconHook = () {
      // If you want to set the default Pin Point marker return null
      // else return the path of the image
      //
      //
      //return null;

      return "assets/IMAGE-NAME.png";
    };

    return markerIconHook;

  }
You can set Marker Title in Map View, go to Project_HOME > lib > hooks_v2.dart. Look for the getMarkerTitleHook() method.
Set title to the marker in MapView. Instance of Article/Property is provided. You can choose whatever the title you want to set, it can be property title, id, price or anything
static getMarkerTitleHook() {
    MarkerTitleHook markerTitleHook = (Article article) {

      String markerTitle = article.title!;
      return markerTitle; // return title here (should be string type)
    };

    return markerTitleHook;

  }
In the Houzi app, you have the flexibility to set your own price format methods. There are two price formatters used in different parts of the app.
If you want to format the price in the Property Detail page or any other place, follow these steps:
Locate the file hooks_v2.dart in your project. The path is Project_HOME > lib > hooks_v2.dart.
Look for the method getPriceFormatterHook() in the hooks_v2.dart file.
Inside the getPriceFormatterHook() method, define your own method to format the price and return the formatted string. If you prefer to use the default Houzi formatter, you can simply return null. Here’s an example:
@override
PriceFormatterHook getPriceFormatterHook() {
  PriceFormatterHook priceFormatterHook = (String propertyPrice, String firstPrice) {
    // Define your own formatting here and return the formatted price string
    return null;
  };

  return priceFormatterHook;
}
If you want to format the price on the Property Card, follow these steps:
Open the file hooks_v2.dart in your project. The path is Project_HOME > lib > hooks_v2.dart.
Locate the method getCompactPriceFormatterHook() in the hooks_v2.dart file.
Inside the getCompactPriceFormatterHook() method, define your own method to format the price and return the formatted string. If you prefer to use the default Houzi formatter, you can return null. Here’s an example:
@override
CompactPriceFormatterHook getCompactPriceFormatterHook() {
  CompactPriceFormatterHook compactPriceFormatterHook = (String inputPrice) {
    // Define your own formatting here and return the formatted price string
    return null;
  };

  return compactPriceFormatterHook;
}
If you want to show the full price on the Property Card, you can use the following code in the getCompactPriceFormatterHook() method:
@override
CompactPriceFormatterHook getCompactPriceFormatterHook() {
  CompactPriceFormatterHook compactPriceFormatterHook = (String inputPrice) {
    // Use the utility method priceFormatter to format the price
    return UtilityMethods.priceFormatter(inputPrice, "");
  };

  return compactPriceFormatterHook;
}
If you want to show the Indian compact price on the Property Card, you can use the following code in the getCompactPriceFormatterHook() method:
@override
CompactPriceFormatterHook getCompactPriceFormatterHook() {
  CompactPriceFormatterHook compactPriceFormatterHook = (String inputPrice) {
    // Define your own formatting here and return the formatted price string
    String compactPrice = '';
    String postfix = '';
    String additionalCharacter = '';
    String defaultCurrency = '₹';

    RegExp pattern = RegExp(r"\b(\d+(\.\d+)?)(M|K)\b"); //Checks for normal compact price

    pattern = RegExp(r'^[\d,.]+[KkLlCcRr]+$'); //Checks for Indian compact prices

    /// Return Input Price If already in Compact State
    if (pattern.hasMatch(inputPrice)) {
      return inputPrice;
    }

    /// Remove Currency from Input Price
    if(inputPrice.contains(defaultCurrency)) {
      inputPrice = inputPrice.replaceAll(defaultCurrency, '');
    }
    /// Remove ',' from Input Price
    if(inputPrice.contains(',')) {
      inputPrice = inputPrice.replaceAll(',', '');
    }
    /// Separate Postfix from Input Price, like 2000/per month or 400/per sq yd
    if(inputPrice.contains('/')){
      postfix = inputPrice.split('/')[1];
      inputPrice = inputPrice.split('/')[0];
    }
    /// Round of Input Price to One Digit
    if (inputPrice.contains('.')) {
      var priceDouble = double.tryParse(inputPrice);
      if (priceDouble == null) return inputPrice;

      inputPrice = priceDouble.toStringAsFixed(0);
    }
    /// Check for any plus sign and append later like 400+
    if(inputPrice.contains('+')){
      inputPrice = inputPrice.split('+')[0];
      additionalCharacter = "+";
    }
    /// Strip any pipe sign
    if(inputPrice.contains('|')){
      inputPrice = inputPrice.split('|')[0];
    }

    /// Make the Input Price Compact
    var priceDouble = double.tryParse(inputPrice);
    if (priceDouble == null) return inputPrice;
    NumberFormat compactFormat = NumberFormat.compactCurrency(
      decimalDigits: 2,
      symbol: defaultCurrency, // Currency symbol (e.g., ₹)
      locale: 'en_IN', // Indian locale
    );
    compactPrice = compactFormat.format(priceDouble);

    ///  Add PostFix to Input Price
    if(postfix.isNotEmpty) {
      compactPrice = '$compactPrice/$postfix';
    }

    if(additionalCharacter.isNotEmpty) {
      compactPrice = '$compactPrice$additionalCharacter';
    }

    return compactPrice;
  };

  return compactPriceFormatterHook;
}
By following these instructions, you can customize the price formatting in the Houzi app according to your requirements.
--- ## Hide Show Price URL: https://houzi-doc.booleanbites.com/hooks-widgets/hide_show_priceIf you want to hide price on property cards or in property details page, you can use following hook.
Go to Project_HOME > lib > hooks_v2.dart. Look for the getHidePriceHook() method. For e.g:
@override
HidePriceHook getHidePriceHook() {
  HidePriceHook hidePriceHook = () {

    bool hidePropertyPrice = false;

    return hidePropertyPrice;
  };

  return hidePriceHook;
}
You can return conditional checks as well, like if you want to hide price by default and show to logged in users only. Or if you want to show price to certain user roles, example below:
// Use isLoggedIn, if you want to show price to logged in users.
bool isLoggedIn = HiveStorageManager.isUserLoggedIn();
hidePropertyPrice = isLoggedIn ? false : true;

// Use roles, if you want to show price to certain roles for logged in user.
String userRole = HiveStorageManager.getUserRole() ?? "";
hidePropertyPrice = (userRole == ROLE_ADMINISTRATOR || userRole == USER_ROLE_HOUZEZ_AGENCY_VALUE) ? false : true;
This will hide listing price on property cards as well as on property details pages.
Added in version 1.2.0
--- ## Segmented Control Design URL: https://houzi-doc.booleanbites.com/hooks-widgets/segmented_control_designIf you want to add your own Segmented Control design, you need to open following file:
Project_HOME > lib > hooks_v2.dart
Look for the getCustomSegmentedControlHook() method. The necessary items are provided to you.
dataList is the list on which segmented control will build.selectionIndex is currently selected item index.onSegmentChosen is the callback to use when a segmented item is chosen. It is better to use provided onSegmentChosen callback as it is handling all the necessary things rather than your own callback.Return the widget that you want to show. eg:
  …
    CustomSegmentedControlHook customSegmentedControlHook = (context, dataList, selectionIndex, onSegmentChosen) {

      return null; // return null if you want to use default app MaterialSegmentedControl
    };

    return customSegmentedControlHook;
  …
If you want to add Header in webservice, you need to open following file:
Project_HOME > lib > hooks_v2.dart
Look for the getHeaderMap() method. Add key value pair in a given map. eg:
  …
    Map<String, dynamic> map = {
      ...
      "your_key_here": "your_value_here",

      //like this
      "secret_key": "!@#%^&*()_-+=",
    };
  …
If you want to hide empty cities, areas or states, you can use follwing hook to hide empty enteries in any term. Terms are added on backend, and there can be lot of terms with empty data
If this function returns true, for a Term, the empty enteries in that terms will be hidden.
For example, for property_city, you’ve three cities [New York, Miami, Los Angeles] One of the city doesn’t have any listing. Meaning you don’t have any property listing in that city. So do you want to hide the city from selection that has zero listings? return true when it asks for term ‘property_city’
Specially useful for property_area, as it can be filtered out to show only non-empty areas.
Project_HOME > lib > hooks_v2.dart
Look for the hideEmptyTerm() method. Add key value pair in a given map. eg:
  HideEmptyTerm shouldHide = (String termName) {

    if (termName == 'property_city') {
      return true; //return true to hide empty cities.
    }
    if (termName == 'property_area') {
      return true; //return true to hide empty areas.
    }

    return false; //false shows all.
  };
The terms names are the one Houzez uses on the admin panel. These consist of following terms: property_country, property_state, property_city, property_area, property_type, property_features, property_label, property_status.
Added in version 1.2.0
--- ## Add Custom Widget in Home URL: https://houzi-doc.booleanbites.com/hooks-widgets/add_custom_widget_in_homeYou can show custom widgets to your home pages easily via hooks.
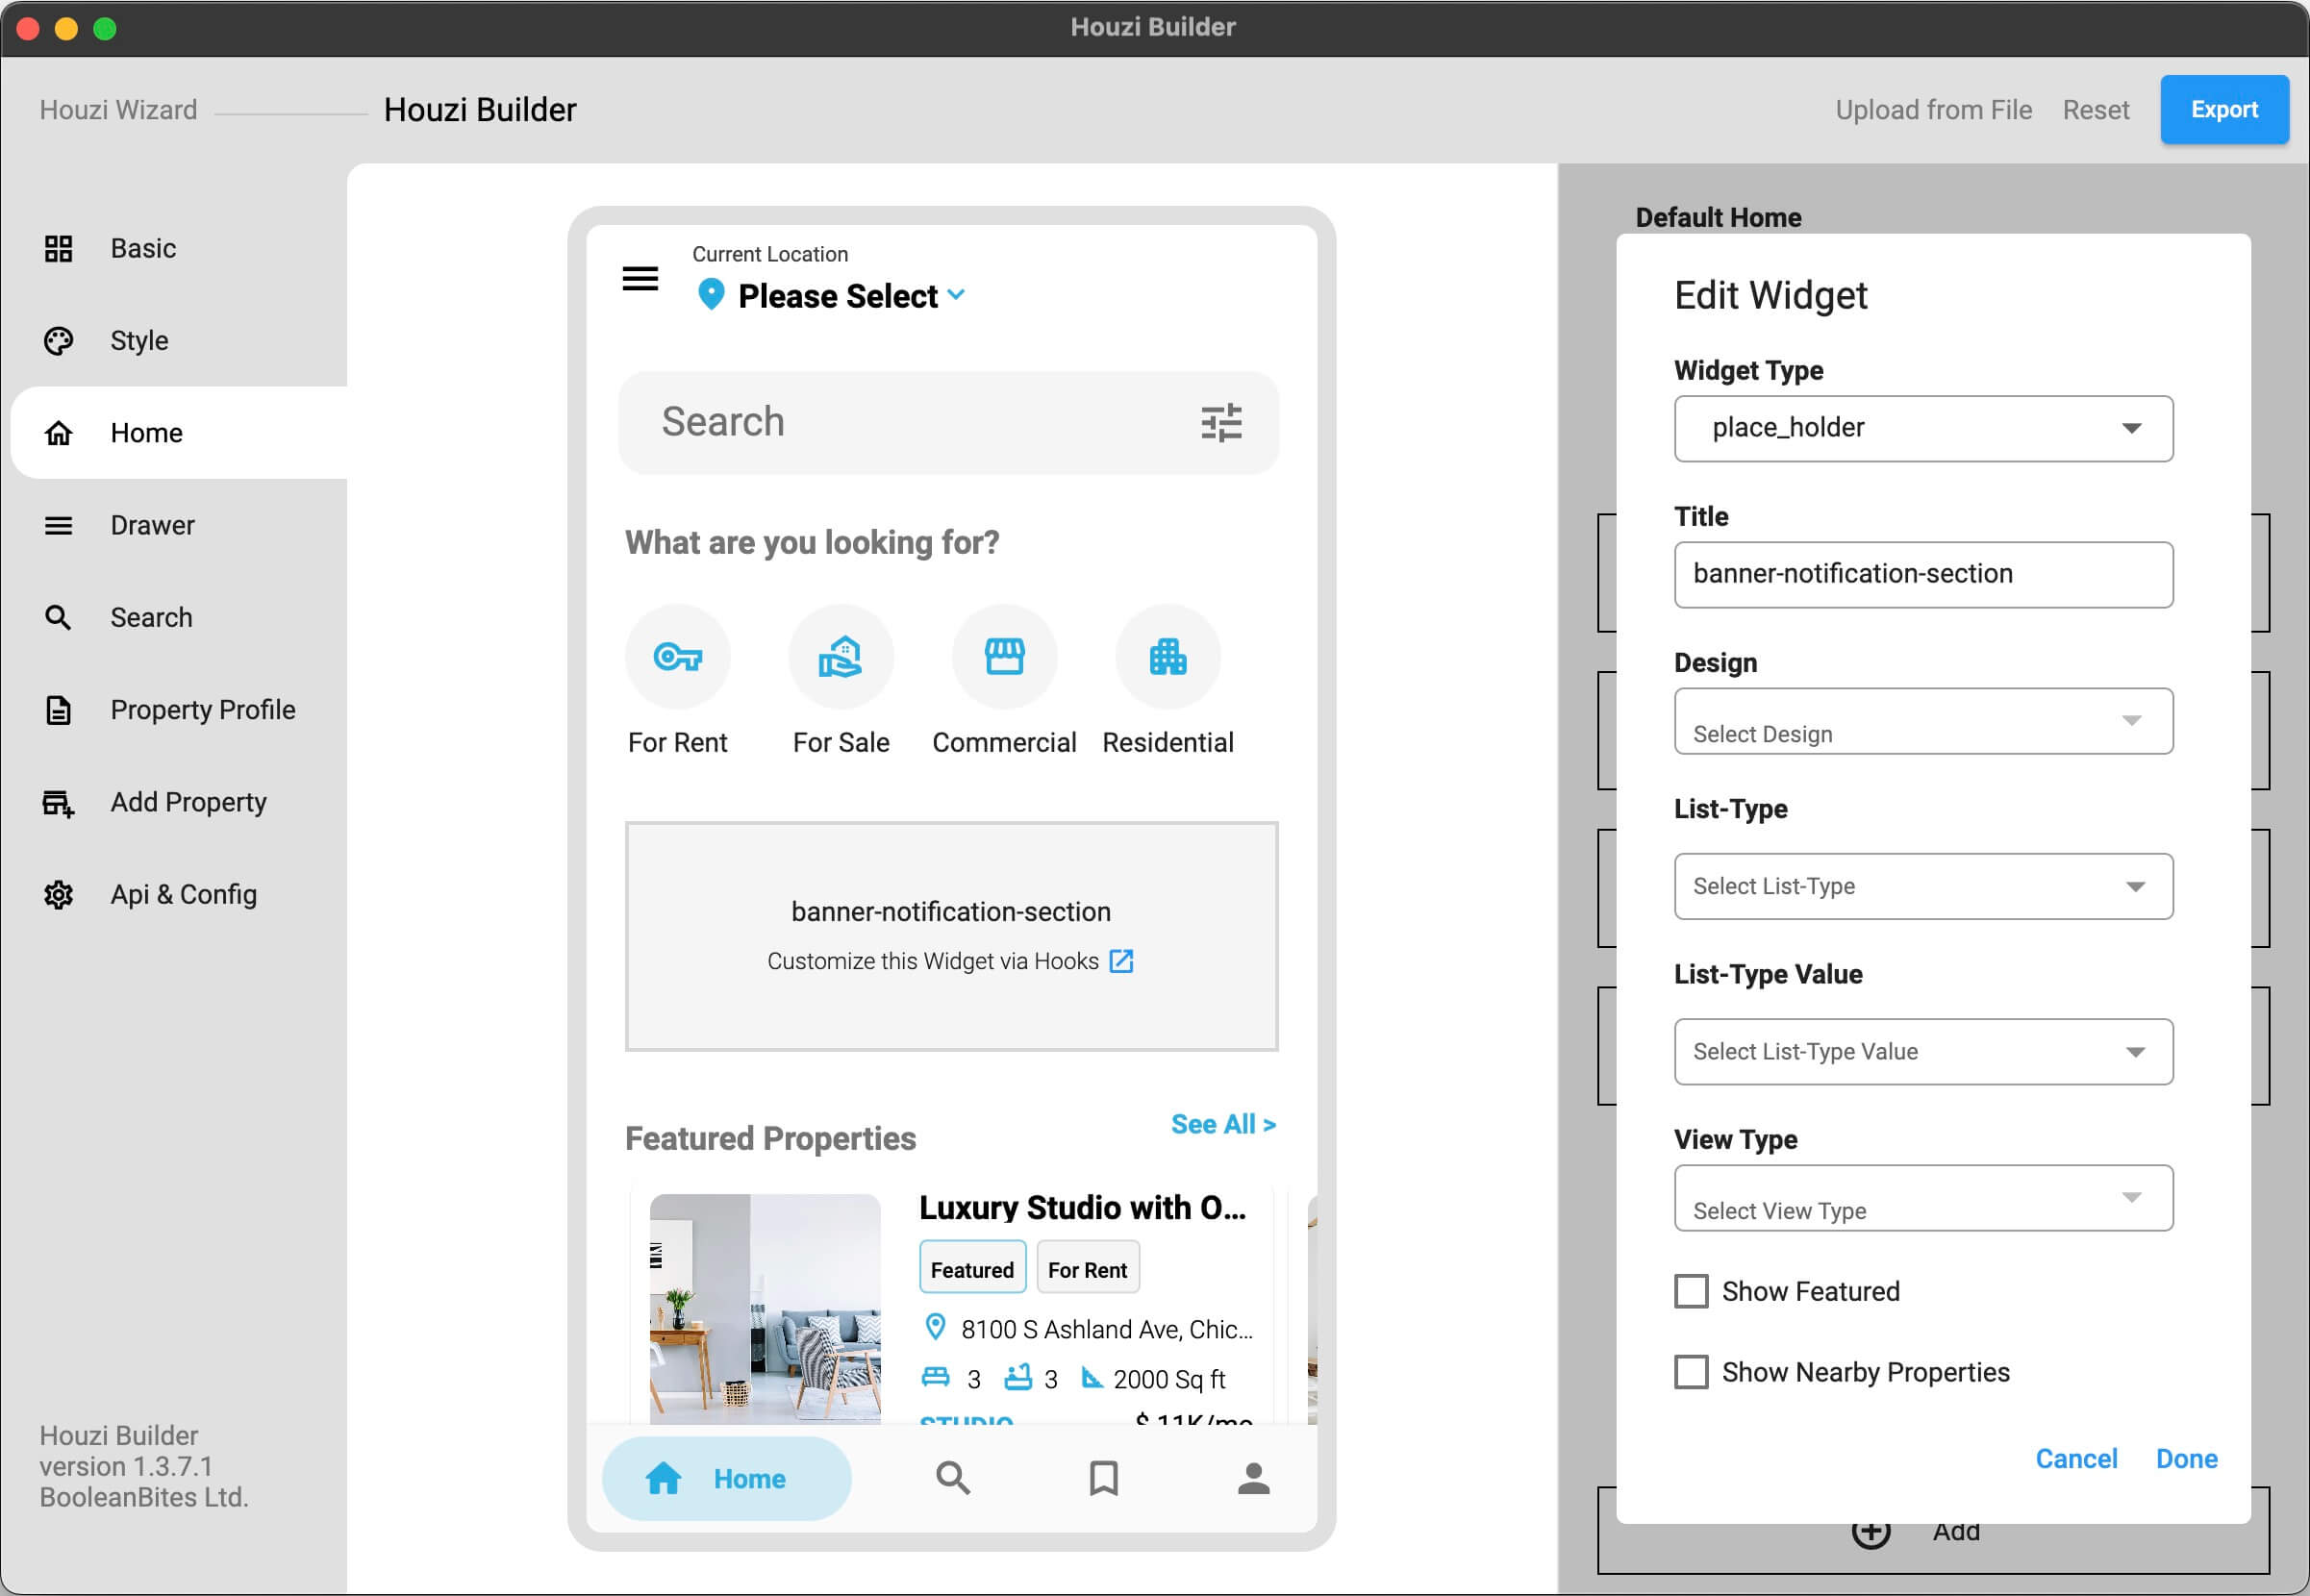
If you want to show a ‘custom widget’ in Home page, you need to do following things:
'banner-notification-section'. You’ll use this name in hooks section in code.Project_HOME > lib > hooks_v2.dart and look for the getHomeWidgetsHook() method.hookName and isRefreshed parameters. In the if_statement() comparison, replace the HOOK_NAME with your specific hookName (which you have already defined in the HouziBuilder Desktop Application.) and replace your Custom widget with WIDGET.isRefreshed will return true, if you want to perform anything when the home refreshes, you can use the isRefreshed.For Example: If you have a custom widget named as 'banner-notification-section'. Just replace the HOOK_NAME with 'banner-notification-section' and return your widget as follows:
  HomeWidgetsHook homeWidgetsHook = (
        BuildContext context,
        String? hookName,
        bool isRefreshed) {

//      This is sample code:
//      if (hookName == 'HOOK_NAME') {
//        return WIDGET;
//      }

        if (hookName == 'banner-notification-section') {
          return Container(
            height: 120,
            child: Text("I'm custom widget"),
          );
        }

      return null;
    };
Note: You can re-arrange the position of your
'banner-notification-section'& you can re-name your'banner-notification-section'from the HouziBuilder Desktop App.
Added in version 1.3.0
--- ## Add Custom Widget in Home Sliver App bar URL: https://houzi-doc.booleanbites.com/hooks-widgets/add_custom_widget_in_home_sliver_appbarYou can show custom widgets to your home pages sliver appbar easily via hooks.
If you want to show a ‘custom widget’ in Home page sliver appbar, you need to do following things:
Open file Project_HOME > lib > hooks_v2.dart and look for the getHomeSliverAppBarBodyHook() method.
You are provided with _bodyHookMap, _bodyWidgetHeight and _bodyWidget parameters. Details of parameters are as follows:
For Example: If you have a custom widget named as CustomWidget(), define its height and body and define _bodyHookMap and restart the app.
  @override
  HomeSliverAppBarBodyHook getHomeSliverAppBarBodyHook() {
    HomeSliverAppBarBodyHook _homeSliverAppBarBodyHook = (context) {
      Map<String, dynamic>? _bodyHookMap;
      double? _bodyWidgetHeight;
      Widget? _bodyWidget;

      // _bodyWidgetHeight = 220;
      // _bodyWidget = CustomWidget();

      _bodyHookMap = {
        "height" : _bodyWidgetHeight,
        "widget" : _bodyWidget,
      };
      return _bodyHookMap;
    };
    return _homeSliverAppBarBodyHook;
  }
Added in version 1.3.0
--- ## Add Custom Widget in Property Details URL: https://houzi-doc.booleanbites.com/hooks-widgets/add_custom_widget_in_property_detailsYou can show custom widgets to your property details pages easily via hooks.
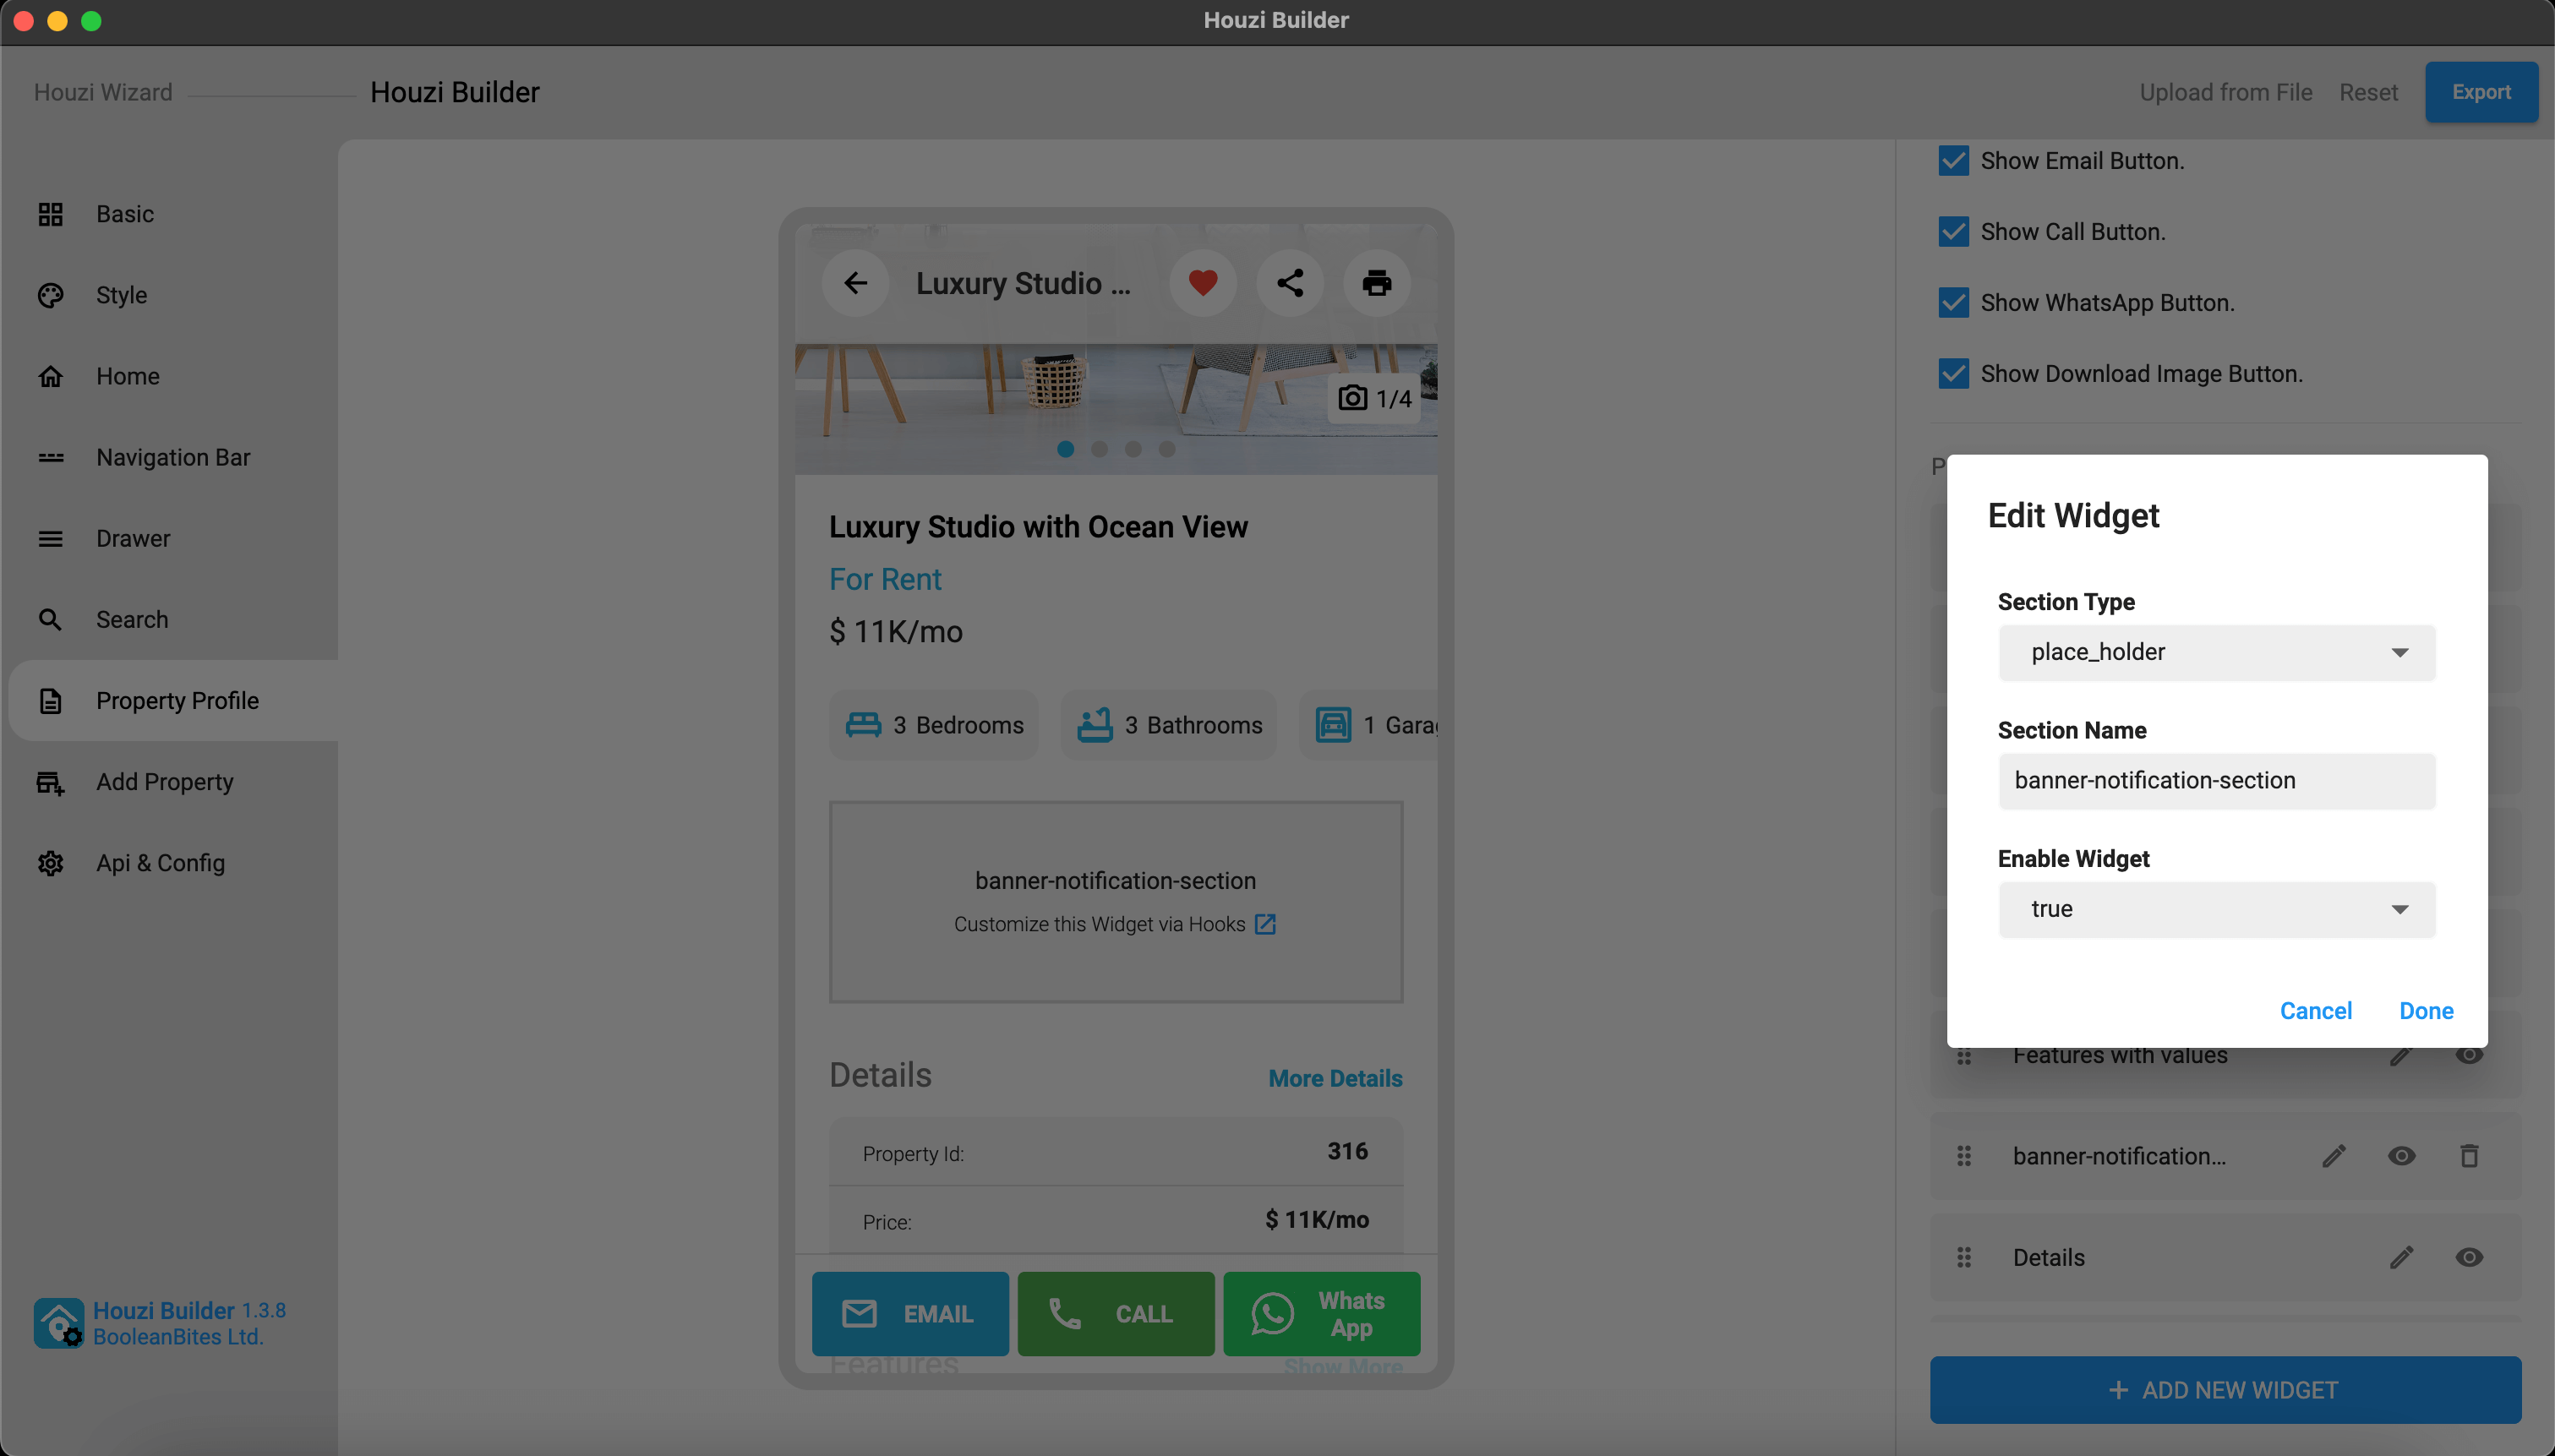
If you want to show a ‘custom widget’ in property details page, you need to do following things:
'banner-notification-section'. You’ll use this name in hooks section in code.Project_HOME > lib > hooks_v2.dart and look for the getWidgetHook() method.hook and article parameters. In the if_statement() comparison, replace the HOOK_NAME with your specific hook name (which you have already defined in the HouziBuilder Desktop Application.) and replace your Custom widget with WIDGET.You are provided with the Property Article Information as the object ‘article’. You can get your desired information from the ‘article’ and display in your Custom Widget.
The configuration entry in configurations.json for a custom widget must follow this structure:
{
  "widget_type": "place_holder",
  "widget_title": "banner-notification-section",
  "widget_enable": true,
  "widget_view_type": ""
}
"place_holder" for custom hook widgets.hooks_v2.dart.In lib/hooks_v2.dart, replace the HOOK_NAME with the value you provided in widget_title:
  PropertyPageWidgetsHook detailsHook = (
      BuildContext context,
      Article article,
      String hook,
    ) {

      if (hook == 'banner-notification-section') {
          return Container(
            height: 120,
            child: Text("I'm custom widget"),
          );
        }

      return null;
    };
Note: You can re-arrange the position of your
banner-notification-section& you can re-name yourbanner-notification-sectionfrom the HouziBuilder Desktop App.
Added in version 1.3.0
--- ## Add Custom Header in Drawer URL: https://houzi-doc.booleanbites.com/hooks-widgets/add_custom_drawer_headerIf you want to add a custom drawer header, you need to open following file:
Project_HOME > lib > hooks_v2.dart
Look for the getDrawerHeaderHook() method. You are provided with:
context (BuildContext): The build context of the application.appName (String): The name of the application.appIconPath (String): The path to the application icon.userProfileName (String?): The name of the user’s profile. It can be null.userProfileImageUrl (String?): The URL of the user’s profile image. It can be null.@override
DrawerHeaderHook getDrawerHeaderHook() {
DrawerHeaderHook drawerHeaderHook = (
BuildContext context,
String appName,
String appIconPath,
String? userProfileName,
String? userProfileImageUrl,
) {
Widget? drawerHeaderWidget;
// Customization logic for the drawer header goes here
return drawerHeaderWidget;
};
return drawerHeaderHook;
}
Make sure to replace the placeholder comments with your specific customization logic for the drawer header.
Added in version 1.3.0
--- ## Add Custom Widget in Drawer URL: https://houzi-doc.booleanbites.com/hooks-widgets/add_custom_widget_in_drawerIf you want to add a custom widget in drawer, you need to open following file:
Project_HOME > lib > hooks_v2.dart
Look for the getDrawerWidgetsHook() method. You are provided with hookName parameter. In the if_statement() comparison, replace the HOOK_NAME with your specific hookName (which you have already defined in the HouziBuilder Desktop Application.) and replace your Custom widget with WIDGET.
For Example: If you have a custom widget named as custom-widget. Just replace the HOOK_NAME with custom-widget and return your widget as follows:
@override
  DrawerWidgetsHook getDrawerWidgetsHook() {
    DrawerWidgetsHook drawerWidgetsHook = (
        BuildContext context,
        String? hookName) {

        //      This is sample code:
        //      if (hookName == 'HOOK_NAME') {
        //        return WIDGET;
        //      }

        if (hookName == 'custom-widget') {
          return Container(
            height: 100,
            child: Text("I'm custom widget"),
          );
        }


    };

    return drawerWidgetsHook;
  }
Note: You can re-arrange the position of your
custom widget& you can re-name yourcustom widgetfrom the HouziBuilder Desktop App.
Added in version 1.3.5
--- ## Add Custom Page in Navigation Bar URL: https://houzi-doc.booleanbites.com/hooks-widgets/add_custom_page_in_navigation_barIf you want to add a custom page to Bottom Navigation Bar (Tab bar), you need to open following file:
Project_HOME > lib > hooks_v2.dart
Look for the getNavbarWidgetsHook() method. You are provided with hookName parameter. In the if_statement() comparison, replace the HOOK_NAME with your specific hookName (which you have already defined in the HouziBuilder Desktop Application.) and replace your Custom widget with WIDGET.
For Example: If you have added a place_holder type widget to navigation bar and name it custom-widget. Just replace the HOOK_NAME with custom-widget and return your widget/page as follows:
  @override
  NavbarWidgetsHook getNavbarWidgetsHook() {
    NavbarWidgetsHook navbarWidgetsHook = (
        BuildContext context,
        String? hookName,
        ) {

      //      This is sample code:
      //      if (hookName == 'HOOK_NAME') {
      //        return WIDGET;
      //      }

      if (hookName == 'custom-widget') {
        return Container(
          height: 100,
          child: Text("I'm custom widget"),
        );
      }

      return null;
    };

    return navbarWidgetsHook;
  }
You can return full page from here. For example, to show :
  if (hookName == 'custom-widget') {
    return AddPropertyRequest();
  }
Note: You can re-arrange the position of your custom widget and you can re-name your custom widget from the Houzi Builder Desktop App.
Added in version 1.3.8
--- ## Add Floating Action Button URL: https://houzi-doc.booleanbites.com/hooks-widgets/add_floating_action_buttonBy default when you enable Floating Action Button from HouziBuilder, it always open Quick Add Property.
You can customize the Floating Action Button on the Navigation Bar (tab bar).
To customize the FAB, do following:
Note: Enabling FAB from Houzi Builder is necessary. For quick enabling, you can add or edit
"show_bottom_navbar_add_button": true,to your configuration.json file.
To customize FAB, you need to open following file:
Project_HOME > lib > hooks_v2.dart
Look for the getAddPlusButtonInBottomBarHook() method.
You will be provided with some code in this method. Just comment or remove the return null; statement and un-comment the commented below code:
Now define your custom Action, that you want to perform when the Floating Action Button will be pressed, in the onPressed method.
 @override
  AddPlusButtonInBottomBarHook getAddPlusButtonInBottomBarHook() {
    AddPlusButtonInBottomBarHook hook = (BuildContext context) {
      /// If you wish to include a Plus button in the center of the bottom bar,
      /// return your widget else return null.
      ///
      /// Please note that this approach is not compatible with BOTTOM BAR DESIGN_02.

      // return null;

      return Container(
        width: 65,
        height: 65,
        margin: const EdgeInsets.only(top: 0),
        child: FloatingActionButton(
          backgroundColor: AppThemePreferences.appSecondaryColor,
          child: Icon(Icons.add,color: Colors.white,size: 35),
          elevation: 4.0,
          onPressed: () {
            // add your custom action here
          },
        ),
      );
    };

    return hook;
  }
Note: Add Floating Action Button is not availble for Navigation Bar Design 02.
Added in version 1.3.8
--- ## Customize Cluster Marker Icon URL: https://houzi-doc.booleanbites.com/hooks-widgets/customize_cluster_marker_iconIf you want to customize the cluster marker on Google Maps, you need to open following file:
Project_HOME > lib > hooks_v2.dart
Look for the getCustomizeClusterMarkerIconHook() method. You can modify the cluster icon colors as well as its size. You are provided with the clusterMarkerDataMap. Provide your releted customization against the respective key and return the clusterMarkerDataMap instead of returning null.
After modifications, restart the app and the changes will reflect on Maps.
@override
  ClusterMarkerIconHook getCustomizeClusterMarkerIconHook() {
    ClusterMarkerIconHook customizedClusterMarkerIconHook = () {
      Map<String, dynamic>? clusterMarkerDataMap = {
        "clusterColor": Colors.blue,
        "clusterTextColor": Colors.white,
        "clusterBorderColor": Colors.white,
        "clusterWidth": 80, // int
        "clusterBorderWidth": 10.0, // double
      };

      // return clusterMarkerDataMap;
      return null;
    };

    return customizedClusterMarkerIconHook;
  }
Note: If you want to show the Cluster Marker Icon with default settings, return null.
Added in version 1.3.8
--- ## Custom Cluster Marker Icon URL: https://houzi-doc.booleanbites.com/hooks-widgets/custom_cluster_marker_iconIf you want to display your custom cluster marker on Google Maps, you need to open following file:
Project_HOME > lib > hooks_v2.dart
Look for the getCustomClusterMarkerIconHook() method. You are provided with the customClusterMarkerIconHook with 2 additional parameters i.e. BuildContext and clusterSize. Define your cluster marker icon here and return it instead of returning null.
After modifications, restart the app and the changes will reflect on Maps.
@override
  CustomClusterMarkerIconHook getCustomClusterMarkerIconHook() {
    CustomClusterMarkerIconHook customClusterMarkerIconHook = (BuildContext context, int clusterSize) {

      return null;
    };

    return customClusterMarkerIconHook;
  }
Note: If you want to show the Default Cluster Marker Icon, return null.
Added in version 1.3.8
--- ## Set minimum characters for Login Password URL: https://houzi-doc.booleanbites.com/hooks-widgets/set_minimum_characters_login_passwordIf you want to set the minimum character for the password of the Login and User-Sign-up, you need to open following file:
Project_HOME > lib > hooks_v2.dart
Look for the getMinimumPasswordLengthHook() method. By default, the minimum characters limit is set to 8. Replace it according to your requirement.
After modifications, restart the app and the changes will reflect on Maps.
@override
  MinimumPasswordLengthHook getMinimumPasswordLengthHook() {
    MinimumPasswordLengthHook minimumPasswordLengthHook = () {
      return 8;
    };
    return minimumPasswordLengthHook;
  }
Added in version 1.3.9
--- ## Agent Profile Configurations URL: https://houzi-doc.booleanbites.com/hooks-widgets/agent_profile_configurationsIf you want to customize the Agent Profile such as show/hide fields like tax number, license etc, you need to open following file:
Project_HOME > lib > hooks_v2.dart
Look for the getAgentProfileConfigurationsHook() method. Perform customization according to your requirement.
After modifications, restart the app and the changes will reflect on Maps.
@override
  AgentProfileConfigurationsHook getAgentProfileConfigurationsHook() {
    AgentProfileConfigurationsHook agentProfileConfigurationsHook = (hook) {
      if (hook == "additional_info") {
        return null;  // return true if you want to hide the whole additional information section.
      } else if (hook == "license") {
        return null;  // return true if you want to hide the license section.
      } else if (hook == "tax_number") {
        return null;  // return true if you want to hide the tax number section.
      } else if (hook == "service_areas") {
        return null;  // return true if you want to hide the service areas section.
      } else if (hook == "specialities") {
        return null;  // return true if you want to hide the specialities section.
      }

      return null;
    };
    return agentProfileConfigurationsHook;
  }
Added in version 1.3.9
--- ## Text Form Field Customization URL: https://houzi-doc.booleanbites.com/hooks-widgets/text_form_field_customizationHouzi proivdes you with the getTextFormFieldCustomizationHook() to customize the Text Form Field throughout the app. Simply open the file from the following path:
Project_HOME > lib > hooks_v2.dart
Look for the getTextFormFieldCustomizationHook() method:
@override
  TextFormFieldCustomizationHook getTextFormFieldCustomizationHook() {
    TextFormFieldCustomizationHook textFormFieldCustomizationHook = () {
      Map<String, dynamic> textFormFieldCustomizationMap = {
        'labelTextStyle' : null,
        'hintTextStyle' : null,
        'additionalHintTextStyle' : null,
        'backgroundColor' : null,
        'focusedBorderColor' : null,
        'hideBorder' : null,
        'borderRadius' : null,
      };

      return textFormFieldCustomizationMap;
    };

    return textFormFieldCustomizationHook;
  }
You can customize following attributes of Text Form Field:
Let’s dive into the details of each attribute customization.
Label is the title of the text form field. If you do not want to use the default Houzi Label TextStyle, you can define your custom label textstyle and instead of returning null against the ‘labelTextStyle’ key in the textFormFieldCustomizationMap, return your custom textstyle for label.
Hint is the helping text provided as the placeholder text inside the empty text form field. If you do not want to use the default Houzi Hint TextStyle, you can define your custom hint textstyle and instead of returning null against the ‘hintTextStyle’ key in the textFormFieldCustomizationMap, return your custom textstyle for hint.
Additional Hint is the helping text provided below the text form field for some additional guidance. If you do not want to use the default Houzi Additional Hint TextStyle, you can define your custom additional hint textstyle and instead of returning null against the ‘additionalHintTextStyle’ key in the textFormFieldCustomizationMap, return your custom textstyle for additional hint.
Background Color is the background color of the text form field. If you do not want to use the default Houzi Background Color for the text form field, you can define your custom background color and instead of returning null against the ‘backgroundColor’ key in the textFormFieldCustomizationMap, return your custom background color.
Focused Border Color is the border color of the text form field when the user interacts with it. If you do not want to use the default Houzi Focused Border Color for the text form field, you can define your custom focused Border color and instead of returning null against the ‘focusedBorderColor’ key in the textFormFieldCustomizationMap, return your custom focused Border color.
If you do not want to show border around the text form field, instead of returning null against the ‘hideBorder’ key in the textFormFieldCustomizationMap, return true.
Border Radius is the radius of borders of the text form field. If you do not want to use the default Houzi Border Radius, you can define your custom border radius and instead of returning null against the ‘borderRadius’ key in the textFormFieldCustomizationMap, return your custom border radius.
--- ## Text Form Field Configuration URL: https://houzi-doc.booleanbites.com/hooks-widgets/text_form_field_configurationAfter modifications, restart the app and the changes will reflect in your app.
Houzi proivdes you with the getTextFormFieldWidgetHook() to configure the Text Form Field throughout the app. Simply open the file from the following path:
Project_HOME > lib > hooks_v2.dart
Look for the getTextFormFieldWidgetHook() method.
@override
  TextFormFieldWidgetHook getTextFormFieldWidgetHook() {
    TextFormFieldWidgetHook textFormFieldWidgetHook = (
        context,
        labelText,
        hintText,
        additionalHintText,
        suffixIcon,
        initialValue,
        maxLines,
        readOnly,
        obscureText,
        controller,
        keyboardType,
        inputFormatters,
        validator,
        onSaved,
        onChanged,
        onFieldSubmitted,
        onTap,
    ) {

      Widget? textFormFieldWidget;
      return textFormFieldWidget;
    };

    return textFormFieldWidgetHook;
  }
Simply define your custom Text Form Field widget against the textFormFieldWidget as follows:
...
      Widget? textFormFieldWidget = YOUR_CUSTOM_WIDGET_HERE();
      return textFormFieldWidget;
    };

    return textFormFieldWidgetHook;
  }
--- ## Perform Action on User Login URL: https://houzi-doc.booleanbites.com/hooks-widgets/perform_action_on_user_loginAfter modifications, restart the app and the changes will reflect in your app.
Houzi proivdes you with the getUserLoginActionHook() to perform some action on User Login. Simply open the file from the following path:
Project_HOME > lib > hooks_v2.dart
Look for the getUserLoginActionHook() method.
@override
  UserLoginActionHook? getUserLoginActionHook() {
    UserLoginActionHook loginActionHook = ({
      required context,
      required formKey,
      required usernameEmail,
      required password,
      required loginNonce,
      required defaultLoginFunc}) {
      // define your action here
    };

    // return loginActionHook;
    return null;
  }
You are provided with the following parameter:
Let’s dive into the details of each parameter.
context is the Build Context. You are provided with the context so you can perform build context related actions.
You are provided with the formKey so could perform form actions. e.g. you can validate the form fields using the formKey etc.
For validating the form state just type following code:
formKey.currentState!.validate();
After validating the form fields, you can save the form state and then you will get the input provided by the user as Email or User name in the usernameEmail parameter.
For saving the form state just type following code:
formKey.currentState!.save();
After validating the form fields, you can save the form state and then you will get the input provided by the user as password in the password parameter.
For saving the form state just type following code:
formKey.currentState!.save();
You are required to pass a login nonce along the user credientials for the user login. You are provided with the loginNonce for this purpose.
If you want to perform some additional actions along the default Houzi Login Action, you can use the defaultLoginFunc for this purpose. Just define your additional actions and at the end use the defaultLoginFunc.
For example:
UserLoginActionHook loginActionHook = ({
      required context,
      required formKey,
      required usernameEmail,
      required password,
      required loginNonce,
      required defaultLoginFunc}) {
      // define your actions here
      actions();
      // use defaultLoginFunc at the end
      defaultLoginFunc();
    };
- Return
loginActionHookinstead of null for the modifications to work.
@override
  UserLoginActionHook? getUserLoginActionHook() {
    UserLoginActionHook loginActionHook = ({
      required context,
      required formKey,
      required usernameEmail,
      required password,
      required loginNonce,
      required defaultLoginFunc}) {
      // define your action here
    };

     return loginActionHook;
  }
--- ## Perform Action on Add Property URL: https://houzi-doc.booleanbites.com/hooks-widgets/perform_action_on_add_property
- After modifications, restart the app and the changes will reflect in your app.
Houzi proivdes you with the getAddPropertyActionHook() to perform some action on Add Property. Simply open the file from the following path:
Project_HOME > lib > hooks_v2.dart
Look for the getAddPropertyActionHook() method.
@override
  AddPropertyActionHook? getAddPropertyActionHook() {
    AddPropertyActionHook addPropertyActionHook = ({
      required context,
      required addPropertyNonce,
      required uploadImagesNonce,
      required addPropertyDataMap,
      required defaultAddPropertyFunc}) {
      // define your action here
    };

    // return addPropertyActionHook;
    return null;
  }
You are provided with the following parameter:
Let’s dive into the details of each parameter.
context is the Build Context. You are provided with the context so you can perform build context related actions.
You are required to pass a Add Property Nonce aginst the addPropertyNonce key along the property data map for adding a property. You are provided with the addPropertyNonce for this purpose.
You are required to pass a Upload Image Nonce aginst the addPropertyImageNonce key along the image data map for uploading an image. You are provided with the uploadImagesNonce for this purpose.
You are provided with all the form fields related keys and values data e.g. Property Title and its user input etc. in the addPropertyDataMap. You can use this map for your custom actions.
If you want to perform some additional actions along the default Houzi Add Property Action, you can use the defaultAddPropertyFunc for this purpose. Just define your additional actions and at the end use the defaultAddPropertyFunc.
For example:
@override
  AddPropertyActionHook? getAddPropertyActionHook() {
    AddPropertyActionHook addPropertyActionHook = ({
      required context,
      required addPropertyNonce,
      required uploadImagesNonce,
      required addPropertyDataMap,
      required defaultAddPropertyFunc}) {
      // define your action here
      actions();
     // use defaultAddPropertyFunc at the end
      defaultAddPropertyFunc();
    };

    // return addPropertyActionHook;
    return null;
  }
- Return
addPropertyActionHookinstead of null for the modifications to work.
@override
  AddPropertyActionHook? getAddPropertyActionHook() {
    AddPropertyActionHook addPropertyActionHook = ({
      required context,
      required addPropertyNonce,
      required uploadImagesNonce,
      required addPropertyDataMap,
      required defaultAddPropertyFunc}) {
      // define your action here
    };

    return addPropertyActionHook;
  }
--- ## Add Custom Drawer Menu Row Design URL: https://houzi-doc.booleanbites.com/hooks-widgets/add_custom_drawer_menu_row_design
- After modifications, restart the app and the changes will reflect in your app.
Houzi proivdes you with the getDrawerMenuItemDesignHook() for providing widget for custom drawer menu row design. Simply open the file from the following path:
Project_HOME > lib > hooks_v2.dart
Look for the getDrawerMenuItemDesignHook() method.
@override
  DrawerMenuItemDesignHook? getDrawerMenuItemDesignHook() {
    DrawerMenuItemDesignHook drawerMenuItemDesignHook = ({
      required iconData, required label, required onTap, required selectedItem}) {
      // return your design widget here
      return null;
    };

    // return drawerMenuItemDesignHook;
    return null;
  }
You are provided with the following parameter:
Let’s dive into the details of each parameter.
You are provided with the String type label parameter which is the label of the row. You can use the this parameter as label text in your custom design widget.
You are provided with the IconData type iconData parameter which is used in the Icon widget of the row. You can use the this parameter in the Icon widget of your custom design widget.
You are provided with the String type selectedItem parameter which is the current selected item of the drawer menu. You can use the this parameter in your custom design widget accordingly.
You are provided with the VoidCallback type onTap parameter which is the callback on drawer menu row. You can use the this parameter in your custom design widget accordingly.
Return
drawerMenuItemDesignHookinstead of null for the modifications to work.
@override
  DrawerMenuItemDesignHook? getDrawerMenuItemDesignHook() {
    DrawerMenuItemDesignHook drawerMenuItemDesignHook = ({
      required iconData, required label, required onTap, required selectedItem}) {
      // return your design widget here
    };

    return drawerMenuItemDesignHook;
  }
--- ## Default App Theme Mode URL: https://houzi-doc.booleanbites.com/hooks-widgets/default_app_theme_modeAfter modifications, restart the app and the changes will reflect in your app.
Houzi proivdes you with the getDefaultAppThemeModeHook() for configuring the default app theme mode. You have following theme mode options:
Simply open the file from the following path:
Project_HOME > lib > hooks_v2.dart
Look for the getDefaultAppThemeModeHook() method. Return the desired option from one of the above mentioned options.
@override
  DefaultAppThemeModeHook? getDefaultAppThemeModeHook() {
    DefaultAppThemeModeHook defaultAppThemeModeHook = () {
      return "light";
    };

    return defaultAppThemeModeHook;
  }
--- ## Direct Messages Hooks URL: https://houzi-doc.booleanbites.com/hooks-widgets/direct_messages_hooksAfter modifications, restart the app and the changes will reflect in your app.
Direct Messages is one of the best way to contact the realtor. Houzi proivdes you with the getThreadApiRefreshTimeHook() and getMessageApiRefreshTimeHook() for configuring the Refresh rate for the Threads and Messages APIs.
By default, the refresh rate for both APIs is 5 seconds.
Simply open the file from the following path:
Project_HOME > lib > hooks_v2.dart
Look for the getThreadApiRefreshTimeHook() method. Return the desired refresh rate.
@override
  ThreadApiRefreshTimeHook? getThreadApiRefreshTimeHook() {
    ThreadApiRefreshTimeHook? threadApiRefreshTimeHook = () {
      return 5;// time in seconds
    };

    return threadApiRefreshTimeHook;
  }
Similarly look for the getMessageApiRefreshTimeHook() method. Return the desired refresh rate.
@override
  MessageApiRefreshTimeHook? getMessageApiRefreshTimeHook() {
    MessageApiRefreshTimeHook? messageApiRefreshTimeHook = () {
      return 5;// time in seconds
    };

    return messageApiRefreshTimeHook;
  }
After modifications, restart the app and the changes will reflect in your app.
Added in version 1.4.2
--- ## Hide Fields in Edit Profile URL: https://houzi-doc.booleanbites.com/hooks-widgets/edit_profile_show_fieldHouzi provides you with the EditProfileShowFieldHook() which allows you to dynamically show or hide specific profile fields in the Edit Profile screen—such as Facebook, Instagram, WhatsApp, etc.
This can be useful for customizing which fields are visible based on your app’s requirements.
Project_HOME > lib > hooks_v2.dart
To edit this hook, open the following file in your project:
The EditProfileShowFieldHook() is a hook function that returns a function (EditProfileShowFieldHook) which takes a fieldName as a String and returns a bool (or null) based on whether you want the field to be shown or hidden.
true → Show the fieldfalse → Hide the fieldnull → Default behavior (no override)EditProfileShowFieldHook getEditProfileShowFieldHook() {
EditProfileShowFieldHook editProfileShowFieldHook = (String fieldName) {
if (fieldName == "facebook") {
return true; // Show Facebook field
} else if (fieldName == "phone") {
return true; // Show Phone field
} else if (fieldName == "instagram") {
return false; // Hide Instagram field
} else if (fieldName == "whatsApp") {
return true; // Show WhatsApp field
} else if (fieldName == "youtube") {
return true; // Show YouTube field
} else if (fieldName == "pinterest") {
return true; // Show Pinterest field
} else if (fieldName == "title_position") {
return true; // Show Title Position field
} else if (fieldName == "tax_number") {
return false; // Hide Tax Number field
} else if (fieldName == "website") {
return true; // Show Website field
}
return null; // Return null if no condition matched (default behavior)
};
return editProfileShowFieldHook;
}
After modifications, restart the app and the changes will reflect in your app.
Added in version 1.4.4
--- ## Phone Signup Countries URL: https://houzi-doc.booleanbites.com/hooks-widgets/add_custom_countryHouzi provides the CustomCountryHook() to customize the country list available in the phone signup page. This hook allows you to either:
The CustomCountryHook() returns a function that provides a list of Country objects. This list defines which countries (and their respective phone codes) should be shown in the phone number field.
null → to show all countries by defaultCustomCountryHook getCustomCountryHook() {
CustomCountryHook customCountryHook = () {
List<Country> countryList = [
Country(
code: "PK",
dialCode: "92",
name: "Pakistan",
flag: '🇵🇰',
nameTranslations: {},
minLength: 10,
maxLength: 10,
),
Country(
code: "RU",
dialCode: "7",
name: "Russia",
flag: '🇷🇺',
nameTranslations: {},
minLength: 10,
maxLength: 10,
),
];
// Return this list to show only selected countries
// return countryList;
// Return null to show all countries by default
return null;
};
return customCountryHook;
}
| Property | Description | Example |
|---|---|---|
code |
2-letter ISO country code | "PK" for Pakistan |
dialCode |
Country calling code | "92" |
name |
Country name | "Pakistan" |
flag |
Country flag emoji | '🇵🇰' |
nameTranslations |
Country name translations (can be empty) | {} |
minLength |
Minimum phone number length | 10 |
maxLength |
Maximum phone number length | 10 |
To correctly display country flags using emoji, follow the platform-specific instructions below:
Control + Command + Space to open the emoji picker.Pakistan).Windows + . (period) to open the emoji panel.United Kingdom).⚠️ Important
Ensure you’re using valid Regional Indicator Symbols.
Using incorrect or unsupported emoji may result in display/rendering issues or show as blank squares or placeholders.
After modifications, restart the app and the changes will reflect in your app.
Added in version 1.4.4
--- ## Home Background Hook URL: https://houzi-doc.booleanbites.com/hooks-widgets/home_sliver_app_bar_background_imageHouzi provides the HomeSliverAppBarBGImageHook() to customize the background image displayed in the Sliver AppBar on the home screen. This hook allows you to either:
The HomeSliverAppBarBGImageHook() returns a function that provides a String? path to your background image asset. This path defines which image should be displayed as the background in the home screen’s Sliver AppBar.
null → to use no background imageHomeSliverAppBarBGImageHook getHomeSliverAppBarBGImageHook() {
return (BuildContext context) {
String? _backgroundImage;
// Example asset paths:
// _backgroundImage = "assets/image/any_image.png";
// _backgroundImage = "assets/settings/dummy_property_image_01.jpg"; // For Test
// Return the background image path
// return _backgroundImage;
// If you don't want to use background image, return null
return null;
};
}
Make sure your pubspec.yaml is properly configured to load your background image:
flutter:
  assets:
    - assets/image/
    - assets/settings/
HomeSliverAppBarBGImageHook getHomeSliverAppBarBGImageHook() {
  return (BuildContext context) {
    String? _backgroundImage = "assets/image/home_background.png";
    return _backgroundImage;
  };
}
HomeSliverAppBarBGImageHook getHomeSliverAppBarBGImageHook() {
  return (BuildContext context) {
    // You can use context to determine which image to show
    bool isDarkMode = Theme.of(context).brightness == Brightness.dark;

    String? _backgroundImage = isDarkMode
        ? "assets/image/dark_home_bg.png"
        : "assets/image/light_home_bg.png";

    return _backgroundImage;
  };
}
HomeSliverAppBarBGImageHook getHomeSliverAppBarBGImageHook() {
  return (BuildContext context) {
    // Return null for no background image
    return null;
  };
}
⚠️ Important
Ensure your image assets are properly added to yourpubspec.yamlfile and exist in the specified directories. Missing assets will cause runtime errors.
After modifications, restart the app and the changes will reflect in your app.
Added in version 1.4.4
--- ## Custom Search Web Params URL: https://houzi-doc.booleanbites.com/hooks-widgets/custom_search_web_paramsHouzi allows you to use custom query parameters into search API requests using the getCustomSearchWebParamsHook().
This hook is useful if you have customized your backend to filter properties based on additional parameters that are not part of the default Houzi search.
Open hooks_v2.dart and locate the getCustomSearchWebParamsHook() method.
Map<String, dynamic> with your custom parameter keys and values.@override
CustomSearchWebParamsHook getCustomSearchWebParamsHook() {
/* If you have custom params for searching then use the following hook to add
your params */
CustomSearchWebParamsHook customSearchWebParamsHook = () {
/// Use this hook to inject custom query parameters into your search API requests.
///
/// This is useful if you have customized your backend to filter properties
/// based on additional parameters that are not part of the default Houzi search.
///
/// To use this:
/// 1. Define a Map<String, dynamic> with your custom parameter keys and values.
/// 2. Return this map from the function.
///
/// Example is below map having key and its value
Map<String, dynamic>? customWebServiceParams = {
/// For Example: You have this key and value as an example
/// "agent_contact":"+923001234567"
};
/// return customWebServiceParams;
/// Leave it null incase you don't have any custom params
return null;
};
return customSearchWebParamsHook;
}
Note: Return
nullif you do not want to pass any custom search parameters.
--- ## Houzi Map Provider Hook URL: https://houzi-doc.booleanbites.com/hooks-widgets/houzi_map_provider_hookAfter modifications, hot reload or restart the application to see the changes.
Houzi provides the getHouziMapProviderHook() to let you set the default map provider used throughout the app. You can choose between Google Maps and OpenStreetMap (OSM).
Use this hook when you want to override the default map provider set by Houzi. By default, Houzi uses OpenStreetMap (OSM) as the map provider. If your app requires Google Maps, you can switch to it using this hook.
Open hooks_v2.dart and locate the getHouziMapProviderHook() method.
If not available then copy and paste the code from here.
"google" to use Google Maps."osm" to use OpenStreetMap."" (empty string) to use the default map provider set by Houzi (which is OSM).@override
HouziMapProviderHook getHouziMapProviderHook() {
HouziMapProviderHook houziMapProviderHook = () {
/// Use this hook to set the default map provider.
///
/// We have two map providers to use:
/// 1. Return "google" for Google Maps.
/// 2. Return "osm" for OpenStreetMap.
///
/// Example is below map to use Google Maps
/// Uncomment the below line to use Google Maps
// return "google";
/// Example is below map to use OpenStreetMap
/// Uncomment the below line to use OpenStreetMap
// return "osm";
/// Return empty incase to use default map provider set by Houzi which is OSM
return "";
};
return houziMapProviderHook;
}
@override
HouziMapProviderHook getHouziMapProviderHook() {
  HouziMapProviderHook houziMapProviderHook = () {
    return "google";
  };
  return houziMapProviderHook;
}
@override
HouziMapProviderHook getHouziMapProviderHook() {
  HouziMapProviderHook houziMapProviderHook = () {
    return "osm";
  };
  return houziMapProviderHook;
}
Note: If you choose to use OpenStreetMap (OSM), you must provide a valid admin email address using the OSM Geo Admin Email Hook. Please refer to the OSM Geo Admin Email Hook documentation to set it up.
--- ## OSM Geo Admin Email Hook URL: https://houzi-doc.booleanbites.com/hooks-widgets/osm_geo_admin_email_hookAfter modifications, restart the app and the changes will reflect in your app.
Houzi provides the getOsmGeoAdminEmailHook() to set a valid admin email address required by OpenStreetMap’s Nominatim service for geocoding (search and reverse geocoding) requests.
This hook is required when you are using OpenStreetMap (OSM) as your map provider. Nominatim requires a valid contact email for identification purposes as part of its usage policy.
Important
If you have set your map provider to"osm"using the Houzi Map Provider Hook, you must configure this hook with a valid email address. Without it, your geocoding requests may be blocked by the Nominatim service.
Note: This hook is not needed if you are using Google Maps only.
Open hooks_v2.dart and locate the getOsmGeoAdminEmailHook() method. If not available then copy and paste the code from here.
@override
OSMGeoAdminEmailHook getOsmGeoAdminEmailHook() {
  OSMGeoAdminEmailHook osmGeoAdminEmailHook = () {

    /// Return a valid admin email for OpenStreetMap (Nominatim) Search/Reverse.
    /// Required by OSM for identification and contact purposes.
    /// Example: "support@yourapp.com"
    /// Not needed if using Google Maps only.

    return "support@yourapp.com";
  };
  return osmGeoAdminEmailHook;
}
@override
OSMGeoAdminEmailHook getOsmGeoAdminEmailHook() {
  OSMGeoAdminEmailHook osmGeoAdminEmailHook = () {
    return "admin@myrealestate.com";
  };
  return osmGeoAdminEmailHook;
}
--- ## Map View Initial Location Hook URL: https://houzi-doc.booleanbites.com/hooks-widgets/map_view_initial_location_hookAfter modifications, restart the app and the changes will reflect in your app.
Houzi provides the getMapViewInitialLocationHook() to set the initial/default center location and zoom level of the map view when it first loads, before any property markers are displayed.
Use this hook when you want to control where the map is centered on initial load. This is useful if your properties are concentrated in a specific region and you want the map to open directly on that area instead of the default location.
Open hooks_v2.dart and locate the getMapViewInitialLocationHook() method. If not available then copy and paste the code from here.
latitude and longitude values to your desired initial map center.initial_zoom value to control how zoomed in the map should be on load.@override
MapViewInitialLocationHook getMapViewInitialLocationHook() {
MapViewInitialLocationHook mapViewInitialLocationHook = () {
/// Return a Map with 'latitude' and 'longitude' keys to set the
/// initial/default center of the map view.
/// These coordinates will be used when the map first loads,
/// before any property markers are shown.
Map<String, dynamic> initialLocationMap = {
"latitude": 37.4219999,
"longitude": -122.0862462,
"initial_zoom": 8.0,
};
return initialLocationMap;
};
return mapViewInitialLocationHook;
}
| Key | Type | Description |
|---|---|---|
latitude |
double |
Latitude of the initial map center |
longitude |
double |
Longitude of the initial map center |
initial_zoom |
double |
Initial zoom level of the map (e.g., 8.0 for region-level, 12.0 for city-level) |
@override
MapViewInitialLocationHook getMapViewInitialLocationHook() {
  MapViewInitialLocationHook mapViewInitialLocationHook = () {
    Map<String, dynamic> initialLocationMap = {
      "latitude": 25.2048,
      "longitude": 55.2708,
      "initial_zoom": 10.0,
    };
    return initialLocationMap;
  };
  return mapViewInitialLocationHook;
}
--- ## Map Box Api Key Hook URL: https://houzi-doc.booleanbites.com/hooks-widgets/map_box_api_key_hookAfter modifications, restart the app and the changes will reflect in your app.
Houzi provides the getMapBoxApiKeyHook() to set the Mapbox API key for Mapbox services in the app.
Use this hook when you want to use Mapbox services in the app.
Open hooks_v2.dart and locate the getMapBoxApiKeyHook() method. If not available then copy and paste the code from here.
map_box_api_key value to your desired Mapbox API key.@override
MapBoxApiKeyHook getMapBoxApiKeyHook() {
MapBoxApiKeyHook mapBoxApiKeyHook = () {
/// Return your Mapbox Access Token if you are using Mapbox as the map provider.
/// Required for loading Mapbox tiles, styles, geocoding, and reverse geocoding services.
/// You can generate your access token from the Mapbox Dashboard:
/// https://account.mapbox.com/
/// Example: "pk.xxxxxxxxxxxxxxxxxxxxxxxxxxxxxxxxxxxxxxxxxxxxxxxxxx.abcdefghijklmnopqrstuvwxyz"
/// Not needed if using Google Maps or OpenStreetMap only.
///
/// Leave empty if you are using Google Maps or OpenStreetMap only.
return "";
};
return mapBoxApiKeyHook;
}
@override
MapBoxApiKeyHook getMapBoxApiKeyHook() {
  MapBoxApiKeyHook mapBoxApiKeyHook = () {
    /// Example Key: "pk.xxxxxxxxxxxxxxxxxxxxxxxxxxxxxxxxxxxxxxxxxxxxxxxxxx.abcdefghijklmnopqrstuvwxyz"
    /// Replace with your Mapbox Access Token
    return "YOUR_MAPBOX_API_KEY";
  };
  return mapBoxApiKeyHook;
}
--- ## Property Valued Feature Design Hook URL: https://houzi-doc.booleanbites.com/hooks-widgets/valued_feature_design_hookAfter modifications, restart the app and the changes will reflect in your app.
Houzi provides the getValuedFeatureDesignHook() to control the design/layout version of the property valued features section (bedrooms, bathrooms, garage, size, year built, etc.) displayed on the property details page.
Use this hook when you want to choose between the two supported valued feature layouts:
v1: The original horizontal scrolling list design.v2: A new, modern rectangular 3-column grid design (default).Open hooks_v2.dart and locate the getValuedFeatureDesignHook() method. If not available then copy and paste the code from here.
"v1" or "v2").lib/main.dart inside the hooksMap by adding:
hooksMap["valuedFeatureDesignHook"] = v2Hooks.getValuedFeatureDesignHook();
@override
ValuedFeatureDesignHook getValuedFeatureDesignHook() {
  ValuedFeatureDesignHook hook = () {
    /// Return "v1" for horizontal list design
    /// Return "v2" for 3-column grid design (default)
    return "v2";
  };
  return hook;
}
v1)This is the original Houzi design. The features are displayed in a single-row horizontal scrolling card list.
v2 - Default)This is a modern grid layout where items are arranged in a 3-column structure.
@override
ValuedFeatureDesignHook getValuedFeatureDesignHook() {
  ValuedFeatureDesignHook hook = () {
    // Switch to the horizontal layout (v1)
    return "v1";
  };
  return hook;
}
--- ## Introduction URL: https://houzi-doc.booleanbites.com/houzi-builder/introAfter modifications, restart the app and the changes will reflect in your app.
This is setup documentation for Houzi Builder App.
HouziBuilder is designed to generate configuration file for your app. The app is available for Windows and MacOS desktop. This documentation provides the guidance with ease to generate or update/edit the configuration file of the app.
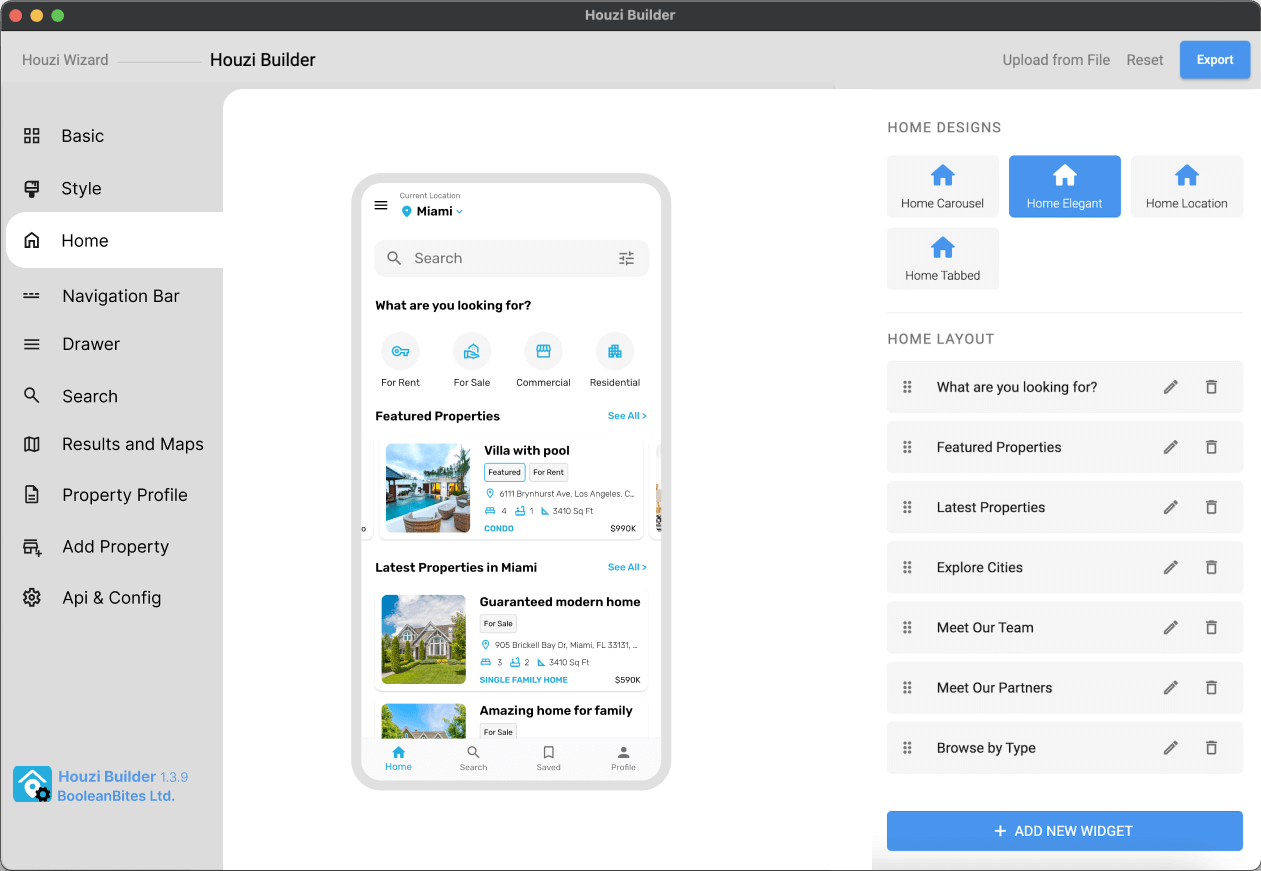
On opening the application, the first screen, that you will encounter, will be the Houzi Builder Activation screen. Enter your Purchase Code in the required text field and press Activate button. After verification, you will be taken to Houzi Wizard Screen.
If you require help of any kind regarding Houzi Builder, press the Support text button (at the bottom of screen). It will take you to the github page of the houzi-support. Open a new issue there and Houzi team will try to response as soon as possible.
Once you have successfully activated your Houzi Builder, the app will auto varify your license on each launch.
Important: You are required to install the Houzi Rest Api Plugin on your Houzez wordpress. To install the Plug-in, click on Houzi Rest Api Plugin Link.
After activating the Houzi Builder application, the next screen, that you will encounter, will be the Houzi Wizard Screen. Houzi Wizard will analyze your website for API connectivity and it will detect any possible issues.
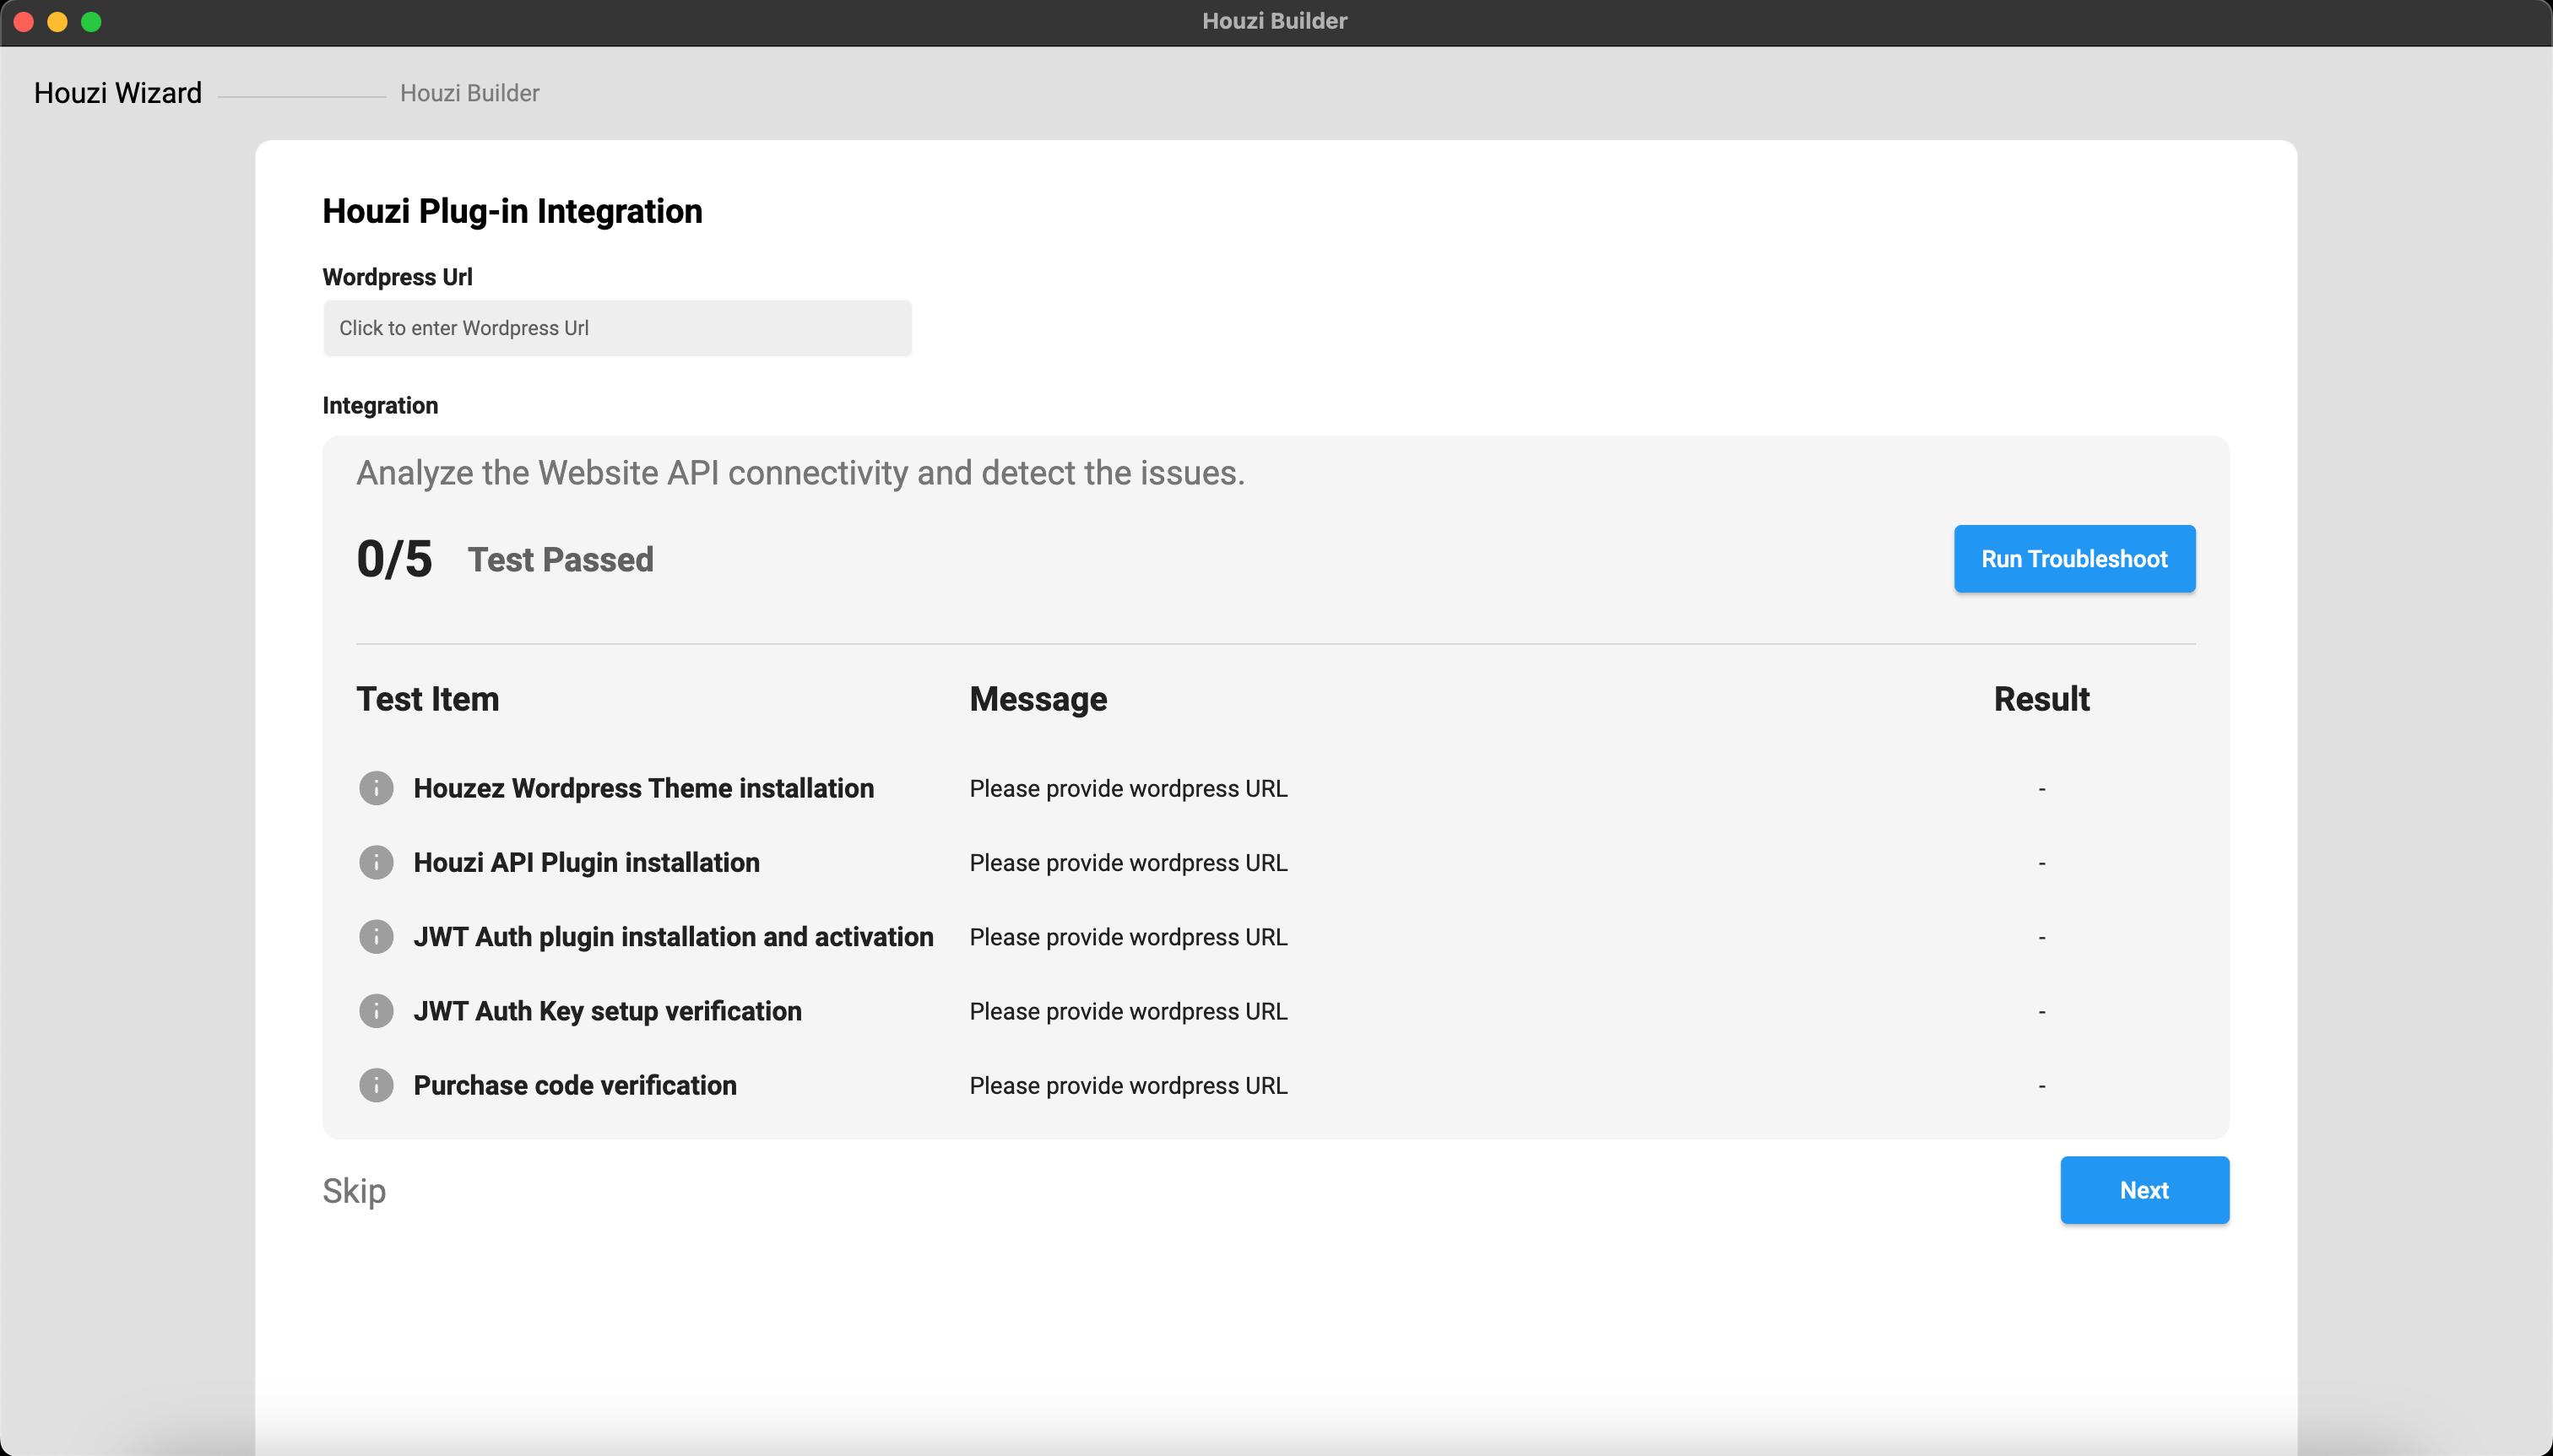
Provide your Website Wordpress URL in the required Wordpress Url field. Click on Wordpress URL text field. A dialog will open. Provide the Wordpress URL Scheme, Wordpress URL Domain and Wordpress URL Path in their respective fields. (If your website URL does not contain a subpath then leave Wordpress URL Path field empty.)
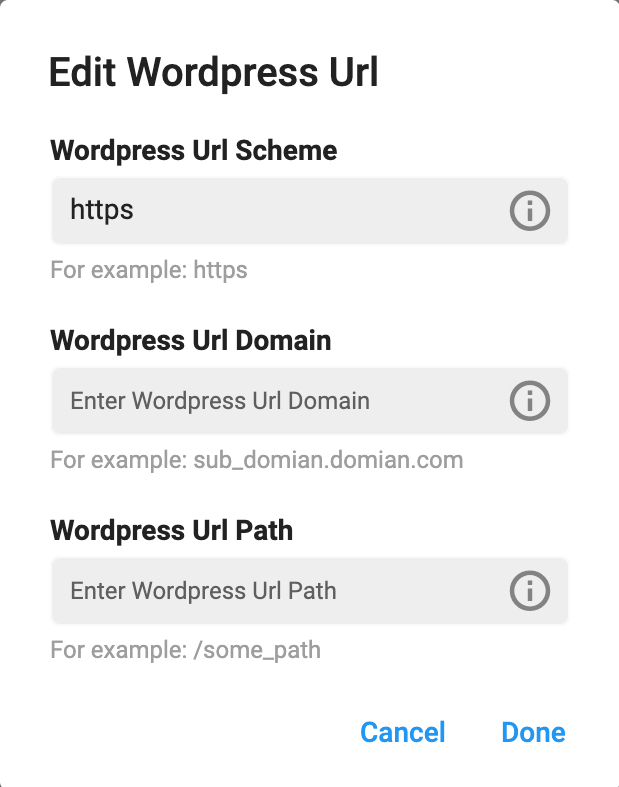
Example 1 (Website Url with path):
Url: https://domain.com/path/
Wordpress URL Scheme = https
Wordpress URL Domain = domain.com
Wordpress URL Path = path

Example 2 (Website Url without path):
Url: https://domain.com/
Wordpress URL Scheme = https
Wordpress URL Domain = domain.com
Wordpress URL Path =
On pressing the Done button, Houzi Wizard will analyze your website for the following possible tests:
If none issue is detected then you will be taken to the Houzi Builder screen.
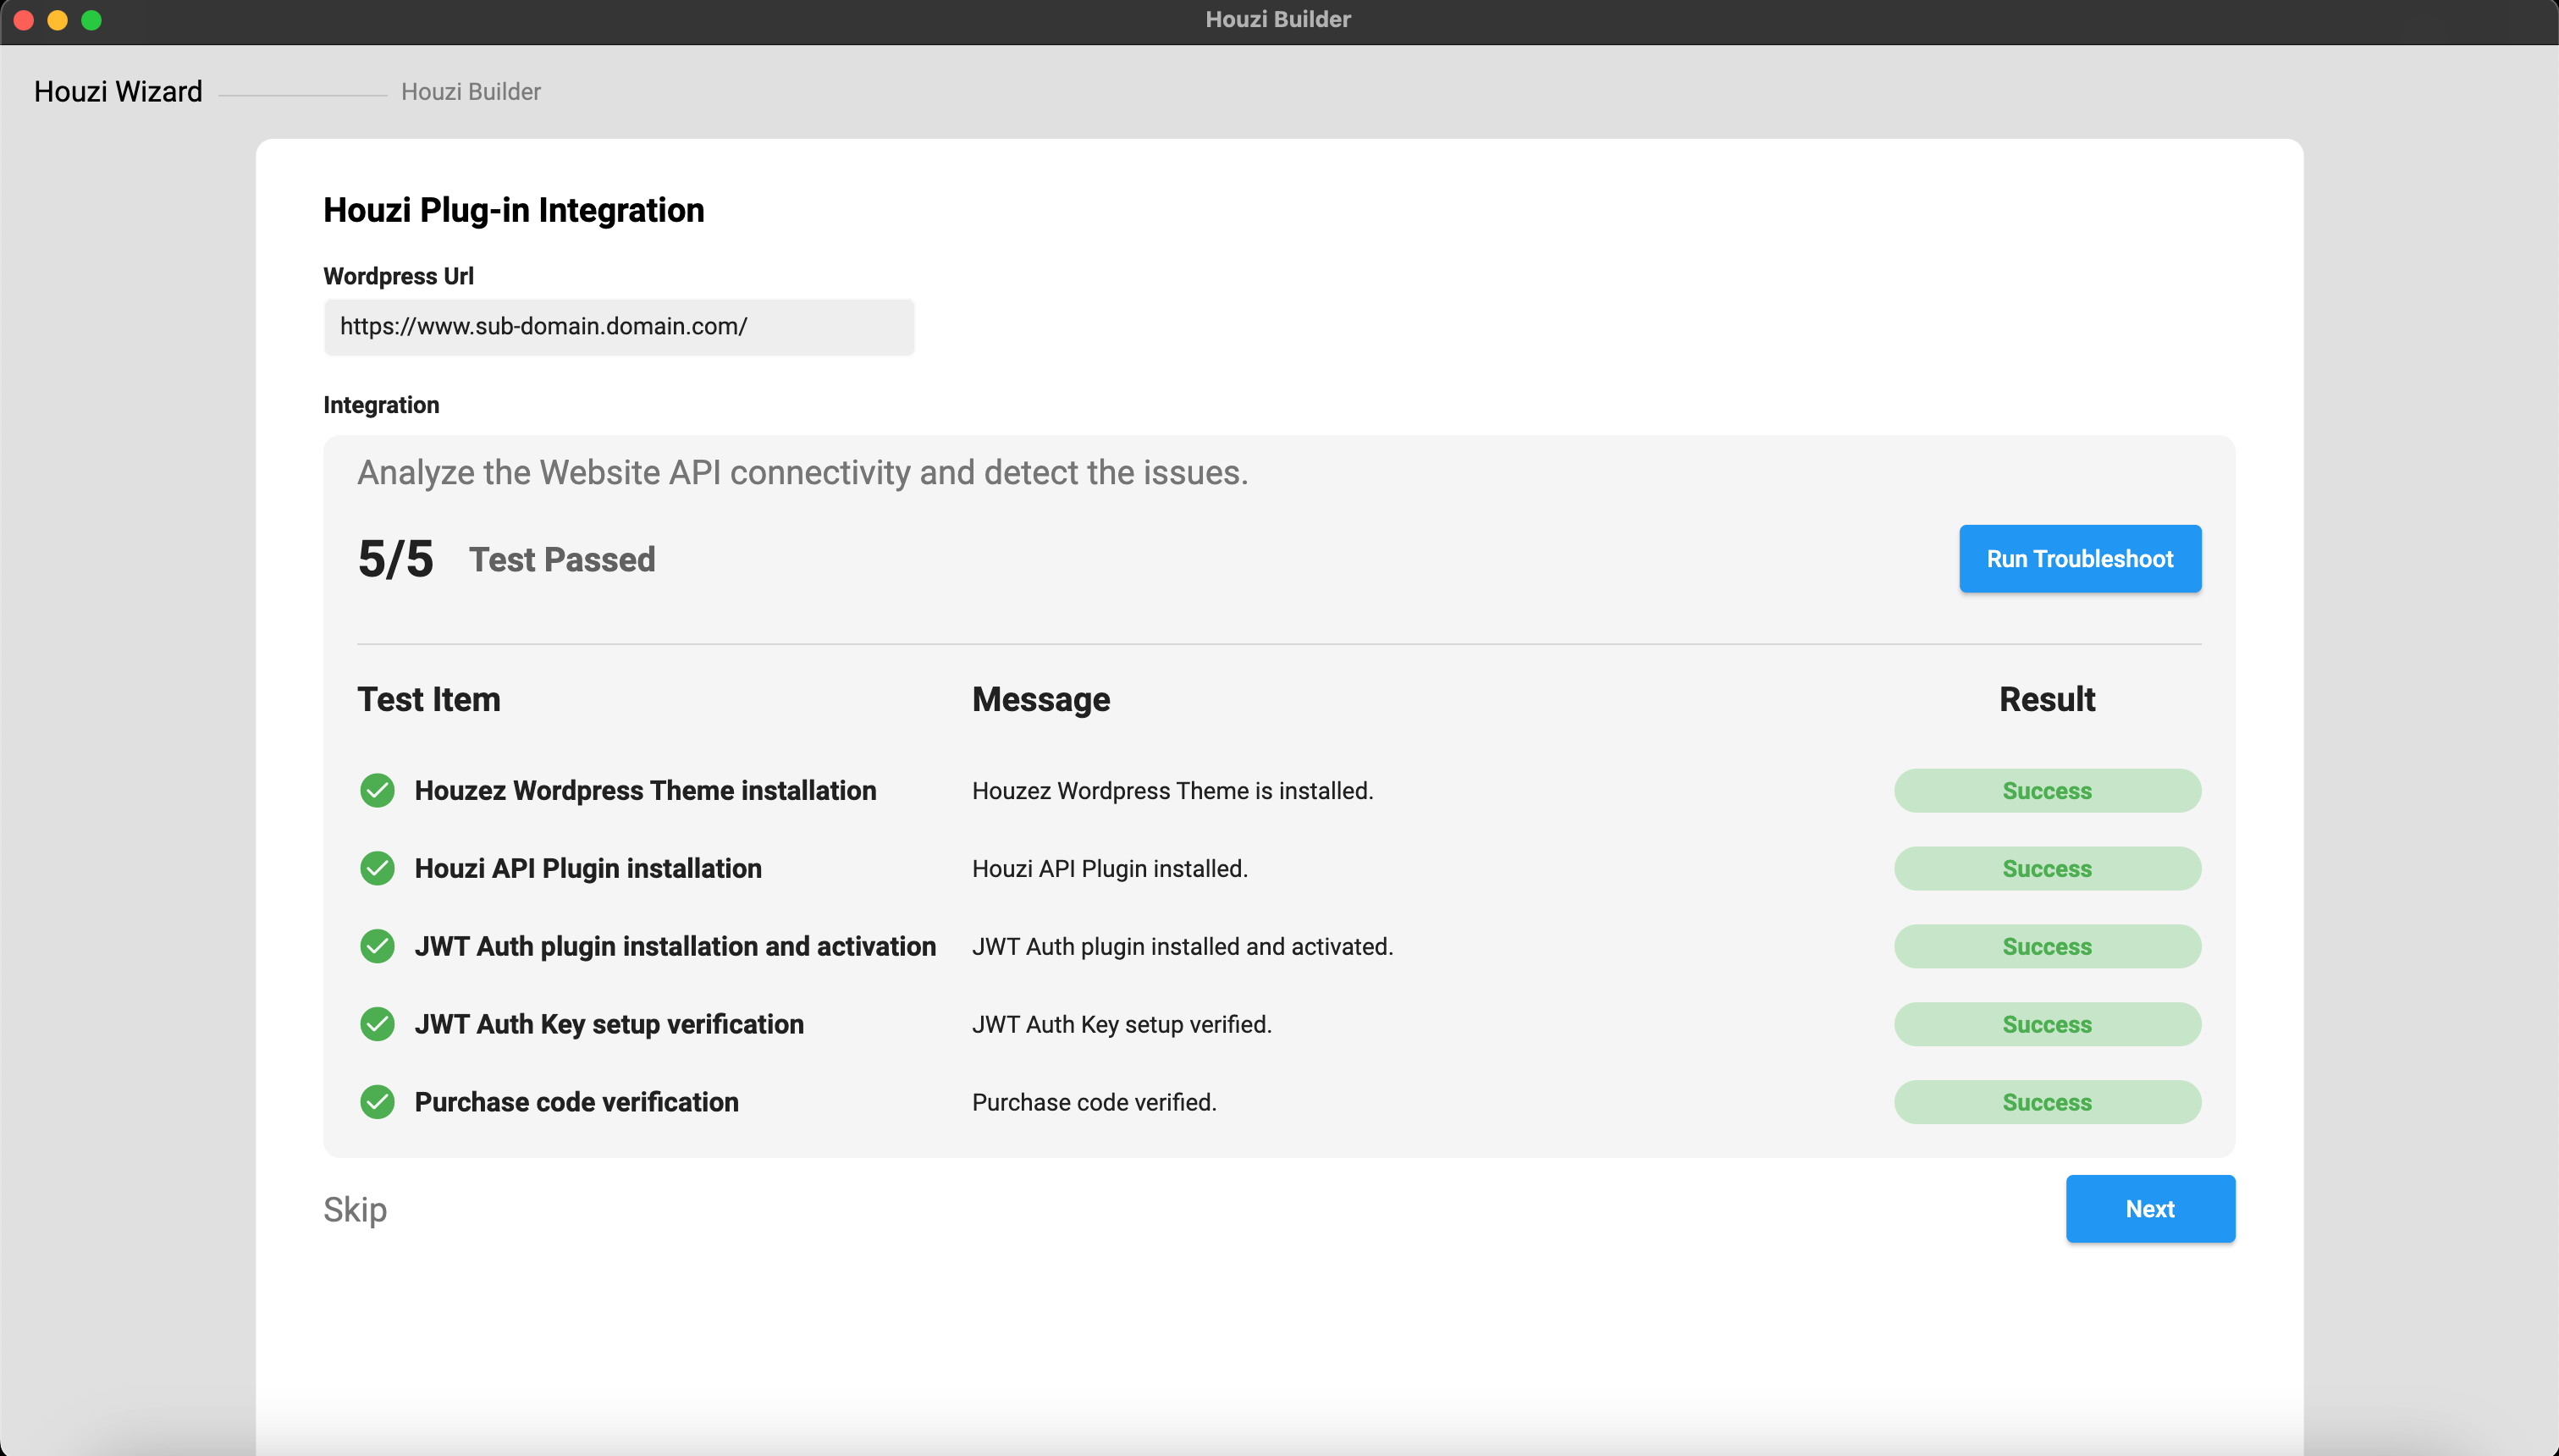
Note: If you have already defined
App Configonwordpress-admin-panel > Houzi Apithen the Houzi Builder feilds will be filled with the values of that App Config.
If Houzi Wizard detects any issue, you will remain on Houzi Wizard Screen and you will be notified regarding the issue and also about its solution (if any).
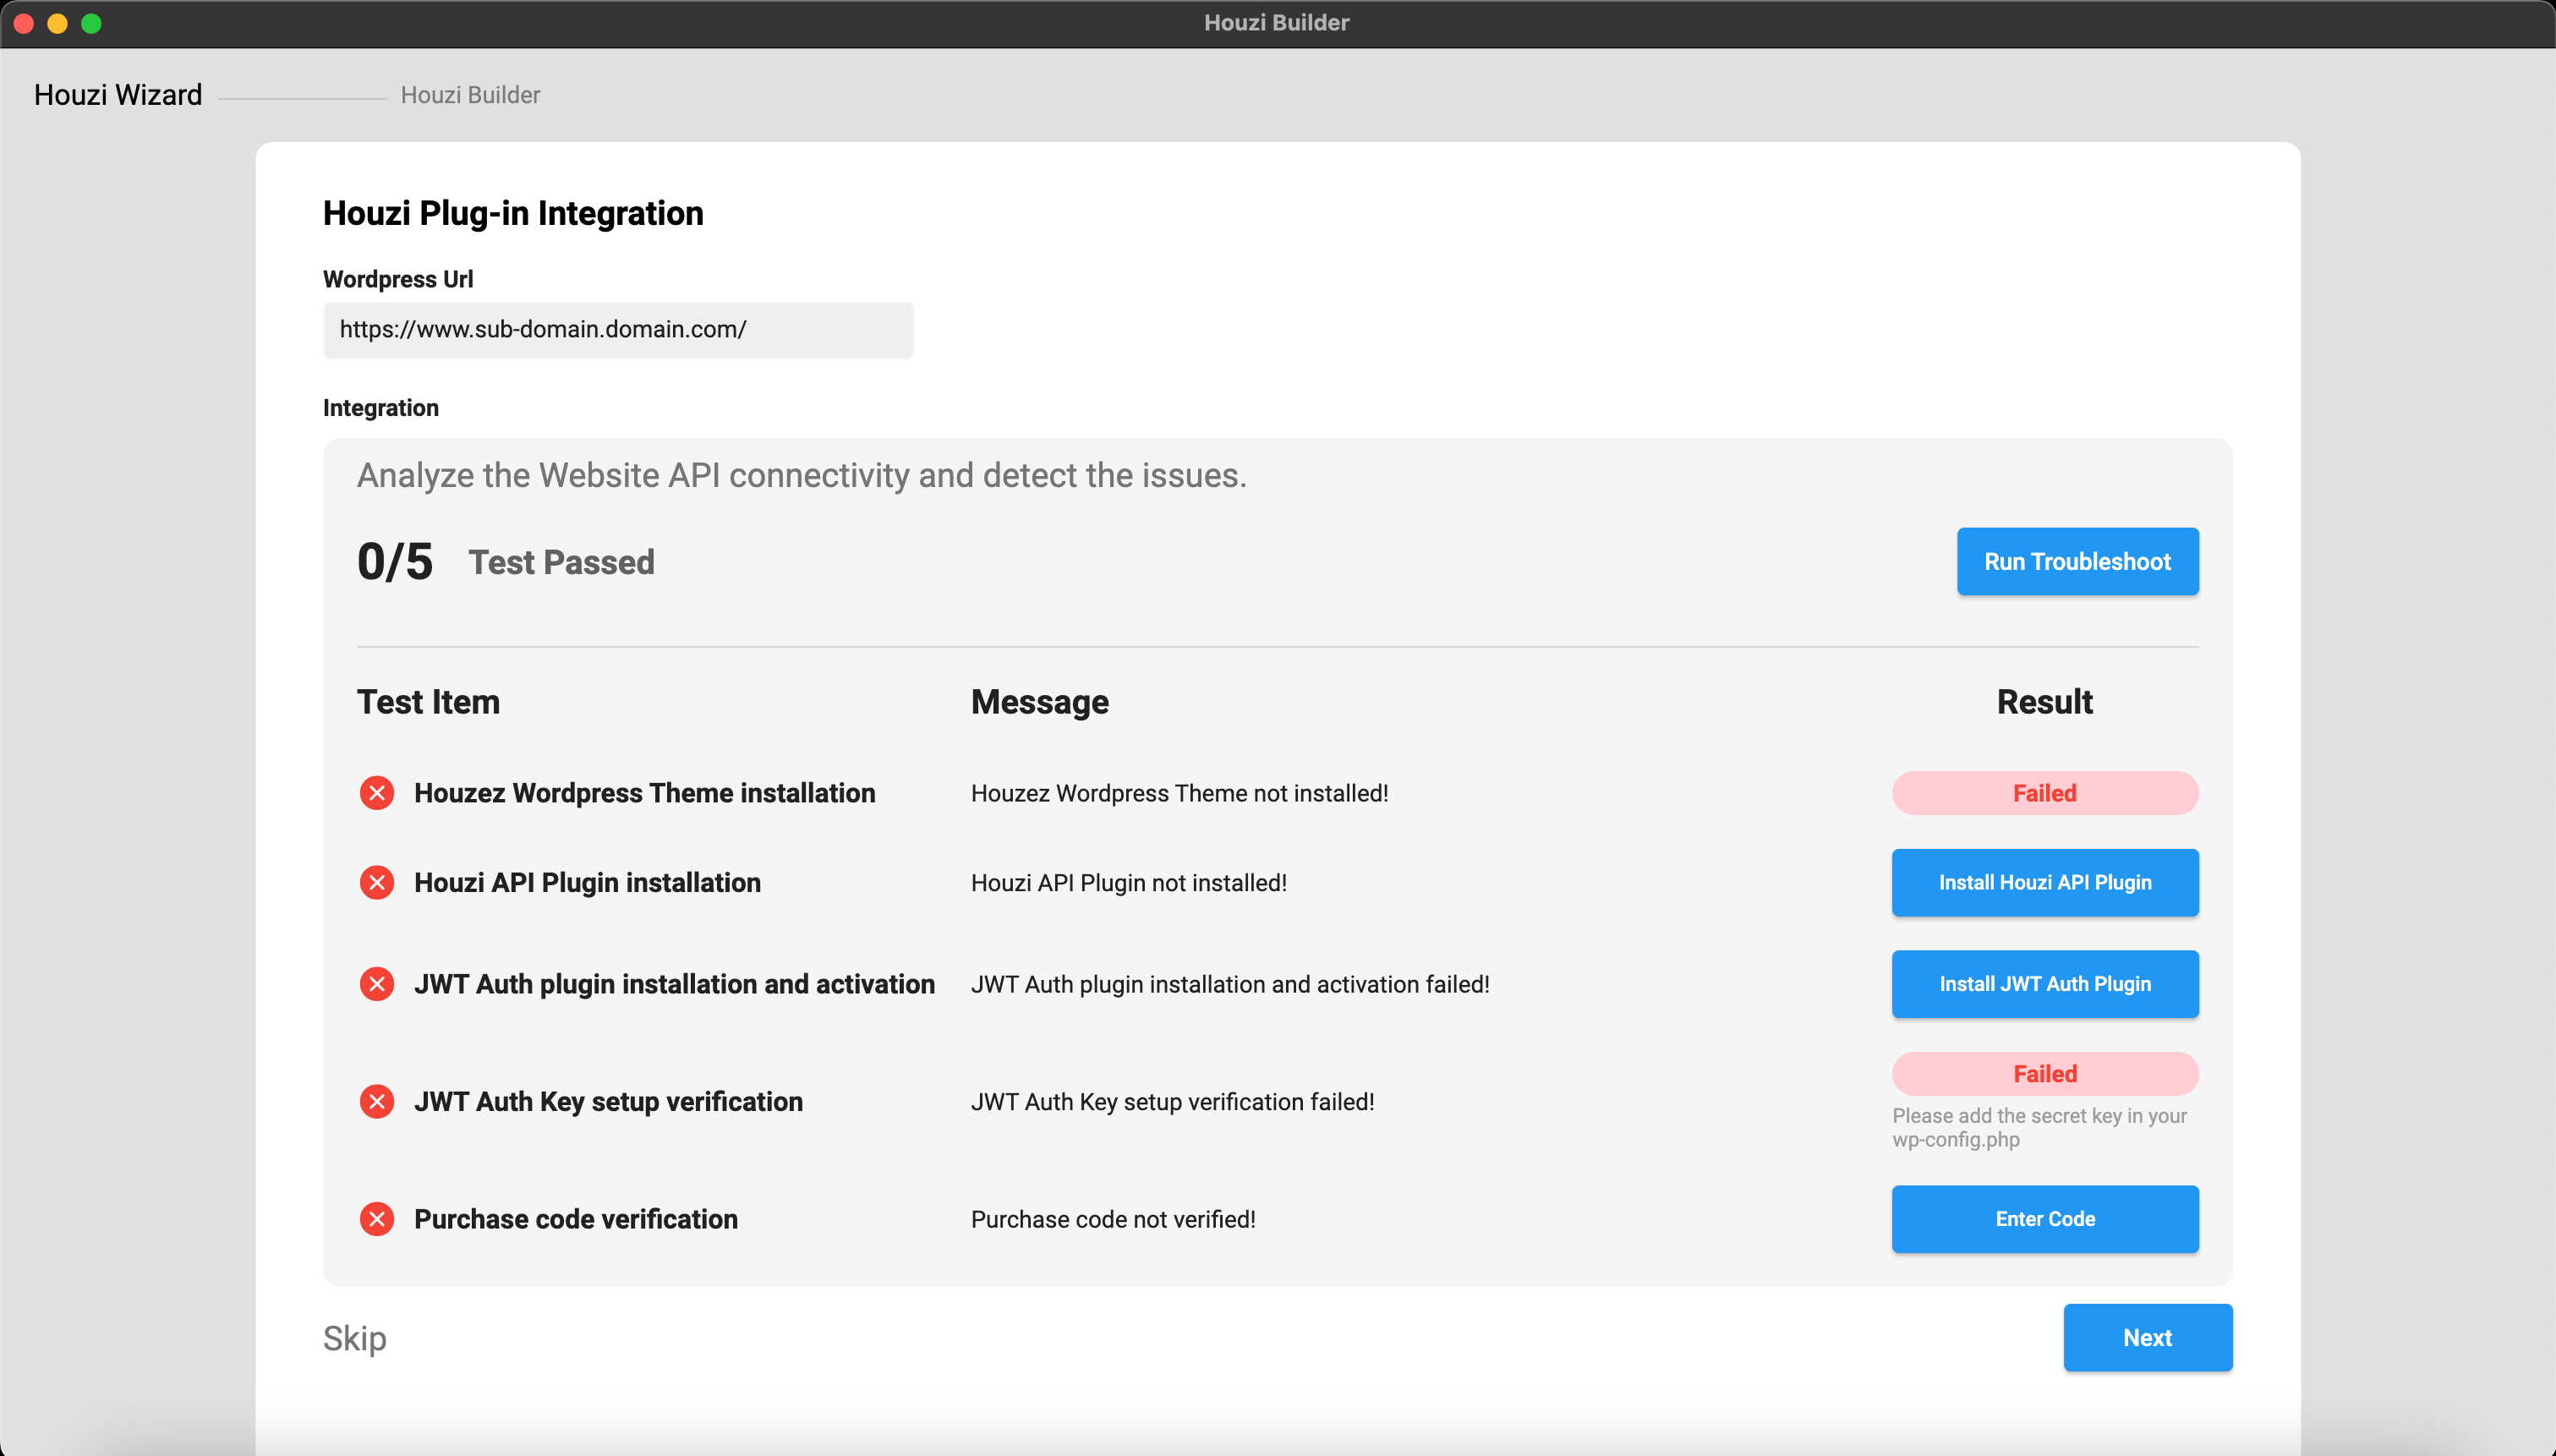
If Houzi API Plugin is not installed on your Houzez wordpress, click on Install Houzi API Plugin button, in-front of the issue. The link to Houzi API Plugin will open in browser. You can install Houzi API Plugin in you Wordpress website from there.
If JWT Auth Plugin is not installed or activated on your Houzez wordpress, click on Install JWT Auth Plugin button, in-front of the issue. The link to JWT Auth Plugin will open in browser. You can install JWT Auth Plugin in you Wordpress website from there.
If JWT Auth Key setup verification failed on your Houzez wordpress, please add the secert key in your wp-config.php.
If Purchase code verification failed on your Houzez wordpress and you have the Purchase code, click on Enter Code button, in-front of the issue. An input field for the Purchase code will be displayed. Enter your Purchase code in the field and press Verify Purchase Code button.
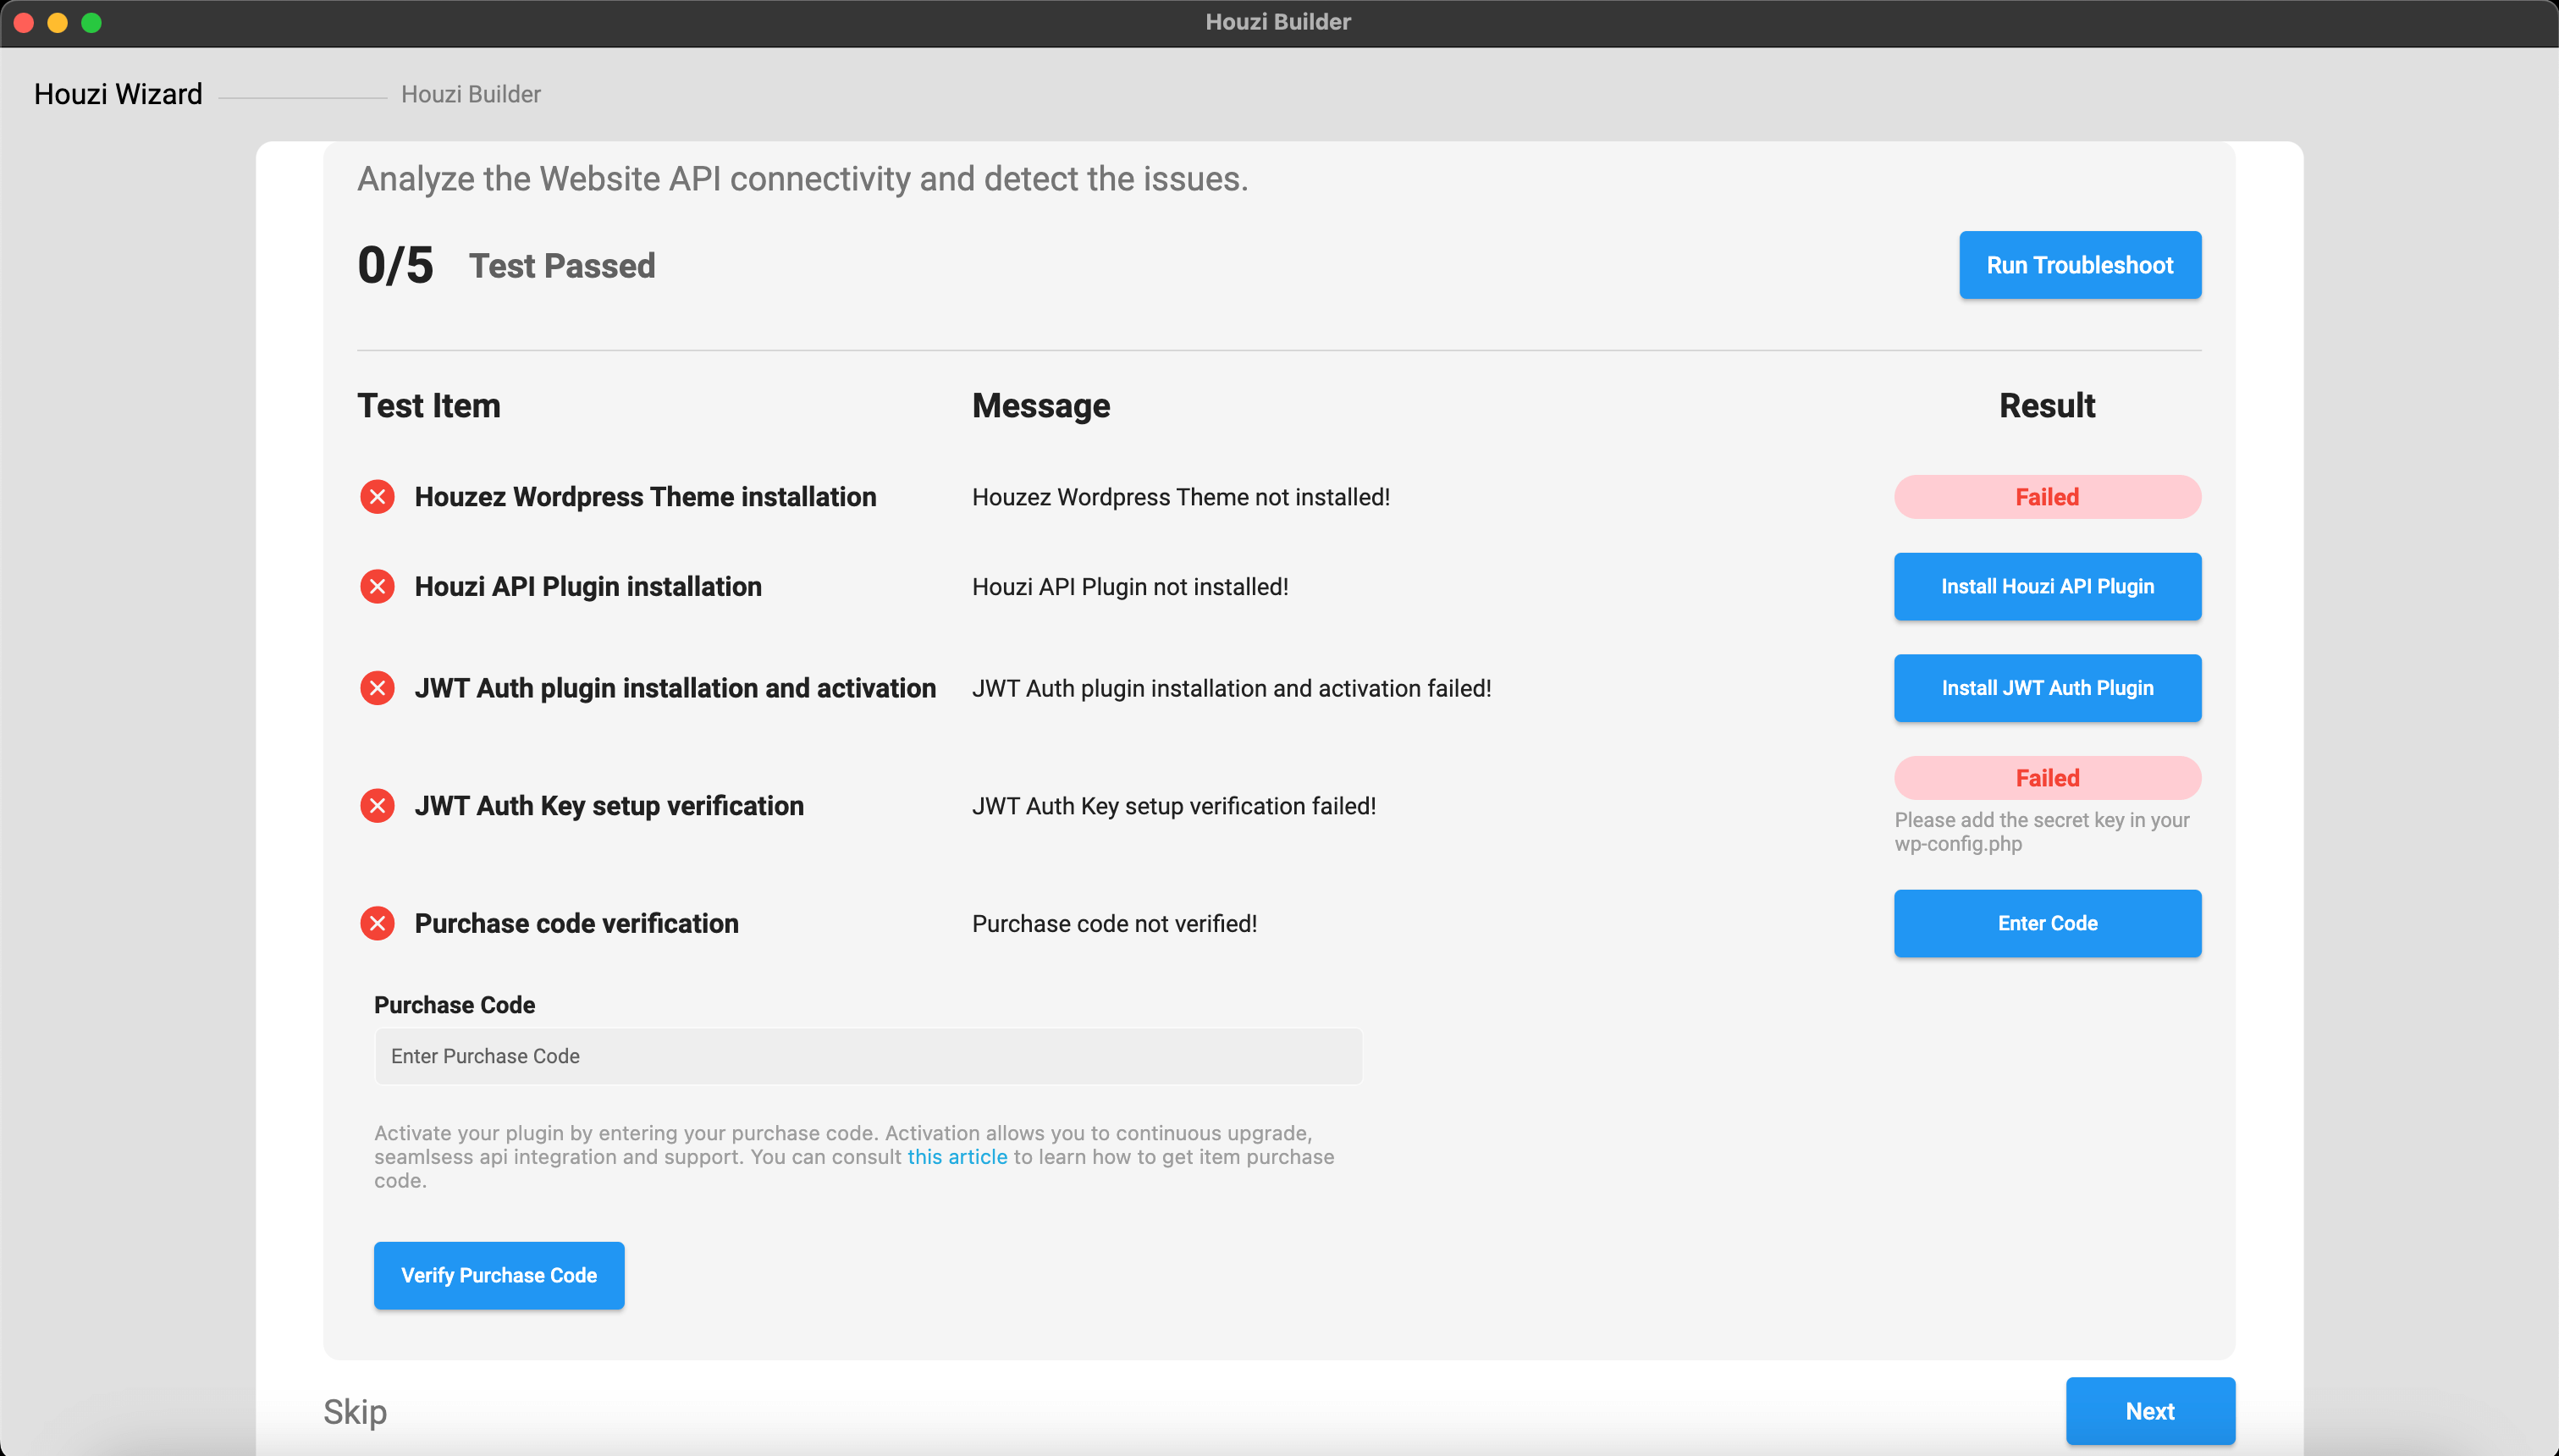
If all the issues are resloved, click on Next button. You will be navigated to the Houzi Builder screen.
You can re-run the Houzi Wizard by pressing the Run Troubleshoot button. Your website will be re-analyze for any possible issues.
--- ## Basic App Setup URL: https://houzi-doc.booleanbites.com/houzi-builder/basic_setupNote: You can navigate directly to the Houzi Builder screen without analyzing your Houzez wordpress website either by clicking on the HouziBuilder text on the top of screen or by clicking the Skip text button at the left-bottom of screen.
Important: You are required to install the Houzi Rest Api Plugin on your Houzez wordpress. To install the Plug-in, click on Houzi Rest Api Plugin Link.
A Mobile App View is provided in the center of screen, so you can see how the modifications will look on real device.
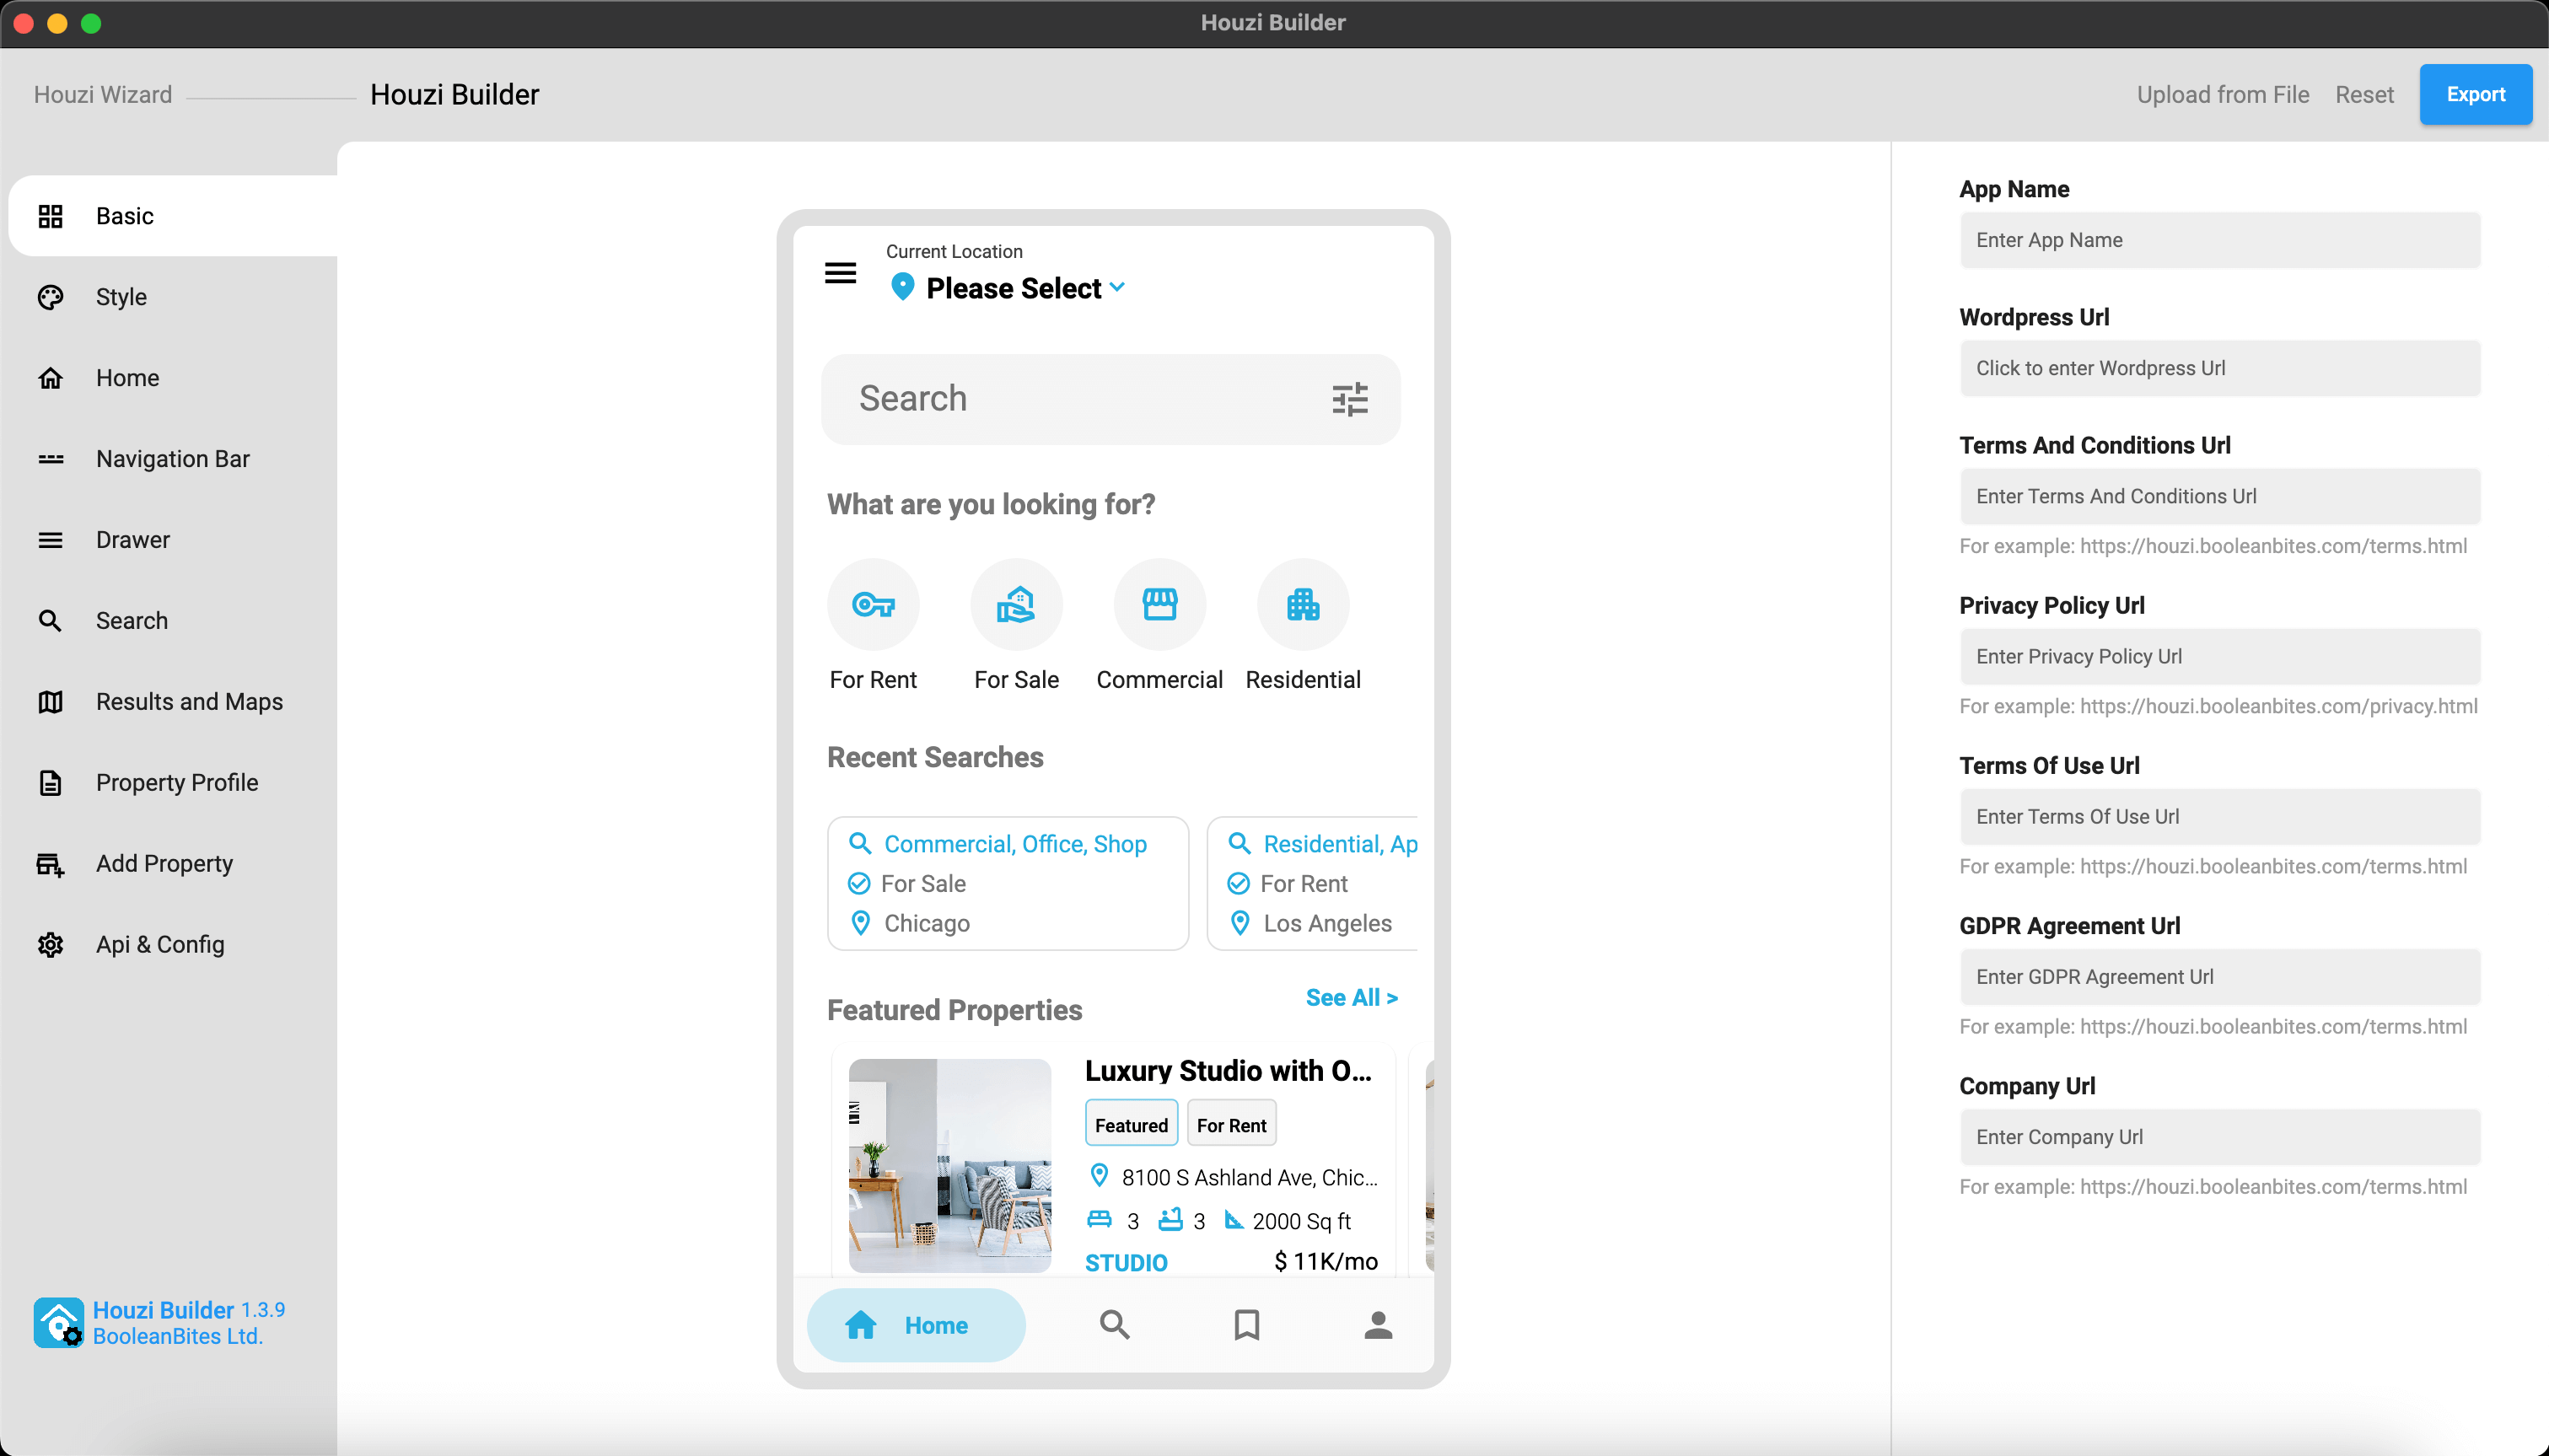
Please follow these steps for the Basic Setup of your Mobile app.
houziBuilder application.Houzi Builder on the left side of the top bar. (Houzi Builder Screen will open)App Name in the required field.Provide Wordpress URL in the required field.
Note: To provide Wordpress URL, just click on
Wordpress URL Text Field. A dialog will open. Provide theWordpress URL Scheme,Wordpress URL DomainandWordpress URL Pathin their respective fields.
If your website URL does not contain a subpath then leaveWordpress URL Pathfield as it is.
 Example 1 (Website Url with path):
 Url: https://domain.com/path/
 Wordpress URL Scheme = https
 Wordpress URL Domain = domain.com
 Wordpress URL Path = path

 Example 2 (Website Url without path):
 Url: https://domain.com/
 Wordpress URL Scheme = https
 Wordpress URL Domain = domain.com
 Wordpress URL Path =
Note: If you have already defined
App Configonwordpress-admin-panel > Houzi Apithen the HouziBuilder feilds will be filled with the values of that App Config.
Terms and Conditions URL in the required field.Privacy Policy URL in the required field.Terms of Use URL in the required field.GDPR Agreement URL in the required field.Company URL in the required field.--- ## Changing Theme Colors URL: https://houzi-doc.booleanbites.com/houzi-builder/change_theme_colorNote: If you come to Houzi Buider Screen via Houzi Wizard (after passing all test), and if you have already defined
App Configonwordpress-admin-panel > Houzi Apithen the HouziBuilder feilds will be filled with the values of that App Config. Here you can modifiy those values with ease.
Important: You are required to install the Houzi Rest Api Plugin on your Houzez wordpress. To install the Plug-in, click on Houzi Rest Api Plugin Link.
A Mobile App View is provided in the center of screen, so you can see how the modifications will look on real device.
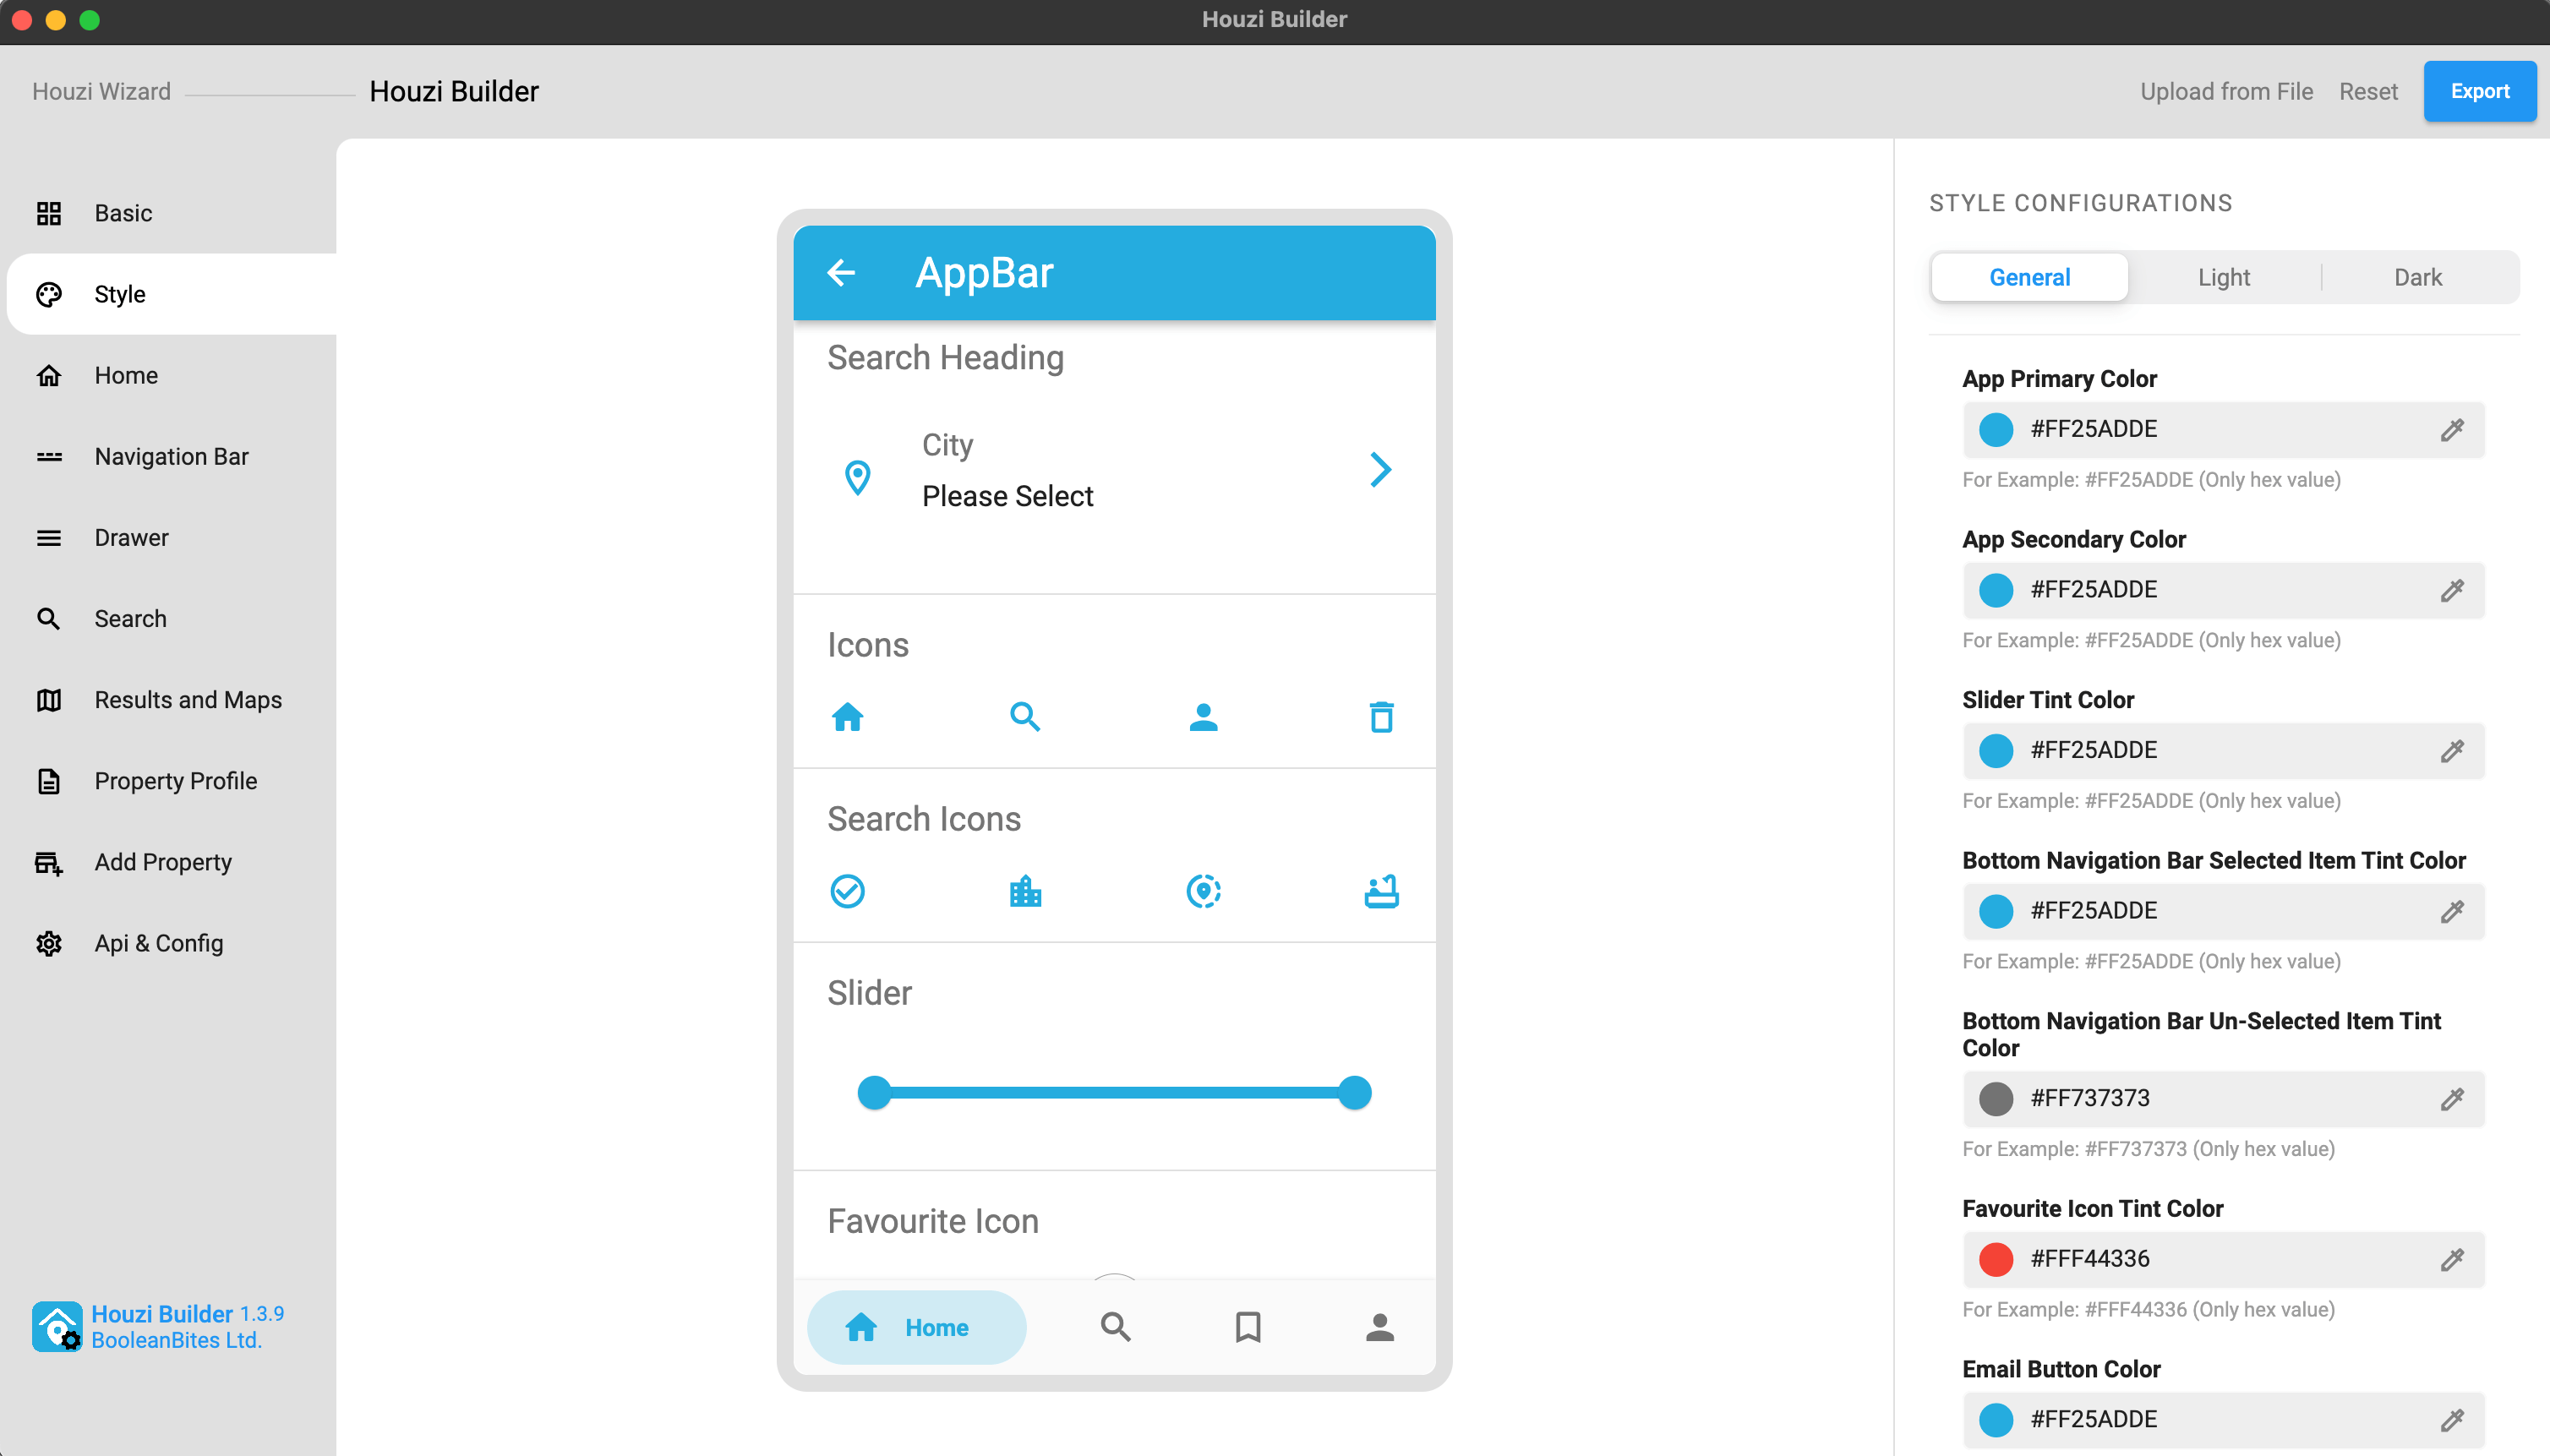
This guide consists of following sections:
Style Configurations
How to Customize Style Option
Let’s dive into the details of each section.
The syle configurations are divided into following three catagories for the ease of customization:
General configurations include the style choices that stay the same no matter if you are using Light Mode or Dark Mode. For example, App Primary Color etc.
Light Mode configurations include the style choices that are for the Light Mode of app. For example, App Background Color etc.
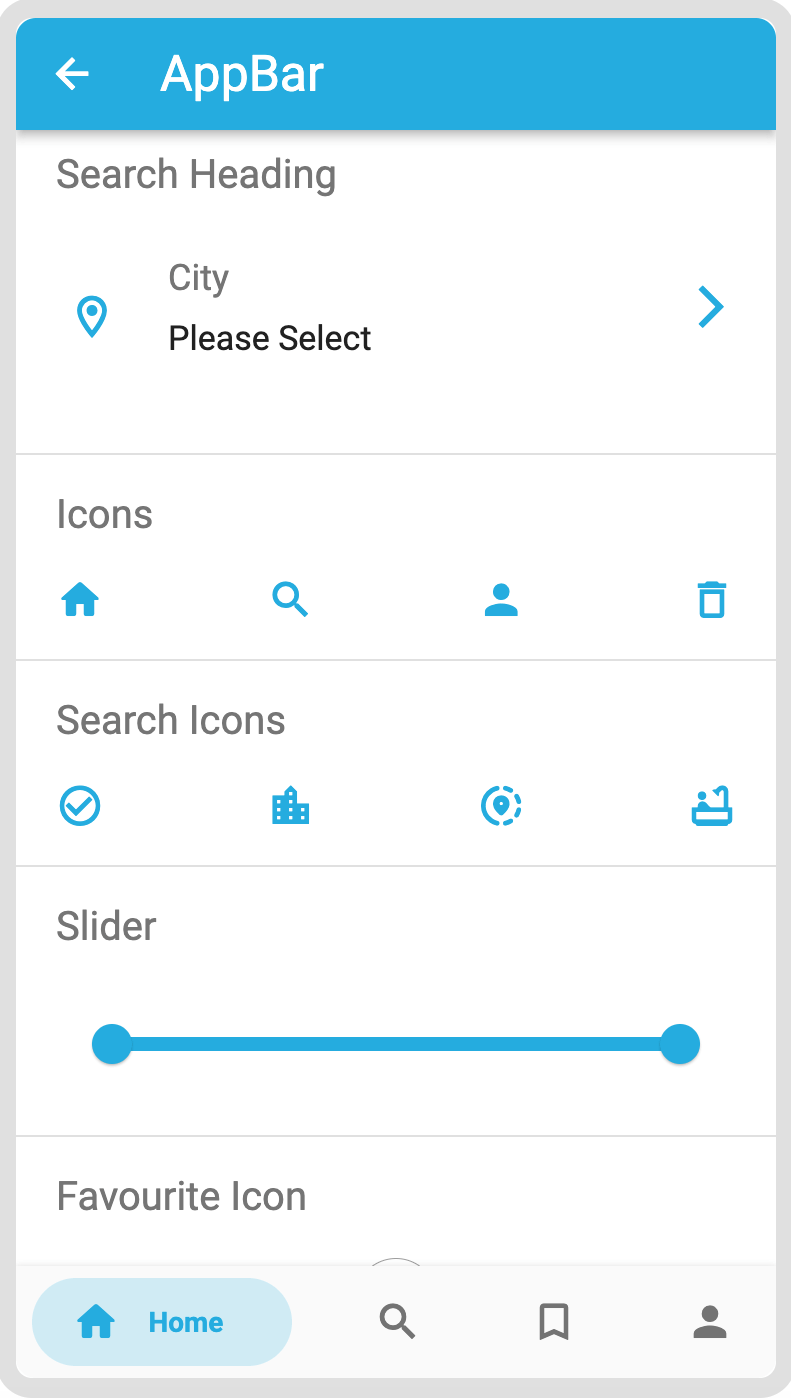
Dark Mode configurations include the style choices that are for the Dark Mode of app. For example, App Background Color etc.
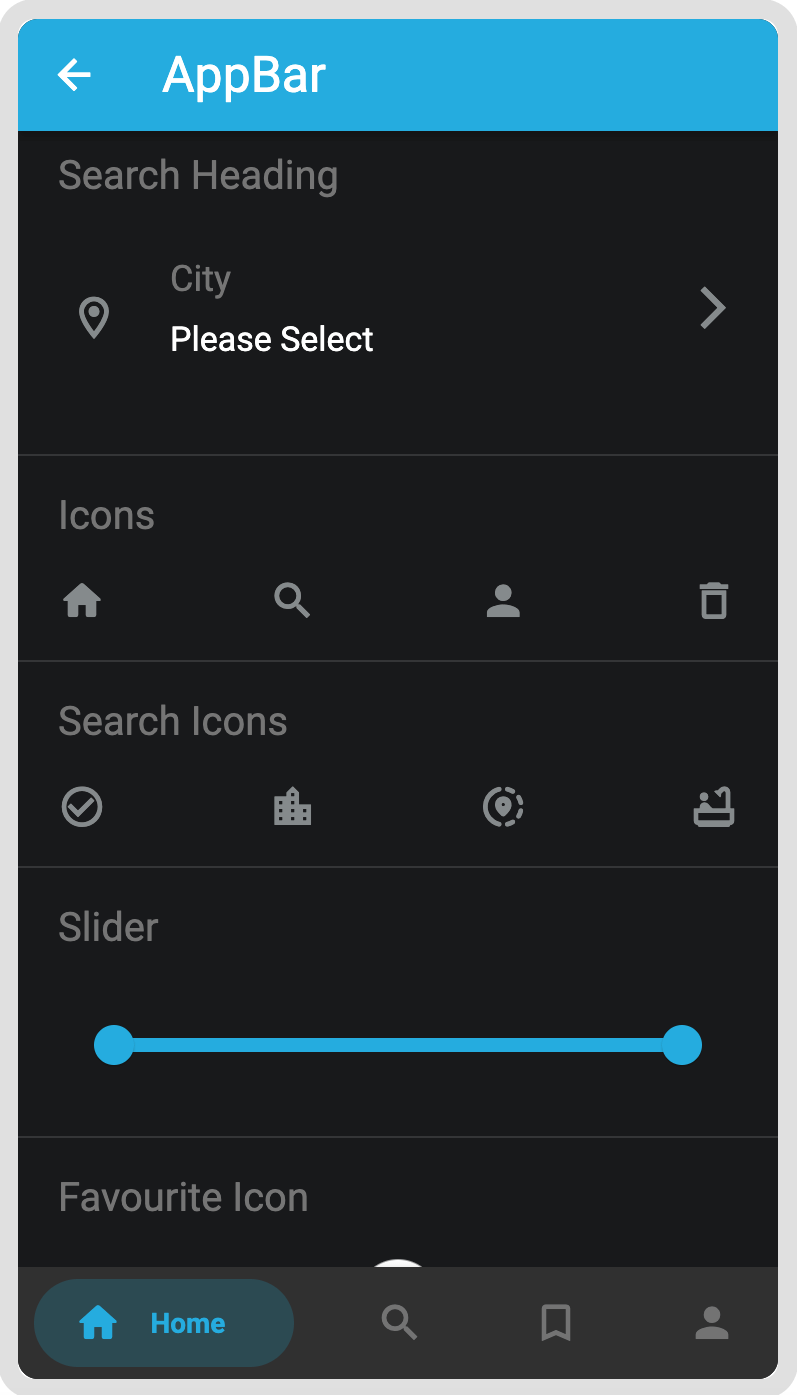
If you want to change the Primary Color of the app, follow these steps:
Click on the Colored circle or Droper icon of **App Primary Color **field.
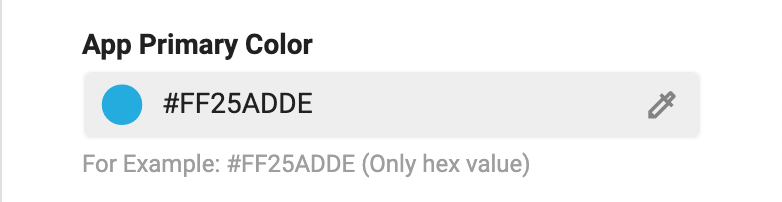
A color picker dialog will open. Choose you desired color, its opacity (optional) and press Done.
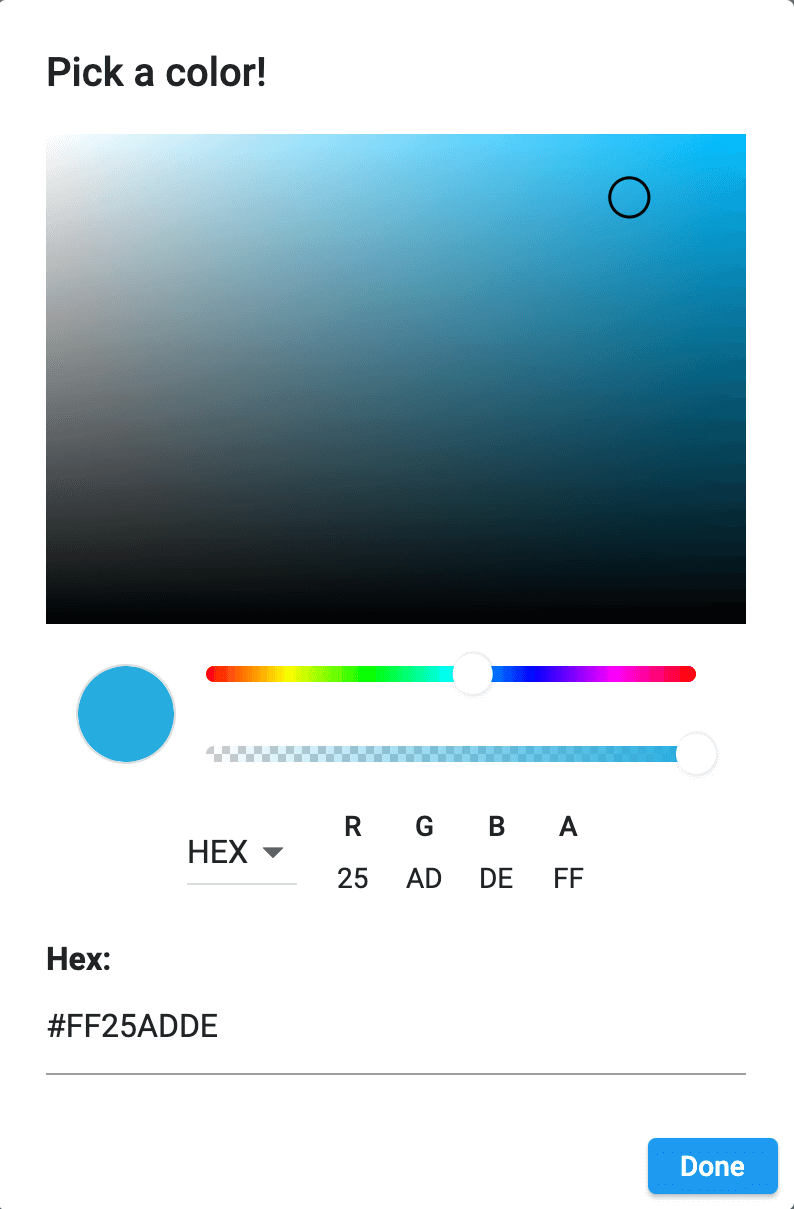
If you have a Hex value of the desired color, you can simply put it in App Primary Color field or color picker dialog Hex field and press Done button.
App Primary Color will change accordingly.
--- ## Customize Home Screen URL: https://houzi-doc.booleanbites.com/houzi-builder/customize_homeImportant: You are required to install the Houzi Rest Api Plugin on your Houzez wordpress. To install the Plug-in, click on Houzi Rest Api Plugin Link.
A Mobile App View is provided in the center of screen, so you can see how the modifications will look on real device.
This guide consists of following sections:
Home Designs
Add New Section
Edit a Section
Delete a Section
Re-arrange a Section
Let’s dive into the details of each section.
Houzi provides you wide range of home designs. On the top right side of Home section, Home designs are provided. Click on any Home design, and you will be able to see, how it will look on real device in the Mobile App View. (By default, selected design is Home Elegant, one of most popular designs.)
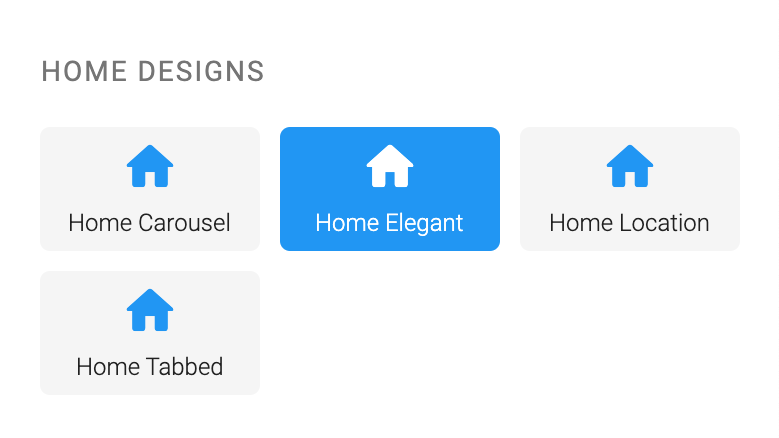
There are some additional customizations related to Home designs as follows:
If you select Home AI (new in 1.4.8), see the dedicated Home AI Layout guide for the AI header and the AI widgets (ai_smart_terms, ai_matches).
If you select Home Carousel or Home Location, you can increase or reduce the Search Type options e.g. For Rent, For Sale etc. with the help of stepper.
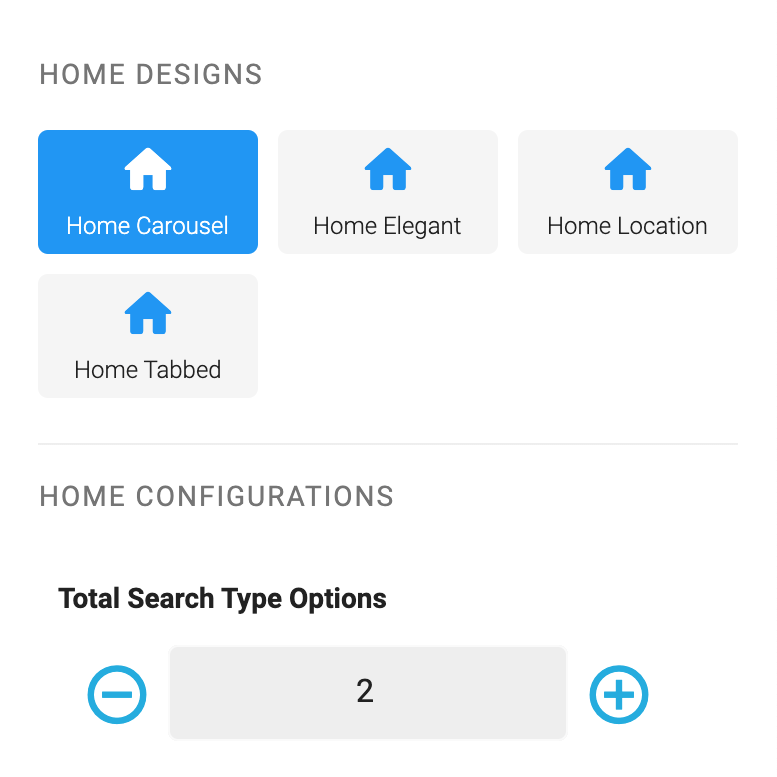
Above displayed Search Types are generic houzez List-Type: property_status options. You may encounter these options, according to the data of your website.
If you select Home Tabbed, you can replace the quote ‘What are you looking for?’ with your custom quote, in the Quote text field.
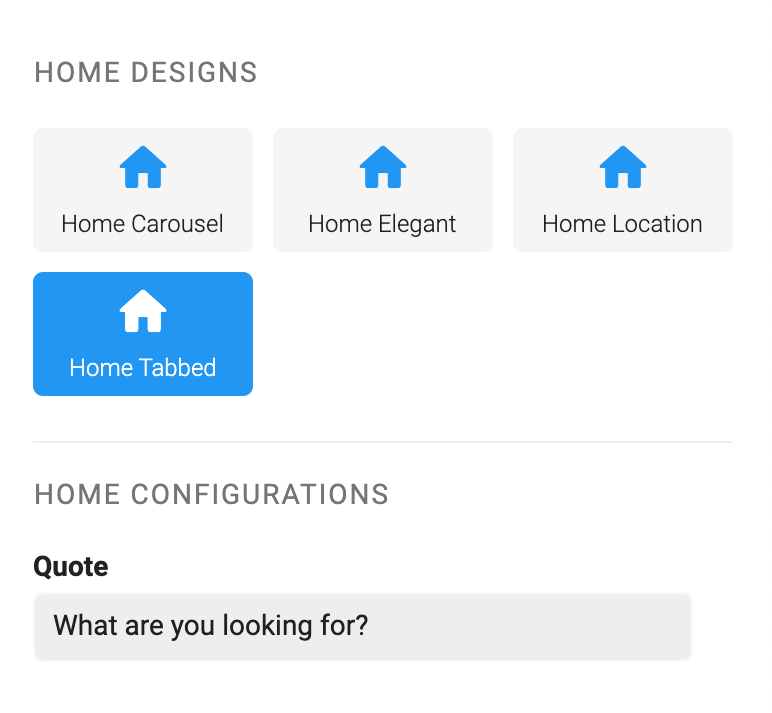
If you select Home Carousel or Home Elegant, you can change the Location Picker Hierarchy.
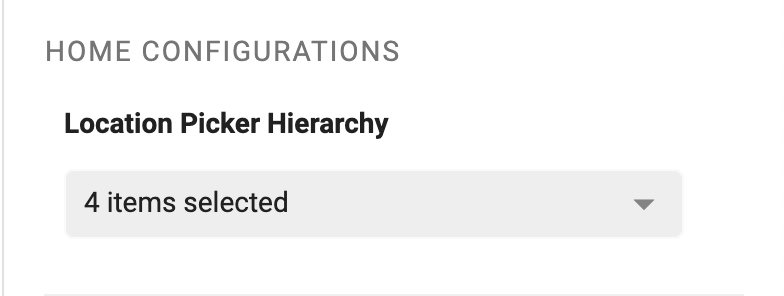
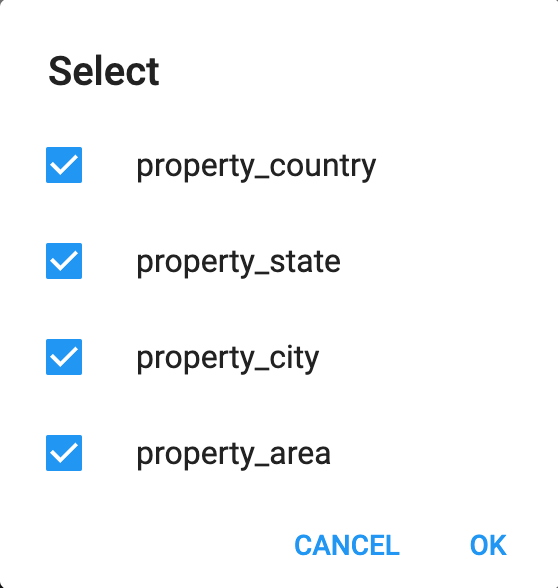
Above displayed taxonomies are generic houzez taxonomies. You may encounter these options, according to the data of your website.
Click the ADD NEW WIDGET button at the right bottom of the screen, a dialog box will open. You will encounter following fields while adding a new section.
Widget Type
Title
Design
List Type
List Type Value
View Type
Additional Fields
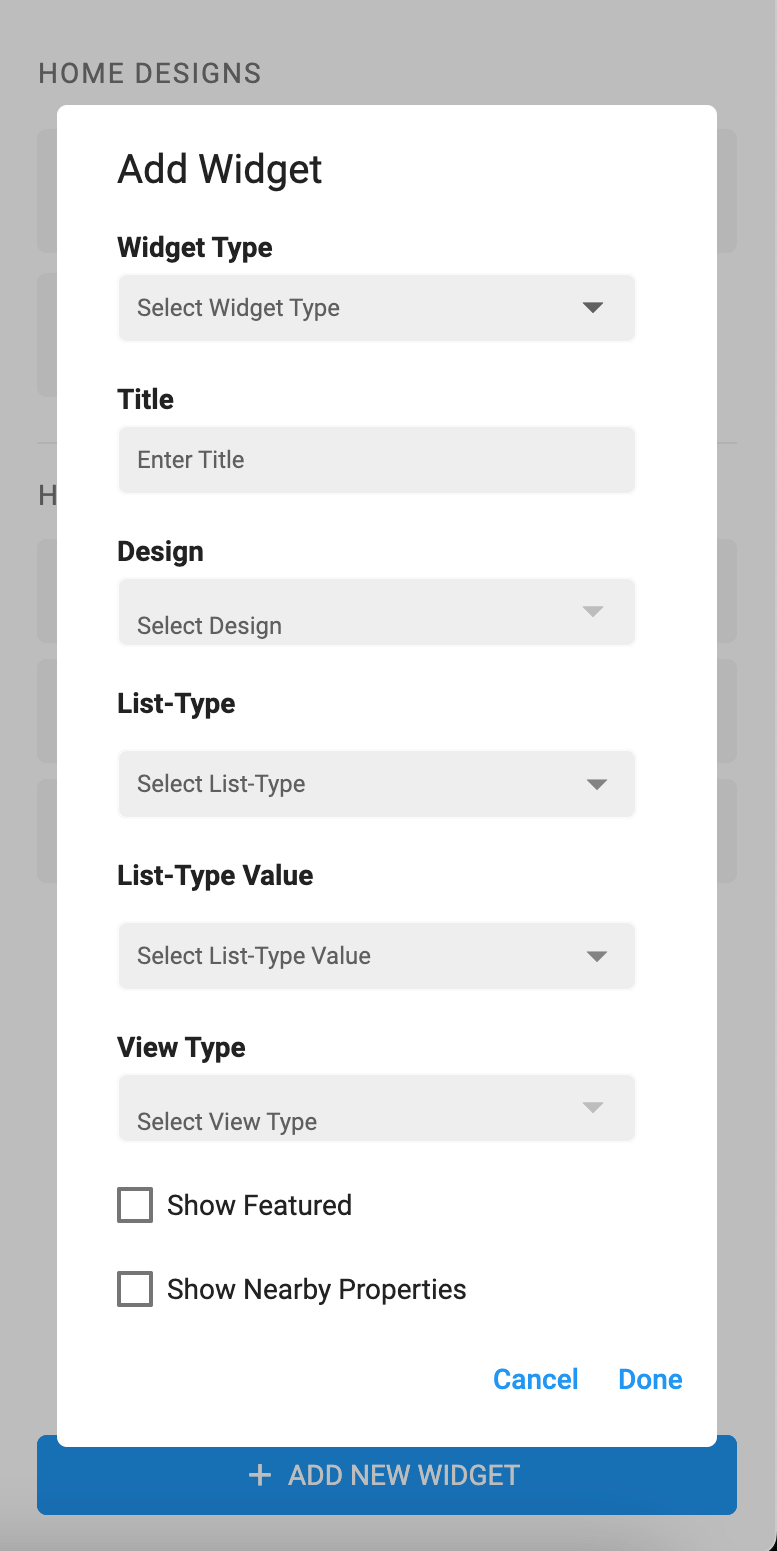
Let’s dive into the details of each section.
Houzi offers a diverse selection of widget types for your home screen, making it easy to personalize and enhance your user experience. Details of these widget types is as follows:
ad: Select this widget type, if you want to shows “Ads Listing” on you home screen.
recent_searches: Select this widget type, if you want to shows “Recent Searches Listing” on you home screen.
property: Select this widget type, if you want to shows “Properties Listing” on you home screen.
term: Select this widget type, if you want to shows specific “Properties Listing” which are catagoriezed w.r.t Houzez Taxonomies (e.g. Properties Listing w.r.t. property_type/property_status etc.) on you home screen.
agents: Select this widget type, if you want to shows “Agents Listing” on you home screen.
agencies: Select this widget type, if you want to shows “Agencies Listing” on you home screen.
terms_with_icon: Select this widget type, if you want to shows some specific “Houzez Terms” (e.g. For Rent, For Sale, Commercial, Residential etc. ) for quick search purposes.
place_holder: Select this widget type, if you want to shows “Custom Widget” on you home screen.
blogs: Select this widget type, if you want to shows Wordpress Posts as “Blogs” on you home screen.
partners: Select this widget type, if you want to shows “Partners Listing” on you home screen.
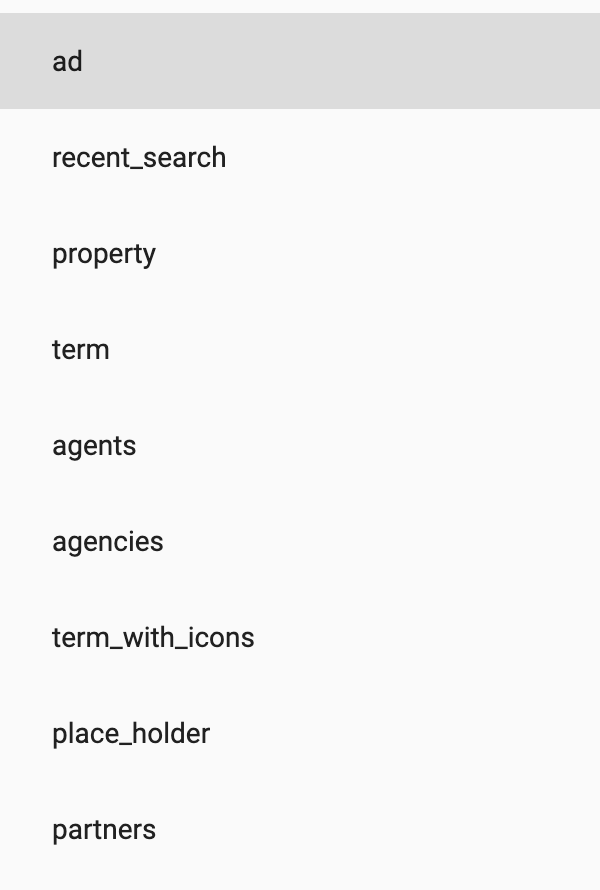
Define the “Title” of the section.
Title field is not available for the ads section.
Design field is only available for the Properties Listing related sections (i.e. section with the types property or term).
Select the Design as follows:
You can choose from Design # 01 and Design # 02 for the term and blogs widget type sections.
You can choose from Design # 01 to Design # 08 for the property widget type sections.
You can choose item_design_from_hook, if you want to provide your custom design for the Properites Listing section for the property widget type sections.
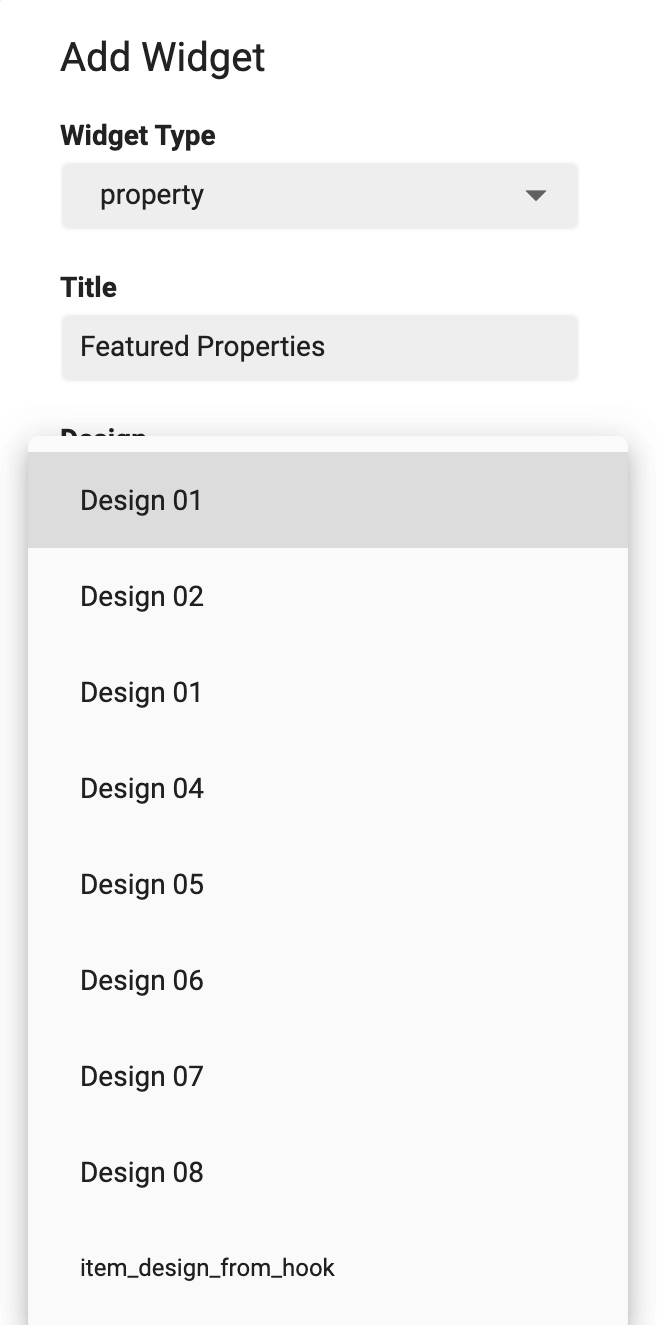
List Type field is only available for the Properties Listing related sections (i.e. section with the widget types property or term).
List types are the Houzez taxonomies. You can customize the Properties Listing on home screen by selecting the one or multiple List Type.
The details of the List Types are as follows:
all: If you want to show latest listings. (It is by default selected option).
property_type: If you want to show listings by their Types e.g. Apartments, Offices, Shops etc.
property_status: If you want to show listings by their Status e.g. for-rent, for-sale etc.
property_feature: If you want to show listings by their Features e.g. Air-Conditioning, Swimming-pool etc.
property_label: If you want to show listings by their Labels e.g. hot-offer, open-house etc.
property_state: If you want to show listings by their States.
property_city: If you want to show listings by their Cities.
property_area: If you want to show listings by their Areas.
property_country: If you want to show listings by their Countries.
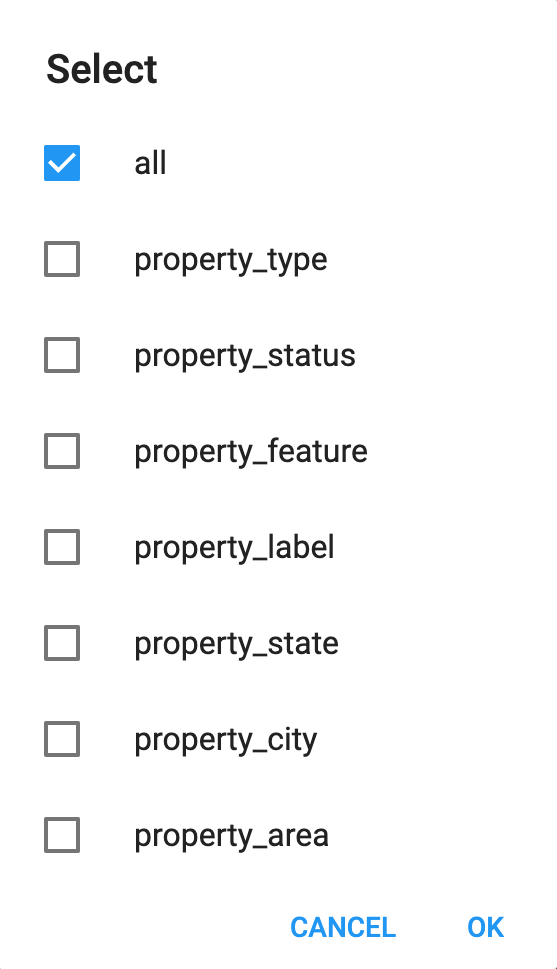
Above mentioed List-Types are generic Houzez Taxonomies/List-Type options. You may encounter all or some of these options, according to the data of your website.
List Type Value field is only available for the Properties Listing related sections (i.e. section with the widget types property or term).
List type values are the Houzez taxonomies related data. You can customize the Properties Listing on home screen by selecting the one or multiple List Type value.
The details of the List Types are as follows:
all: If you want to show all the listings of specific List-Type.
If selected List-Type is property_type and you want to show listings according to some particular property_type e.g. Apartments, Offices, Shops etc.
If selected List-Type is property_status and you want to show listings according to some particular property_status e.g. for-rent, for-sale etc.
If selected List-Type is property_feature and you want to show listings according to some particular property_feature e.g. Air-Conditioning, Swimming-pool etc.
If selected List-Type is property_label and you want to show listings according to some particular property_label e.g. hot-offer, open-house etc.
If selected List-Type is property_state and you want to show listings according to some particular state.
If selected List-Type is property_city and you want to show listings according to some particular city.
If selected List-Type is property_area and you want to show listings according to some particular area.
If selected List-Type is property_country and you want to show listings according to some particular country.
View Type field is not available for the ads, term_with_icon and place_holder widget type sections.
You can define the view of a section (e.g. vertical or horizontal) from the View Type dropdown menu. Views are of following types:
Carousel (horizontal listing view).
List (vertical listing view).
Slider (sliding listing view).
Slider View Type field is only available for the property and blogs widget type sections.
There are following additonal fields related to the property widget type sections:
Show Featured: Check-mark this field to show Featured Properties listing on home screen.
Show Nearby Properties: Check-mark this field to show Nearby Properties listing on home screen.
Please consider the fact that you won’t have properties available for all user locations. Also consider location permission and other gps related issues as well.
Houzi provides you some by default Houzez Taxonomies Terms (e.g. For Rent, For Sale, Commercial, Residential etc.). These terms have by default icons assosiated with them. You can simply select the term_with_icons widget type and provide the section name and Terms with icons widget with by default attributes will be added to your home screen. You can change the icons of these by default terms.
If you want to customize the Terms also, Houzi Builder provides you a convinent way to do so. You just have to Add a new terms_with_icon type widget or you can Edit a existing one. If you are adding a new terms_with_icon type widget or editing the existing one, you will see Widget Configurations field. Click on this field and a Terms with icon configurations dialog will open. Follow these steps and you can add you customized Terms along your custom Icons.
Click on ADD NEW WIDGET button, a dialog will open.
Select Term (e.g. property_type etc.) from the dropdown menu.
Select Sub-Term (e.g. Commercial etc.) from the dropdown menu.
Select the Icon by clicking on the icon button field.
Click on the Done Text Button and your added Term will be displayed in the Terms with icon configurations dialog.
Repeat these steps if you want to add more Terms.
You can re-arrange the added term widget just by clicking and holding a widget and dragging it upwards or downward.
You can edit any term widget just by clicking on the edit icon.
You can delete any un-necessary term widget just by clicking on the delete icon. After clicking delete from the confirmation dialog box, your widget will be deleted.
Click on Done Text button and your customized Terms with custom icons will be added on Home Screen.
Click Done to add the new section.
Click Cancel to discard the action.
You can Edit any section just by clicking on its Edit Icon. While editing a section, you can perform following actions:

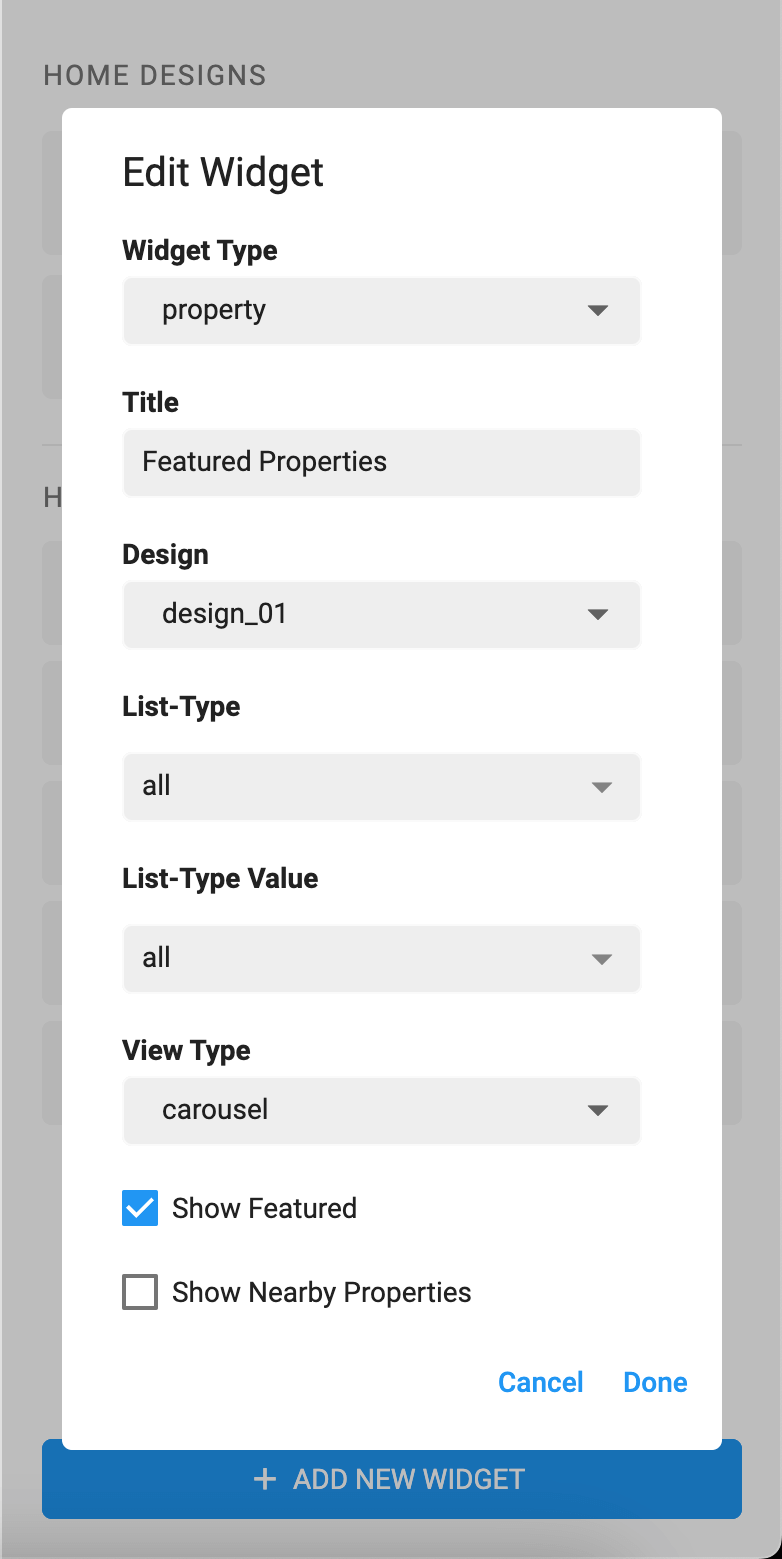
You can Delete any section just by clicking on delete icon of respective section. A delete confirmation dialog will open.
Click Delete if you want to delete the section.
Click Cancel if you want to discard the action.
You can Re-arrange the sections on Home Screen. Hold the section that you want to re-arrange and move it vertically (upwards or downwards). Place it on desire position in sections list.
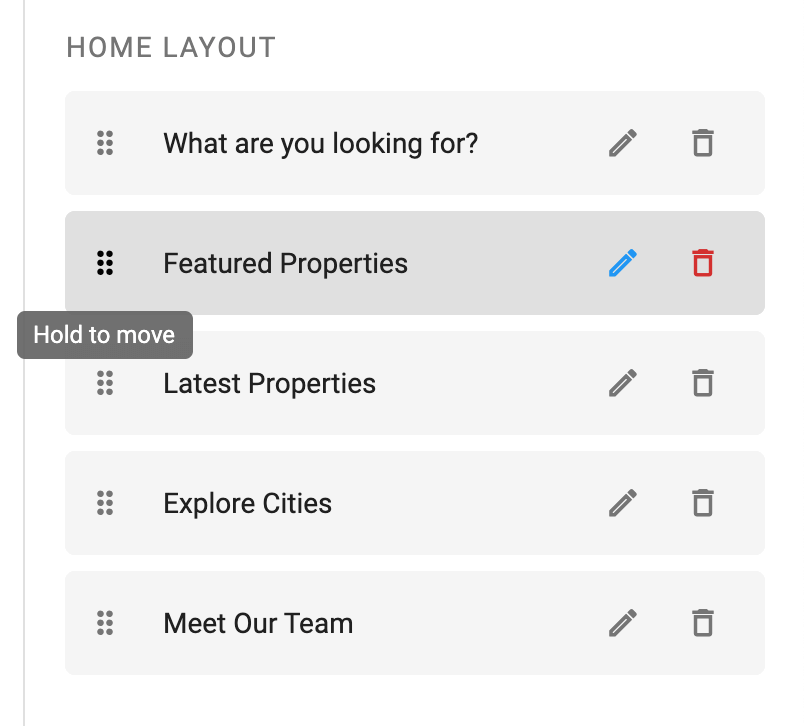
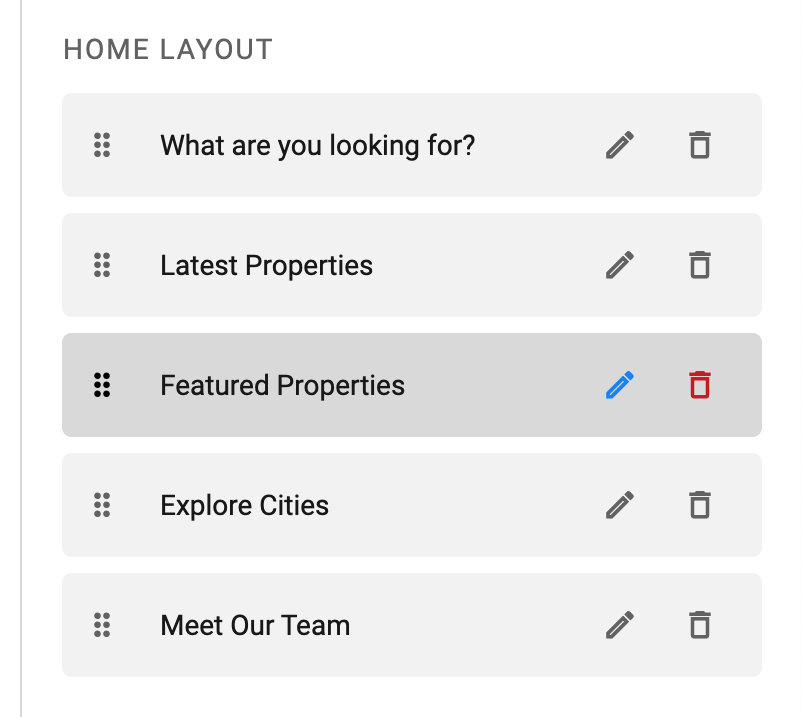
Requires: Houzi app 1.4.8+ and Houzi Rest Api plugin 1.4.8+ with AI enabled. Follow the AI Features setup guide first to enable AI on your plugin.
Houzi 1.4.8 introduces Home AI — an AI-first home design — along with two AI-powered home widgets, AI Smart Terms and AI Matches, that you can add to any home design.
In Houzi Builder, go to the Home section and pick Home AI from the Home Designs on the top right — just like any other home design. The Mobile App View in the center shows a live preview.
The AI header is the fixed top area of the Home AI design. It contains:
The header is built into the design, so there’s nothing to configure in the builder. The hero texts come from the app’s localization files (ai_* keys in assets/localization/*.json), so you can reword them per language like any other string — see Localization.
Everything below the header is the regular config-driven home_layout pipeline — the same sections every other home design uses (term_with_icons, property, recent_search, and the new AI widgets below), in the order you arrange them in the builder.
Two new widget types are available when you add a new section in the builder’s Home section. They work in any home design — you don’t have to use the Home AI design to use them (though Home AI ships with both by default).
Both widgets render their own headers and are fully self-contained: they fetch their own data, and if there’s nothing to show they hide themselves — an empty section never appears on the home screen.
A two-column grid of smart suggestion cards built from your website’s own taxonomies — property status, property type, and property features. The cards are personalized: they are selected from the user’s recent searches (most-searched terms first) and backfilled with your site’s popular terms, so the grid is useful even for a brand-new user.
The short subtitle line under each card title is AI-curated (this is what the plugin’s Lite Model is used for) so the wording resonates with the user’s recent intent — city, size, budget. The cards render instantly with a generic subtitle and upgrade to the AI copy when it arrives; if AI is off or unreachable, the generic line simply stays. Tapping a card opens the matching property listing.
Configurable fields:
A property listing personalized from the user’s own past searches. The widget mines the recent-searches history (captured by both the normal and AI search flows), builds one filter from the dominant signals — city, property type, bedrooms — and shows the matching properties, with a View all action. When the user has no search history yet, it falls back to your Featured listings, so the section is never empty.
Configurable fields:
If you edit your configuration file by hand instead of using the builder, the AI widgets are regular home_layout entries:
{
  "section_type": "ai_smart_terms",
  "title": ""
},
{
  "section_type": "ai_matches",
  "title": "",
  "layout_design": "design_01",
  "section_listing_view": "list"
}
Leave title empty for the localized defaults. As always, increment api_config_version after changing the configuration.
Important: You are required to install the Houzi Rest Api Plugin on your Houzez wordpress. To install the Plug-in, click on Houzi Rest Api Plugin Link.
A Mobile App View is provided in the center of screen, so you can see how the modifications will look on real device.
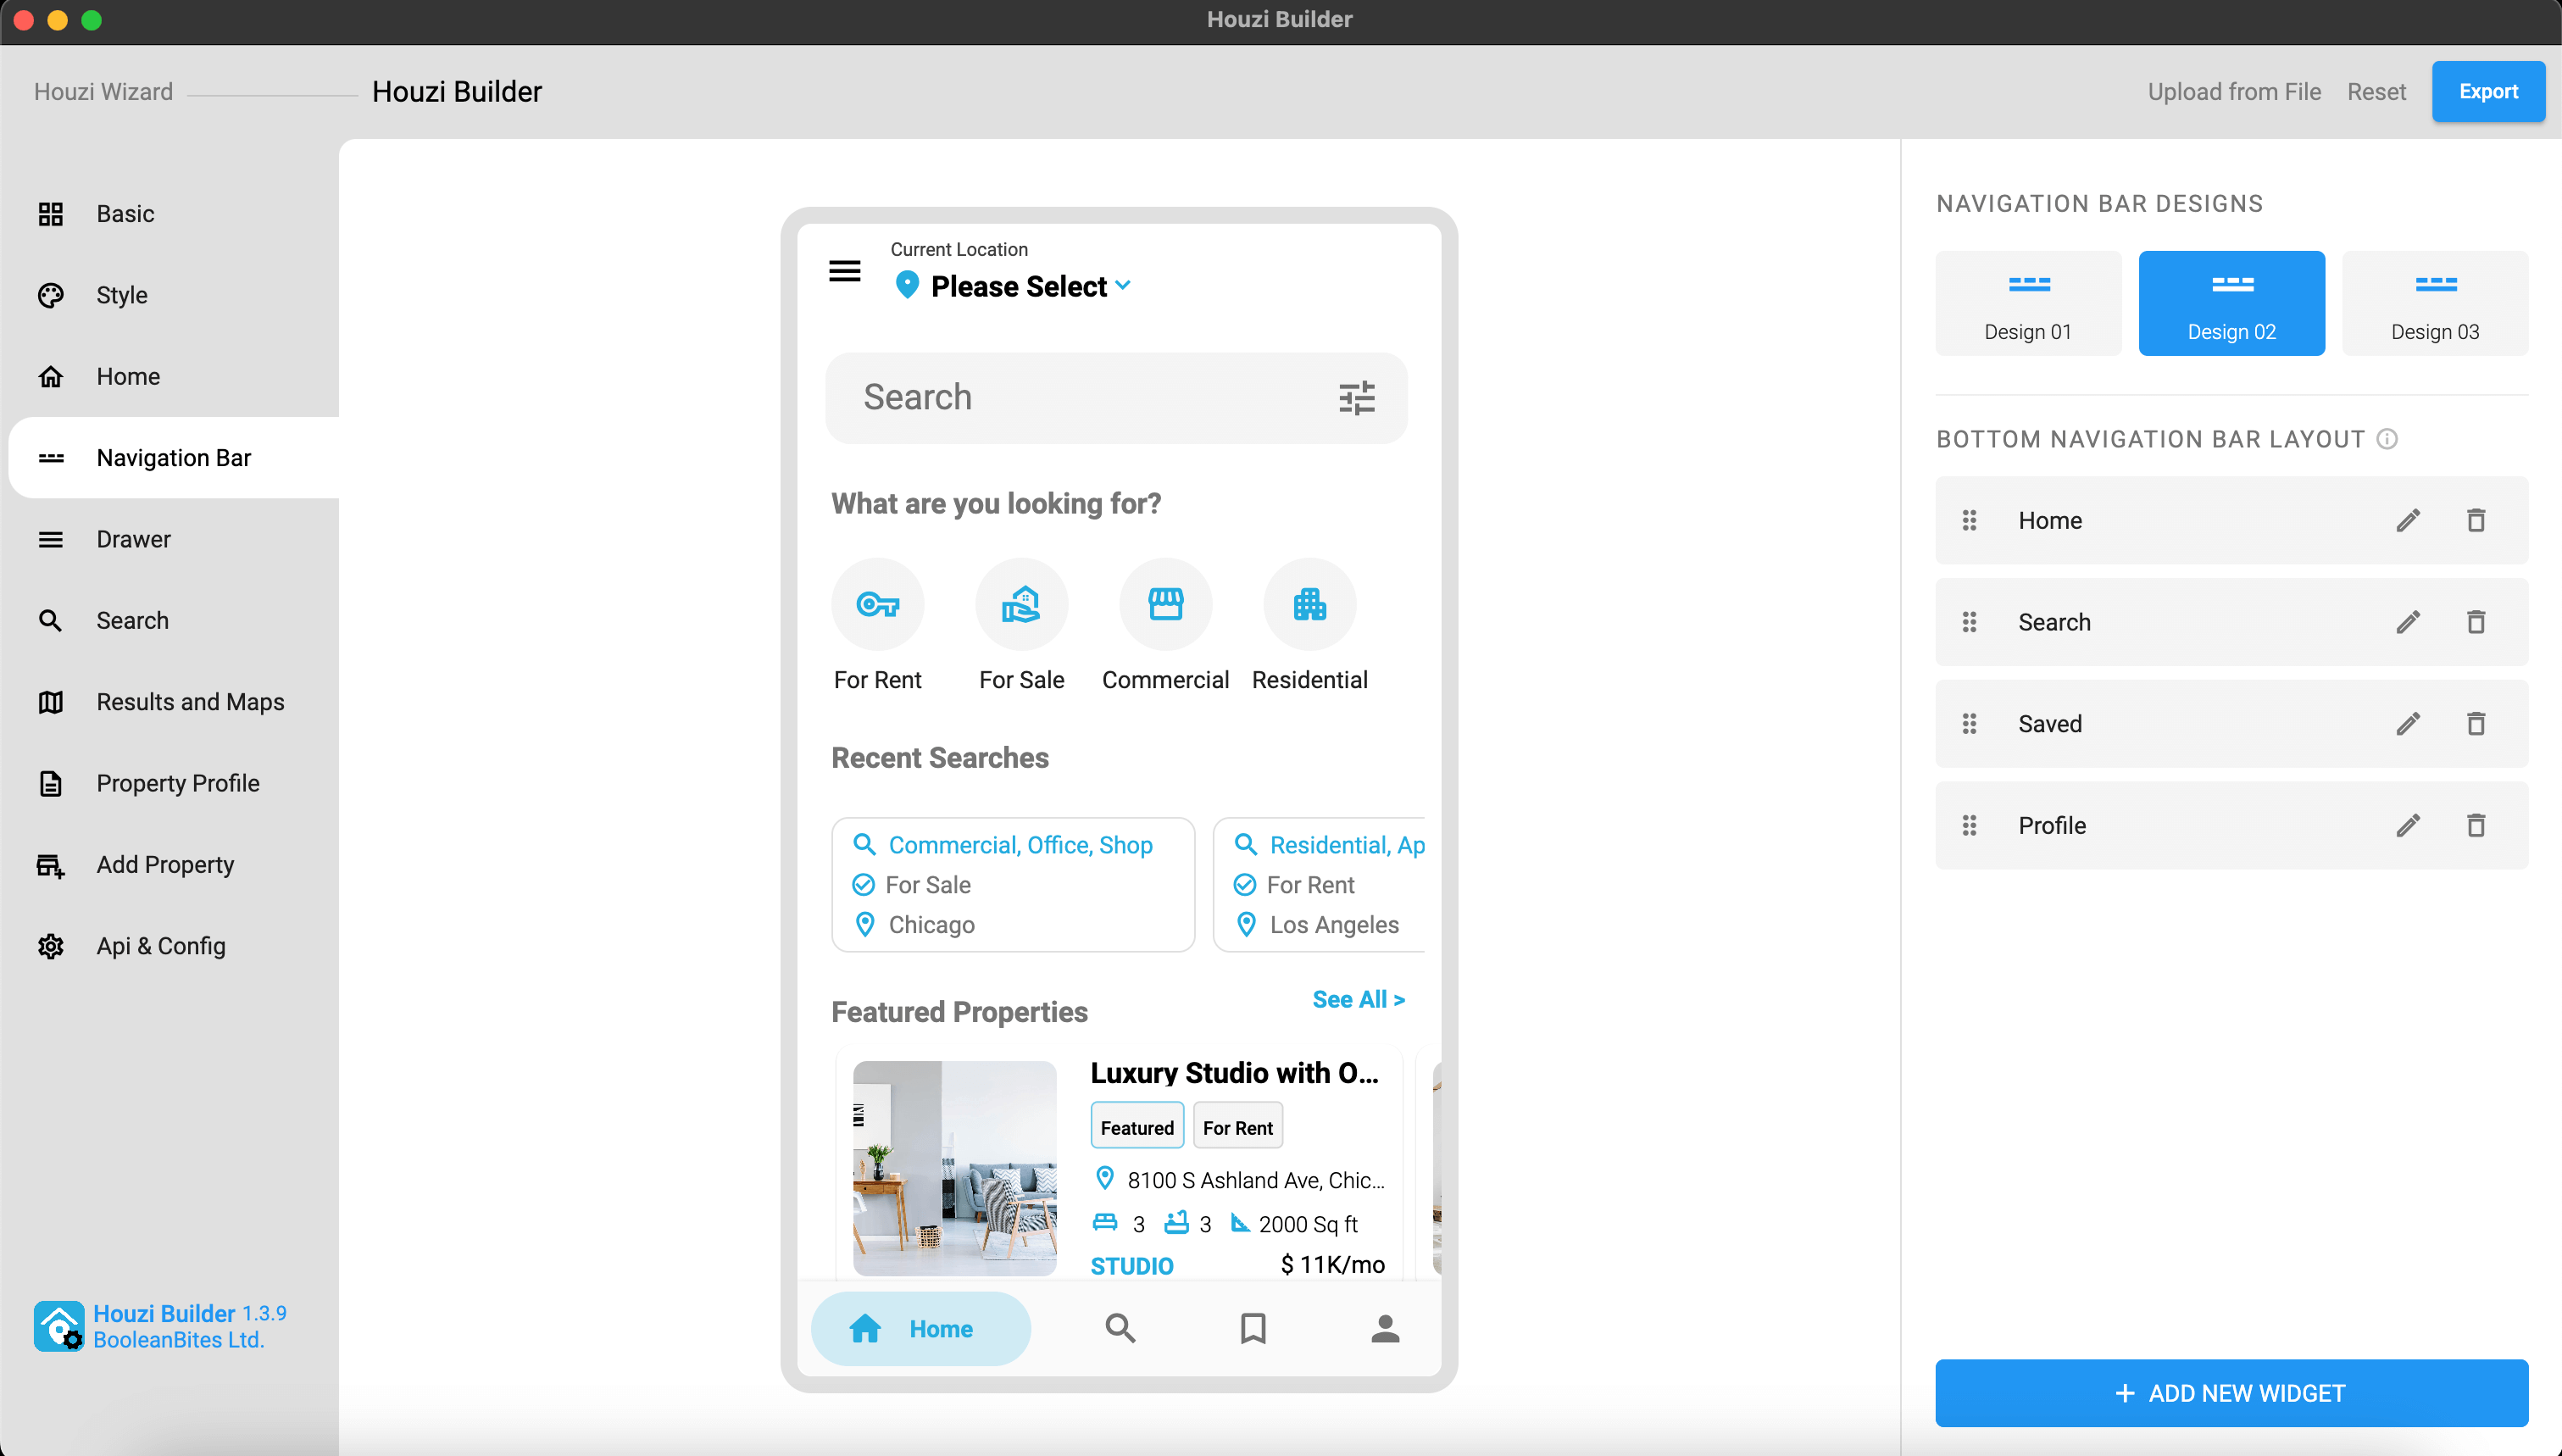
This guide consists of following sections:
Bottom Navigation Bar Designs
Add New Section
Edit a Section
Delete a Section
Re-arrange a Section
Let’s dive into the details of each section.
Houzi provides you wide range of bottom navigation bar designs. On the top right side of Navigation Bar section, Navigation Bar designs are provided. Click on any Navigation Bar design, and you will be able to see, how it will look on real device in the Mobile App View. (By default, selected design is Design 02, one of most popular designs.)
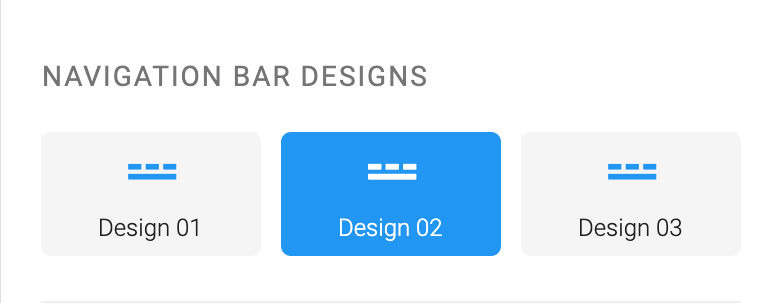
There are some additional customizations related to Home designs as follows:
If you select Design 01 or Design 03, you can show or hide a Floating Action Button on the center of Navigation Bar, just by Check Marking or Un-Marking the Show Add Floating Action Button checkbox field.
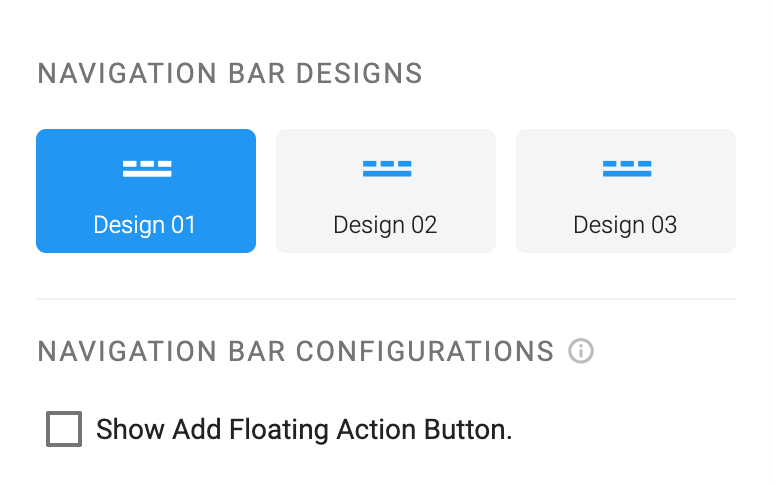
By default, Floating Action Button will be a circular FAB Button with plus sign, and it’ll open Quick Add Property. You can customize or add custom actions to Floating Action Button.
The maximum limit is 05 for adding sections in Design 02.
For adding new section in Navigation Bar, follow these steps:
There is a Add button at the right-bottom side of the screen, press this button and a dialog box will open.
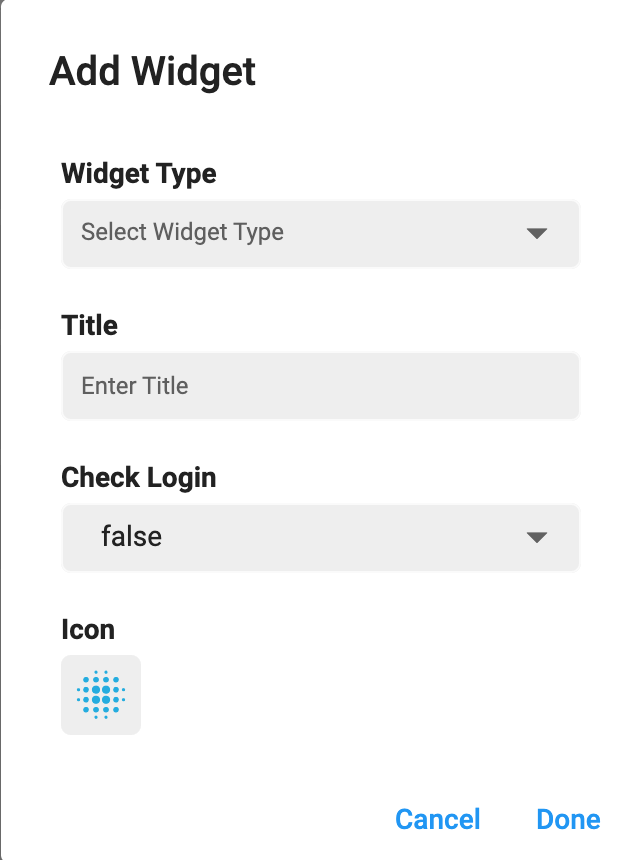
You will encounter following fields on the dialog box:
Widget Type
Title
Check Login
Icon
Term Type
Term Type Value
You are provided with the dropdown list of Widget Types. The details of widget types are as follows:
home: If you want to show the Home Page option.
search: If you want to show the Search option.
savedSearches_favourites: If you want to show the Saved Searches and Favourites options in Tab View.
saved_searches: If you want to show the Saved Searches option.
favourites: If you want to show the Favourites option.
blogs: If you want to show the Wordpress Posts/ Blogs option.
messages: If you want to show the Direct Messages option.
place_holder: If you want to Display your Custom Widget via Hooks.
web_url: If you want to show an option which will open a Webpage.
Term: If you want to show Particular Term e.g. Apartmets, Offices etc.
crm_dashboard: If you want to show CRM Dashboard screen menu option.
About_App_Screen: If you want to show About App screen menu option.
App_Theme_Setting_Screen: If you want to show App Theme Setting App screen menu option.
App_Language_Setting_Screen: If you want to show App Language Setting screen menu option.
App_Privacy_Policy_Screen: If you want to show App Privacy Policy screen menu option.
App_Terms_and_Conditions_Screen: If you want to show App Terms and Conditions screen menu option.
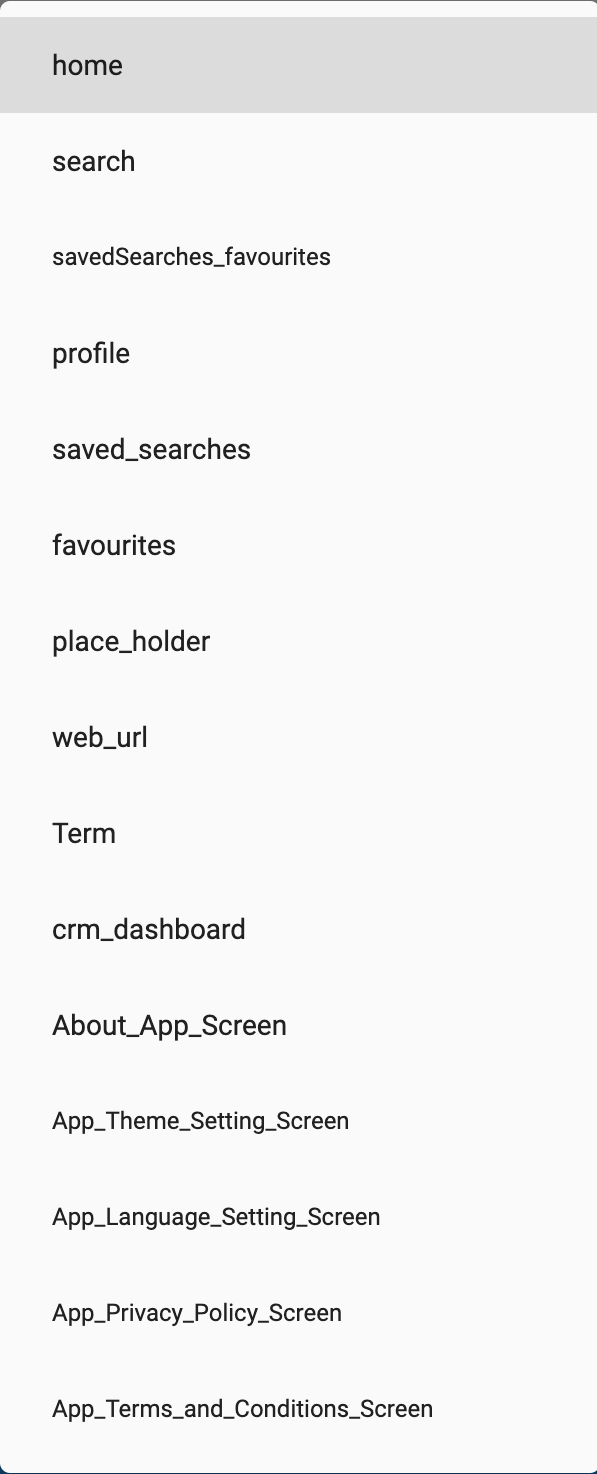
If you are unable to find the ‘messages’ in the list, you need to Configure the Direct Messages.
Title is label that will be displayed on the Navigation Bar. Define the Title of the section.
If you want that only logged-in user will be able to see the content of this particular navigation bar item, select true from the dropdown menu of Check Login, else leave it as false.
You can define the icon of your navigation bar item. Click on the icon button, an icon picker dialog will open. You can either choose from Material Icons or Cupertino Icons. Just search and click the required icon, it will be displayed and previous icon will be replaced.
Term Type is only section type “Term” related field.
If you have selected the Term widget type, an additional field will be visible to you named as Term Type.
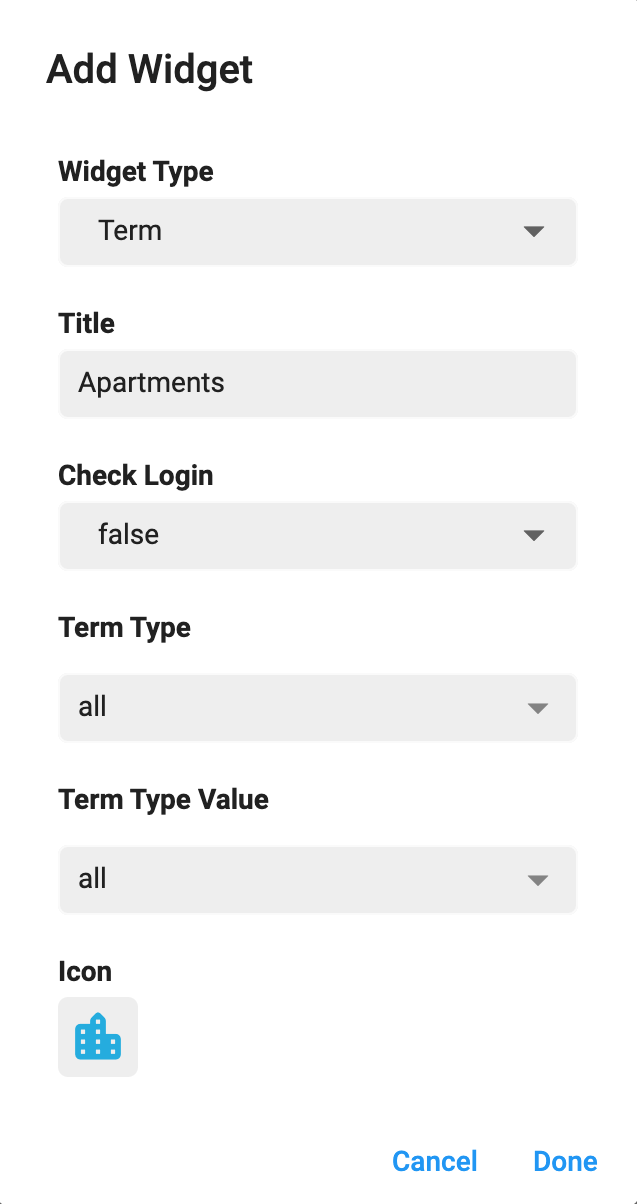
Select the Term Type from the Term Type dropdown menu.
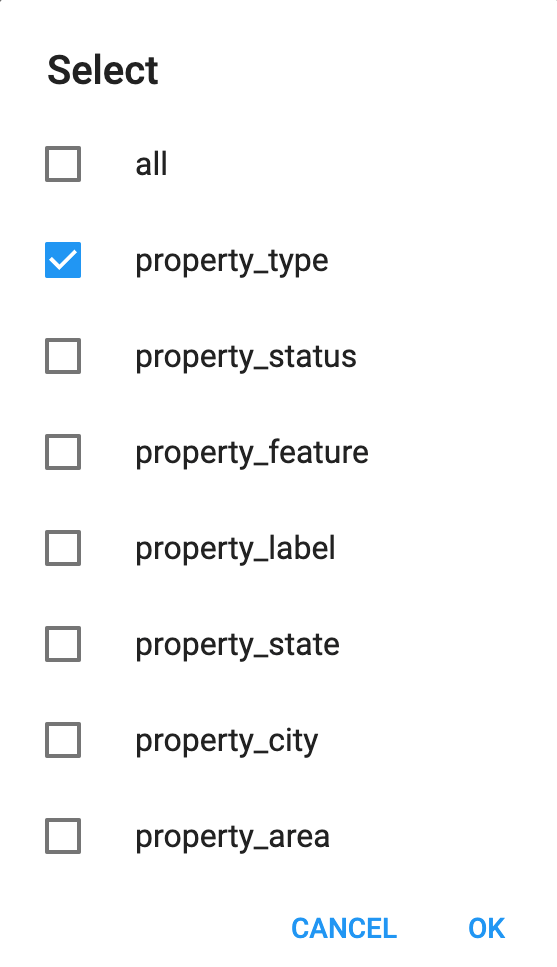
Term Type Value is only section type “Term” related field.
If you have selected the Term widget type, an additional field will be visible to you named as Term Type Value.
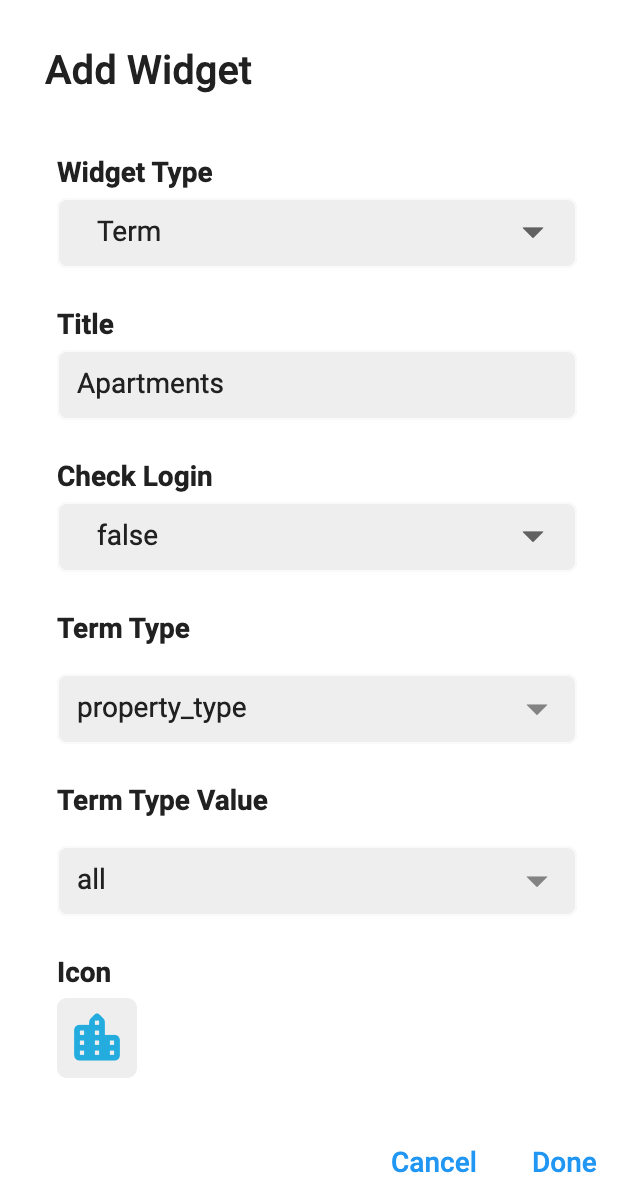
Select the Term Type Value from the Term Type Value dropdown menu.
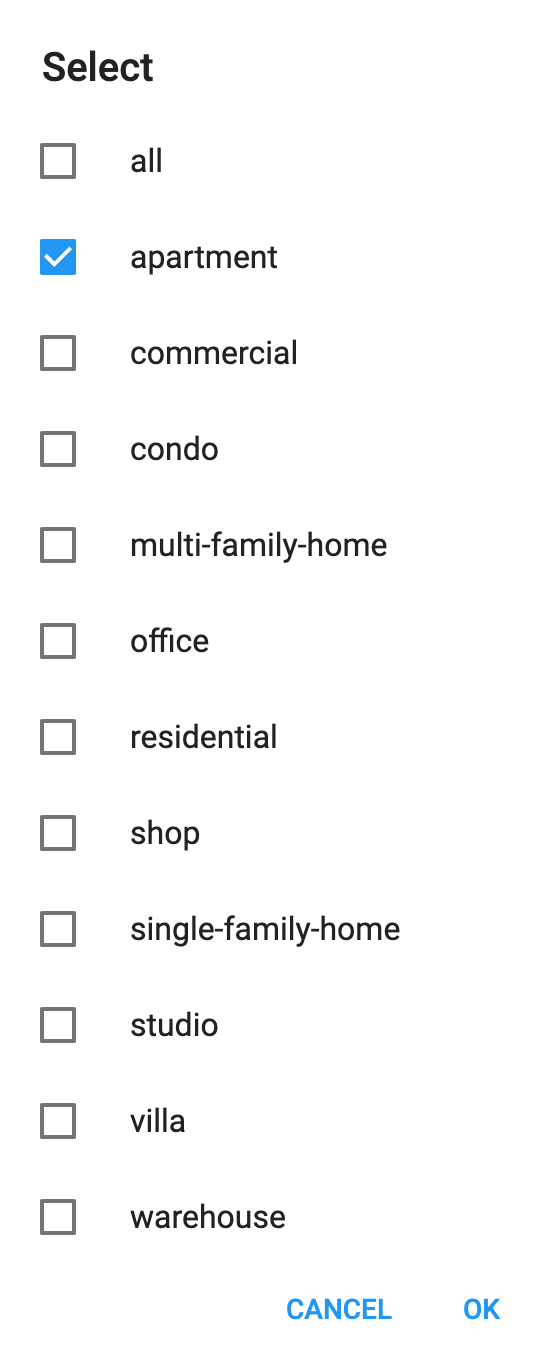
Above displayed Term Type and Term Type Value are generic houzez options. You may encounter all or some of these options, according to the data of your website.
You can Edit the sections just by clicking on Edit Icon of respective section. While editing a section, you can perform following actions:
Term Type and Term Type Value are only section type “Term” related fields.
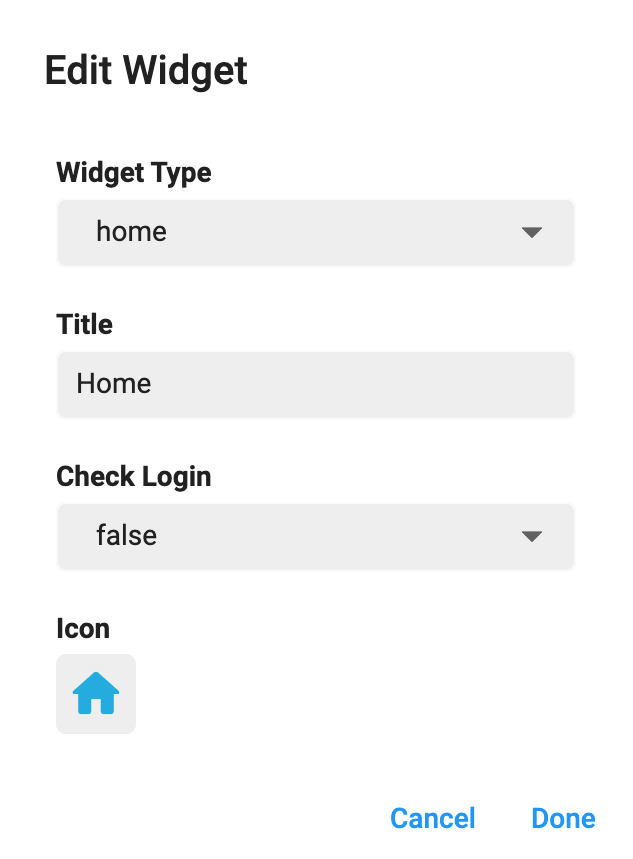
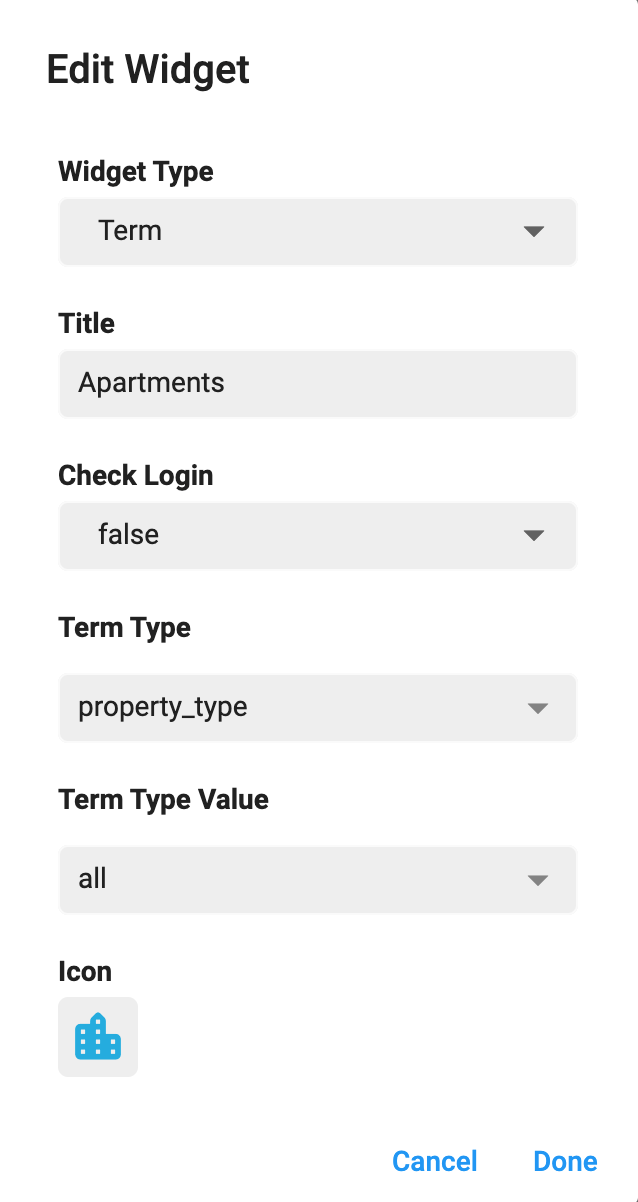
The minimum limit is 02 sections. If there are only 2 sections left, you can not delete further sections.
You can Delete any section just by clicking on delete icon of respective section. A delete confirmation dialog will open.

Click Delete if you want to delete the section.
Click Cancel if you want to discard the action.
You can Re-arrange the sections on Navigation Bar. Hold the section that you want to re-arrange and move it vertically (upwards or downwards). Place it on desire position in sections list.
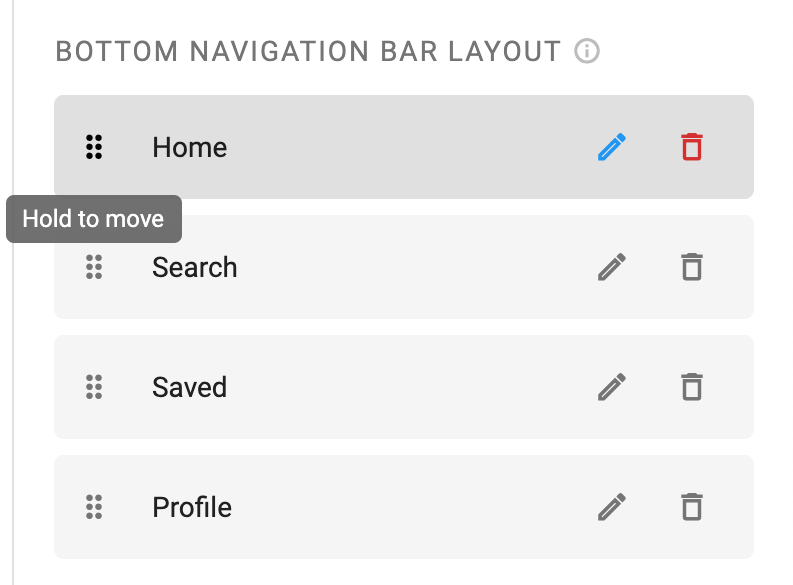
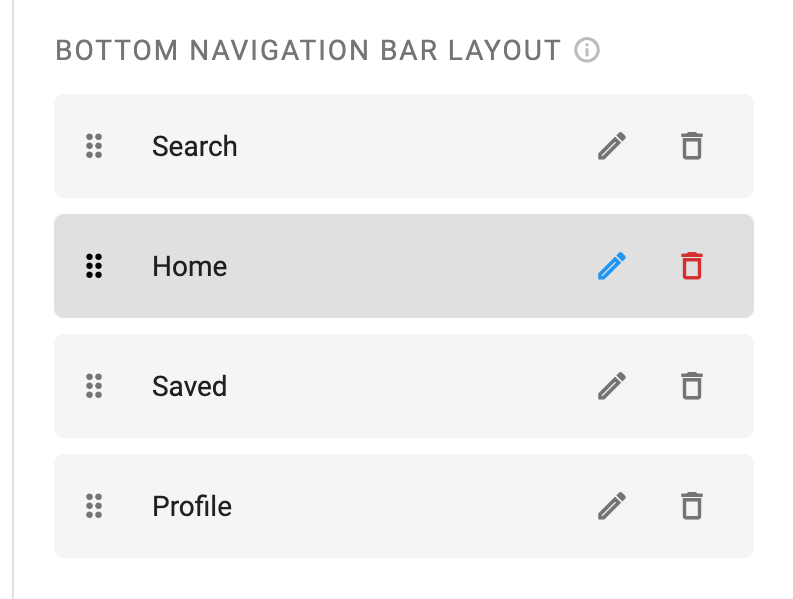
Important: You are required to install the Houzi Rest Api Plugin on your Houzez wordpress. To install the Plug-in, click on Houzi Rest Api Plugin Link.
A Mobile App View is provided in the center of screen, so you can see how the modifications will look on real device.
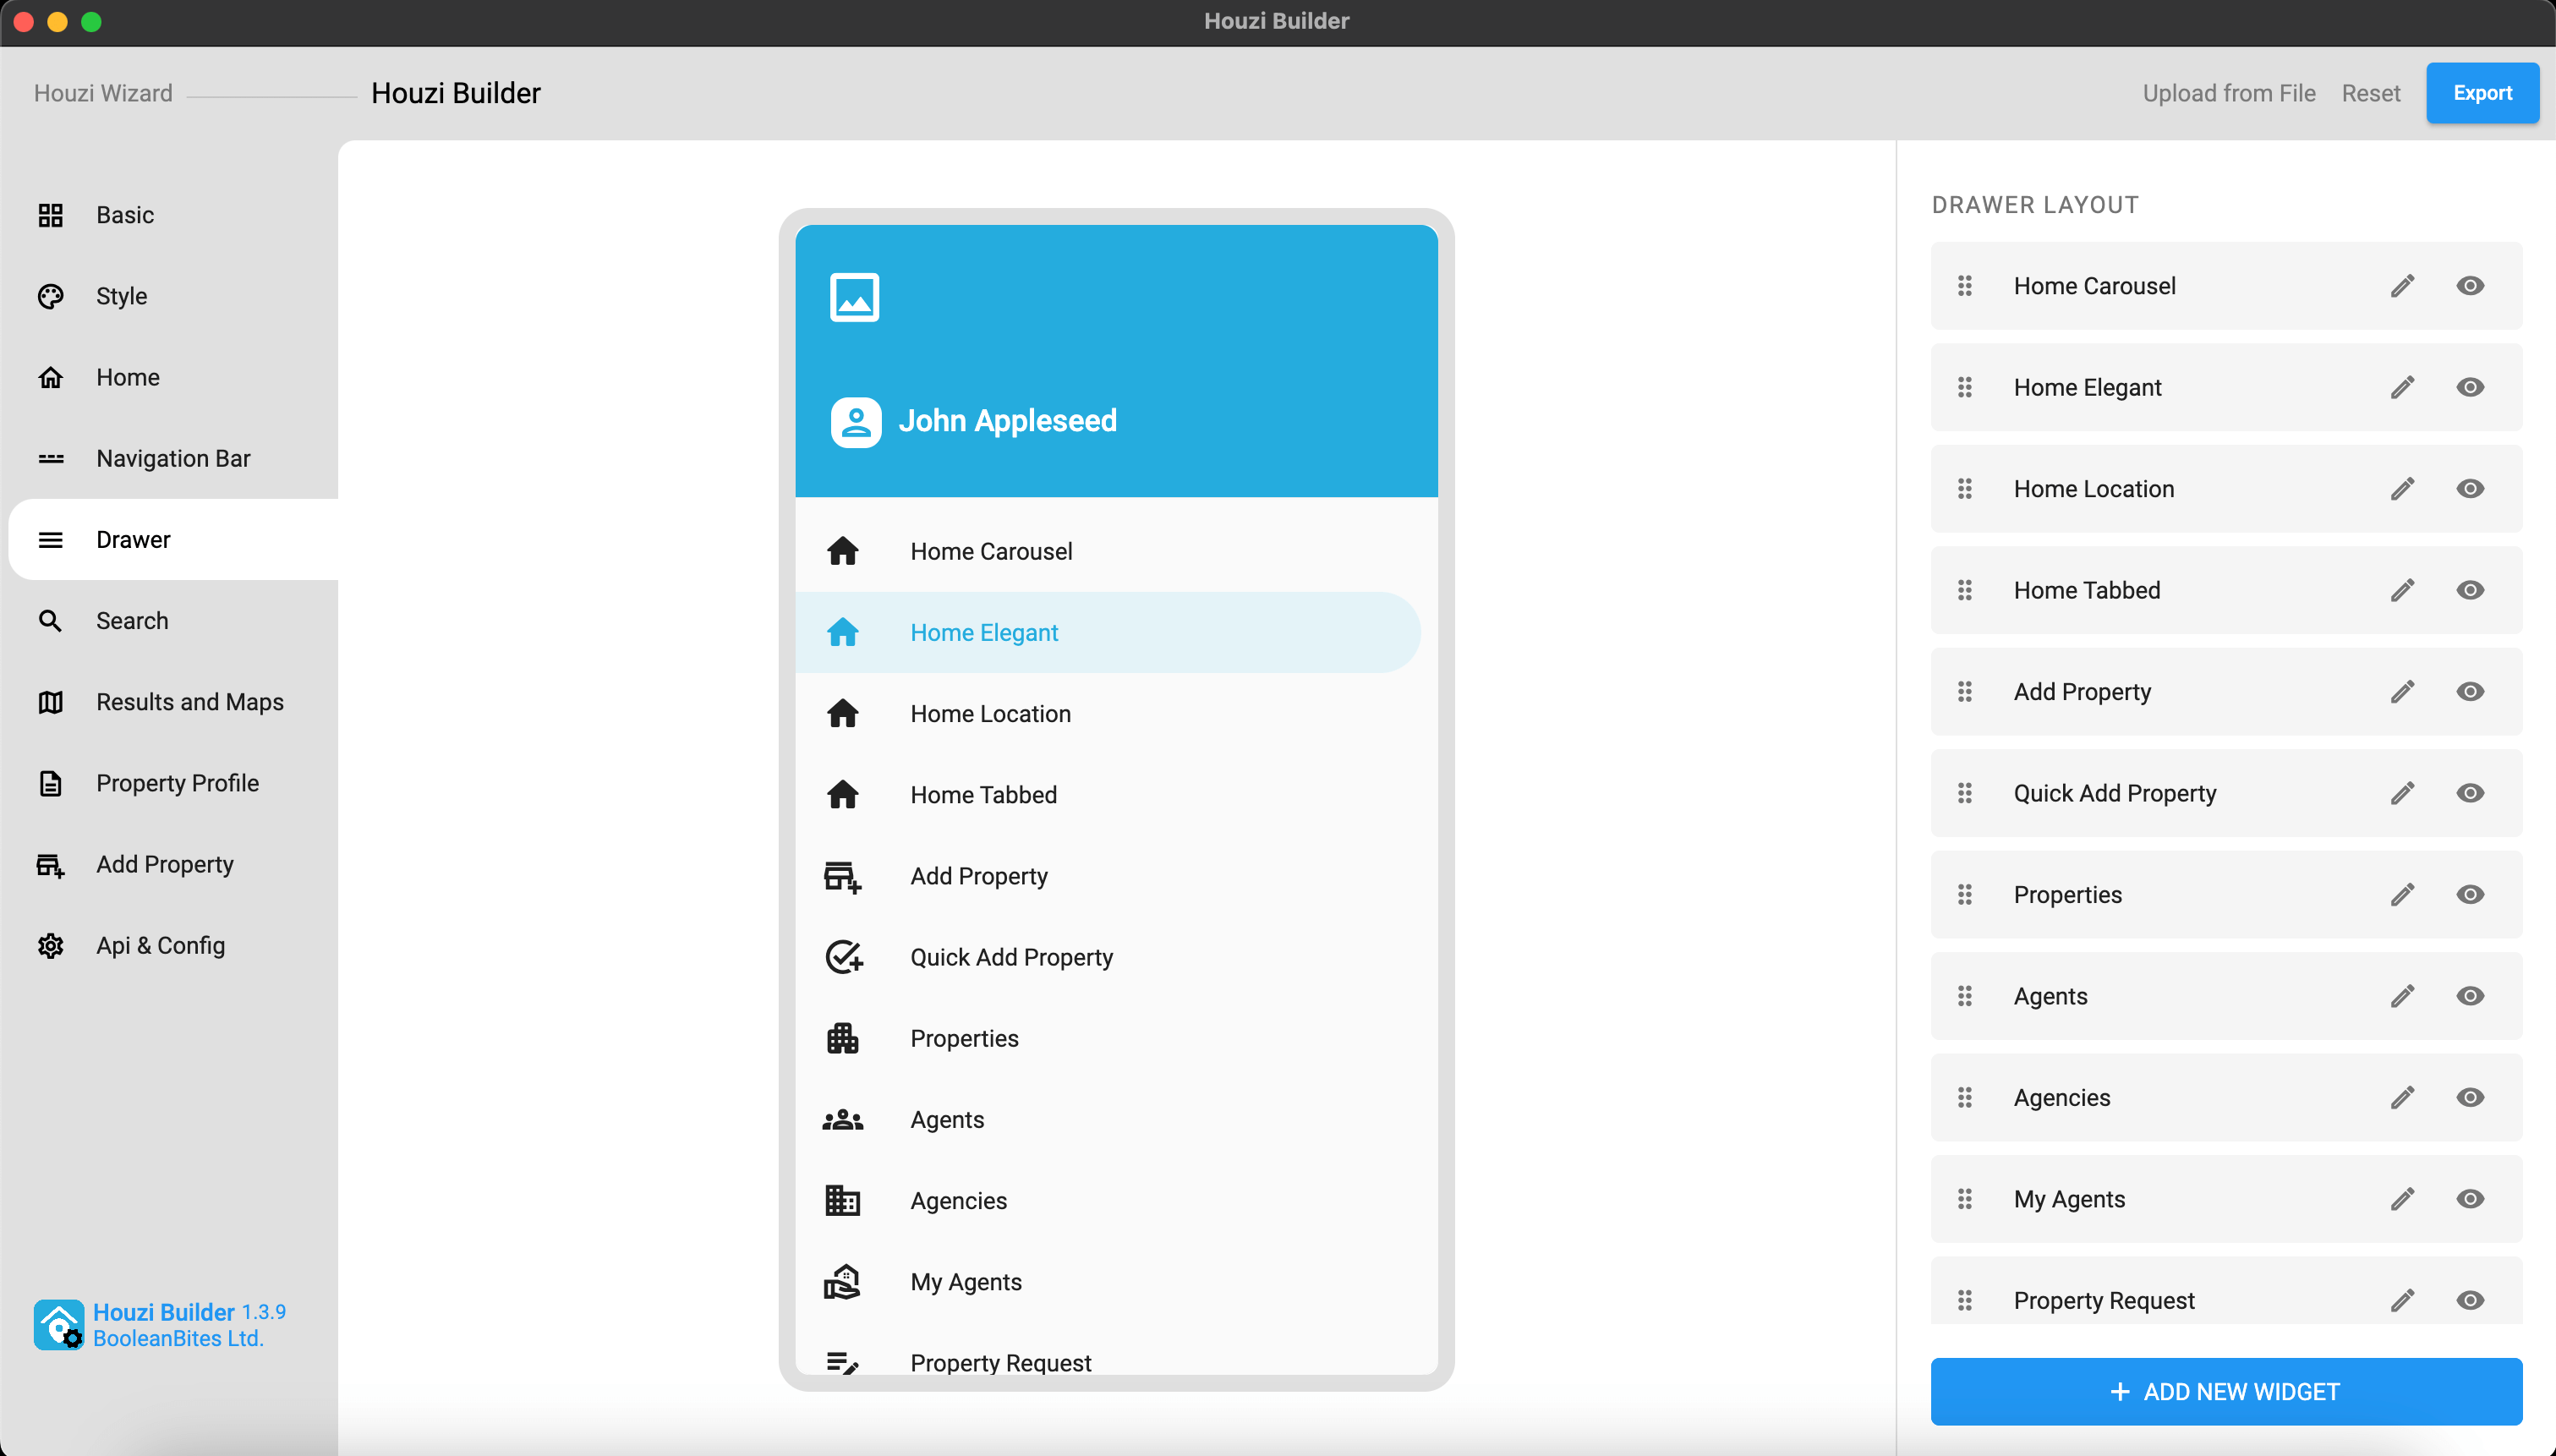
This guide consists of following sections:
Add New Section
Edit a Section
Show-Hide a Section
Re-arrange a Section
Delete a Section
Let’s dive into the details of each section.
You can Add a new section in Drawer Menu with ease. There is a Add button at the right-bottom of the screen. Press this Add button, a dialog box will open.
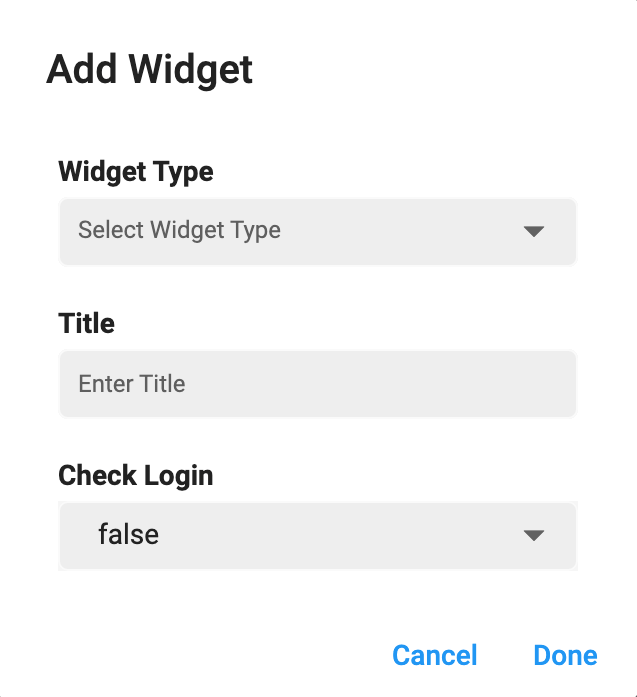
You will encounter following fields on the dialog box:
Widget Type
Title
Check Login
Initialize Data
You are provided with the dropdown list of Widget Types. The details of widget types are as follows:
blogs: If you want to show the Wordpress Posts/ Blogs screen menu option.
messages: If you want to show the Direct Messages option.
place_holder: If you want to Display your Custom Widget via Hooks.
web_url: If you want to show an option which will open a Webpage.
Term: If you want to show Particular Term e.g. Apartmets, Offices etc.
crm_dashboard: If you want to show CRM Dashboard screen menu option.
About_App_Screen: If you want to show About App screen menu option.
App_Theme_Setting_Screen: If you want to show App Theme Setting App screen menu option.
App_Language_Setting_Screen: If you want to show App Language Setting screen menu option.
App_Privacy_Policy_Screen: If you want to show App Privacy Policy screen menu option.
App_Terms_and_Conditions_Screen: If you want to show App Terms and Conditions screen menu option.
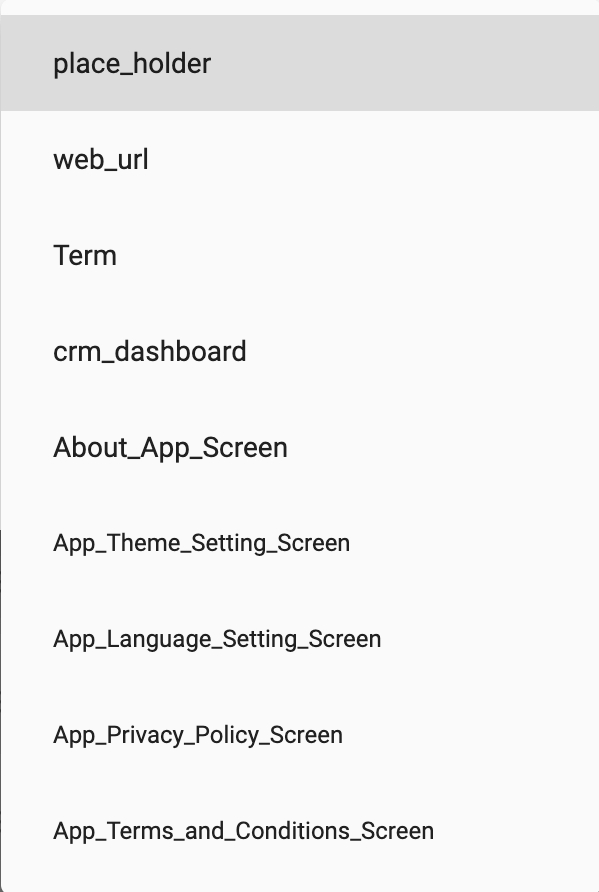
Title is label that will be displayed on the drawer menu. Define the Title of the section.
If you want that only logged-in user will be able to see the content of this particular menu item, select true from the dropdown menu of Check Login, else leave it as false.
If you have selected the Term widget type, an additional field will be visible to you named as Initialize Data.
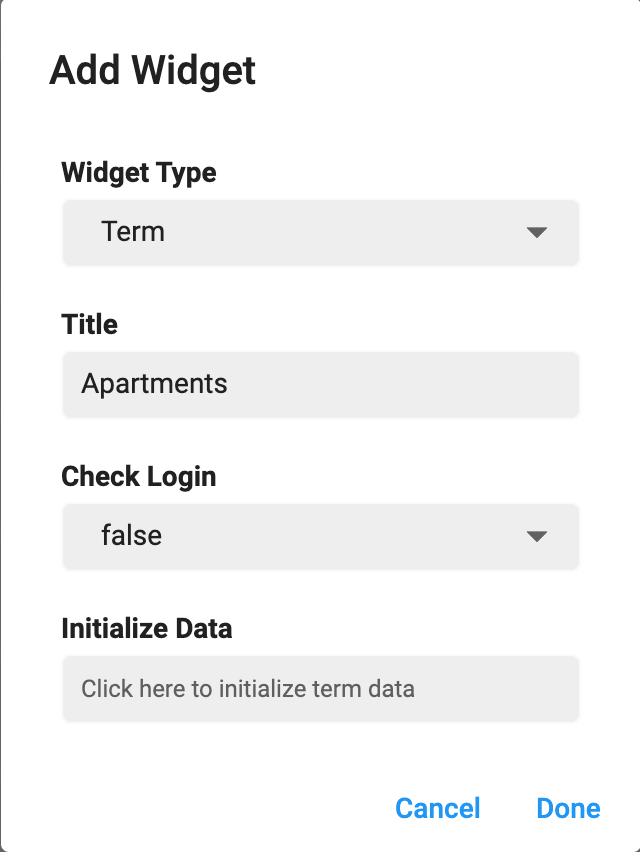
You can initialize the data of your term by following these steps:
Click on the empty text field, an Initialize Data dialog will be opened.
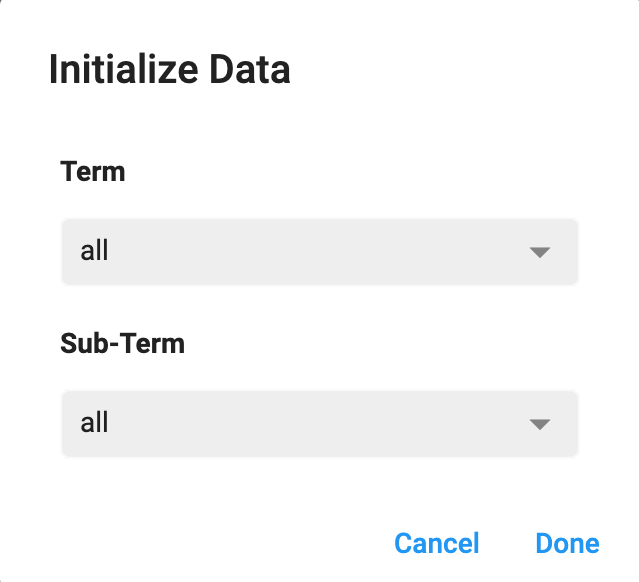
Select the Term/Terms from the Term dropdown menu.
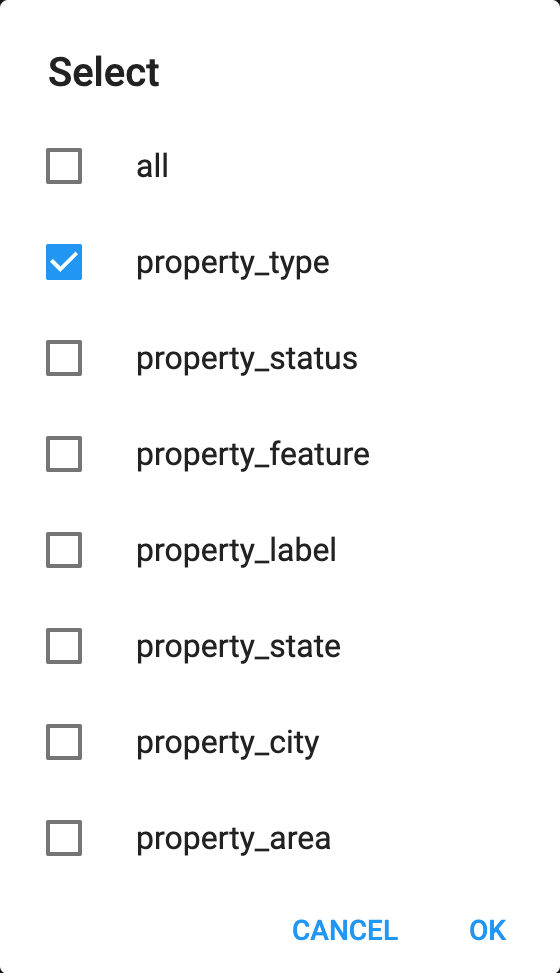
Select the Sub-Term/Sub-Terms from the Sub-Term dropdown menu.
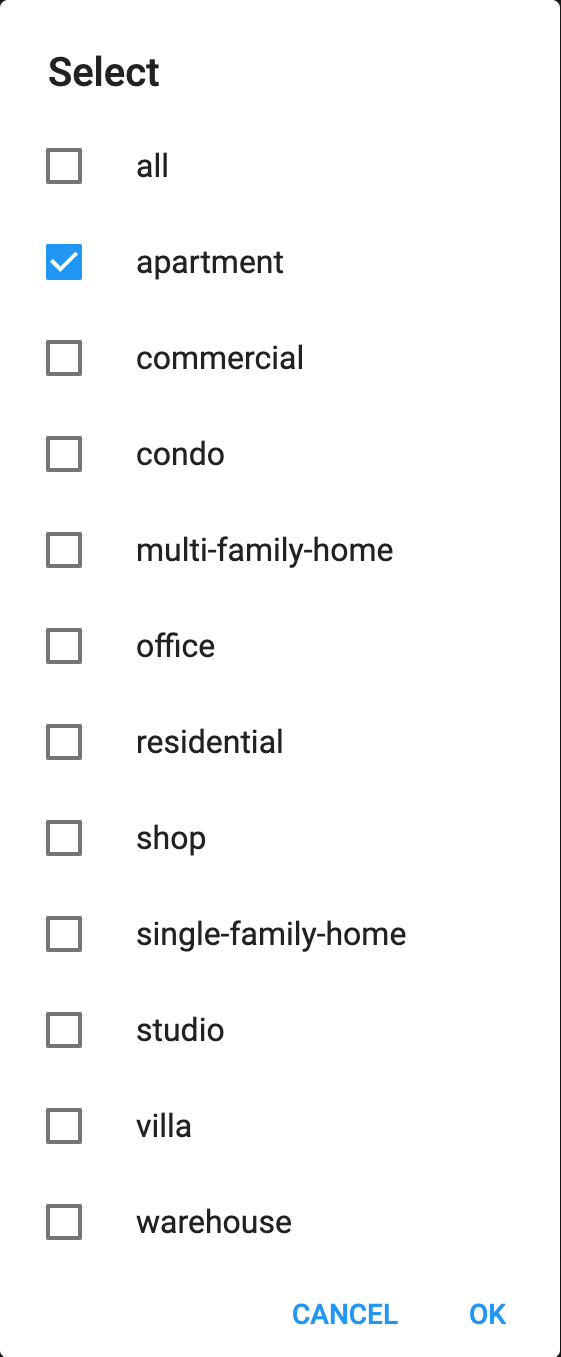
Above displayed Terms and Sub-Terms are generic houzez options. You may encounter all or some of these options, according to the data of your website.
Done to perfrom the action.Click Cancel to discard the action.
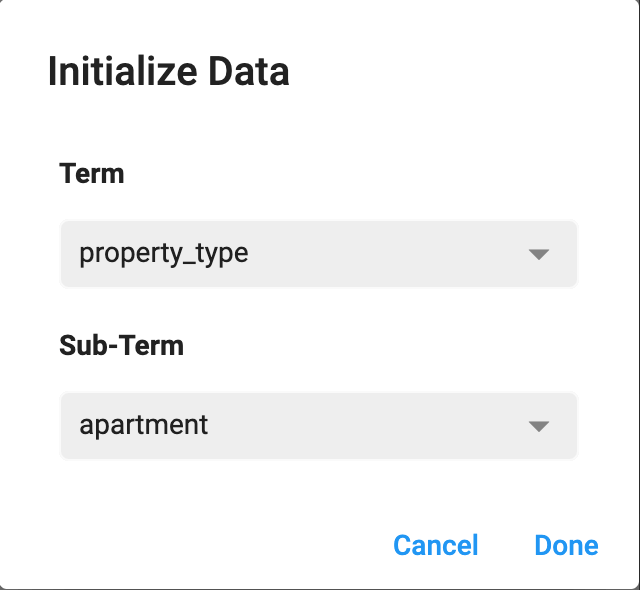
Done to add the new section.Cancel to discard the action.Initialize Data field is only available to Term type widgets.
New widget will be added to the last of menu items. You can Re-arrange its position.
There are two type of sections in drawer screen as follows:
Default Sections: Sections that are provided by Houzi team by default and can not be deleted but can be hide.
Custom Sections: Sections that are added by users and can be deleted as well as hide.
While editing a default section, you only get to Rename the section. Just click on Edit Icon of respective section. A dialog will open. Rename the section as you like.

Done if you want to Rename the section.Cancel if you want to discard the action.While editing a custom section, you can perform following actions:
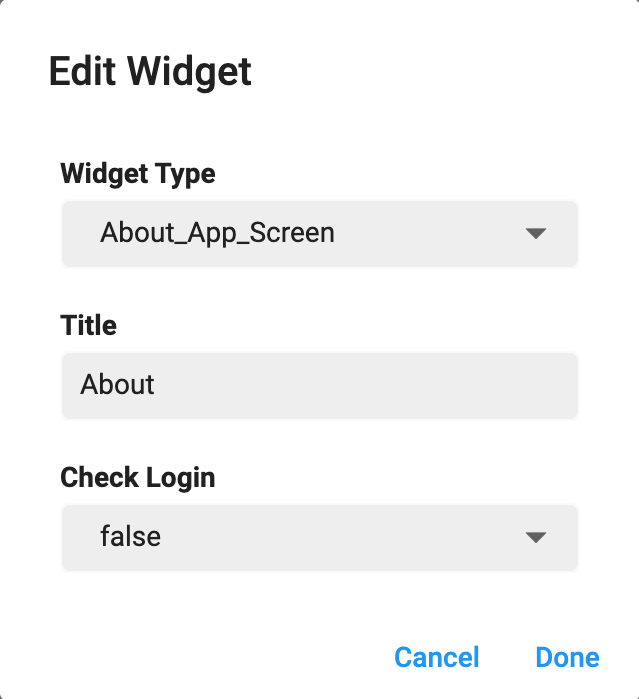
You can show or hide any section just by clicking on Visibility / Invisibility Icon of respective section.

You can Re-arrange the sections on Drawer Menu. Hold the section that you want to re-arrange and move it vertically (upwards or downwards). Place it on desire position in sections list.
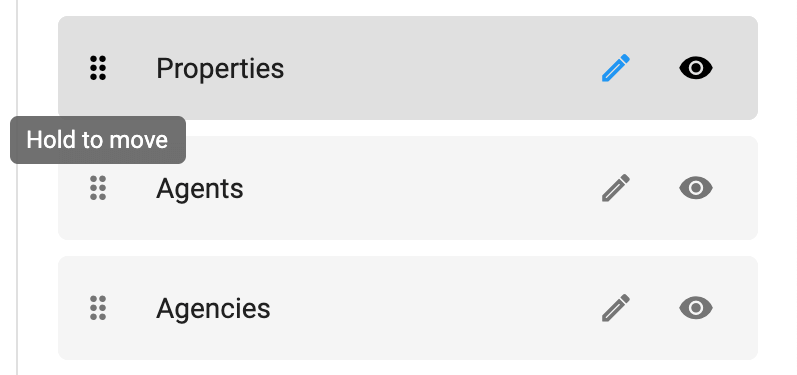
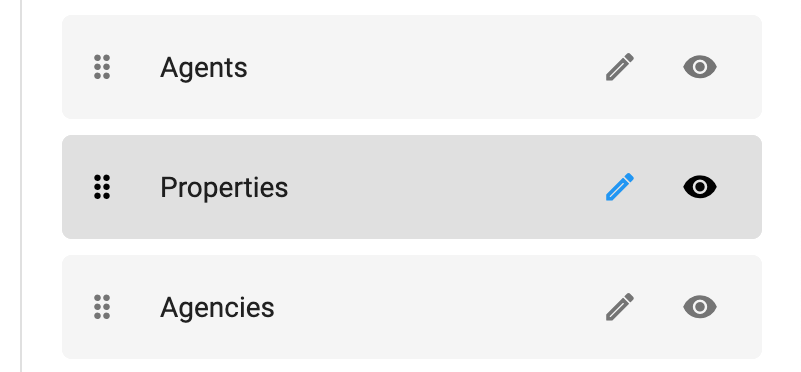
There are two type of sections in drawer screen as follows:
Default Sections: Sections that are provided by Houzi team by default and can not be deleted but can be hide.
Custom Sections: Sections that are added by users and can be deleted as well as hide.
You can Delete any custom section just by clicking on delete icon of respective section. A delete confirmation dialog will open.

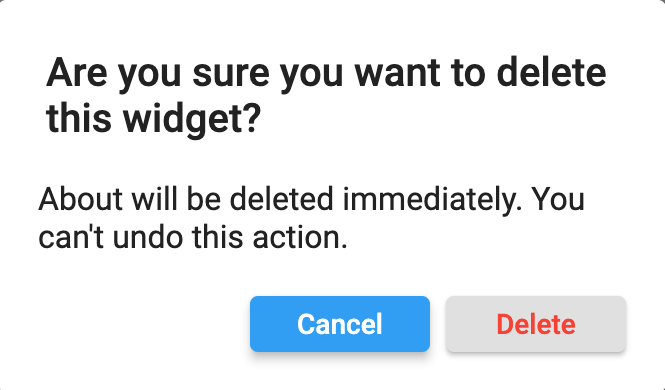
Important: You are required to install the Houzi Rest Api Plugin on your Houzez wordpress. To install the Plug-in, click on Houzi Rest Api Plugin Link.
A Mobile App View is provided in the center of screen, so you can see how the modifications will look on real device.
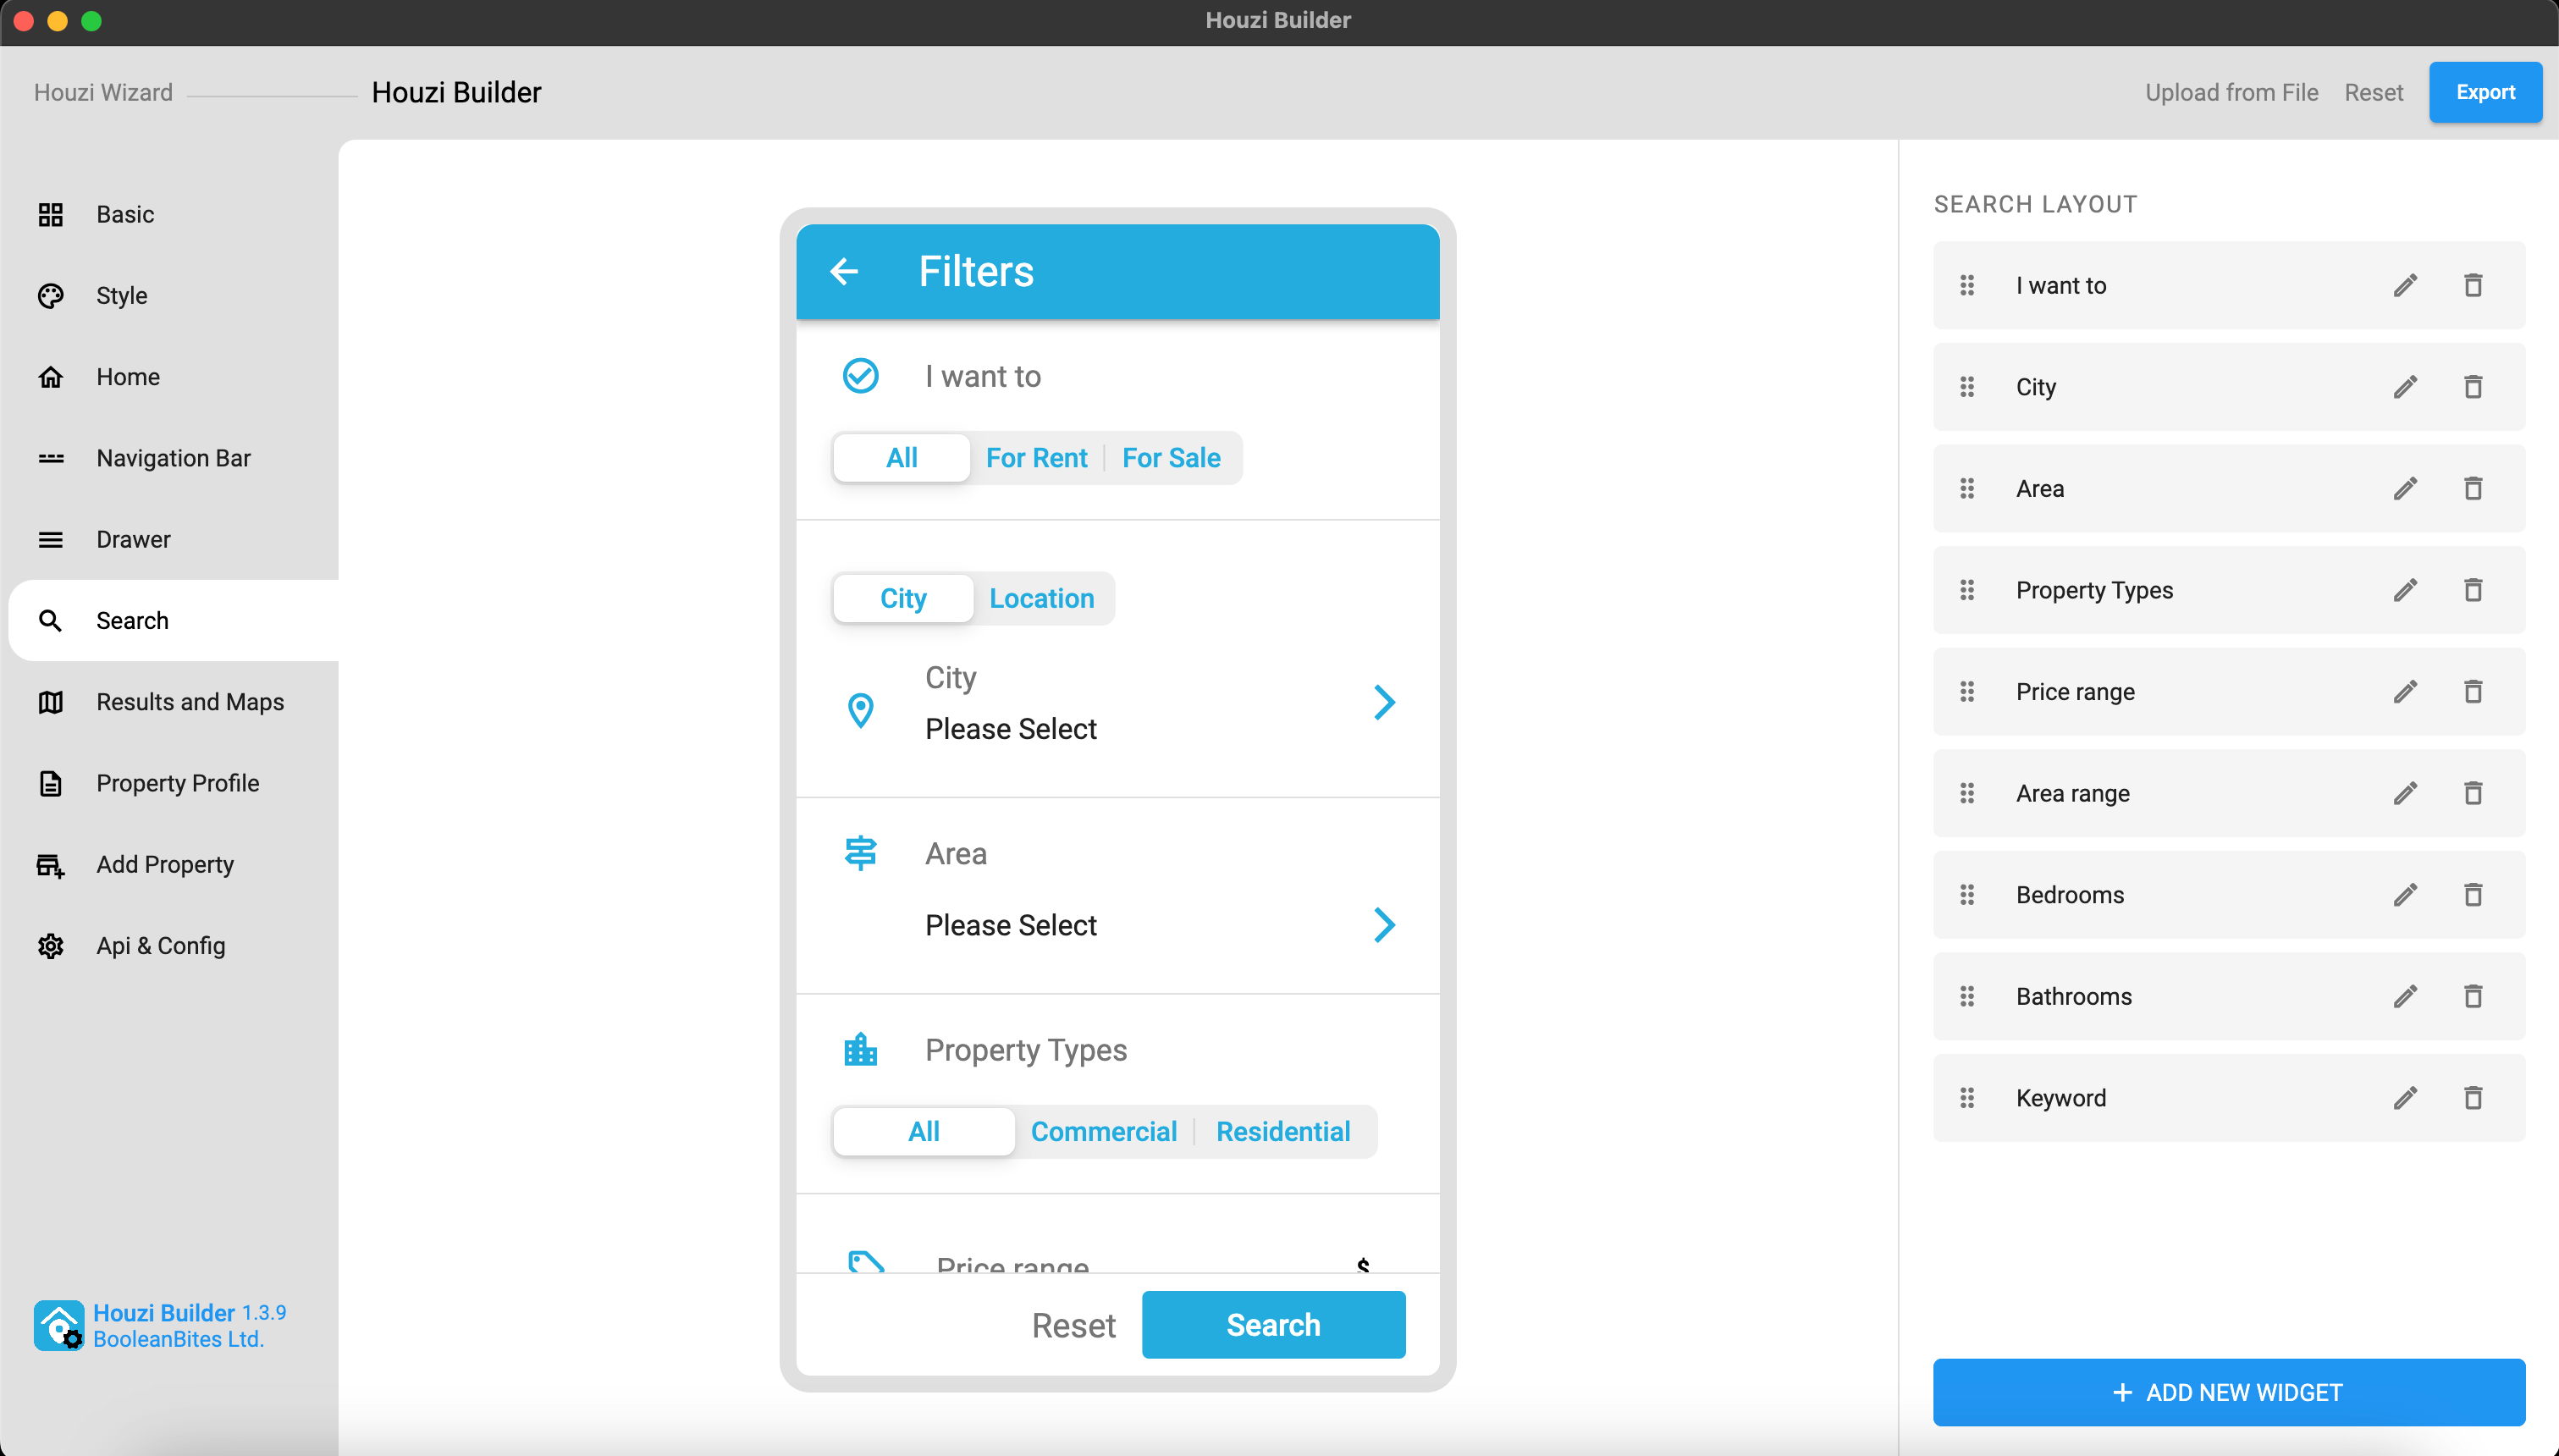
You can Enable Cupertino Sliding Segment Control instead of using Material Segment Control from Api and Config section.
This guide consists of following sections:
Add New Section
Edit a Section
Delete a Section
Re-arrange a Section
Let’s dive into the details of each section.
There is a Add button at the bottom of the column. Press this button and a dialog box will open.
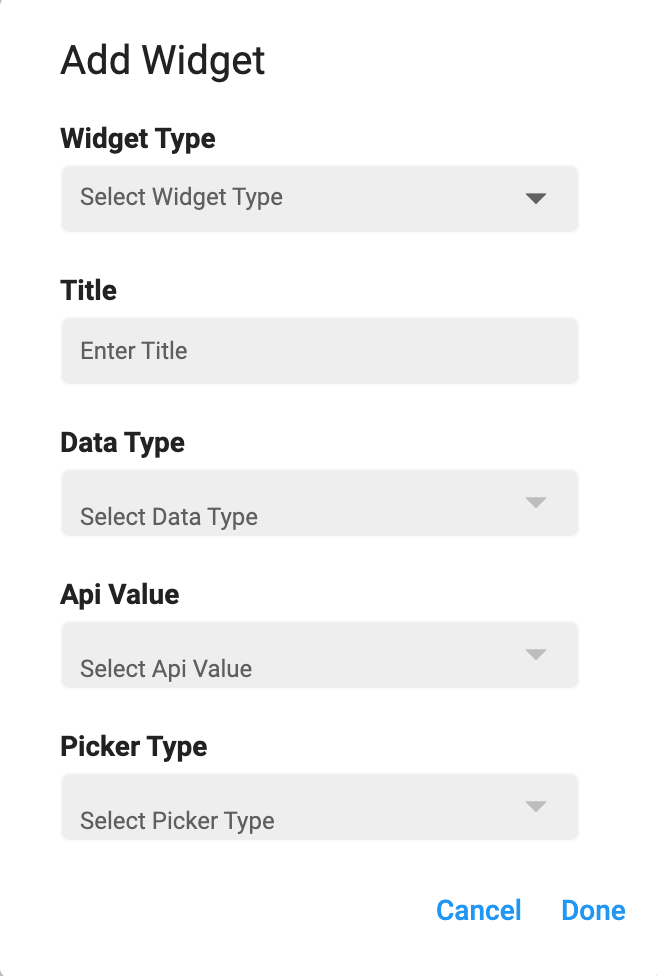
You will encounter following fields on the dialog box:
Widget Type
Title
Data Type
Api Value
Picker Type
Additional Fields
You are provided with the dropdown list of Widget Types. The details of widget types are as follows:
keyword_picker: If you want to search properties w.r.t. some keywords e.g. Modern appartment with 2 bedrooms and 2 bathrooms etc.
custom_keyword_picker: If you want to search properties w.r.t. some specified keywords.
keyword_custom_query_picker: If you want to search properties w.r.t. some customized keyword query. You can define the keyword and send your custom query on its behalf.
custom_field_picker: If you want to search properties w.r.t. some custom field attributes.
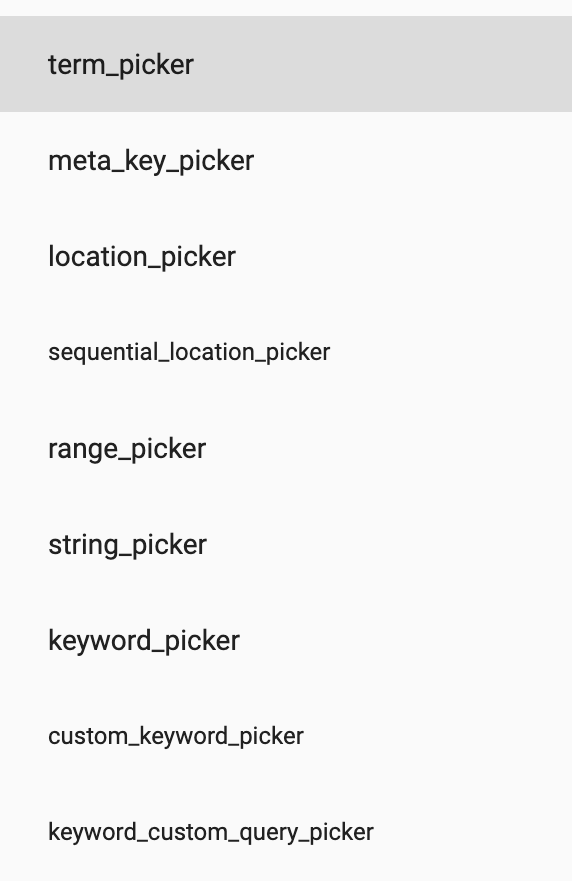
Custom Field Picker depends upon the data of you website. If you have not defined any custom field, this picker would not available.
Title is label that will be displayed on the *Search Page. Define the Title of the section.
You are provided with the dropdown list of Data Types. You can define the Data Type of the various sections as follows:
If selected Widget Type is term_picker, you can select from following data types:
property_type (To search properties w.r.t. their type e.g. apartment, office etc.)
property_status (To search properties w.r.t. their status e.g. for-rent, for-sale etc.)
property_feature (To search properties w.r.t. their features e.g. Air-Conditioning, Swimming-pool etc.)
property_label (To search properties w.r.t. their Label e.g. hot-offer, open-house etc.)
property_country (To search properties w.r.t. Country)
property_state (To search properties w.r.t. States)
property_city (To search properties w.r.t. City)
property_area (To search properties w.r.t. Area)
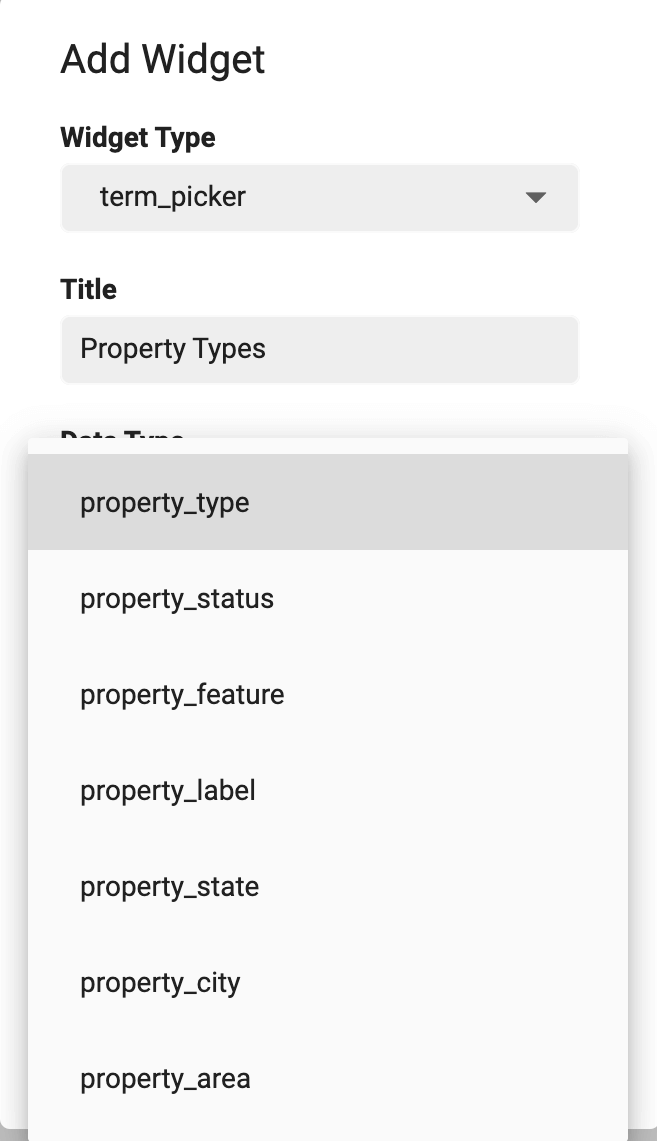
Above displayed Data Types are generic houzez taxonomies. You may encounter all or some of these options, according to the data of your website.
If selected Widget Type is range_picker, you can select from following data types:
area (To search properties within specific range of area)
price (To search properties within specific range of price)
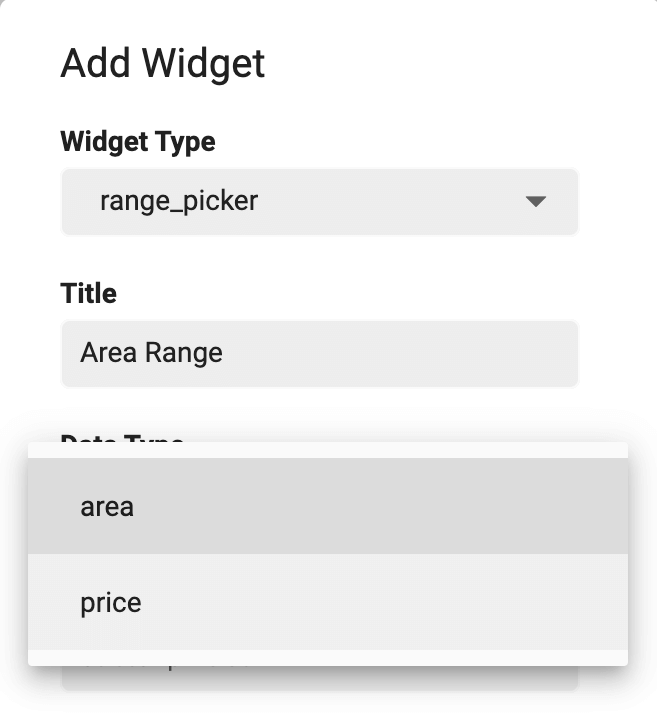
If selected Widget Type is string_picker, you can select from following data types:
bedrooms (To search properties w.r.t. specific number of bedrooms)
bathrooms (To search properties w.r.t. specific number of bathrooms)
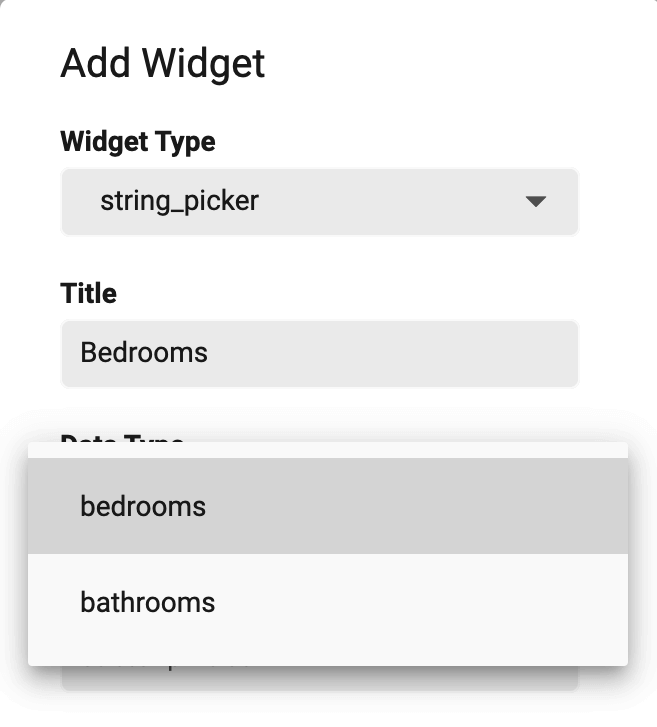
All the other Widget Types have Default Data Types.
Each section has its by default Api Value.
You are provided with the dropdown list of Picker Types. The details of picker types are as follows:
If selected Widget Type is term_picker, you can select from following picker types:
tabs and chips: To view properties related categories and sub-categories data in the form of Tabs and Chips.
dropdown: To view properties related categories and sub-categories data in the form of Dropdown.
full_screen: To view properties related categories and sub-categories data in the form of full_screen menu. A new page will open, listing all the property related catagories with additional Search Bar to search required catagory with ease.
box: To view properties related categories and sub-categories data in the form of Grid View having 3 catagories per row with their icons and titles.
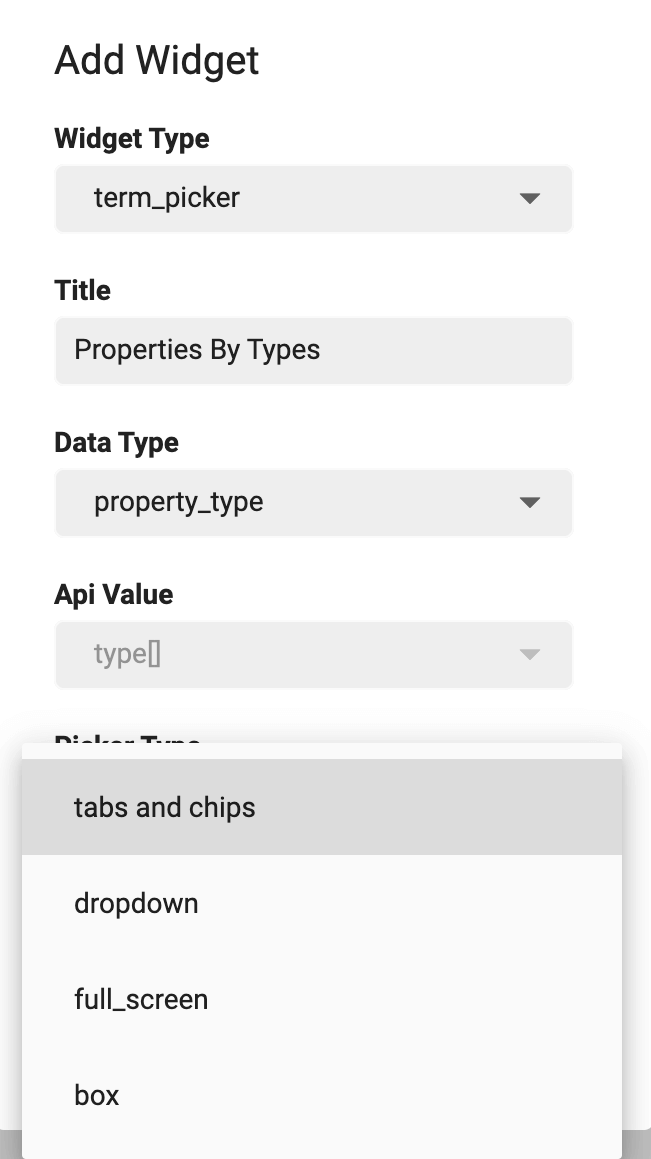
If selected Widget Type is string_picker, you can select from following picker types:
chips: To view properties related arrtibutes in the form of Chips.
tabs: To view properties related arrtibutes in the form of Tabs.
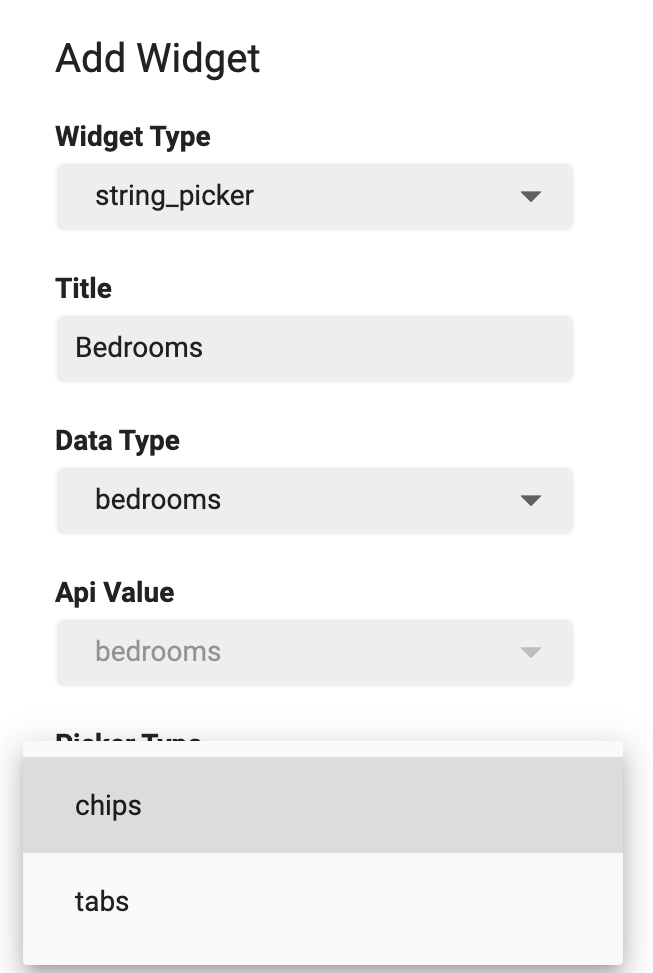
If selected Widget Type is custom_keyword_picker, you can select from following picker types:
text_field: To take Keyword input from the user.
dropdown: To provide users, a list of specified keywords in the form of Dropdown Menu.
string_picker: To provide users, specified keywords in the form of Tabs or Chips.
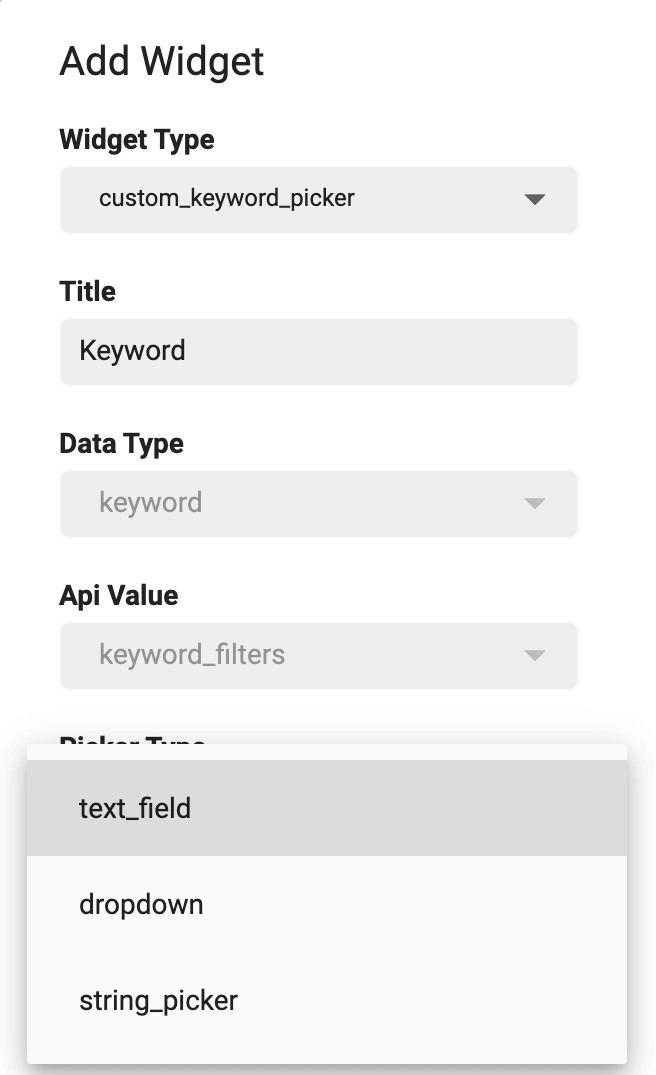
If selected Widget Type is keyword_custom_query_picker, you can select from following picker types:
switch
checkbox
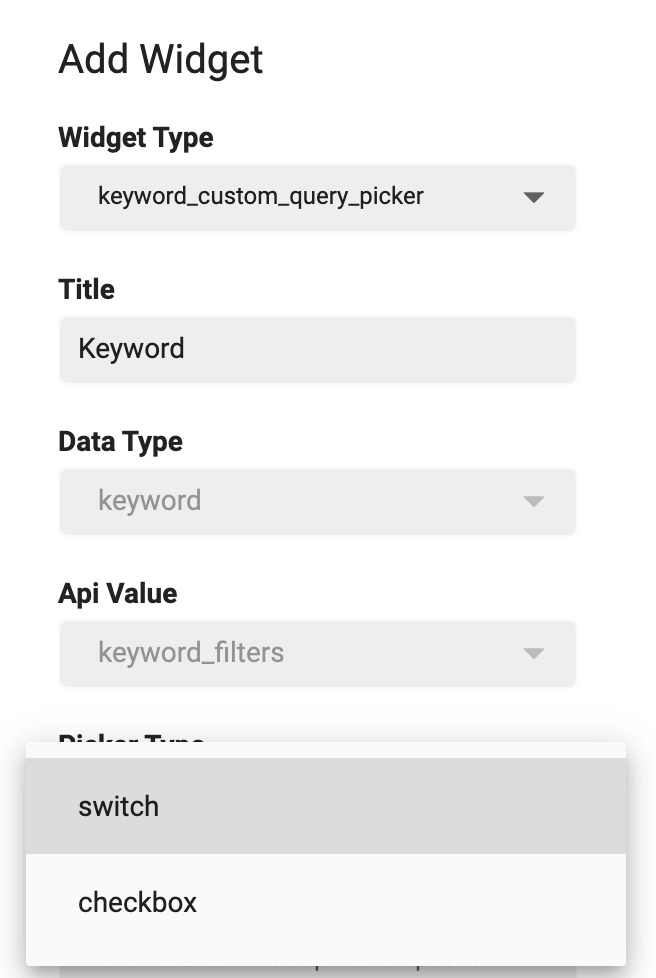
All the other Widget Types have Default Picker Type.
You can define some additional customizations for some sections. For this purpose you are provided with some Additional fields. Their details are as follows:
If selected Widget Type is location_picker, you can set the value for the Default Radius. You can choose either to show Search By City or Search By Location or you can choose to show both.
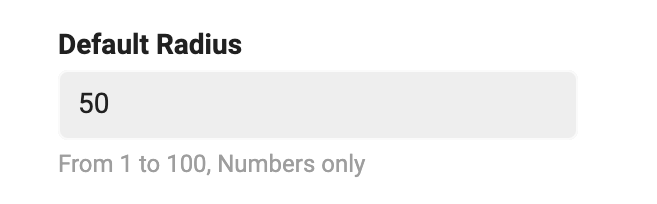
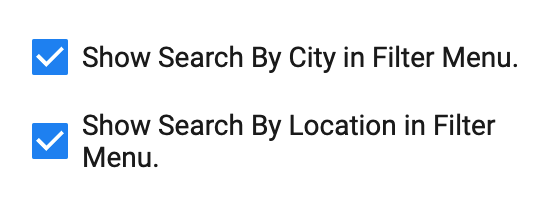
If selected Widget Type is sequential_location_picker, you can customize the Location Picker Hierarchy form the multi-select dropdown menu.
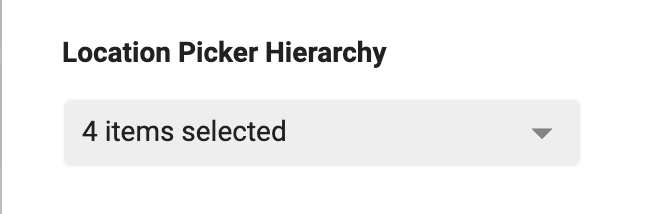
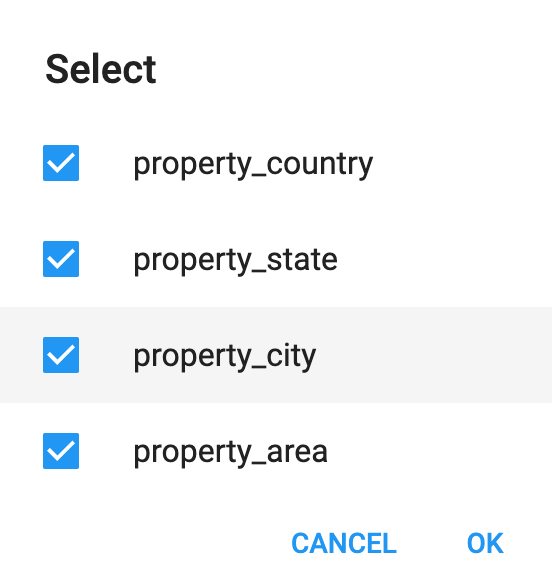
If selected Widget Type is range_picker, you can define the minimun and maximun range of section in Min Value, Max Value and Steps fields.
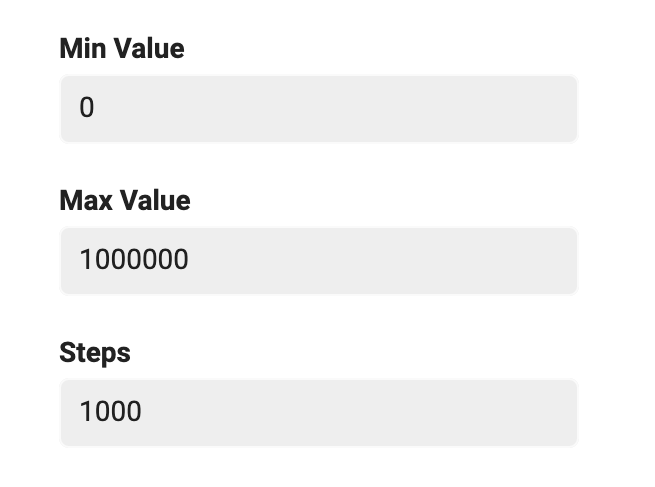
If selected Widget Type is term_picker, you can define the query type from dropdown menu in Query Type field.
OR Query Type: If you want that search properties which may include this specific term, use OR query type.
AND Query Type: If you want that search properties which must include this specific term, use AND query type.
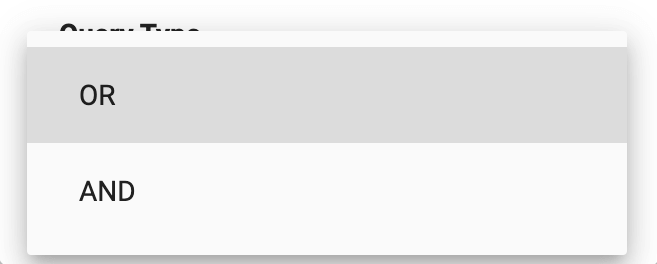
If the selecetd Widget Type is string_picker you can define your comma seperated specific options for the picker in the Options field.
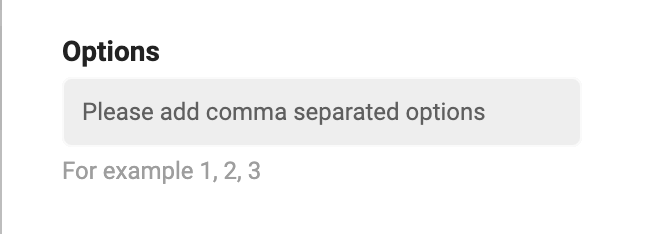
If selected Widget Type is custom_keyword_picker, you can define the Unique key and Query Type.
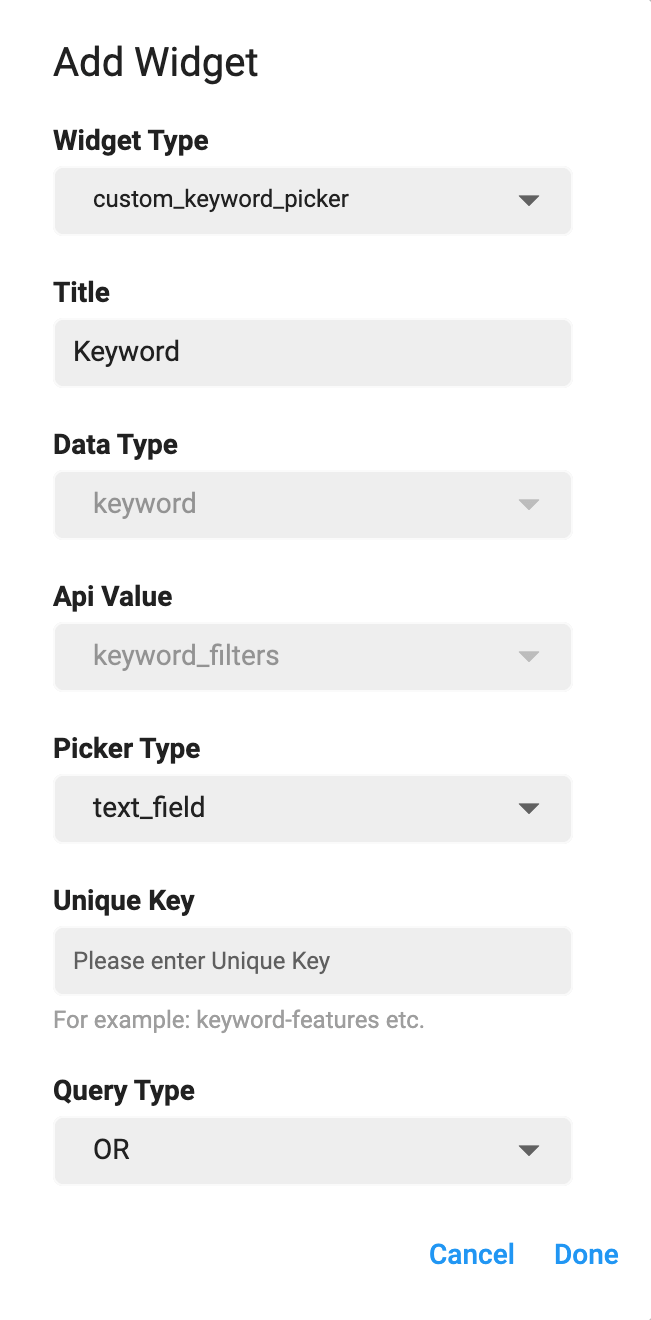
Unique key (Assign a unique key to this field e.g. keyword-some-text.)
Query Type: (Assign a query type to this field from the dropdown menu.) It has two following types:
OR Query Type: If you want that search properties which may include this specific keyword, use OR query type.
AND Query Type: If you want that search properties which must include this specific keyword, use AND query type.
If selected Widget Type is custom_keyword_picker and Picker Type is dropdown or string_picker. There are some additional fields as:
If the selecetd field is dropdown you can define your comma seperated specific keywords in Options field.
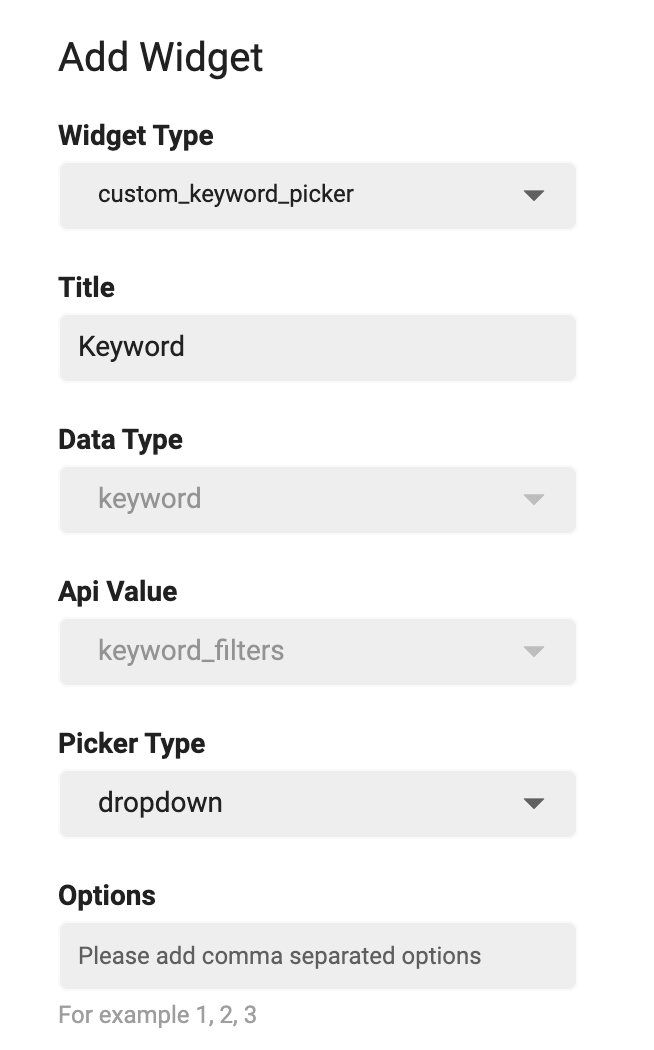
If the selecetd field is string_picker you can define your comma seperated specific keywords in Options field. You can also specify Sub-Picker Type of string_picker i.e. Chips or Tabs.
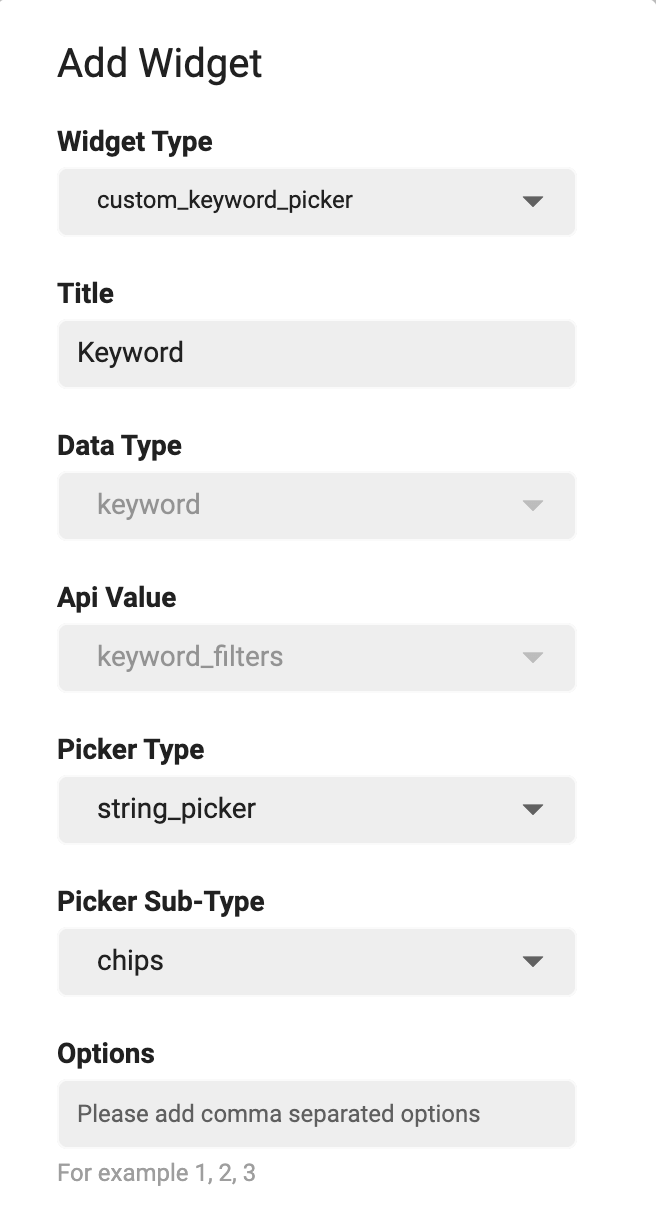
Sub-Picker Types:
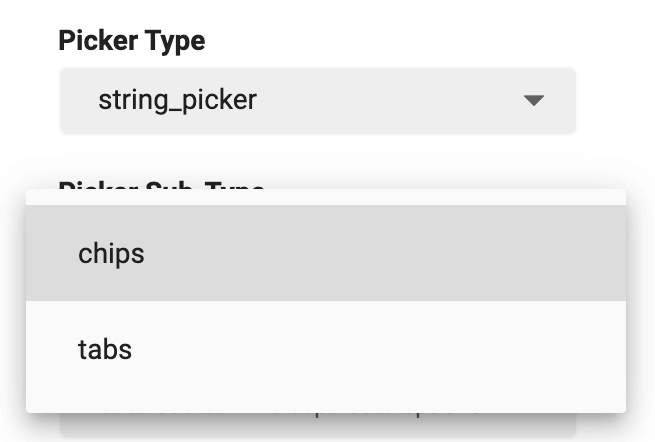
If selected Widget Type is keyword_custom_query_picker, you can define the Options, Unique key and Query Type.
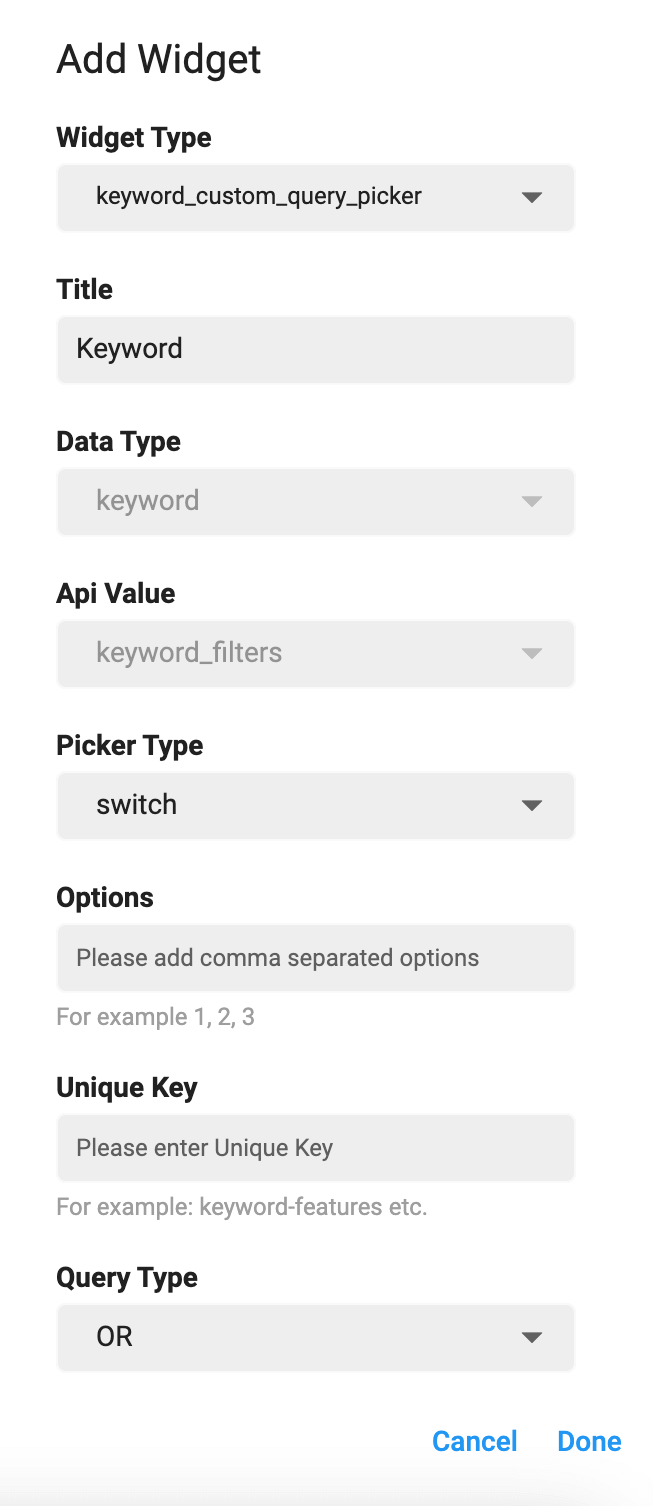
Options (Define your comma seperated custom keyword query in this field.)
Unique key (Assign a unique key to this field e.g. keyword-some-text.)
Query Type: (Assign a query type to this field from the dropdown menu.) It has two following types:
OR Query Type If you want that search properties which may include this specific keyword, use OR query type.
AND Query Type If you want that search properties which must include this specific keyword, use AND query type.
Click
Doneto add the new section.
ClickCancelto discard the action.
You can Edit the sections just by clicking on Edit Icon of respective section. While editing a section, you can perform following actions:
You can Delete any section just by clicking on delete icon of respective section. A delete confirmation dialog will open.

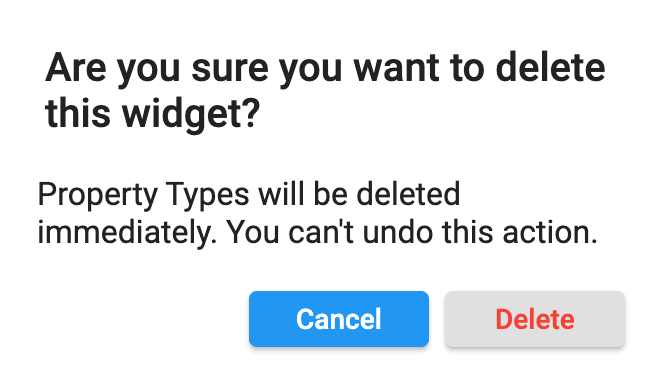
Click Delete if you want to delete the section.
Click Cancel if you want to discard the action.
You can Re-arrange the sections on Search Page. Hold the section that you want to re-arrange and move it vertically (upwards or downwards). Place it on desire position in sections list.
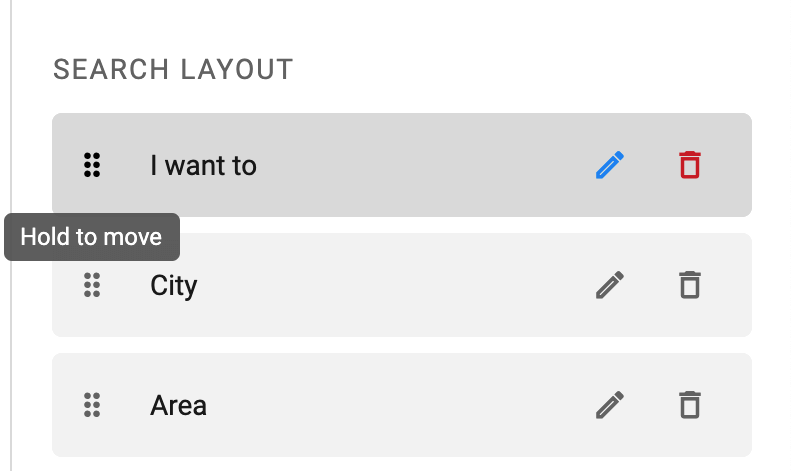
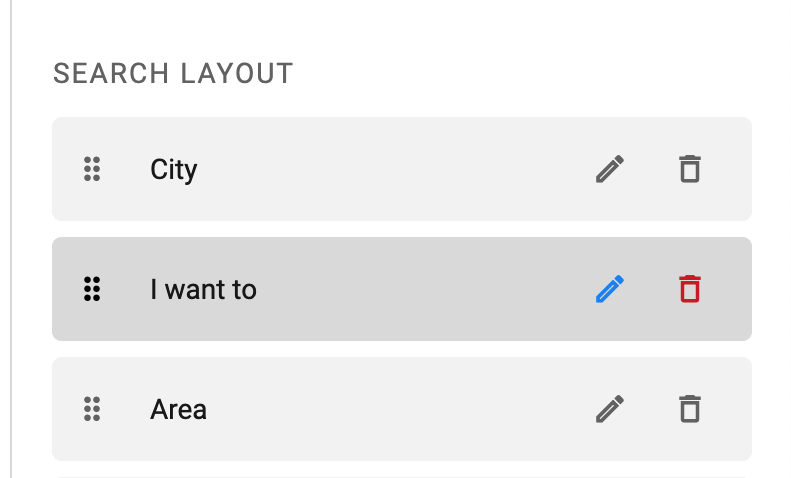
Important: You are required to install the Houzi Rest Api Plugin on your Houzez wordpress. To install the Plug-in, click on Houzi Rest Api Plugin Link.
A Mobile App View is provided in the center of screen, so you can see how the modifications will look on real device.
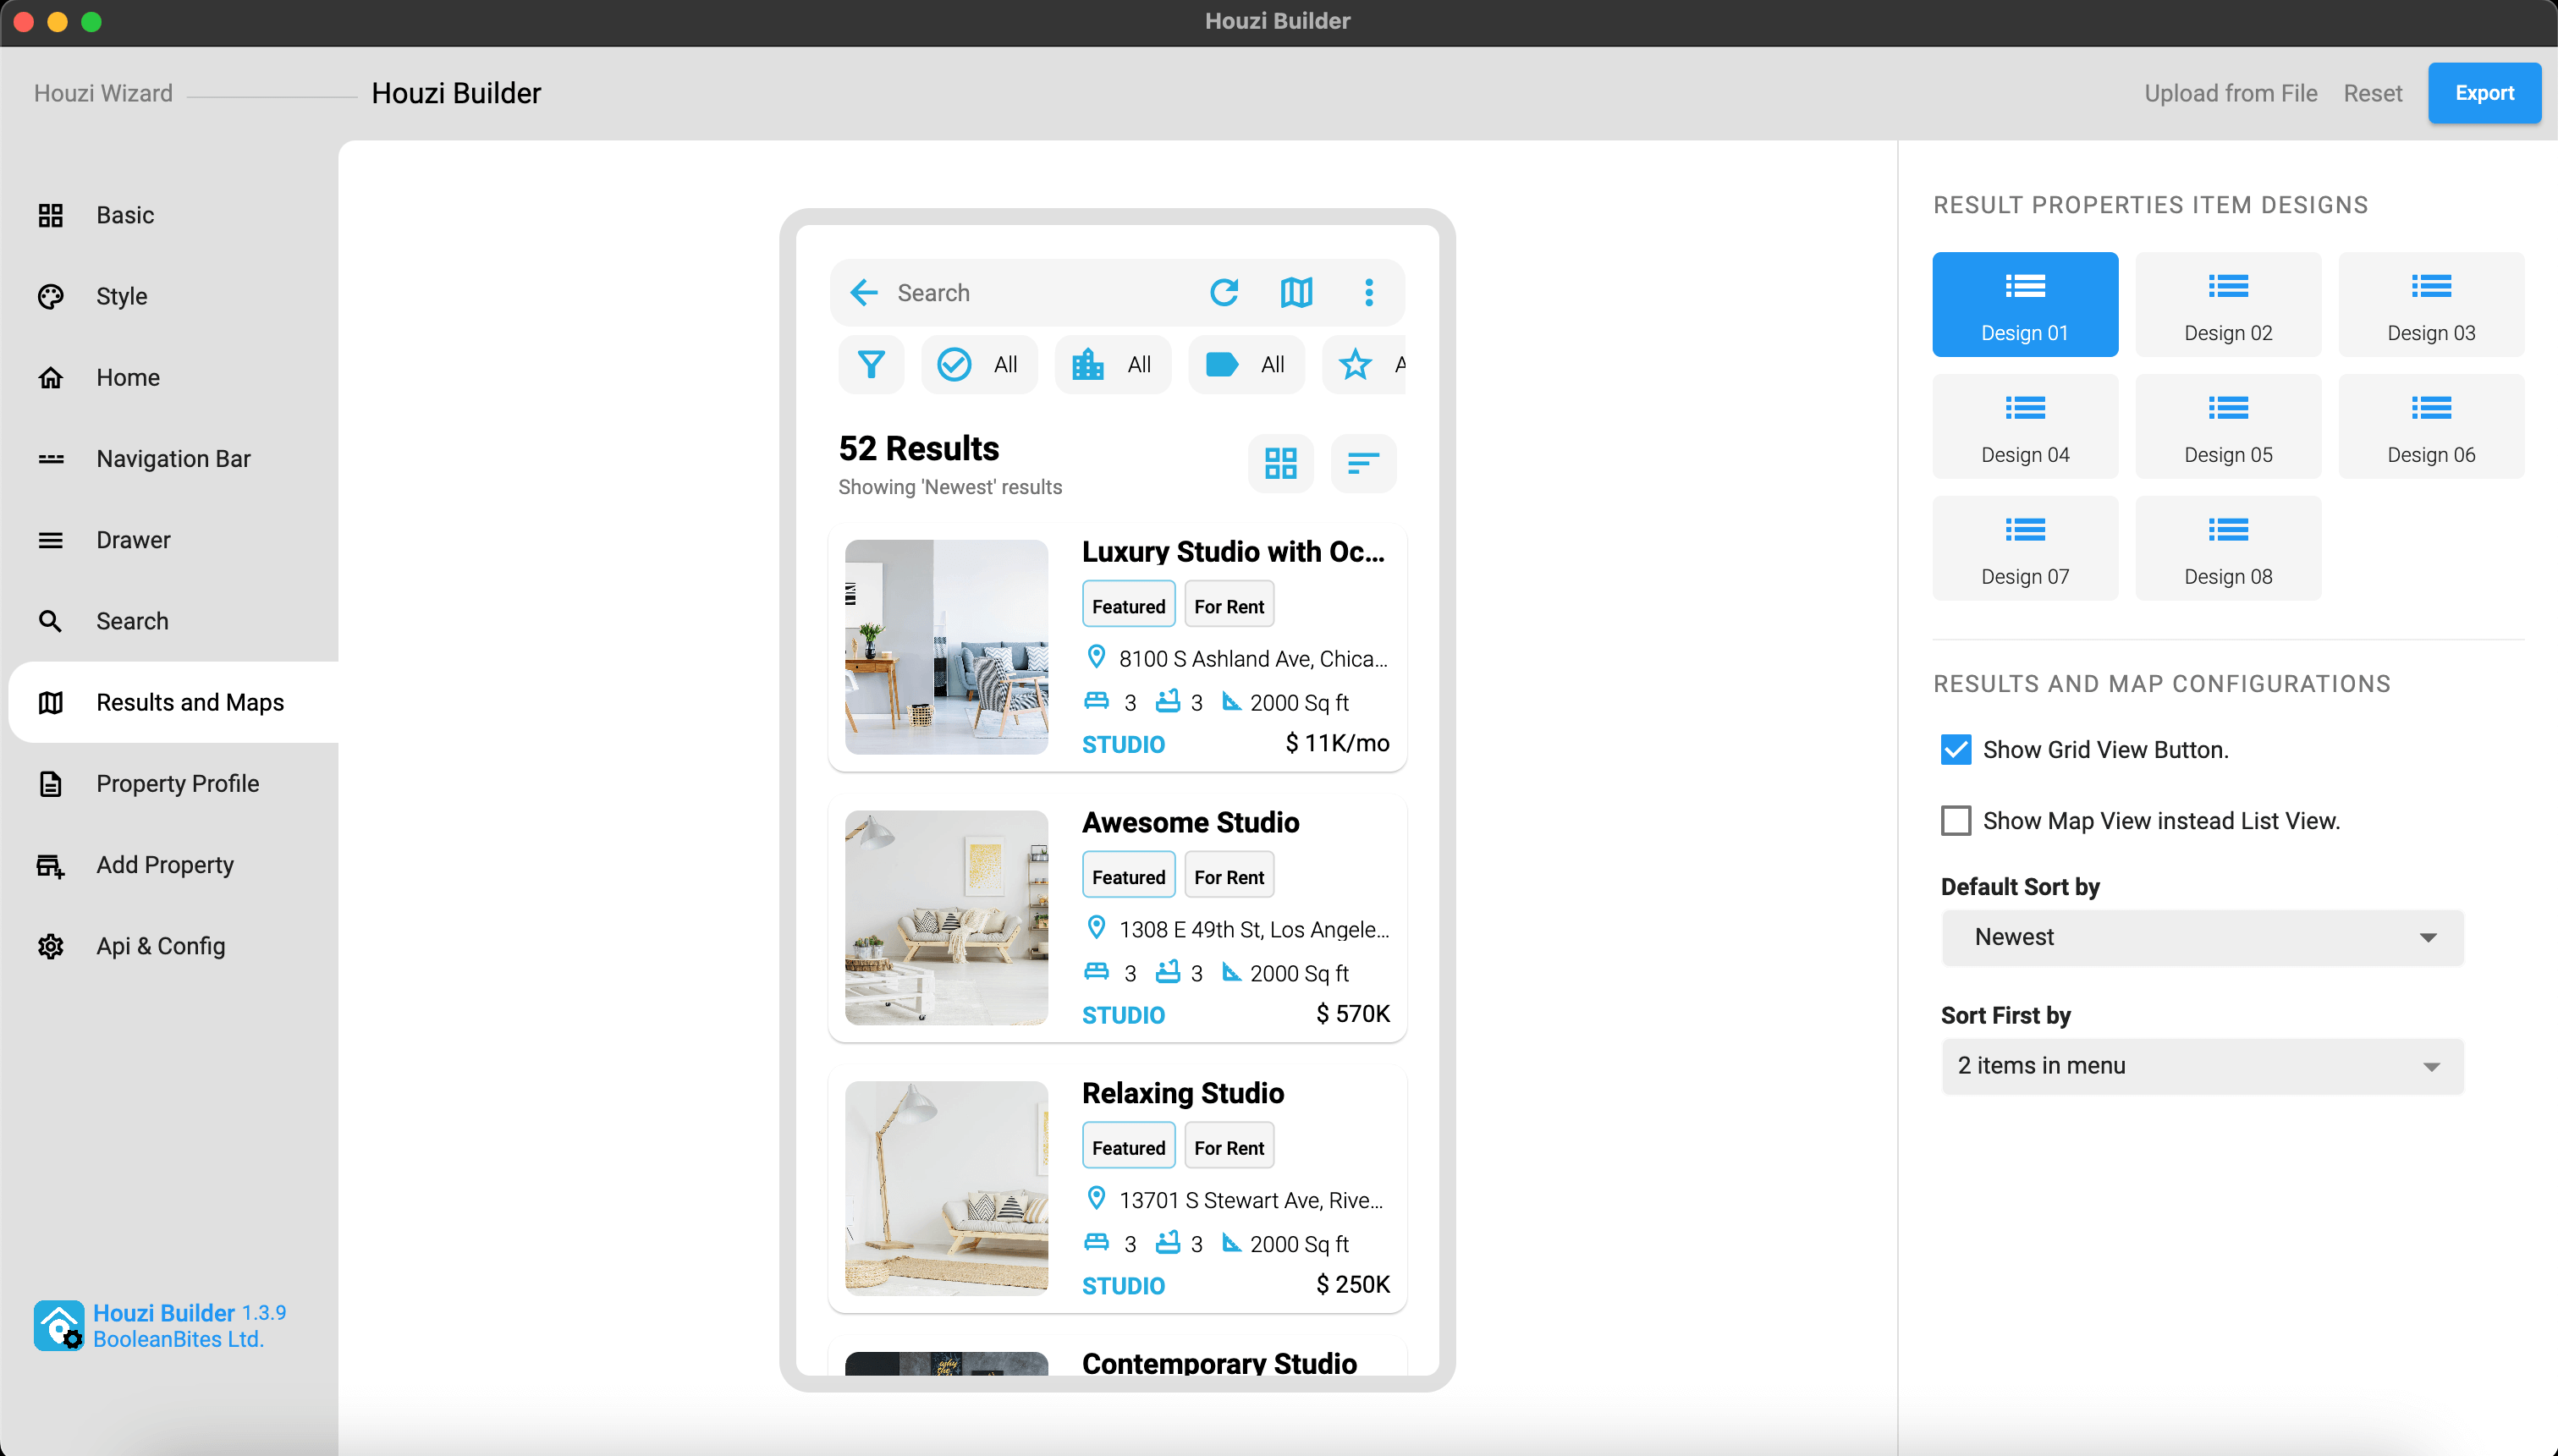
This guide consists of following sections:
Listing Item Designs
Display Configurations
Sorting Configurations
Let’s dive into the details of each section.
Houzi provides you wide range of listing items designs. On the top right side of Results and Maps section, Listing Items designs are provided. Click on any design, and you will be able to see, how it will look on real device in the Mobile App View. (By default, selected design is Design 01, one of most popular designs.)
Houzi provide you with two views for the resulted listing items i.e. List View and Grid View. The default view is List view. User can switch between views by tapping on “Show Grid View” Button. If you want to restrict the user to only List view, you can hide the “Show Grid View” button from the screen. You can show or hide this button on results screen just by Check Marking or Un-Marking the Show Grid View Button checkbox field.

By default, Houzi provide a List View for the searched items on the Results screen. User can see the results on Google Maps by tapping on the Maps icon on the top search bar. If you want to display the search results on the Google Maps, by default, you can simply Check Mark the Show Map View instead List View checkbox field.

By default, Houzez displays the room details in both the Property Details section and Article Boxes. If you want to hide the room information from these sections, you can simply uncheck the Show Rooms option in the configuration.json file. This gives you control over whether or not to display room-related data, allowing for a more tailored presentation based on your project needs.

Houzi provides you with following two sorting configuration:
Let’s dive into the details of each configuration.
When you search something, the corresponding search results can be sorted w.r.t. one of the following orders:
The default Houzi sort by order is “Newest”. You can select the desired sort by order from the Default Sort By dropdown.
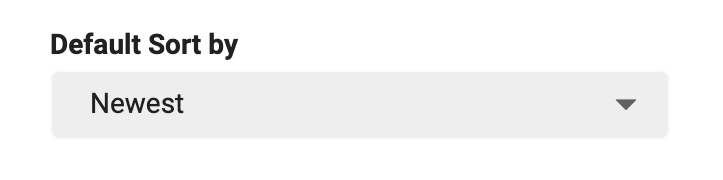
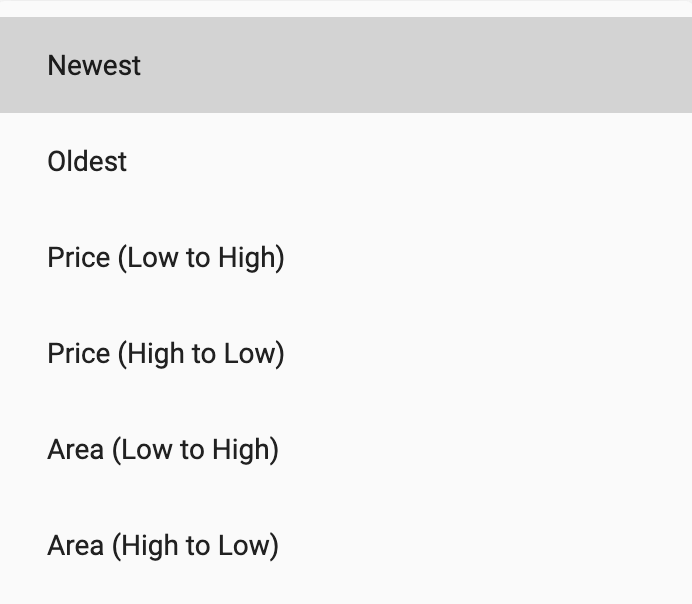
When you search something, the corresponding search results are sort by the default sort by order. If you want to further sort these results on the basis of some specific attributes e.g. if you want to sort results w.r.t. “Featured” results (meaning show featured results on top) or if you want to sort results w.r.t. “Term”, you can configure some settings in the “Sort First By” configurations.
To configure the Sort First By settings, Click on the Sort First By dropdown menu.
Following dialog will open:
You can perform following opertions while configuring the Select First By settings:
Add new Item
Edit an Item
Delete an Item
Re-arrange an Item
You can add one or more Sort First By items to configure the sort. e.g. You can sort the searched results in such order that you want to see the newest result items on top and among these newest result items, you want to see those items on top which have the attribute of “Hot Offer” and among these items, you want to see the “Featured” items on top. To achieve such sorting, you can select the newest order from the Default Sort By dropdown. Next step will be to add the Featured and *Hot Offer *(which is a term attribute) in the Sort First By items. You can add these items by following the guide.
Let’s dive into the details of each operation.
You can add a sort first by item by clicking on the “ADD NEW WIDGET” button. Following dialog will be displayed:
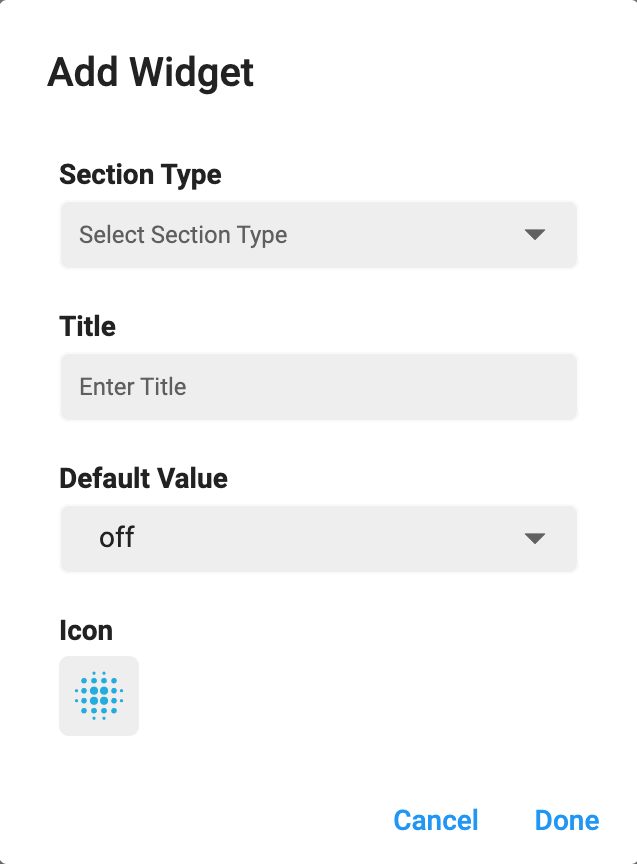
You have to set the following fields to add the sort first by item:
Section Type
Title
Default Value
Icon
Term
Sub-Term
You can add sort first by items based on following two types of attributes from the Section Type dropdown menu:
Featured
If you want to show the results items that have the attribute “Featured” on the top of results items listing.
Term
If you want to show the results items that have the attribute “Term” (some specific term e.g. result item with property_label Hot Offer) on the top of results items listing.
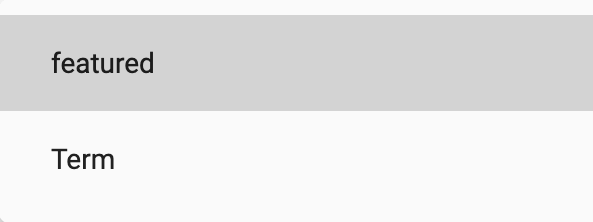
You can define the title of the item in Title field.
The default value indicates that either you want to apply this sort order on the search result items by default or let the user decide to use this sort order from the sort menu on the Results screen. You can choose the default value of an item to be on or off. On indicates that this sort option will be applied by default.
User can manually turn on or turn off the value of sort first by item from the sort menu on Results screen.
You can define the icon of your sort first by menu item. Click on the icon button, an icon picker dialog will open. You can either choose from Material Icons or Cupertino Icons. Just search and click the required icon, it will be displayed and previous icon will be replaced.

This field is only available if you have chosen the Term section type.
You are provided with following three Houzez taxonomies to select your term:
Click on the Term dropdown menu and select your required taxonomy as Term.
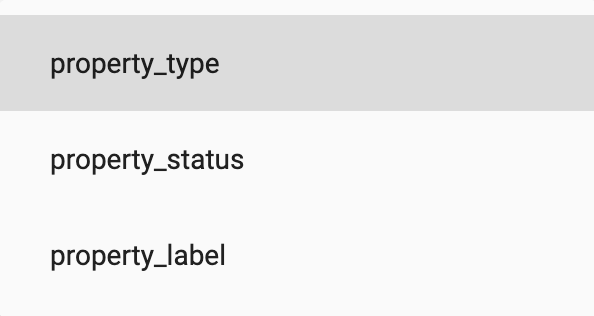
This field is only available if you have chosen the Term section type.
You select the sub-term, you must first select a term from the Term dropdown menu. After selecting the required term let say property_label, now its related sub-terms will be available for selection in the Sub-Term dropdown menu. Click on the Sub-Term dropdown menu and select your required sub-term.
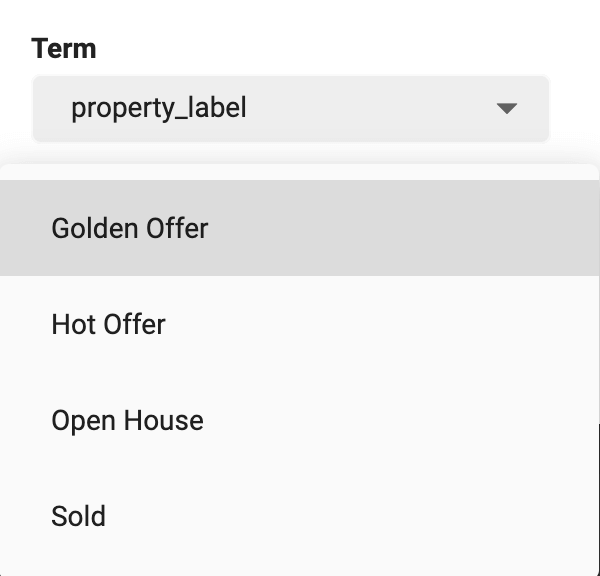
After defining all the above sections, click on the Done button on the bottom of the dialog. Your item will added like following screenshot:
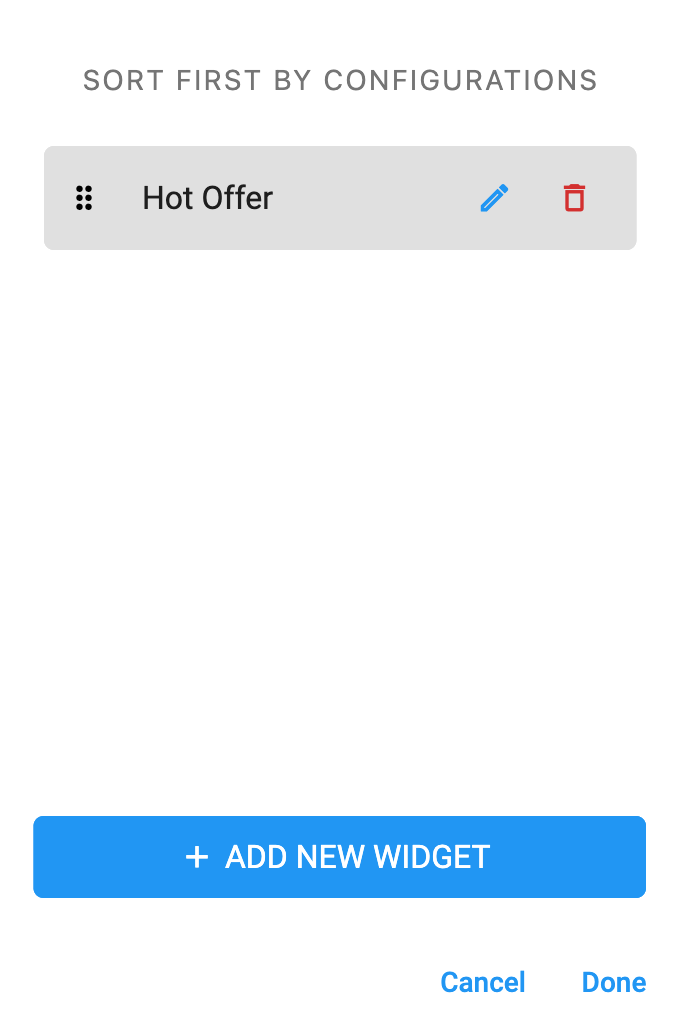
Click on the Done button on the bottom of the dialog.
You can see the view of Sort menu on the Mobile App View in the center of screen.
You can Edit the item just by clicking on Edit Icon of respective section. While editing a section, you can perform following actions:
Term and Sub-Term are only section type “Term” related fields.
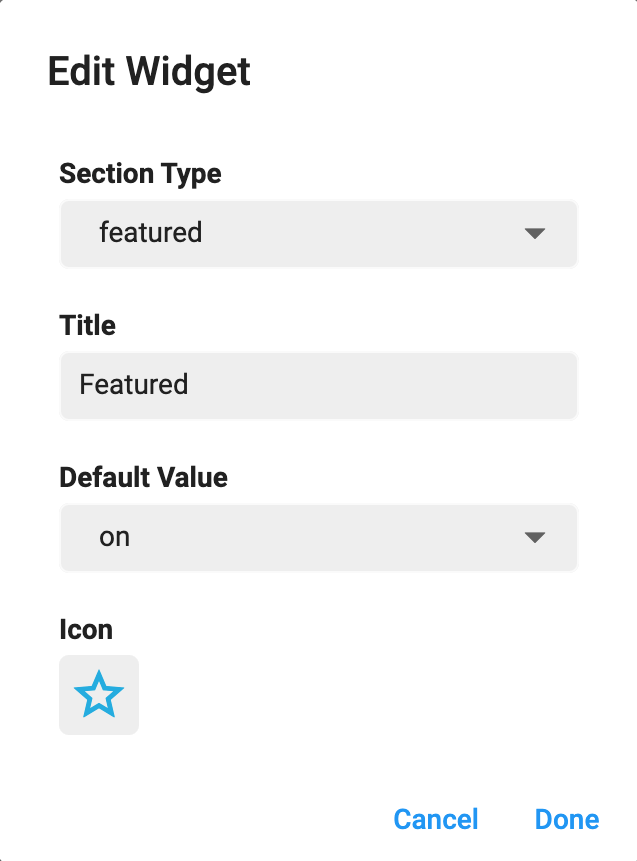
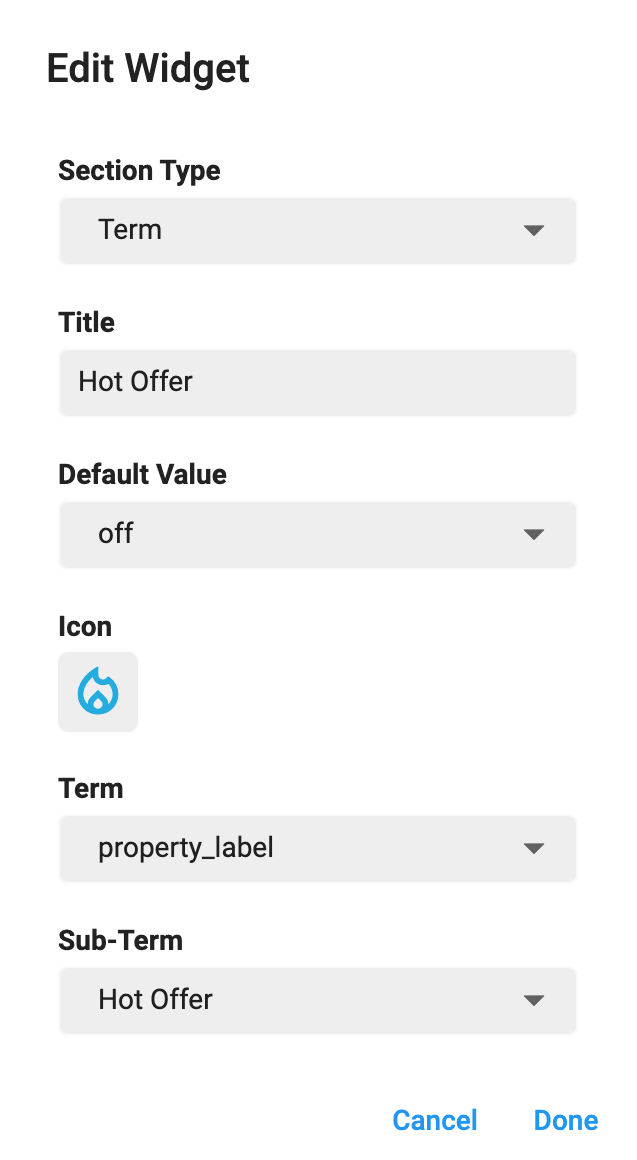
You can Delete any item just by clicking on delete icon of respective item. A delete confirmation dialog will open.
Click Delete if you want to delete the item.
Click Cancel if you want to discard the action.
You can Re-arrange the Sort First By items. Hold the item that you want to re-arrange and move it vertically (upwards or downwards). Place it on desire position in items list.
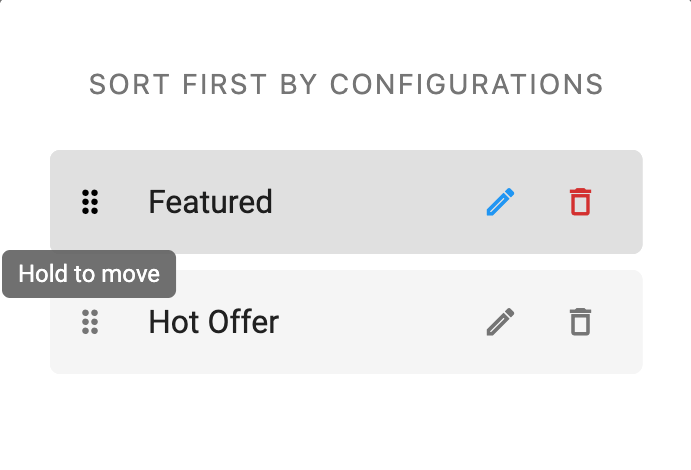
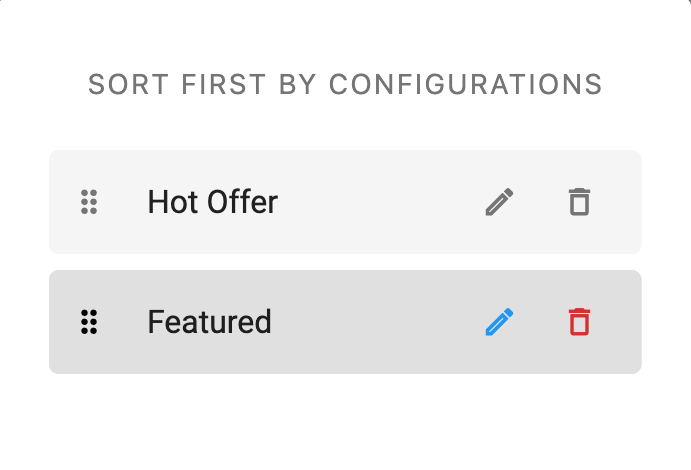
Important: You are required to install the Houzi Rest Api Plugin on your Houzez wordpress. To install the Plug-in, click on Houzi Rest Api Plugin Link.
A Mobile App View is provided in the center of screen, so you can see how the modifications will look on real device.
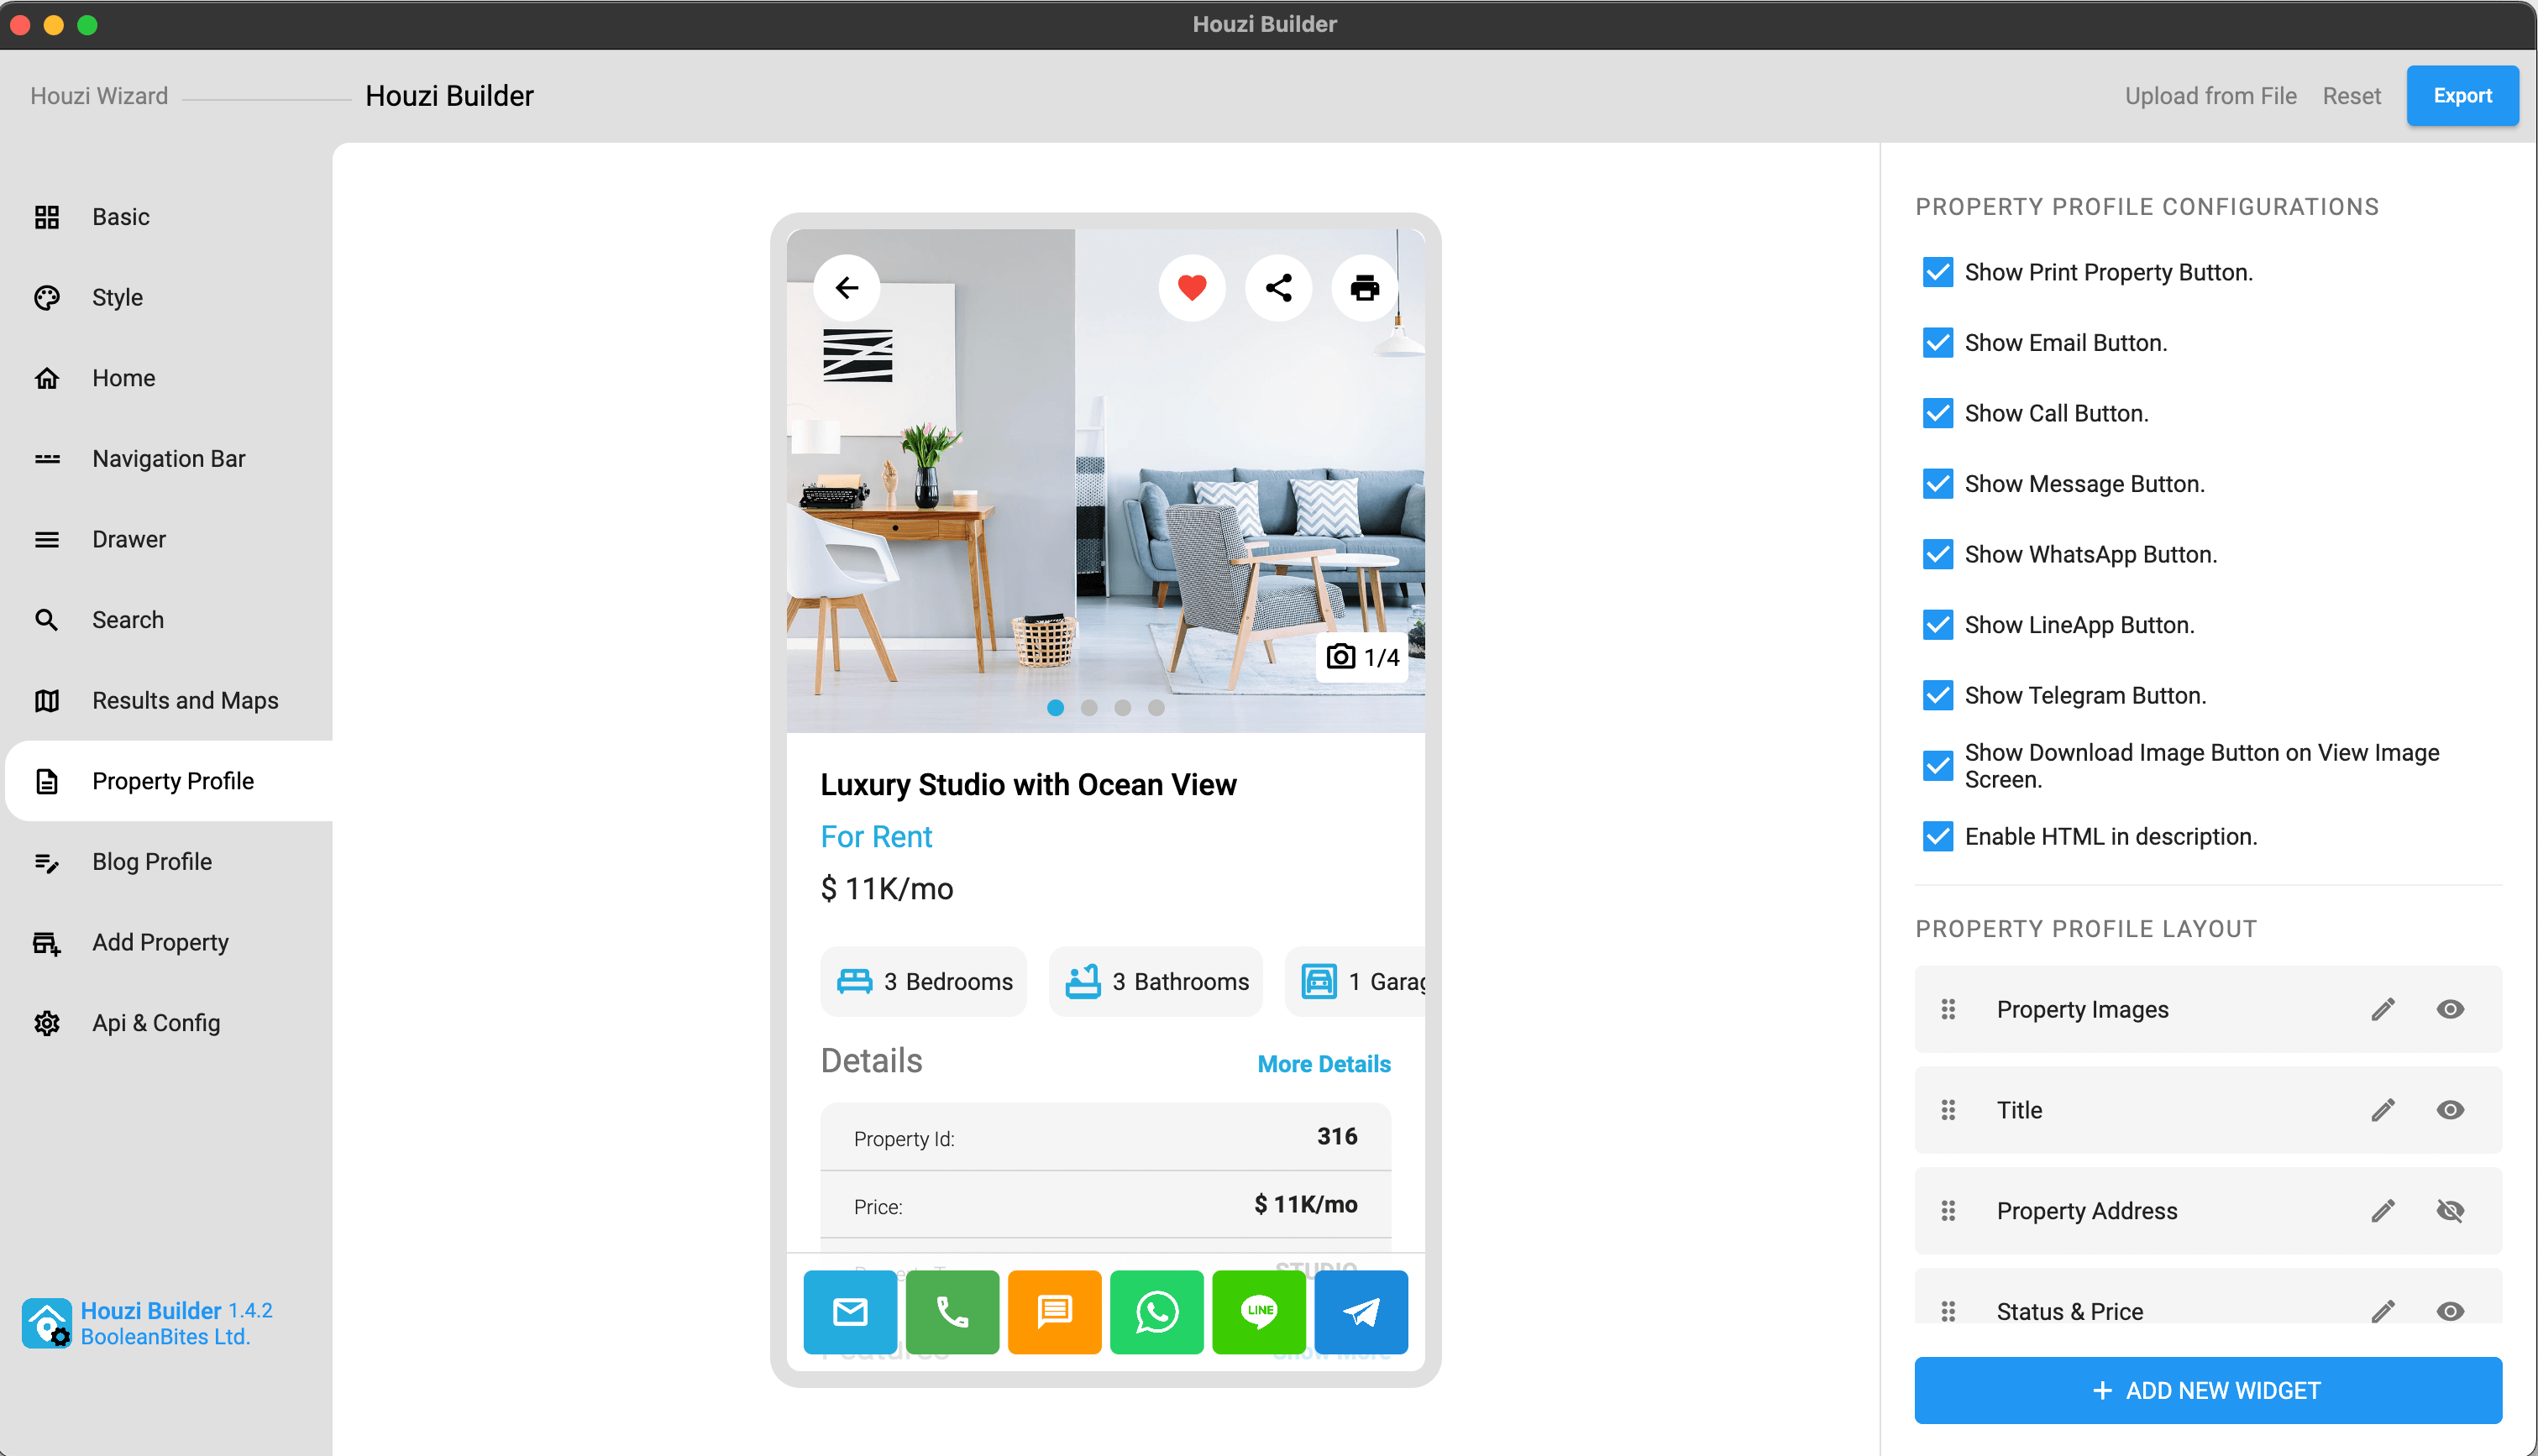
This guide consists of following sections:
Property Profile Configurations
Add New Section
Edit a Section
Show-Hide a Section
Re-arrange a Section
Delete a Section
Let’s dive into the details of each section.
You can show or hide Featured Room, on the top-right side of screen, just by Check Marking or Un-Marking the Show Featured Room Detail checkbox field.
You can show or hide Print Property Button, on the top-right side of screen, just by Check Marking or Un-Marking the Show Print Property Button checkbox field.
You can show or hide Email Button, on the bottom action bar of screen, just by Check Marking or Un-Marking the Show Email Button checkbox field.
You can show or hide Call Button, on the bottom action bar of screen, just by Check Marking or Un-Marking the Show Call Button checkbox field.
You can show or hide WhatsApp Button, on the bottom action bar of screen, just by Check Marking or Un-Marking the Show WhatsApp Button checkbox field.
You can show or hide Line App Button, on the bottom action bar of screen, just by Check Marking or Un-Marking the Show LineApp Button checkbox field.
You can show or hide Telegram Button, on the bottom action bar of screen, just by Check Marking or Un-Marking the Show Telegram Button checkbox field.
You can show or hide Download Image Button, on the top-right side of view image screen, just by Check Marking or Un-Marking the Show Download Image Button on View Image Screen checkbox field.
You can enable or disable the HTML, in the description widget, just by Check Marking or Un-Marking the Enable HTML in description checkbox field.
You can show or hide Direct Message Button, on the bottom action bar of screen, just by Check Marking or Un-Marking the Show Messages Button checkbox field.
If you are unable to find the ‘Direct Message Button config’ on the property profile page, you need to Configure the Direct Messages.
You can Add a new place_holder widget in Property Profile Screen with ease. There is a Add New Widget button at the right-bottom of the screen. Press this Add New Widge button, a dialog box will open.
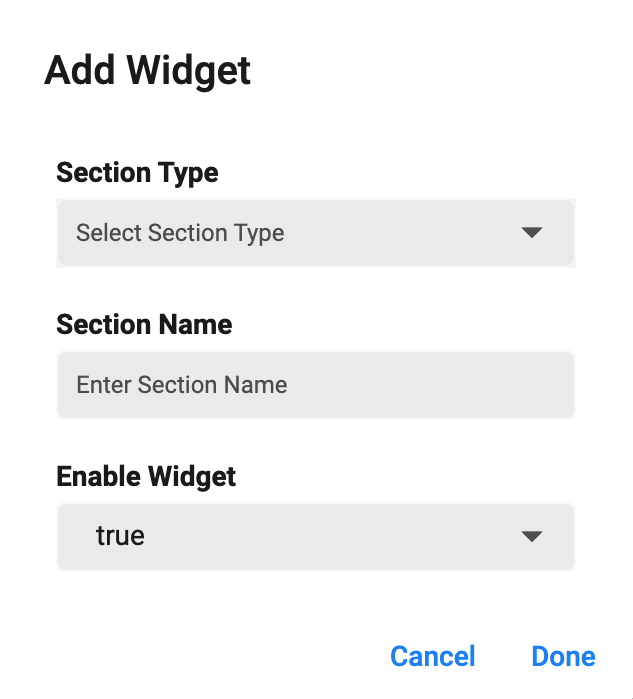
You will encounter following fields on the dialog box:
Section Type
Section Name
Enable Widget
You are provided with the dropdown list of Section Types. The details of section types are as follows:
place_holder: If you want to Display your Custom widget via Hooks.
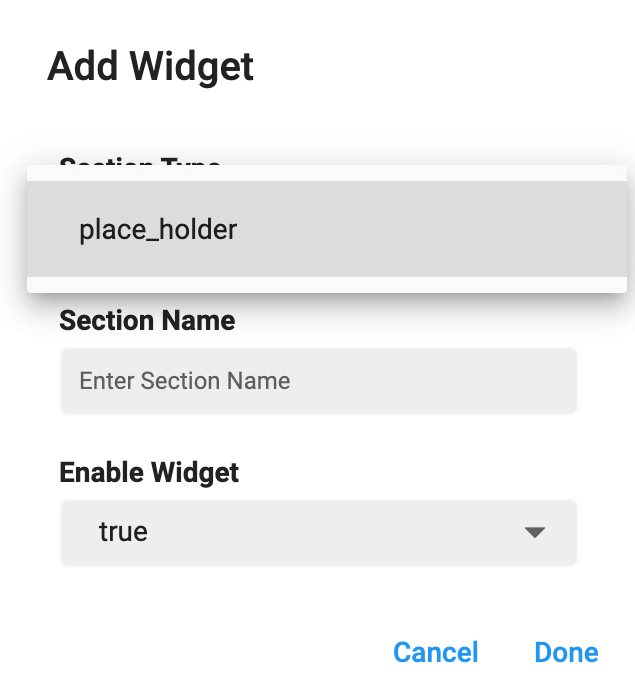
Define the name of Custom Widget in the Section Name text field.
You can show/hide any section just by selecting true/false from the Enable Widget dropdown.
There are two type of sections in property profile screen as follows:
Default Sections: Sections that are provided by Houzi team by default and can not be deleted but can be hide.
Custom Sections: Sections that are added by users and can be deleted as well as hide.
While editing a default section, you only get to Rename the section. Just click on Edit Icon of respective section. A dialog will open. Rename the section as you like.

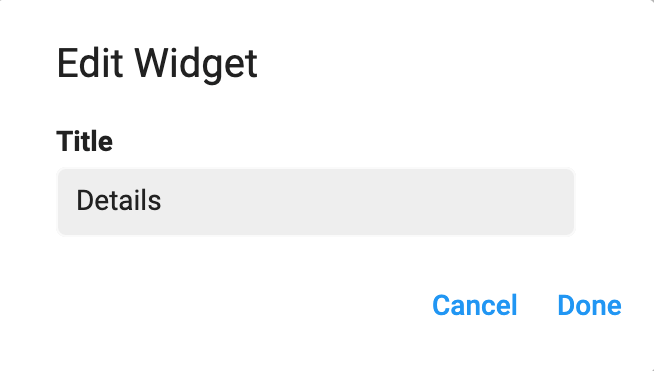
Done if you want to Rename the section.Cancel if you want to discard the action.While editing a custom section, you can perform following actions:
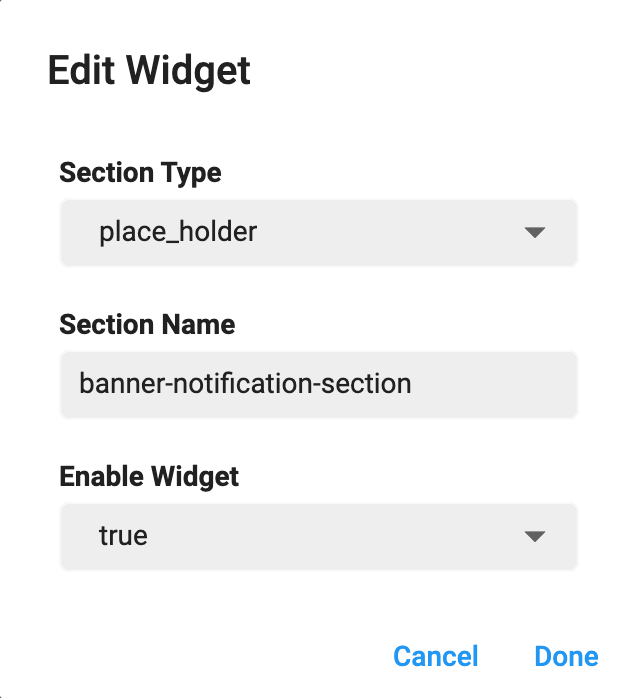
You can show or hide any section just by clicking on Visibility / Invisibility Icon of respective section.

You can Re-arrange the sections on Property Profile Screen. Hold the section that you want to re-arrange and move it vertically (upwards or downwards). Place it on desire position in sections list.
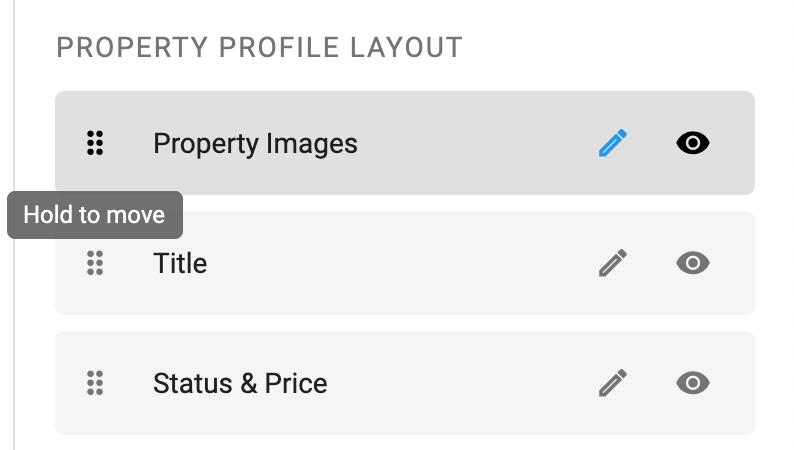
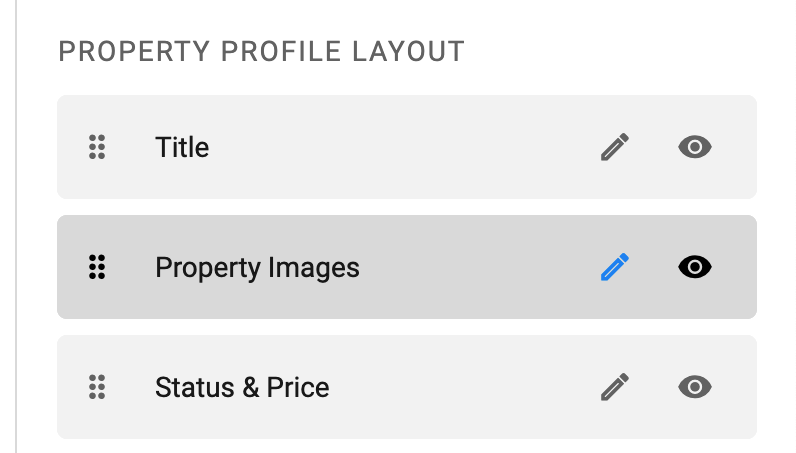
There are two type of sections in drawer screen as follows:
Default Sections: Sections that are provided by Houzi team by default and can not be deleted but can be hide.
Custom Sections: Sections that are added by users and can be deleted as well as hide.
You can Delete any custom section just by clicking on delete icon of respective section. A delete confirmation dialog will open.

Important: You are required to install the Houzi Rest Api Plugin on your Houzez wordpress. To install the Plug-in, click on Houzi Rest Api Plugin Link.
A Mobile App View is provided in the center of screen, so you can see how the modifications will look on real device.
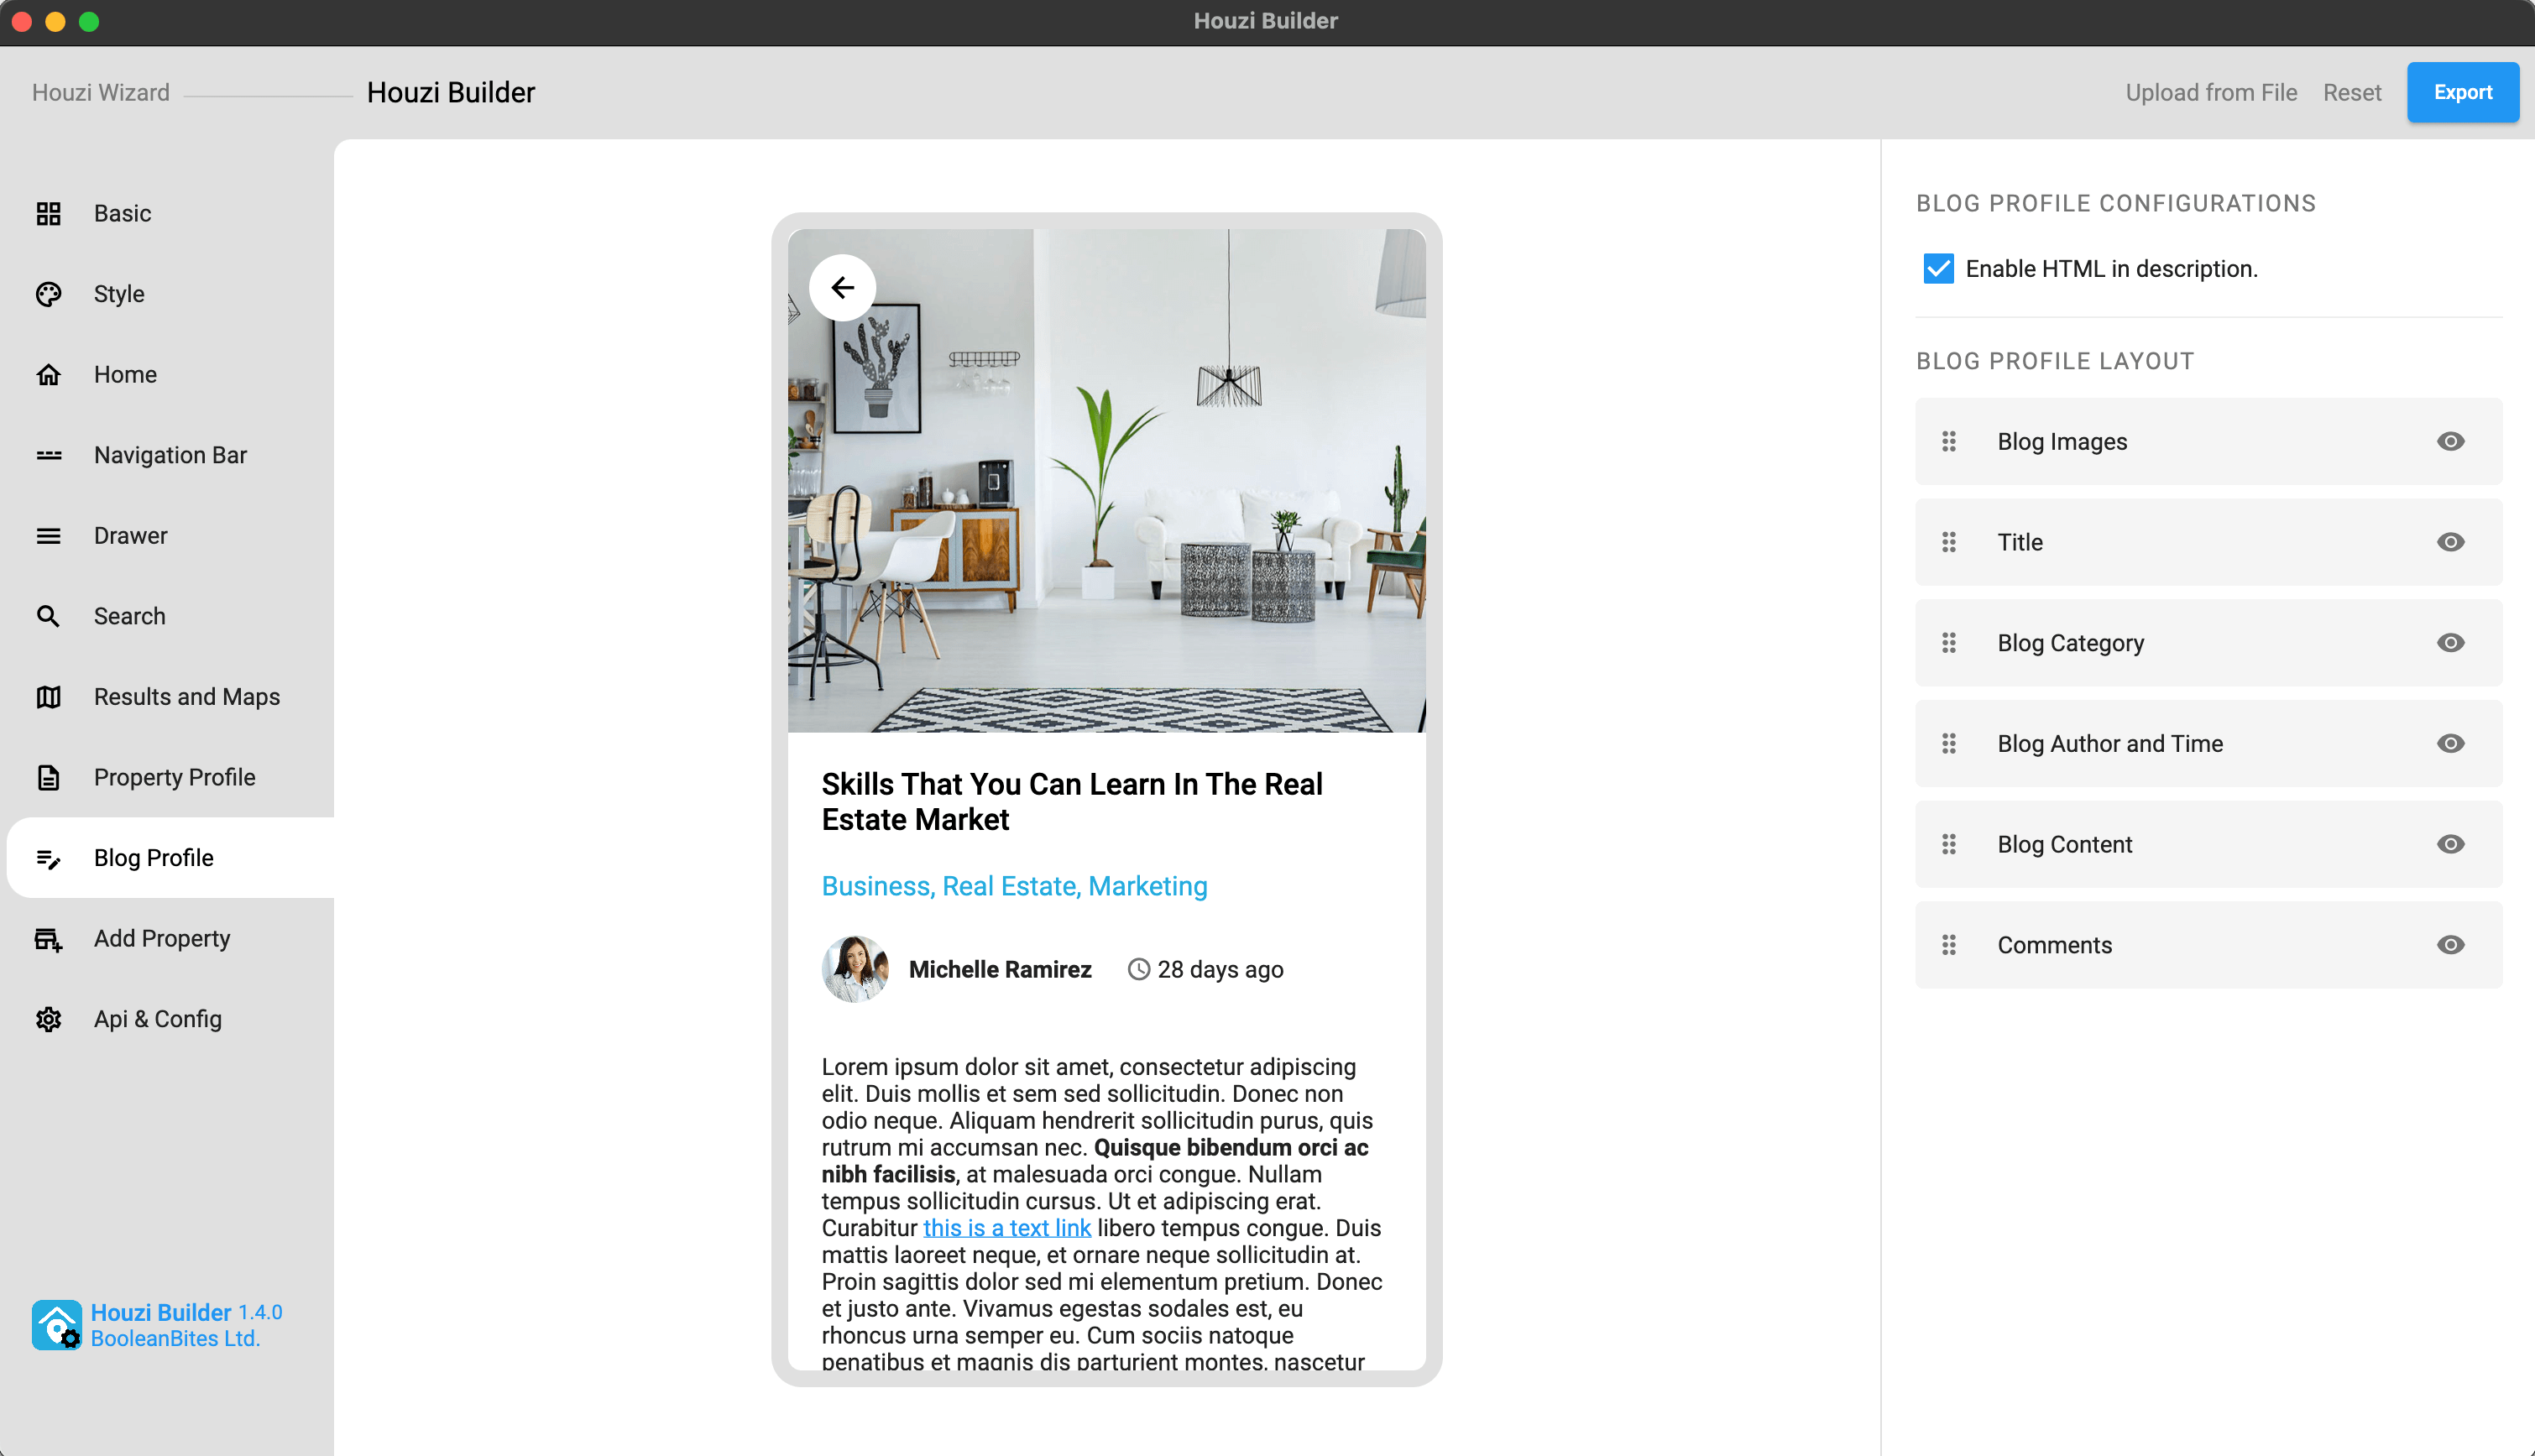
This guide consists of following sections:
Blog Profile Configurations
Show-Hide a Section
Re-arrange a Section
Let’s dive into the details of each section.
You can enable or disable the HTML, in the blog description widget, just by Check Marking or Un-Marking the Enable HTML in description checkbox field.
You can show or hide any section just by clicking on Visibility / Invisibility Icon of respective section.


You can Re-arrange the sections on Blog Profile Screen. Hold the section that you want to re-arrange and move it vertically (upwards or downwards). Place it on desire position in sections list.
Important: You are required to install the Houzi Rest Api Plugin on your Houzez wordpress. To install the Plug-in, click on Houzi Rest Api Plugin Link.
A Mobile App View is provided in the center of screen, so you can see how the modifications will look on real device.
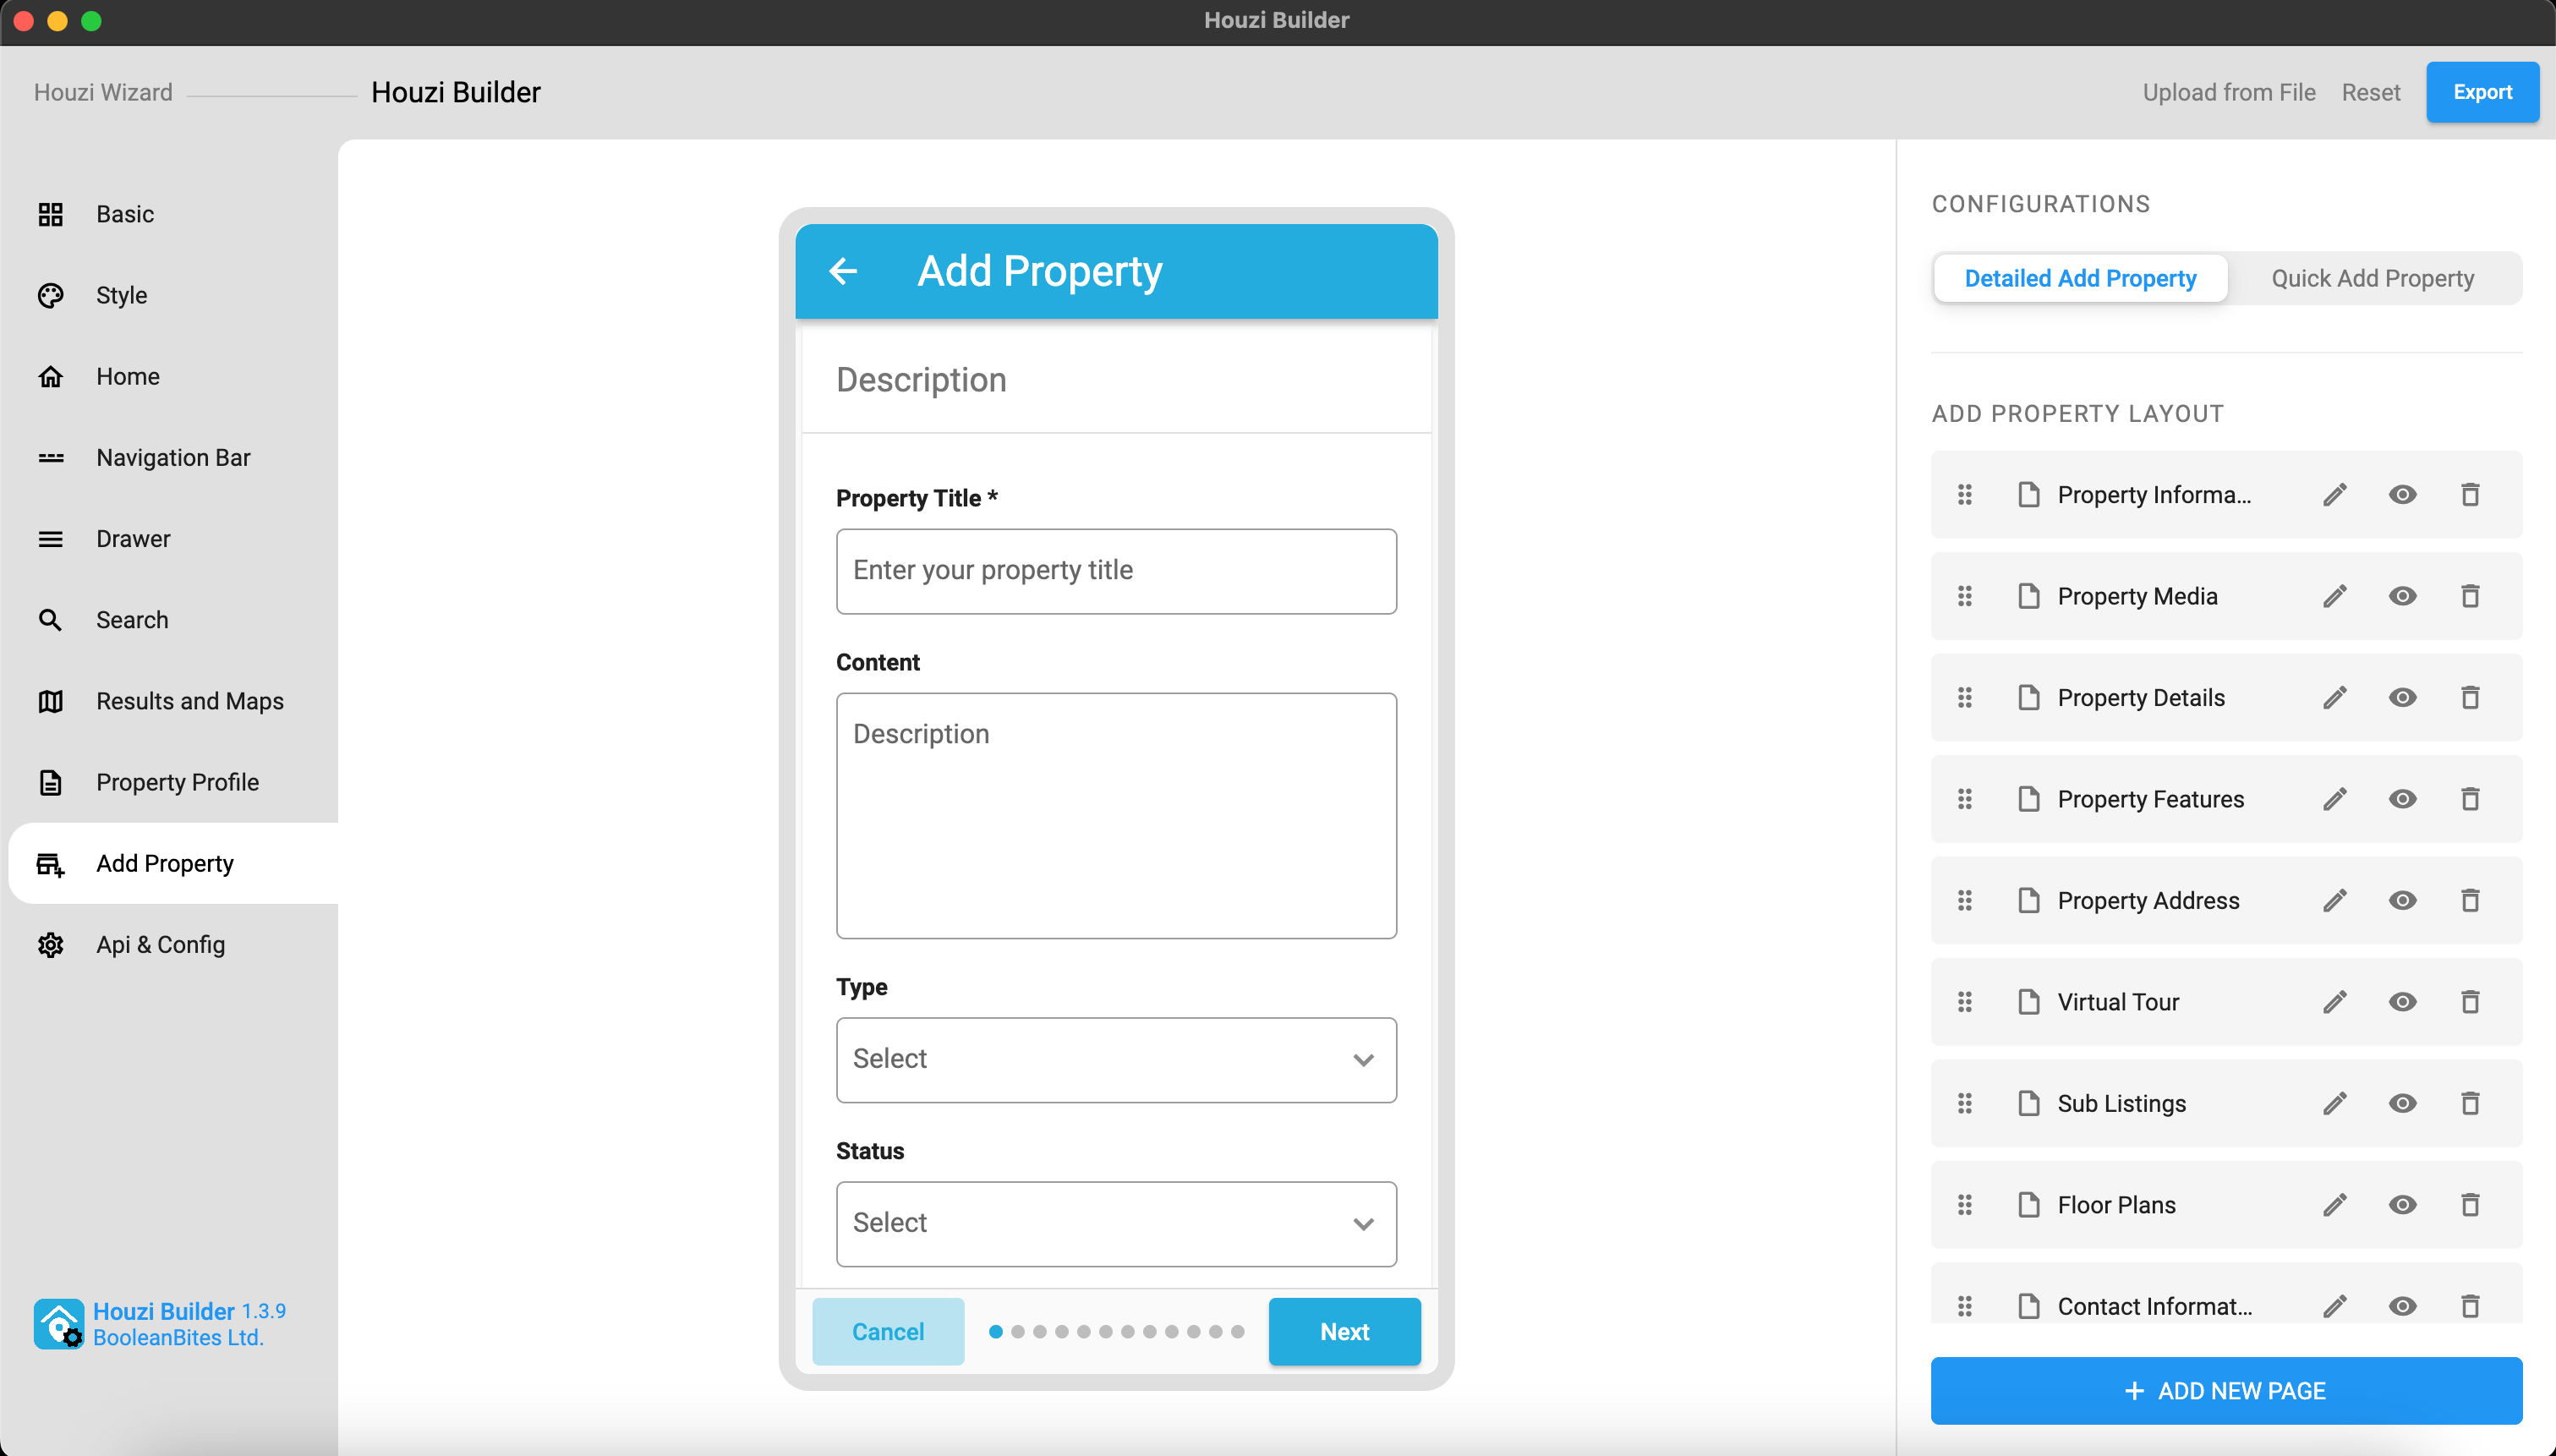
This guide consists of following sections:
Detailed Add Property
Quick Add Property
Let’s dive into the details of each section.
This section guides through all the steps related to detailed add property form. This section consists of following sub-sections:
Add New Page
This section guides through all the steps related to adding new Form Page. You can have single or multiple form pages (as per you desired) for Add Property purposes.
Add New Section
This section guides through all the steps related to adding new Form Section. In a Form Page, you can have single or multiple form sections (as per you desired).
Add New Field
This section guides through all the steps related to adding new Form Field. In a Form Page, you can have single or multiple form fields (as per you desired).
Edit Page
This section guides through all the steps related to editing Form Page. You can Re-arrange, Hide or Delete a form page. You can also Add new sections or Remove existing sections in the form page.
Edit Section
This section guides through all the steps related to editing Form Section. You can Re-arrange, Hide or Delete a form section. You can also Add new fields or Remove existing fields in the form section.
Edit Field
This section guides through all the steps related to editing Form Field. You can Re-arrange, Hide or Delete a form field. You can also customize the existing form field.
Re-arrange
This section guides through all the steps related to Re-arrange a Form Page, Form Section and Form Field.
This section guides through all the steps related to quick add property form. This section consists of following sub-sections.
Add New Field
This section guides through all the steps related to adding new Form Field. In a Form Page, you can have single or multiple form fields (as per you desired).
Edit Field
This section guides through all the steps related to editing Form Field. You can Re-arrange, Hide or Delete a form field. You can also customize the existing form field.
Re-arrange
This section guides through all the steps related to Re-arrange a Form Page, Form Section and Form Field.
You can Add a new Page in Add Property Form by following these steps:
Press the Add Page button at the right bottom of the screen, a dialog box will open.
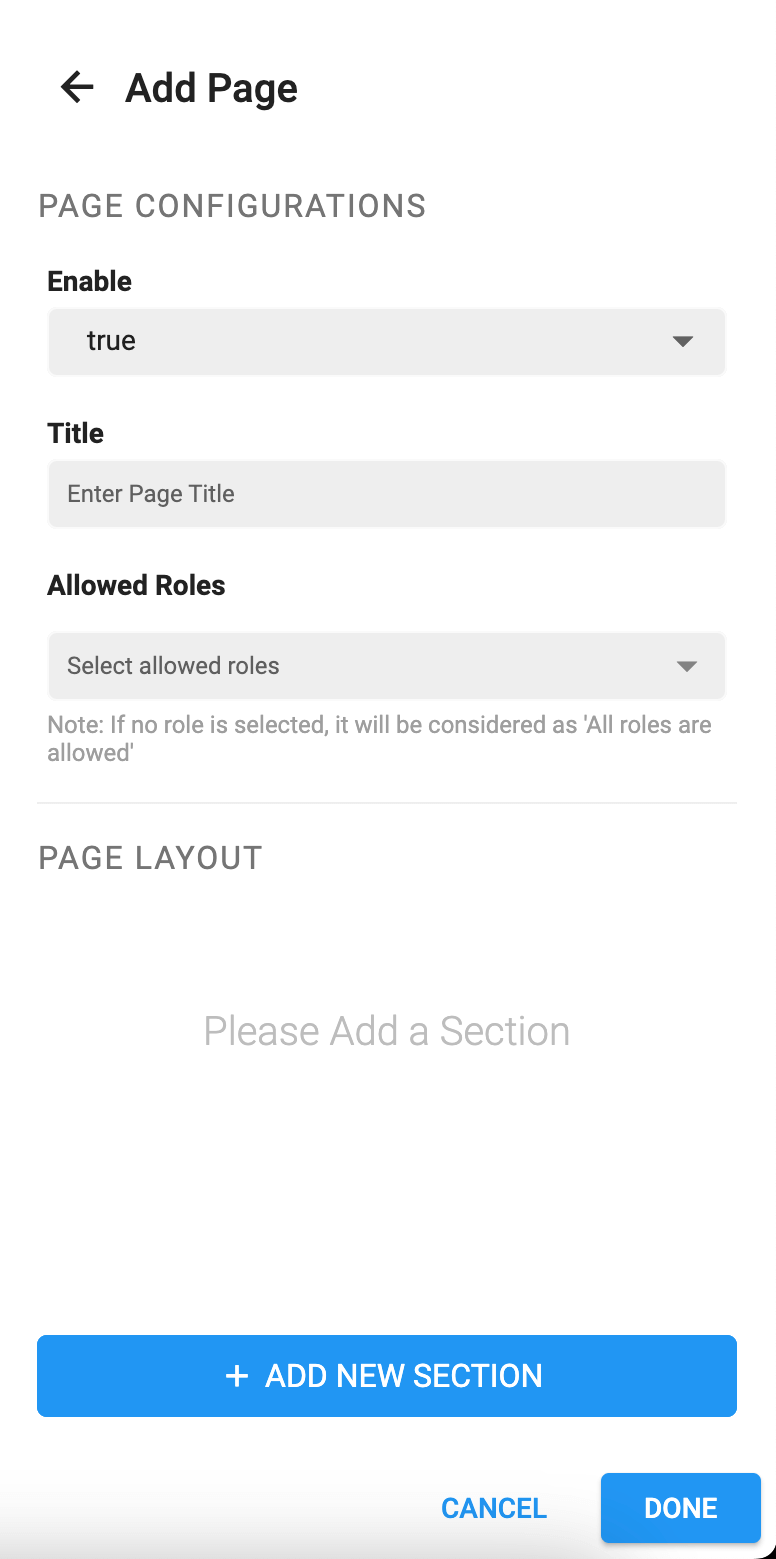
The value of Enable field determines wether to show/hide the page. If you and to show the page, set the value to true. If you and to hide the page, set the value to false.
Enter the Title of page.
If you want to restrict this page to some specific users e.g. administrator, houzez_agnecy etc., select these specific roles from the Allowed Roles multiselect dropdown menu. If you want to make the page public (available to all users), unselect all the roles (if any role is selected).
Now Add New Section/Sections in this page.
Click Done button and a new page will be added in the Add Property Form.
By clicking Cancel button, all changes will be discarded and page will not be added in the Add Property Form.
If you have multiple form pages and you want to re-arrnage the posotion of a particular form page, you can simply Re-arrange the form page as per your desire.
You can Add a new Section in Page by following these steps:
Press the Add Section button at the right bottom of the screen, a dialog box will open.
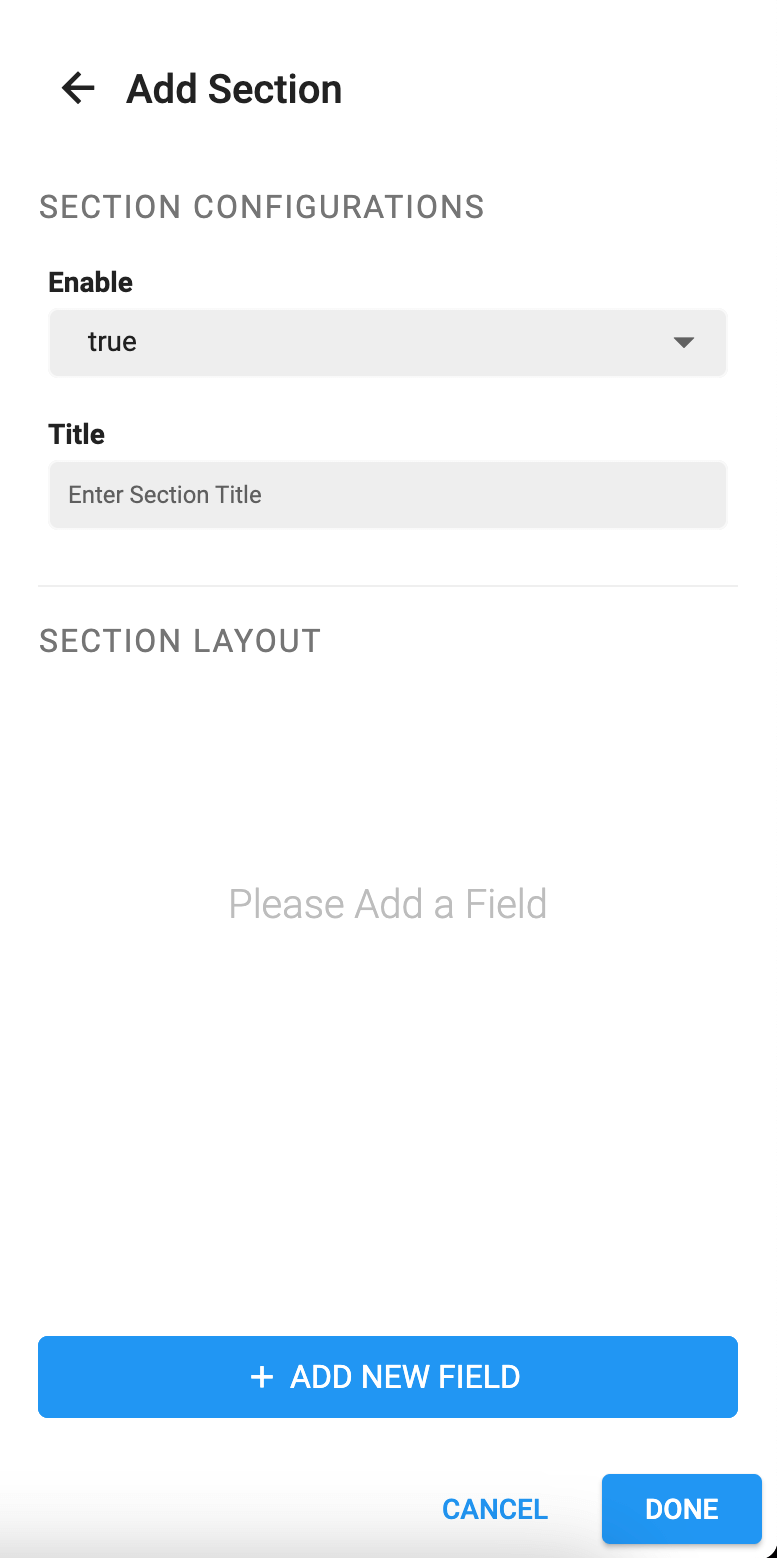
The value of Enable field determines wether to show/hide the section on page. If you and to show the section, set the value to true. If you and to hide the section, set the value to false.
Enter the Title of section.
Now Add New Field/Fields in this section.
Click Done button and a new section will be added in the page.
By clicking Cancel button, all changes will be discarded and section will not be added in the page.
If you have multiple form sections and you want to re-arrnage the posotion of a particular form section, you can simply Re-arrange the form section as per your desire.
You can Add a new Field in Section by following these steps:
Press the Add Field button at the right bottom of the screen, a dialog box will open.
<img src=”../../images/add_new_field_dialog.png” alt=”add-new-field-dialog” title=”add-new-field-dialog” width=”300” height=”600”border= “1px solid”/>
The value of Enable field determines wether to show/hide the field on section. If you and to show the field, set the value to true. If you and to hide the field, set the value to false.
If you want to make the input of any field required, set the value of Make Field Required as true. Similarly if you want to make the input of any field optional, set the value of Make Field Required as false.
If you want to restrict this field to some specific users e.g. administrator, houzez_agnecy etc., select these specific roles from the Allowed Roles multiselect dropdown menu. If you want to make the field public (available to all users), unselect all the roles (if any role is selected).
It is the type of Form Widget that you want to display on screen. e.g. Input Text Field, Dropdown etc. Select the desired Form Widget Type from Field Type dropdown.
<img src=”../../images/field_type_dropdown.png” alt=”field-type-dropdown” title=”field-type-dropdown” width=”300” height=”600”border= “1px solid”/>
The description of Field Type is as follows:
formTextField:
formTextField should be used, if you want to take text input from user. e.g. Property Title, Property Price etc. You can define some assisting attributes like Hint, Additional Hint, Validation Types, Max Lines and Keyboard Type etc.
formPricePlaceHolderField:
formPricePlaceHolderField should be used, if you want to take Price Placeholder text value from the user.
Note: formPricePlaceHolderField is non-editable field (attributes like Api Key and Title are fixed.)
formMultiSelectField:
formMultiSelectField should be used, if you want to take single/multiple inputs of any Houzez Taxonomies, from the user. e.g. Property Features (e.g. Garage, Pool etc.), Property Type (Commercail, Office etc.) etc. You have to choose the Term type e.g. property_type, property_status, property_feature etc. from the Term Type dropdown. You can define some assisting attributes like Hint, Additional Hint etc.
formDropDownField:
formDropDownField should be used, if you want to take single input of any Houzez Taxonomy, from the user. e.g. Property Features (e.g. Garage, Pool etc.), Property Type (Commercail, Office etc.) etc. You have to choose the Term type e.g. property_type, property_status, property_feature etc. from the Term Type dropdown. You can define some assisting attributes like Hint, Additional Hint etc.
formStepperField:
formStepperField should be used, if you want to take such user input in which user can increase or decrease some value with the help of steppers. e.g. Number of bedrooms, Number of bathrooms etc.
formMediaField:
formMediaField should be used, if you want to take media from user e.g. photos etc.
Note: formMediaField is non-editable field (attributes like Api Key and Title are fixed.)
formAdditionalDetailsField:
formAdditionalDetailsField should be used, if you want to take some additional details/features about property from user e.g. Equipment: Grill - Gas, Deposit: 20% etc.
Note: formAdditionalDetailsField is non-editable field (attributes like Api Key and Title are fixed.)
formCustomField:
formCustomField should be used, if you want to take user input in your custom defined Houzez fields.
Note: formCustomField is non-editable field (attributes like Api Key and Title are fixed.)
formMapField:
formMapField should be used, if you want to take user location from Google Maps and display location as latitude and longitude.
Note: formMapField is non-editable field (attributes like Api Key and Title are fixed.)
formCheckBoxListField:
formCheckBoxListField should be used, if you want to show a list of any Houzez Taxonomy and take single/multiple input from the user. e.g. Property Features (e.g. Garage, Pool etc.) etc. You have to choose the Term type e.g. property_feature etc. from the Term Type dropdown.
formRadioButtonField:
formRadioButtonField should be used, if you want to take user input from Radio Group. You can define the Radio Option through Field Values as follows:
Click on Field Values text area, a dialog will open.
<img src=”../../images/add_field_value_dialog.png” alt=”add-field-value-dialog” title=”add-field-value-dialog” width=”300” height=”460”border= “1px solid”/>
Click on Add Field Values button, two field will be display. You can add options in ‘key value’ pair. Key will be the option to diplay on screen and its Value will be sent against the Api key. e.g. Key: No, Value: 0, Key: Yes, Value: 1, etc.
<img src=”../../images/add_field_value_dialog_01.png” alt=”add-field-value-dialog-01” title=”add-field-value-dialog-01” width=”300” height=”460”border= “1px solid”/>
By clicking (x) button, the key-value pair option will be discarded.
Click Done button and a Field Value will be added.
By clicking Cancel button, all changes will be discarded and Field Value will not be added.
floorPlansField:
floorPlansField should be used, if you want to take user input about Floor Plans.
Note: floorPlansField is non-editable field (attributes like Api Key and Title are fixed.)
multiUnitsField:
multiUnitsField should be used, if you want to take user input about MultiUnits/Sub-Listings.
Note: multiUnitsField is non-editable field (attributes like Api Key and Title are fixed.)
multiUnitsIdsField:
multiUnitsIdsField should be used, if you want to add other properties as multiunits or sub-listings of some particular property.
- Note: multiUnitsIdsField is restricted to Administrator use only.
- multiUnitsIdsField is non-editable field (attributes like Api Key and Title are fixed.)
realtorContactInformationField:
realtorContactInformationField should be used, if you want to display any particular realtor (e.g. admin, agency, agent or other user etc.) contact information in the property details.
- Note: realtorContactInformationField is restricted to administrator & houzez_agnecy use only.
- realtorContactInformationField is non-editable field (attributes like Api Key and Title are fixed.)
formGDPRAgreementField:
formGDPRAgreementField should be used, if you want to display any particular realtor (e.g. admin, agency, agent or other user etc.) contact information in the property details.
Note formGDPRAgreementField is non-editable field (attributes like Api Key and Title are fixed.)
Select the Api key from the dropdown menu. The corresponding data of field will be sent to this key when Add Property API will be called. e.g. the data related to Property Title field will be sent against prop_title key etc.
<img src=”../../images/api_key_dropdown.png” alt=”api-key-dropdown” title=”api-key-dropdown” width=”300” height=”600”border= “1px solid”/>
The description of Api Keys is as follows:
prop_title:
This key must be selected if you are taking user input related to Property Title.
prop_des
This key must be selected if you are taking user input related to Property Description.
prop_type[]:
This key must be selected if you are taking user input related to Property Type. e.g. Commercial, Residential, Office, Appartment etc.
prop_status[]:
This key must be selected if you are taking user input related to Property Status. e.g. For-Rent, For-Sale etc.
prop_label[]:
This key must be selected if you are taking user input related to Property Label. e.g. Hot Offer, Open House etc.
prop_price:
This key must be selected if you are taking user input related to Property Price.
prop_label:
This key must be selected if you are taking user input related to Property After Price. e.g. Monthly etc.
prop_price_prefix:
This key must be selected if you are taking user input related to Property Price Prefix. e.g. Starts from etc.
prop_sec_price:
This key must be selected if you are taking user input related to Property Second Price.
prop_video_url:
This key must be selected if you are taking user input related to Property Video URL. (Video could be uploaded on Youtube, Vimeo or as SWF File, MOV Files etc.)
prop_rooms:
This key must be selected if you are taking user input related to Property Rooms.
prop_beds:
This key must be selected if you are taking user input related to Property Bedrooms.
prop_baths:
This key must be selected if you are taking user input related to Property Bathrooms.
prop_size:
This key must be selected if you are taking user input related to Property Size.
prop_size_prefix:
This key must be selected if you are taking user input related to Property Size Prefix. e.g. sq ft etc.
prop_land_area:
This key must be selected if you are taking user input related to Property Land Area Size.
prop_land_area_prefix:
This key must be selected if you are taking user input related to Property Land Area Size Prefix. e.g. sq ft etc.
prop_garage:
This key must be selected if you are taking user input related to Property Garage.
prop_garage_size:
This key must be selected if you are taking user input related to Property Garage Size.
prop_year_built:
This key must be selected if you are taking user input related to Property Year Built.
prop_features[]:
This key must be selected if you are taking user input related to Property Features. e.g. Air Conditioning, Lawn, Swimming Pool, Wifi etc.
property_map_address:
This key must be selected if you are taking user input related to Property Address.
country:
This key must be selected if you are taking user input related to Property Country.
administrative_area_level_1:
This key must be selected if you are taking user input related to Property State.
locality:
This key must be selected if you are taking user input related to Property City.
neighborhood:
This key must be selected if you are taking user input related to Property Area.
postal_code:
This key must be selected if you are taking user input related to Property Zip Code.
virtual_tour:
This key must be selected if you are taking user input related to Property Virtual Tour.
prop_featured:
This key must be selected if you are taking user input related to Making Property Featured.
Note: prop_featured is restricted to Administrator use only.
login-required:
This key must be selected if you are taking user input related to Making sure that user is Logged-in to view the Property Details.
Note: login-required is restricted to Administrator use only.
fave_property_disclaimer:
This key must be selected if you are taking user input related to Property Disclaimer.
Note: fave_property_disclaimer is restricted to Administrator use only.
fave_private_note:
This key must be selected if you are taking user input related to Property Private Note.
Title is used as label or heading for your field. e.g. Property Title etc.
Note: Title of some fields (e.g. Additional Details, FLoor Plans etc.) will be non-editable.
Hint is used as place holder for your field. e.g. Enter property title etc.
Additional Hint is used to provide extra assisting information about the field. e.g. additional hint of property price field: Only digits etc.
You can validate the input of your field by using validation Types. Validation Types are defined as follows:
String Validation:
String Validation is used to check if the input is non-empty. Otherwise it will return error.
Email Validation:
Email Validation is used to check if the entered input is properly email-formatted. Otherwise it will return error.
Password Validation:
Password Validation is used to check if the entered input is properly password-formatted. Otherwise it will return error.
Phone Number Validation:
Phone Number Validation is used to check if the entered input is properly phone-number-formatted. Otherwise it will return error.
User Name Validation:
User Name Validation is used to check if the entered input is properly user-name-formatted. Otherwise it will return error.
Max Lines is used to define the maximum lines of field. If you want to show a Text Area for any property attribute e.g. Property Description, simply set the max lines to 5 or 7 as you desire.
You can define the type of Keyboard you want to use for the input of your field. Keyboard Type are defined as follows:
Text:
Text is used to if you want to show normal keyboard for text input.
Number:
Number is used to if you want to show Numeric keyboard for text input.
URL:
URL is used to if you want to show URL assistive keyboard for URL input.
Email:
Email is used to if you want to show Email assistive keyboard for email input.
MultiLine:
MultiLine is used to if you want to show text keyboard for multi-line input.
Term Type is a dropdown list of Houzez Taxonomies. If you want to show a list of any Houzez Taxonomy and take single/multiple input from the user. e.g. Property Features (e.g. Garage, Pool etc.) etc. You can select required taxonomy e.g. property_feature etc. from this dropdown.
Note: If you have selecetd the field type formMultiSelectField, formDropDownField or formCheckBoxListField, you must select a taxonomy.
Click Done button and a new field will be added in the section.
By clicking Cancel button, all changes will be discarded and field will not be added in the section.

You can perform following opertions while Editing a page.
You can show/hide a form page just by clicking on show/hide icon of Form Page Item.
You can delete a form page just by clicking on delete icon of Form Page Item. A delete confirmation dialog will open. On clicking Cancel, the action will be discarded and dialog will be closed. On clicking Delete, the page will be deleted (this action can not be undone).
You can Edit a Form Page by following these steps:
Press the Edit icon of Form Page Item, a dialog box will open.
<img src=”../../images/edit_page_dialog.png” alt=”edit-page-dialog” title=”edit-page-dialog” width=”300” height=”600”border= “1px solid”/>
The value of Enable field determines wether to show/hide the page. If you and to show the page, set the value to true. If you and to hide the page, set the value to false.
If you want to rename the page, simply provide the new Title of page.
If you want to restrict this page to some specific users e.g. administrator, houzez_agnecy etc., select these specific roles from the Allowed Roles multiselect dropdown menu. If you want to make the page public (available to all users), unselect all the roles (if any role is selected).
If you have single or multiple sections in the page, you can Edit Section/Sections.
If you have no section in the page, you can Add New Section/Sections.
Click Done button, all modifications will applied to the page.
By clicking Cancel button, all modifications will be discarded.

You can perform following opertions while Editing a section.
You can show/hide a form section just by clicking on show/hide icon of Form Section Item.
You can delete a form section just by clicking on delete icon of Form Section Item. A delete confirmation dialog will open. On clicking Cancel, the action will be discarded and dialog will be closed. On clicking Delete, the section will be deleted (this action can not be undone).
You can Edit a Form Section in the Page by following these steps:
Press the Edit icon of Form Section Item, a dialog box will open.
<img src=”../../images/edit-section-dialog.png” alt=”edit-section-dialog” title=”edit-section-dialog” width=”300” height=”600”border= “1px solid”/>
The value of Enable field determines wether to show/hide the section on page. If you and to show the section, set the value to true. If you and to hide the section, set the value to false.
If you want to rename the section, simply provide the new Title of section.
If you have single or multiple form fields in the page, you can Edit Field/Fields.
If you have no field in the section, you can Add New Field/Fields.
Click Done button, all modifications will applied to the section.
By clicking Cancel button, all modifications will be discarded.

You can perform following opertions while Editing a field.
You can show/hide a form field just by clicking on show/hide icon of Form Field Item.
You can delete a form field just by clicking on delete icon of Form Field Item. A delete confirmation dialog will open. On clicking Cancel, the action will be discarded and dialog will be closed. On clicking Delete, the field will be deleted (this action can not be undone).
You can Edit a Form Field in the Form Section by following these steps:
Press the Edit icon of Form Field Item, a dialog box will open.
<img src=”../../images/edit-field-dialog.png” alt=”edit-field-dialog” title=”edit-field-dialog” width=”300” height=”600”border= “1px solid”/>
The value of Enable field determines wether to show/hide the field on section. If you and to show the field, set the value to true. If you and to hide the field, set the value to false.
If you want to make the input of field required, set the value of Make Field Required as true. Similarly if you want to make the input of field optional, set the value of Make Field Required as false.
If you want to restrict this field to some specific users e.g. administrator, houzez_agnecy etc., select these specific roles from the Allowed Roles multiselect dropdown menu. If you want to make the field public (available to all users), unselect all the roles (if any role is selected).
You change the Field Type as per your desire.
You change the Api Key as per your desire.
Note: Title of some fields (e.g. Additional Details, FLoor Plans etc.) will be non-editable.
Click Done button, all modifications will applied to the field.
You can perform the Re-arrange action just by Holding the page, section or field item and move it vertically (upwards or downwards). Place it on desire position in related list.
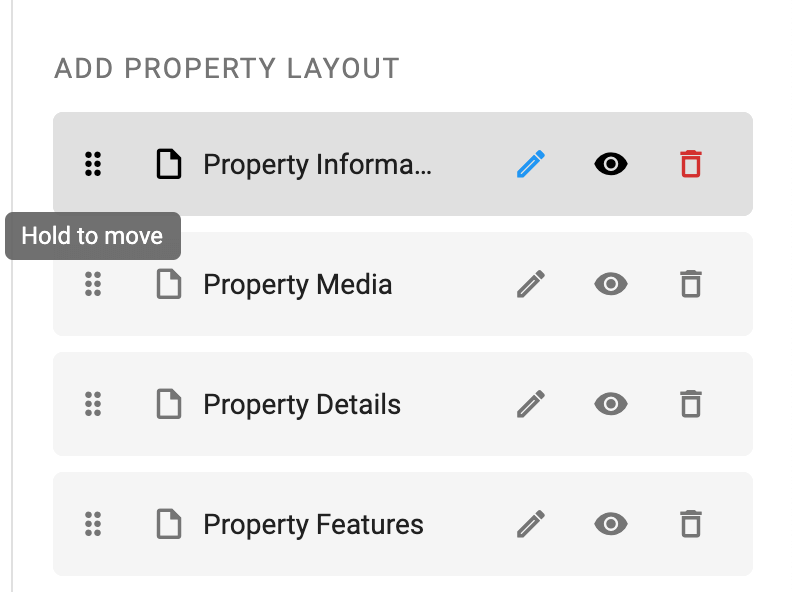
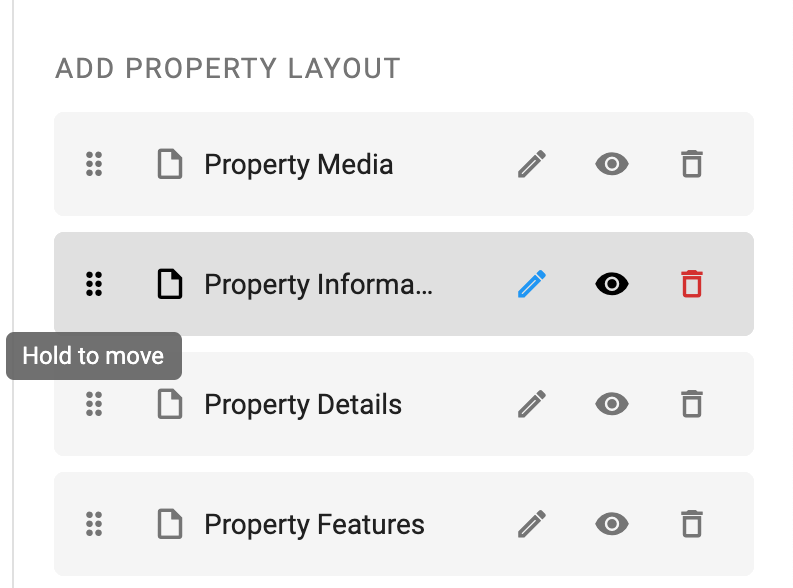
Important: You are required to install the Houzi Rest API Plug-in on your Houzez wordpress. To install the Plug-in, click on Houzi Rest Api Plugin Link.
This guide consists of following configuration settings:
Routes Configurations
Google Maps Api Key
Places Api Configurations
Ads Configurations
Push Notification Configurations
Social Sign-On Configurations
Search Results Configurations
Segment Control Configuration
Let’s dive into the details of each section.
If your website use wp/v2/property or wp/v2/translated_property_name instead of wp/v2/properties, then define property or translated_property_name as Rest Api Properties Route.
If your website use wp/v2/houzez_agent or wp/v2/translated_agent_name instead of wp/v2/agents, then define houzez_agent or translated_agent_name as Rest Api Agent Route.
If your website use wp/v2/houzez_agency or wp/v2/translated_agency_name instead of wp/v2/agencies, then define houzez_agency or translated_agency_name as Rest Api Agency Route.
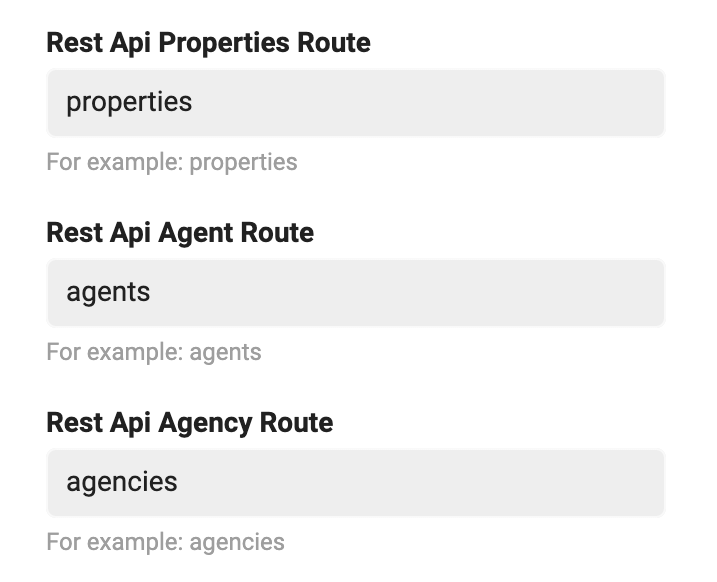
Please provide your Google Maps Api Key in the respective text field.
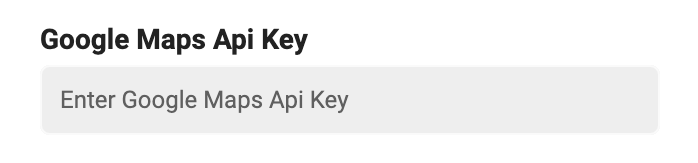
Google Maps Api Key is prerequisite. If you do not have Google Maps Api Key, you can aquire key by following these steps:
- Setup Google Cloud Project Console
- Once you have setup the project on Google Cloud, you need to Aquire the Maps Api Key for Android and iOS separately.
If you want to limit the Places Api to specific country or countries, follow these steps:
Check mark the Lock Places Api to Specific Country or Countries checkbox field.

Provide Country/Countries Tags (e.g. US, UK etc.) in respective text field.
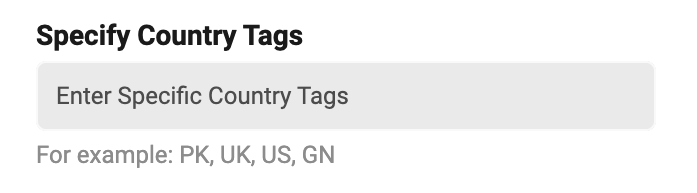
#### Ads Key:
Please provide Android/IOS Native Ad Id in the respective text fields.
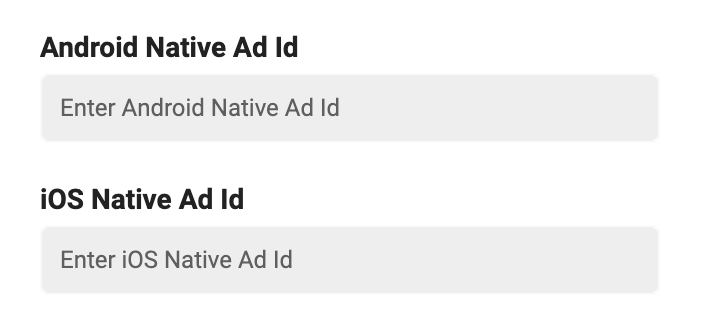
AdMob App ID is prerequisite. If you do not have AdMob App ID, you can aquire AdMob App ID by registering your app as an AdMob app. Simply follow these steps:
#### Enable/ Disable Ads:
You can enable or disable Ads in whole app by check marking or check unmarking the Show Ads checkbox.
You can enable or disable Ads in android apps only, just by check marking or check unmarking the Show Ads on Android checkbox.
You can enable or disable Ads in iOS apps only, just by check marking or check unmarking the Show Ads on IOS checkbox.
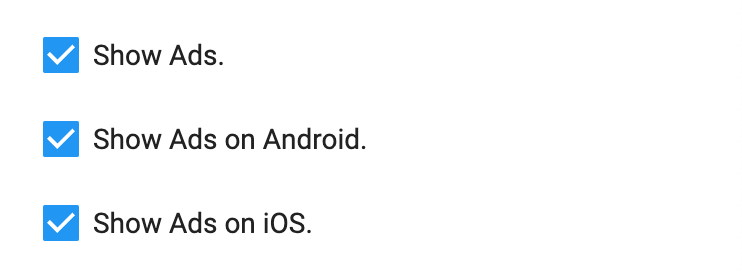
Prerequisite: Android/IOS Native Ad Id.
Please provide your One Signal App Id in the respective text field.
Prerequisite: Push Notifications Integration.
You can enable or disable Social Sign-On i.e. Sign-in with Facebook, Google, Apple and Phone with their respective checkbox fields.
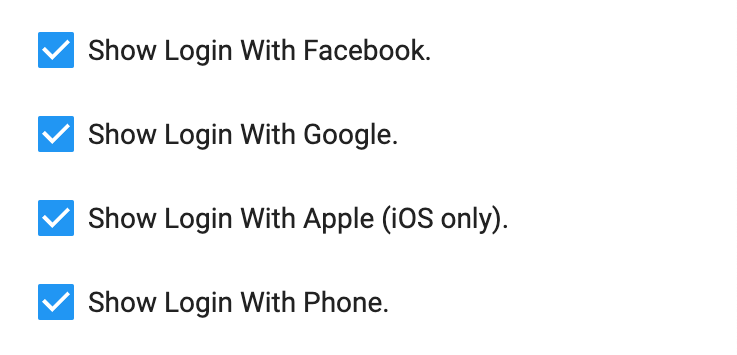
Sign-in with Apple is only available in IOS.
Prerequisite: Social Sign-on Configuration.
By default, when you open the Search Results Screen, you see property listings in List view. If you want that when you search something and Search Results Screen should show property listings in Map view instead of List view, check mark the Show Map View instead List View on Search Results Page checkbox field.

You can enable or disable Grid View Button on Search Results Screen, just by check marking or check unmarking the Show Grid View Button on Search Results Page checkbox field.

You can enable or disable Cupertino Sliding Segment Control in whole App, just by check marking or check unmarking the Show Cupertino Segment Control checkbox field.

--- ## Export Configuration URL: https://houzi-doc.booleanbites.com/houzi-builder/export_configurationIf you check unmark the Show Cupertino Segment Control checkbox field, the Material Segment Control widget will be used in the whole app.
Important: You are required to install the Houzi Rest Api Plugin on your Houzez wordpress. To install the Plug-in, click on Houzi Rest Api Plugin Link.
Once you have filled all the required fields, follow these steps:
Press the Export button, at the top-right side of screen. A dialogbox will open with preview of the configurations of your app.

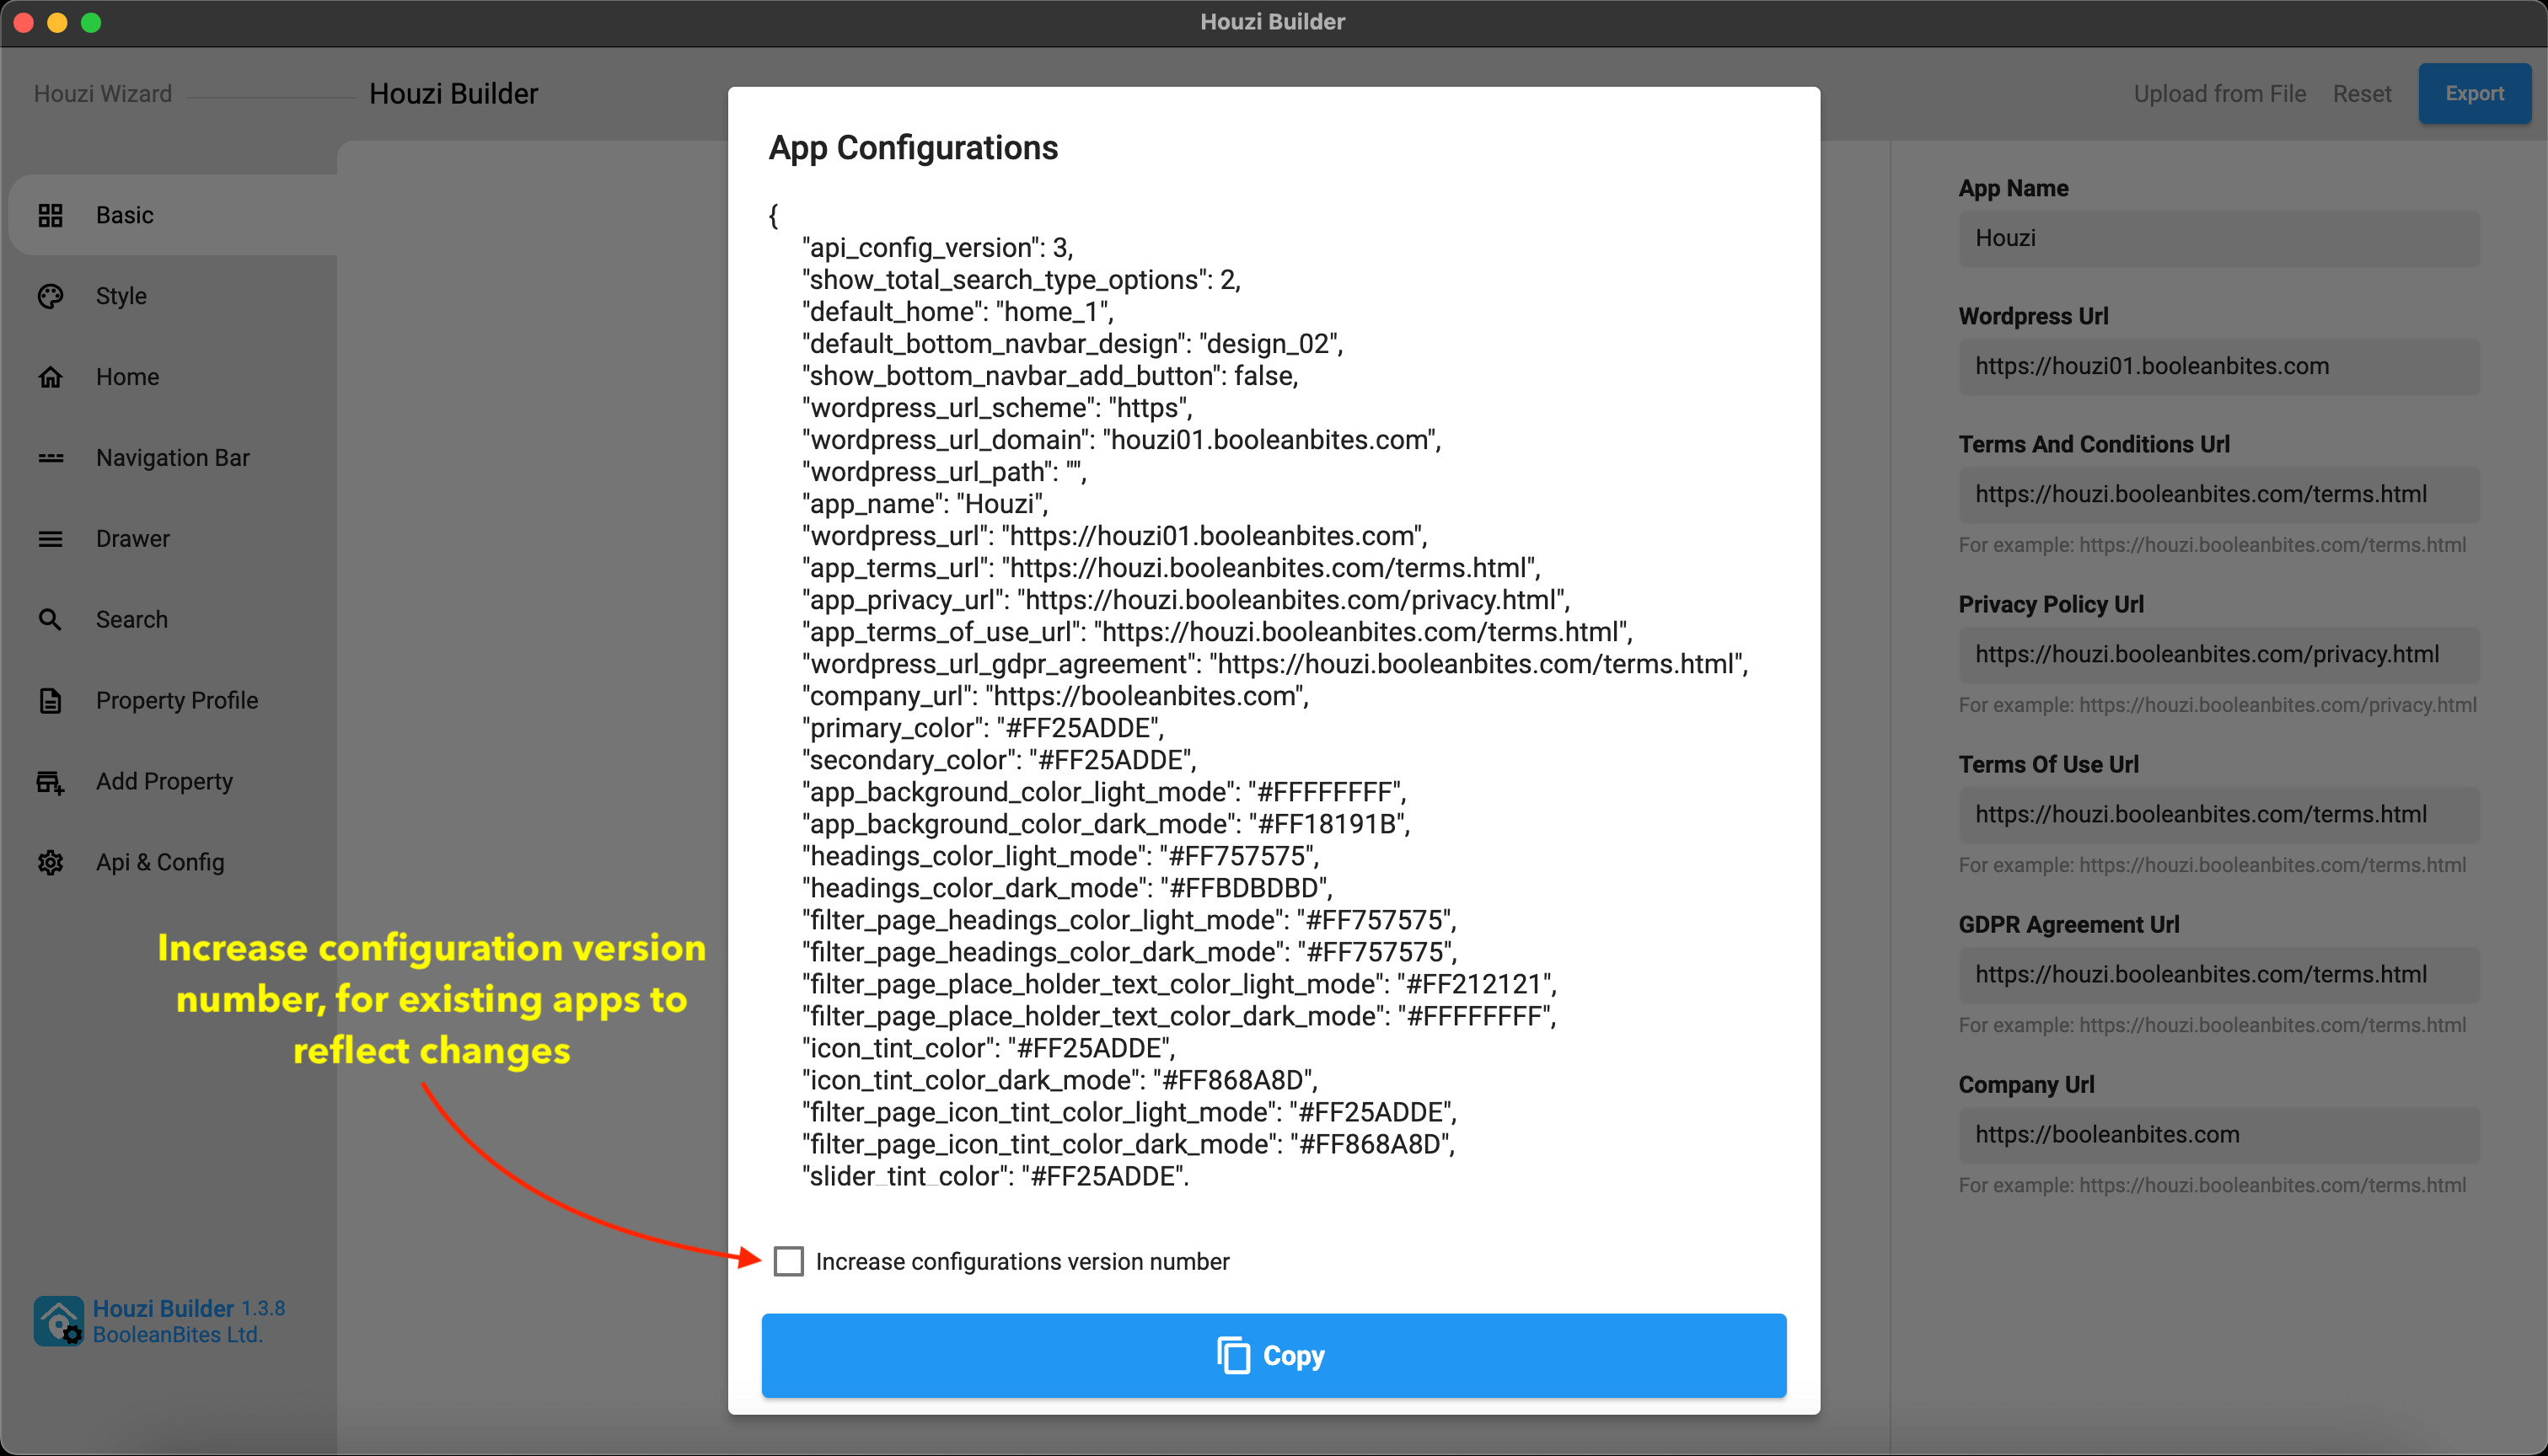
At the bottom of dialogbox, there is Copy button. Press the Copy button and the configurations of your app will be copied to clipboard.
[Optional Task] At the bottom of dialogbox, you will see a checkbox named as Increase configurations version number. If you are Editing/Updating the configurations of your app, then checkmark it, else leave it unchecked.
Open following file configurations.json file path:
> Project_HOME > assets > configurations > configurations.json
and paste the copied configurations in it, replacing the old configurations.
Although optional, you can save and server and update your config from website. Open your wordpress admin panel and navigate to the Houzi Api Plugin. Paste the copied json to the App Config text field and click on Save Changes.
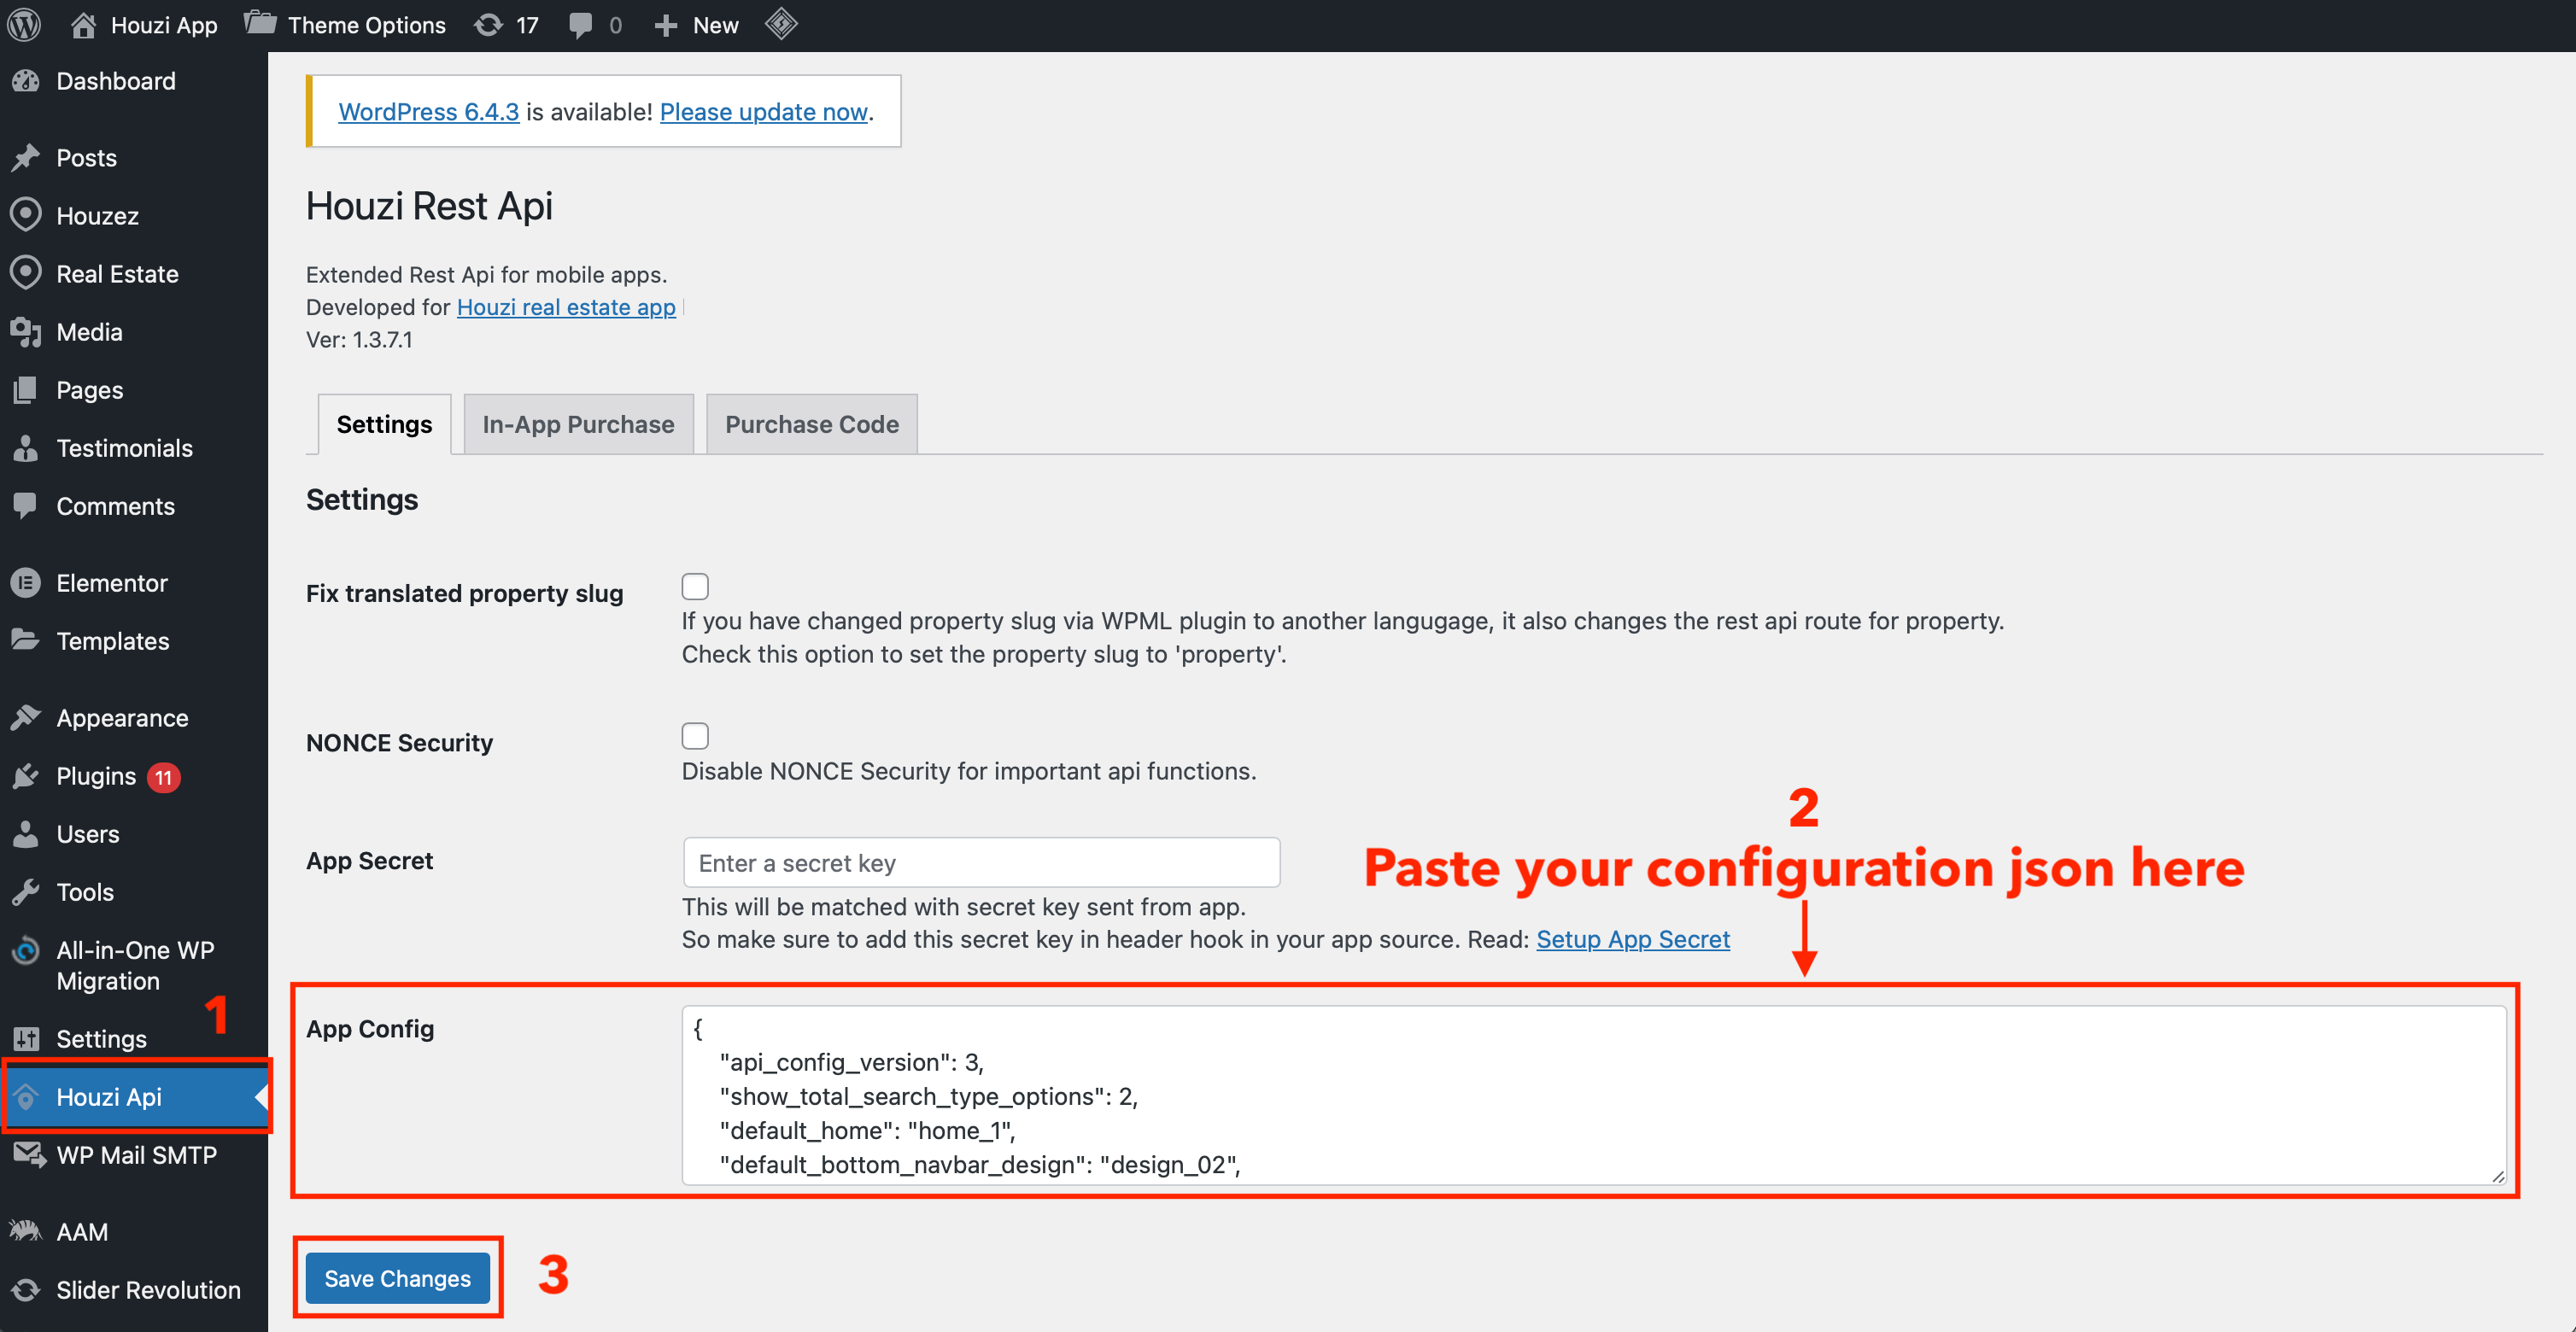
--- ## Edit/Update Configurations URL: https://houzi-doc.booleanbites.com/houzi-builder/edit_configurationImportant: If app receives the same version number in configurations, then it’ll not honor the new configurations having the same config version. So if you don’t increase the version number while exporting, then delete the existing app from device and reluanch to view the changes.
Important: You are required to install the Houzi Rest Api Plugin on your Houzez wordpress. To install the Plug-in, click on Houzi Rest Api Plugin Link.
If you want to Edit/Update configurations of your app (e.g. the changing the Theme Color etc.), follow these steps:
Press the Upload from File button, at the top-right side of screen. A Finder/Explorer dialogbox will open.

Select the configurations.json file of you project.
configurations.json file path:
Project_HOME > assets > configurations > configurations.json
After selecting the file, all the data will be filled in the respective fields.
Edit/Update the required section/sections.
Export the configurations of you project.